Devlog #62: August 2026
Trail rides, map and organizing By Maja - CEO, Concept Artist I have gone the next step with the map and started on a slightly more designed version of it. It will not be completely polished until the 3D part is ready and I can match the 3D world to the map, the visuals may also
Trail rides, map and organizing
By Maja - CEO, Concept Artist
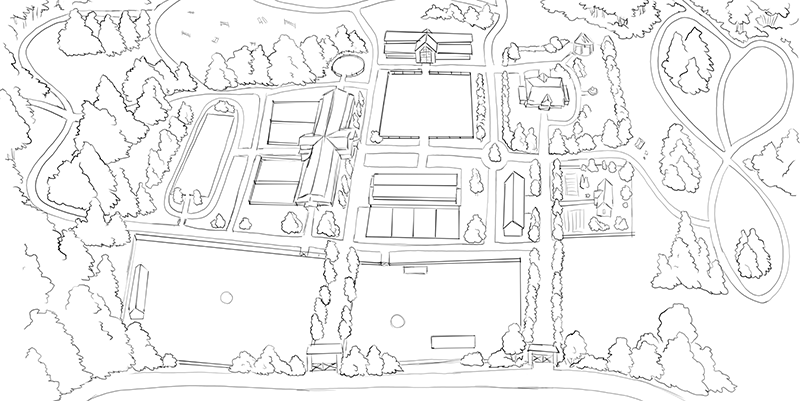
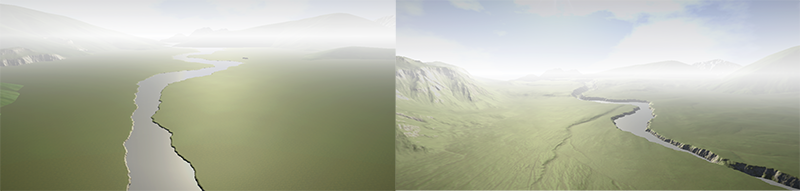
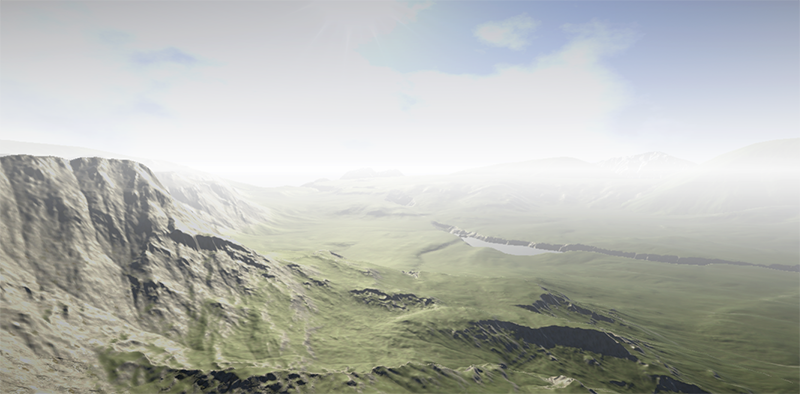
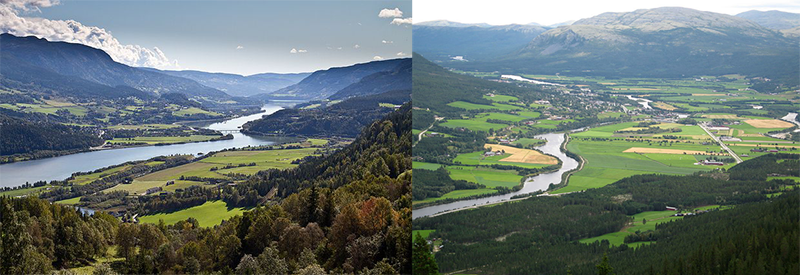
I have gone the next step with the map and started on a slightly more designed version of it. It will not be completely polished until the 3D part is ready and I can match the 3D world to the map, the visuals may also change. But this will highly act as a guideline for the world. With this I have looked at maps around Norway to see if there is something I can take from it. Usually this has been the dividing between fields and forests, building placements at farms etc. Very helpful to avoid everything to be too quadratic. I got a pretty good idea for multiple locations like Erika’s family farm, Rosenlund, the riding school and of course your stable. But we need to have the 3D version to see if my ideas will actually work well enough.
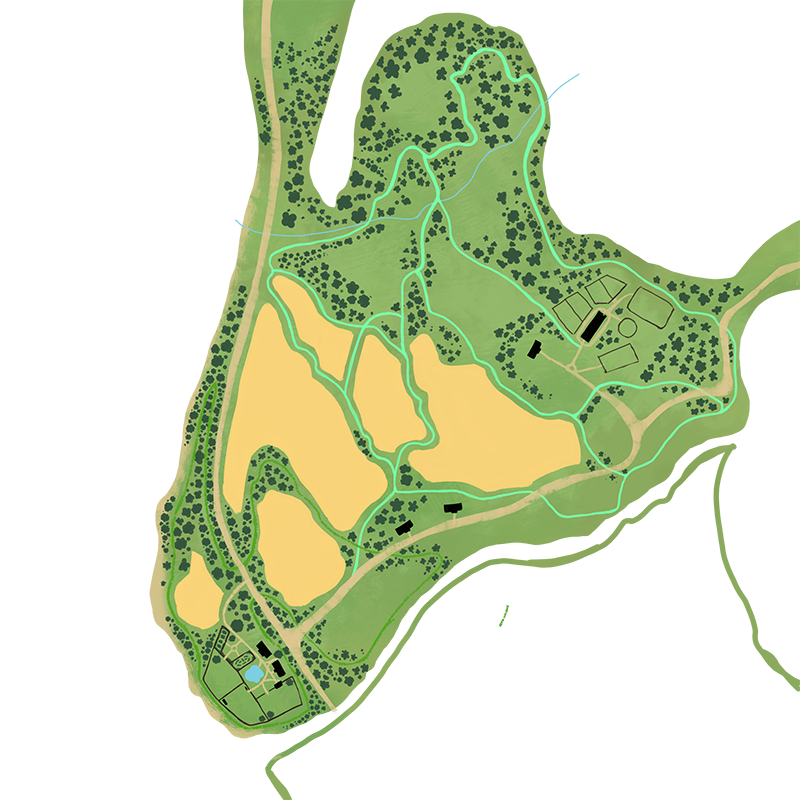
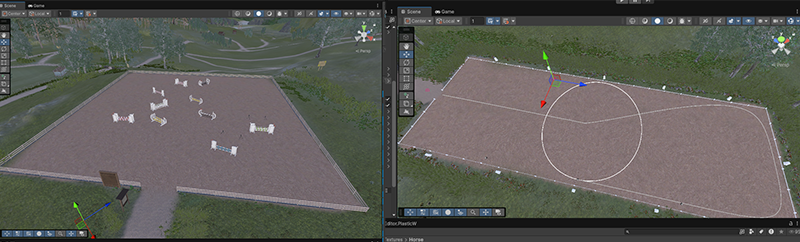
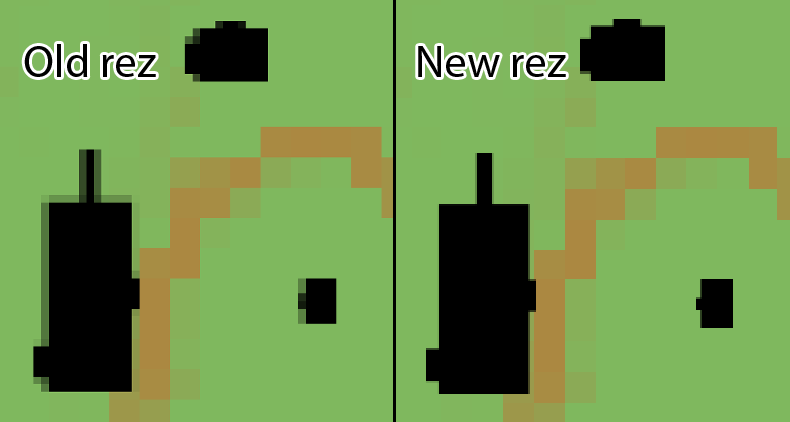
Here is a small part of the map around the Riding School (WIP).
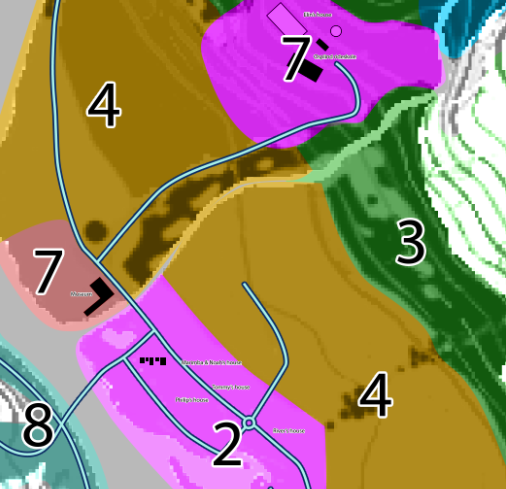
I created an overview of all the larger areas of the map and wrote down what kind of trees and plants can be found in that area. This will also be helpful to place assets. That will not say that there will only be one kind of tree in the area. I had to pick a few types of trees that actually grow in the middle of Norway. Most forests have a mix of multiple trees, but have one or too many kinds as the majority which make it the kind of forest it is. Is this spruce forest or a birch forest? Are there mostly leaf trees or needle trees there? What soil do each tree prefer? All of this is what I had to research, even though I had a basic understanding of it beforehand.
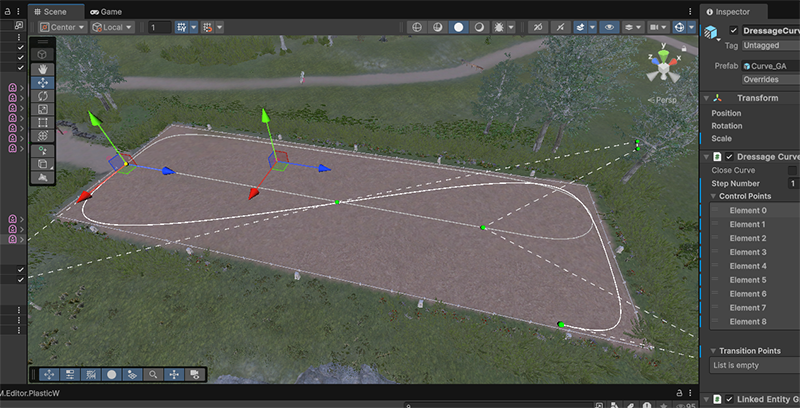
But of course I haven’t just done placing from all the houses and farms there. I have also designed many trail ride paths around the entire map, because of course there will be many trails for you guys to try out. These can also be used for Cross Country courses. But I also need to place out jumps, maybe some trails are too long? Or maybe all is fine. I can of course make adjustments to the Cross Country courses, so that it follows parts of the trail. I just need to make sure it fits the environment.
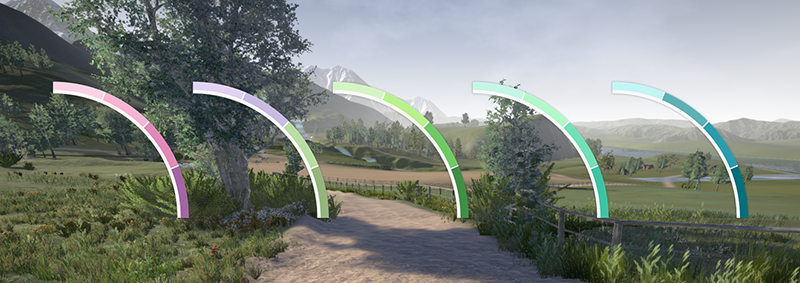
To make it easier for the team to differentiate all of the trail rides, I have color coordinated them together with numbers. This is for now, but can be helpful if anything needs to be adjusted. The team can just tell me that the turquoise trail needs to be changed.
On the less exciting part, I’ve helped with cleaning up assets in the project to help with LOD and all of that. This will make the project less heavy and also remove all the assets we do not need or will ever use. It was a great way for me to have a look at all the environmental assets in the project. It also helped me with the overview as well.
Buildings in Astride
By Tirna - Project Manager, 3D-artist
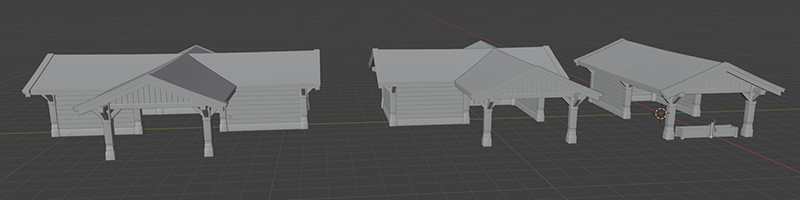
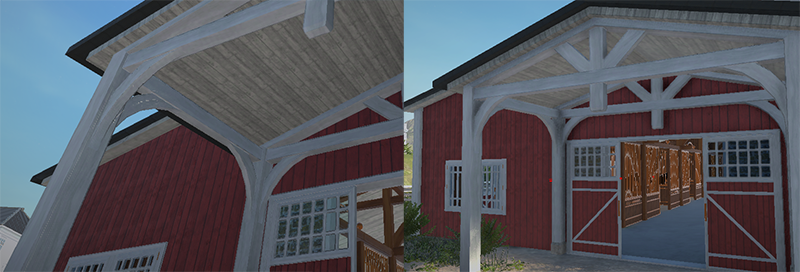
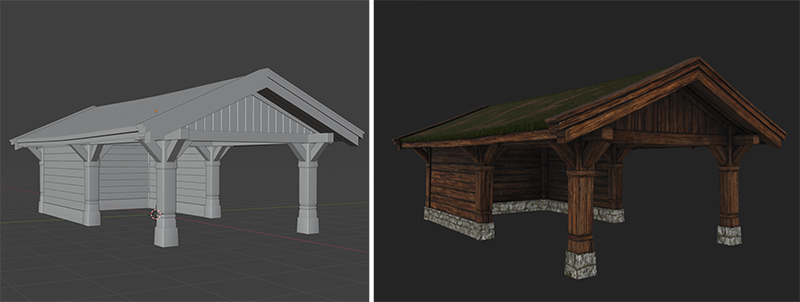
Last devlog, I showed you some of the sheds I’ve been making for the paddocks and outdoor areas. Since then, I’ve added the same shed in two larger sizes, so we can use them for different purposes and fit them into more areas around the world.
Before I show you some of the other buildings we’re going to have in Astride — especially the ones in town and the houses scattered around the map — I want to talk a little bit about how we’re actually building them.
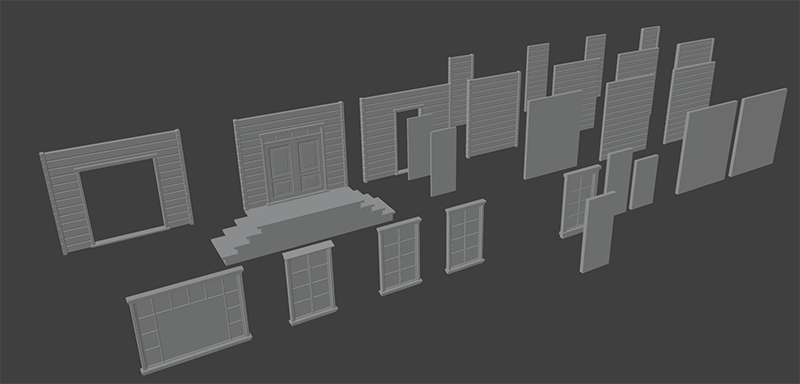
Building with modules
Something you’ll see a lot of in games is the use of modular building systems.
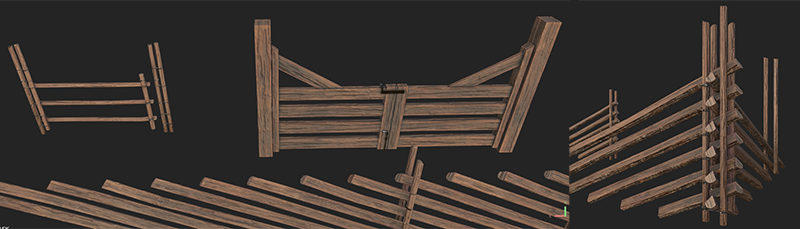
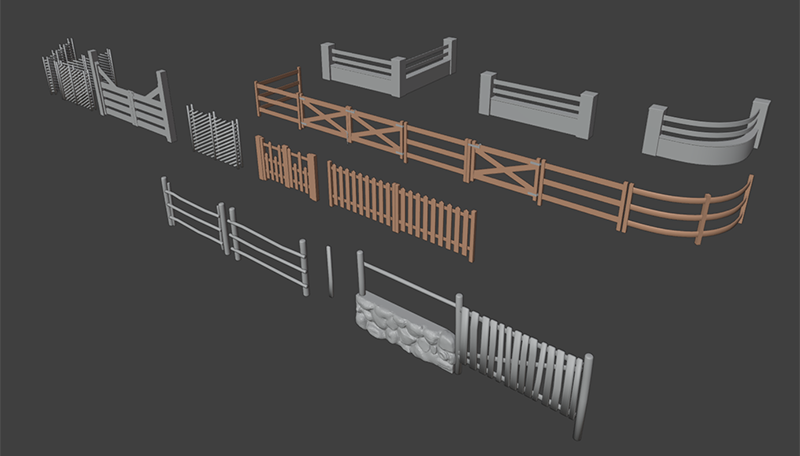
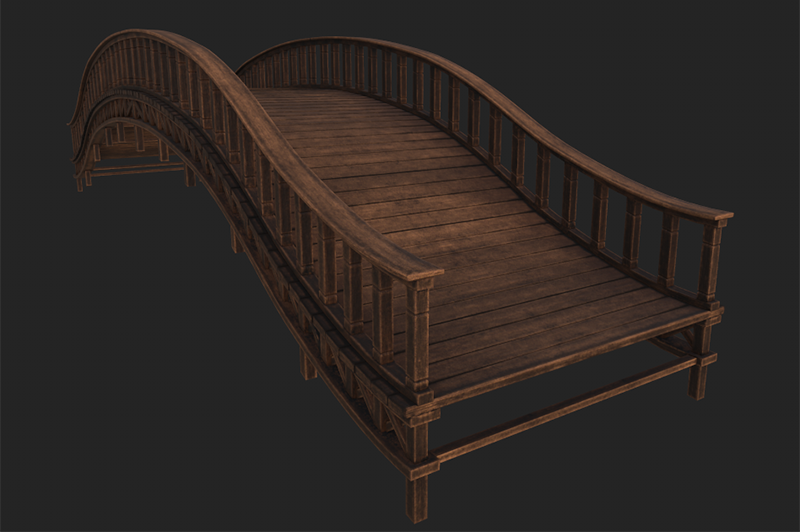
Instead of making every single building individually in Blender, we create a collection of reusable pieces — walls, corners, doors, windows, roofs, decorations and so on — that can be combined in different ways to create many different buildings.
This might sound like a small technical detail, but it makes a huge difference when you’re building a whole town. If we made every building completely from scratch, I would have to model, UV, texture and optimize every single house individually. With a modular system, I can spend that time making the individual pieces look really good, and then use those pieces to create many different buildings.
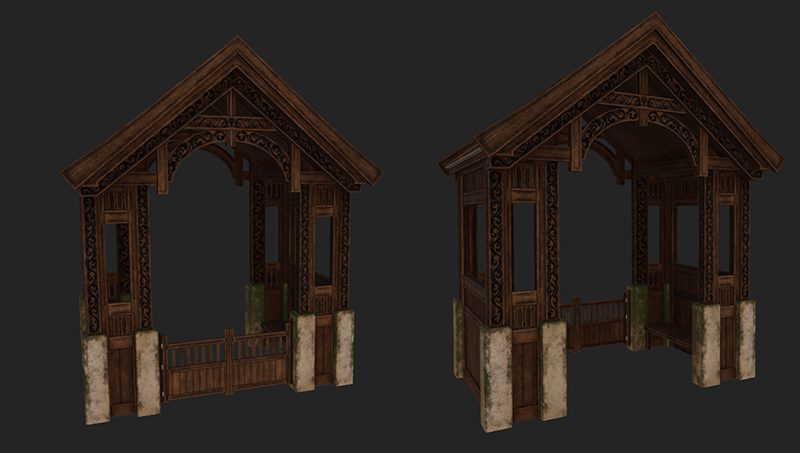
It also means that the buildings can share the same visual language, while still feeling different from each other. The modules you see above are only a small part of the set I’m going to make. They are heavily inspired by Røros, a small and very charming town in Norway.
And this is where things get a little more complicated. A lot of the buildings in Røros are made using traditional log construction, or lafting as we call it in Norwegian. When you build a modular system using logs, you can't just make a wall and snap another wall next to it.
The logs have to line up. For the modules to work together properly, each wall needs a corresponding piece that is half a log higher or lower, depending on how the pieces connect. Otherwise, you quickly end up with logs intersecting in places where they shouldn't, or gaps between the walls.
So I’ve spent quite a bit of time planning how these pieces should fit together before making too many of them. And there are quite a few things to consider: wall heights, corners, doors, windows, different roof heights, building widths, and how everything can connect without creating weird little gaps.
It’s basically a giant building puzzle.
Creating the feeling of Eldheim
Some of the buildings in Eldheim will also be places you can actually walk into, such as the coffee shop and the tack store. That means the modular system isn't only about making the outside of the town look nice. The pieces also need to work together on the inside, and leave enough room for gameplay.
One of the things I really want for Eldheim is that it feels like a small Norwegian town, rather than a generic fantasy game village. Røros is a huge inspiration for this. It has this really lovely combination of old wooden buildings, narrow streets, colorful houses and small shops, while still feeling like a real place where people actually live.
That’s the feeling we want to capture with Eldheim: Just a little Norwegian town where you can wander around, visit the shops, meet people, and hopefully feel like you've stepped into a place that has existed for a very long time.
July & August
By Ouroboros - Programmer
My part of the devlog will be for both July and August since I decided to postpone my vacation. When I wrote the June devlog, I was still working on world streaming. That work continued for a week into July before I was finally able to release a build into test on itch. World streaming is currently only used in singleplayer, as it turned out to be way more difficult to get working for multiplayer. I knew this might be the case, so we had already discussed a plan B where multiplayer takes place in a smaller map where world streaming isn’t needed. It is also possible to implement world streaming for multiplayer later when we have more time, but the smaller map will be used until then.
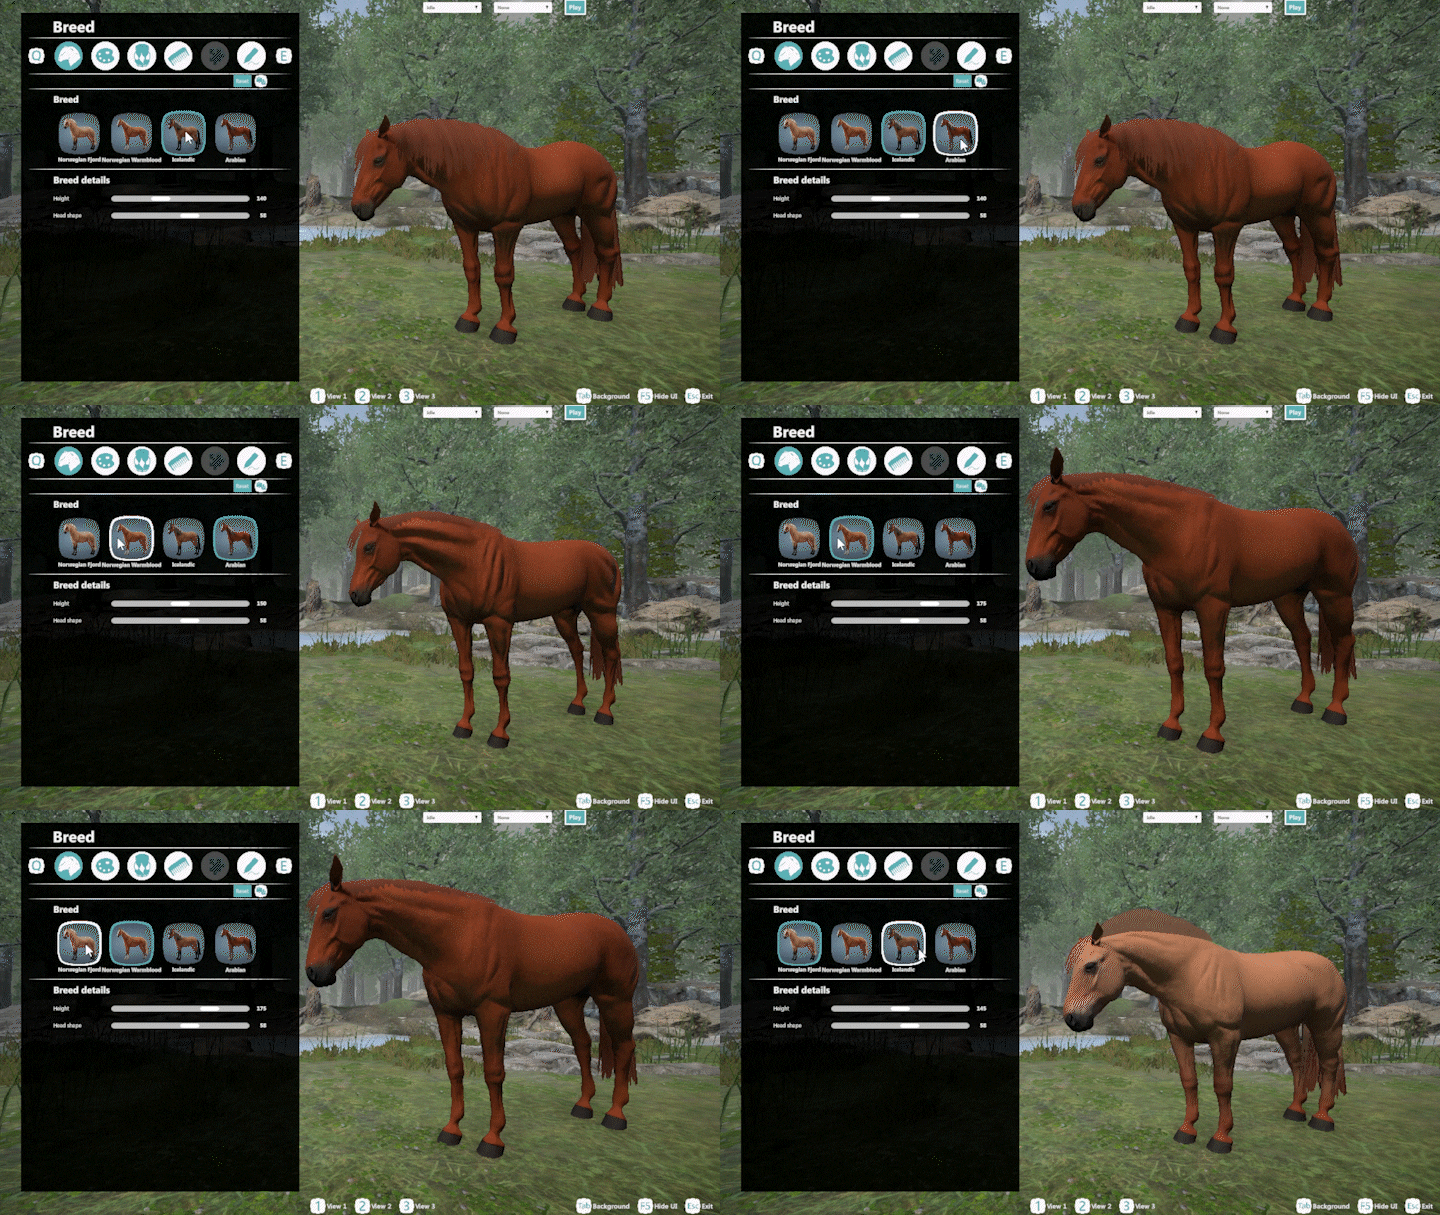
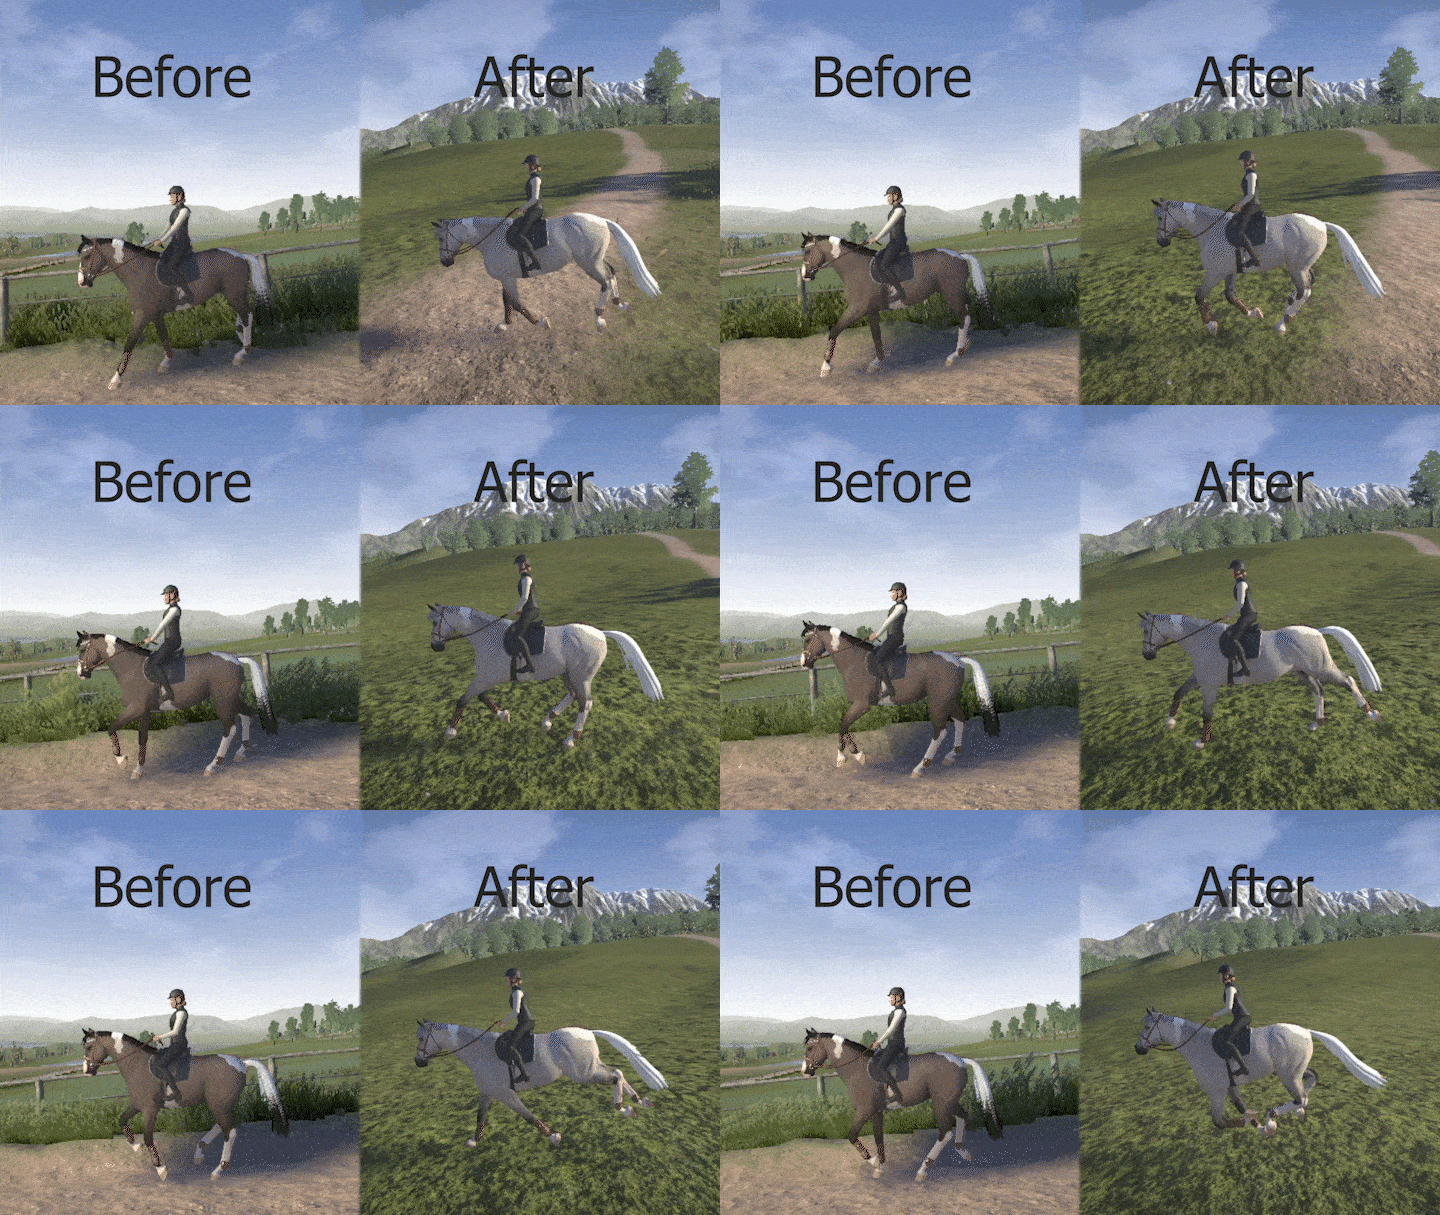
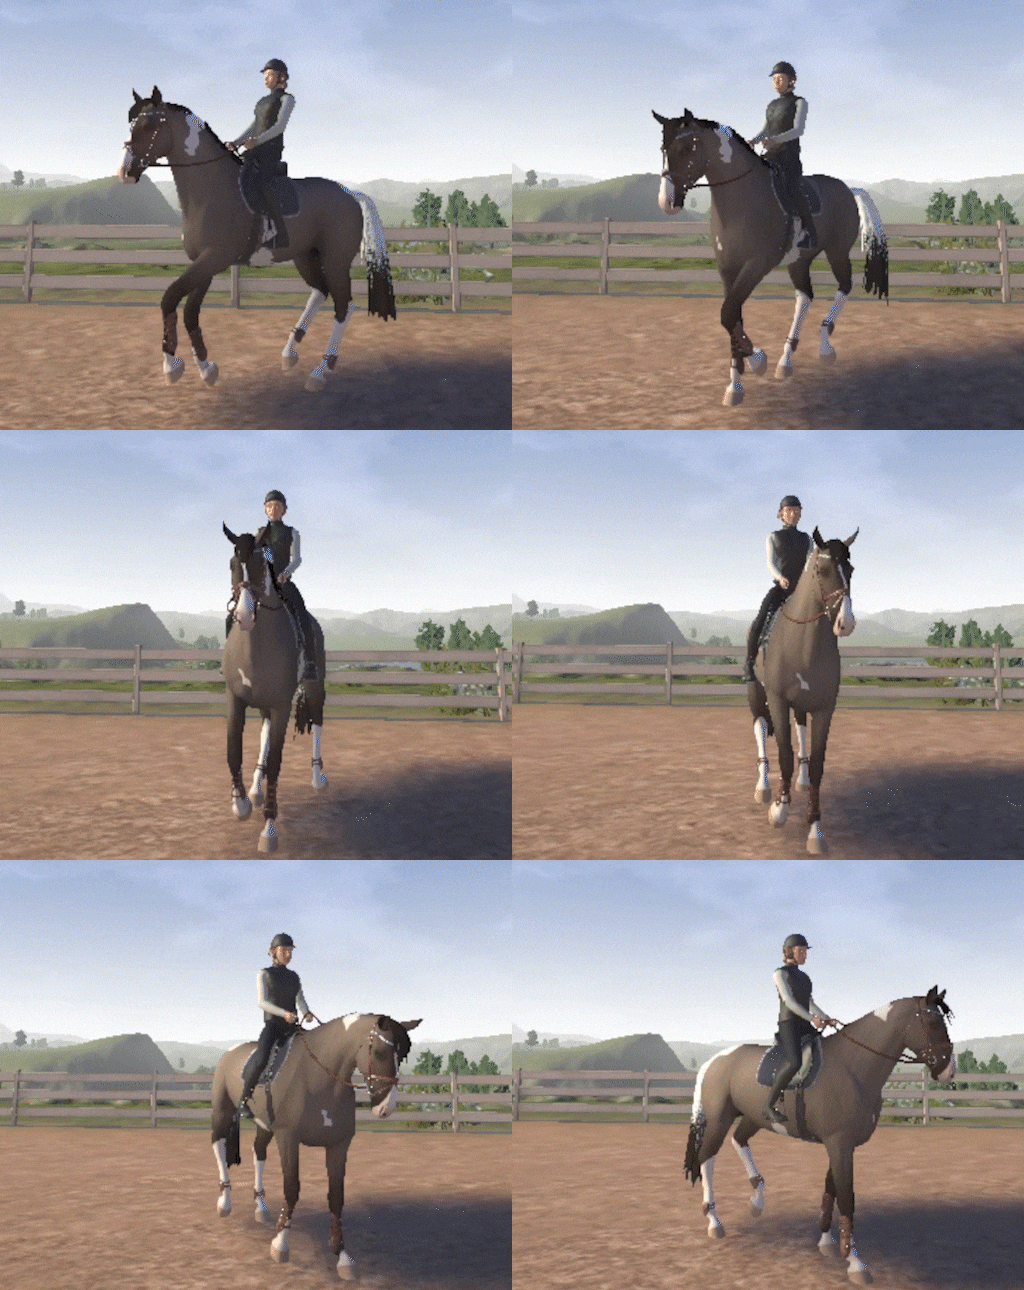
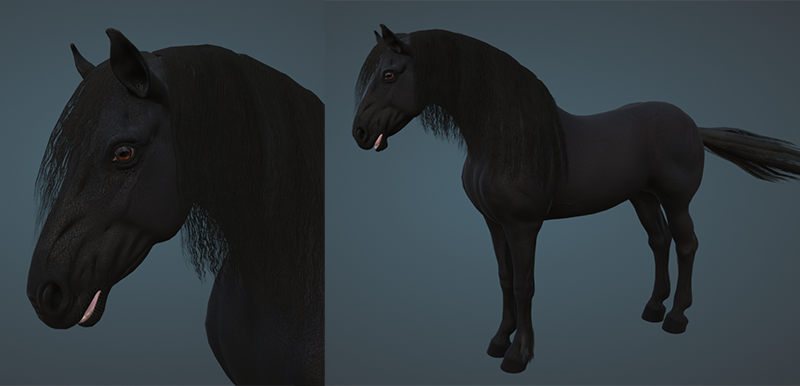
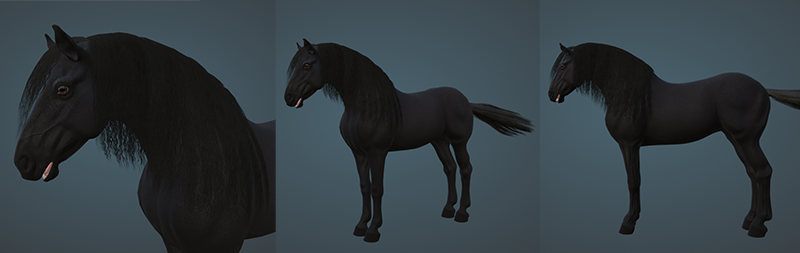
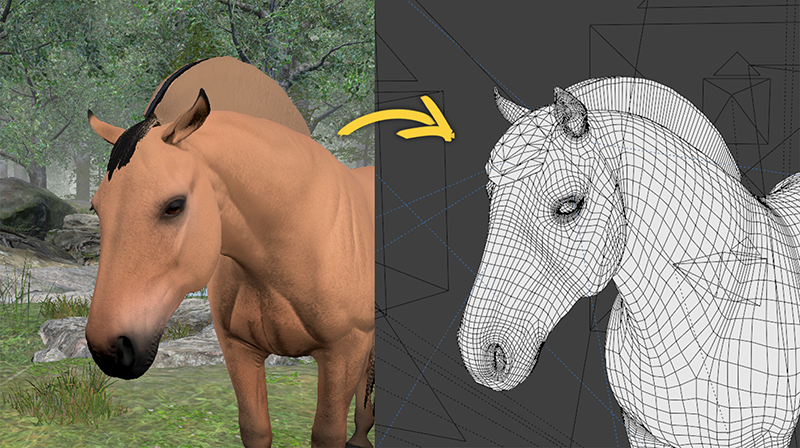
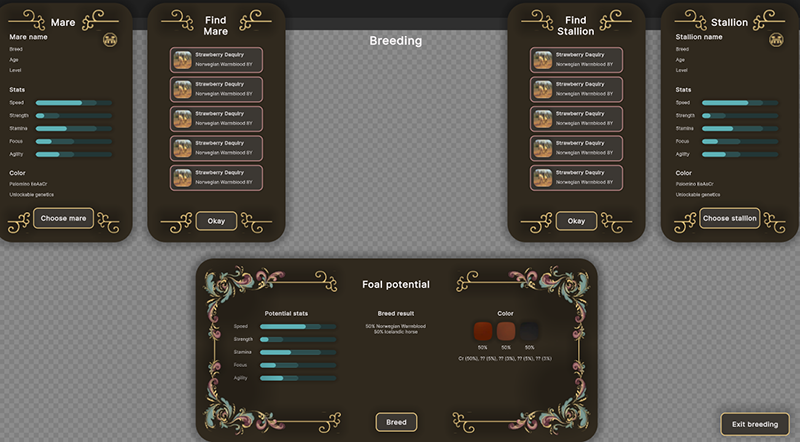
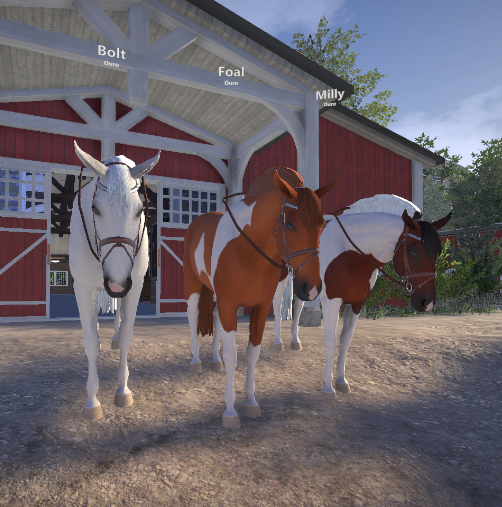
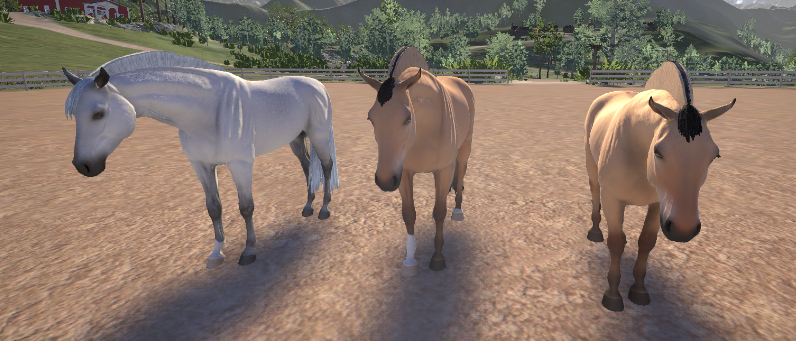
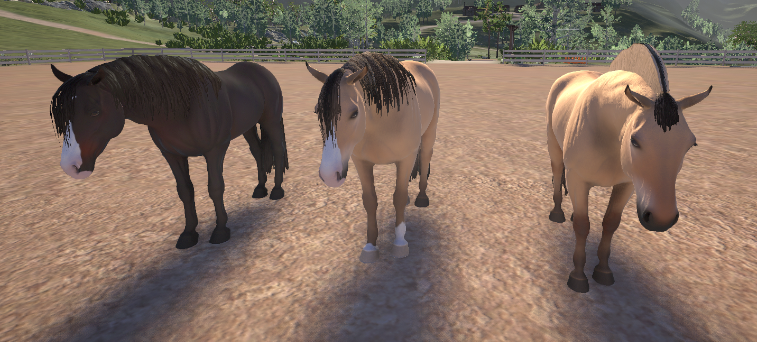
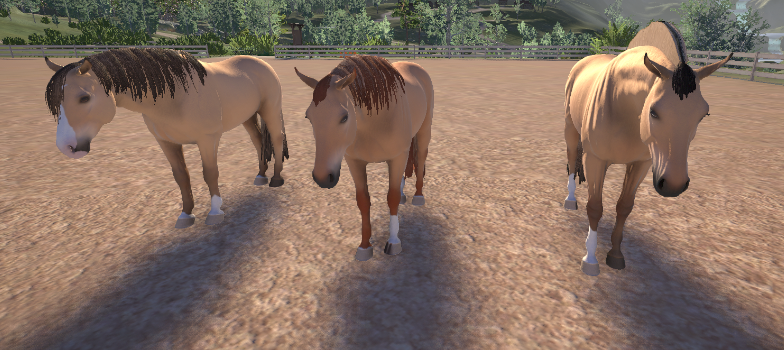
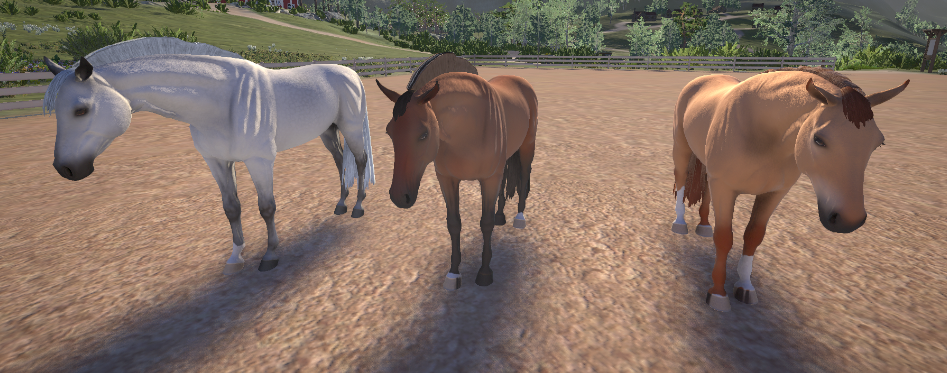
With the world streaming taken care of, I began the work of getting the horses back into the game. We have had the horses disabled for a while now to keep things simple while testing, but we are finally at a point where we need the horses again to continue. Unfortunately, it has been easier said than done. One of the things we wanted to do along with the optimizations was to move the models into DOTS. Up until now, the models of the character and the horses have been game objects that have copied the position and rotation of DOTS entities. While this solution was mostly fine, it complicated our use of inverse kinematics and it resulted in delays. Having everything in DOTS should make it run much smoother. The difficult part has been to figure out how to handle materials, meshes and blend shapes in DOTS, and this is what I spent the rest of July and all of August on.
The first part of the job was to remake the shader in Unity’s Shade Graph. We had been using a third-party shader editor, but decided to change because Unity’s own solution has better resources. It was pretty quick to make since it was really just to copy the old shader. Keeping it as similar as possible also meant that the code for creating the materials could remain mostly the same, although I did make some improvements to it. The materials for the horses are created at runtime using a horse’s information about its breed and genes. The textures and colors of the material depend on this information, creating a unique material for each horse. A horse can have multiple layers of textures, so the code bakes all the layers into one texture to make it more manageable. DOTS doesn’t really have much support for working with materials and textures, so all of this happens outside of DOTS. The finished material is given to DOTS, where it is assigned to the model.
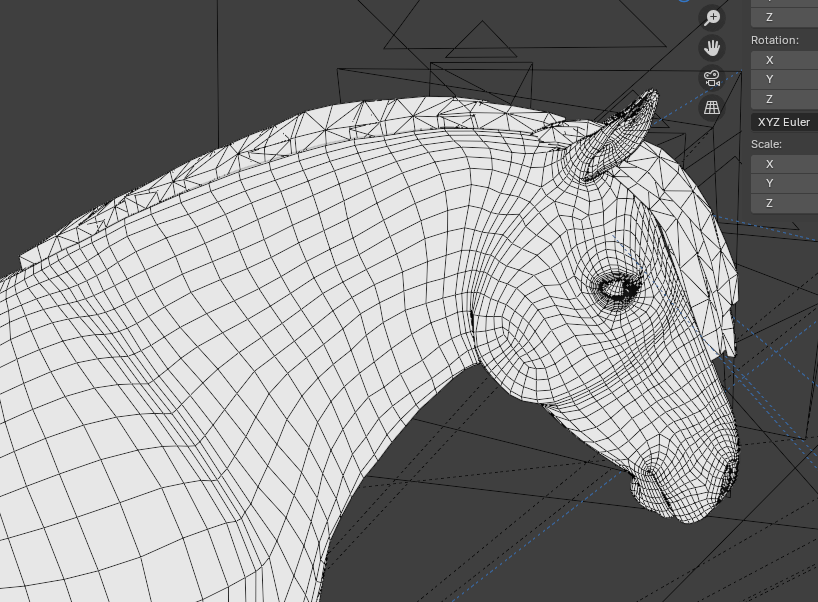
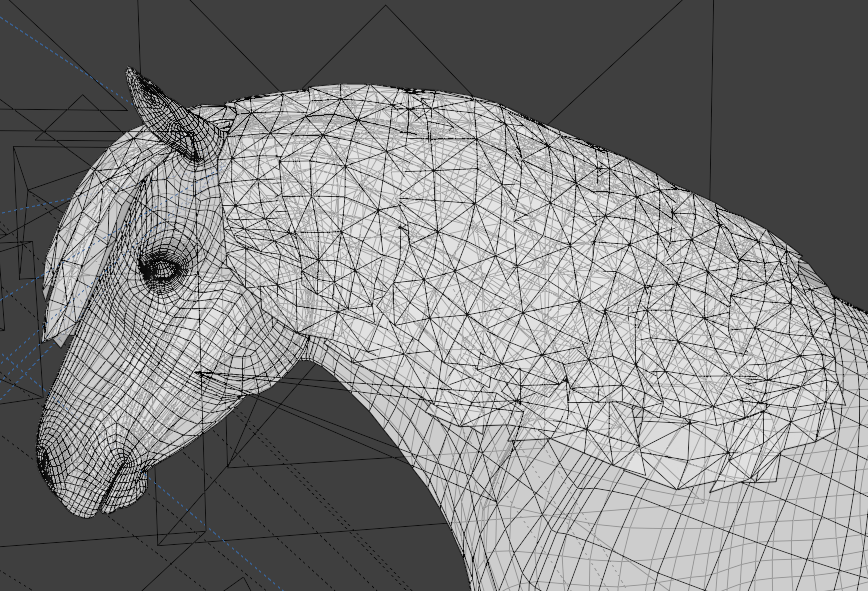
I had a really hard time finding out how to correctly assign the materials in DOTS. The documentation for this is not great, and I haven’t used the DOTS graphics API before now. It was actually thanks to the help from one of our testers that I finally figured out how to do it. After that came the task of finding out how to change meshes (for the mane style), which wasn’t too bad but still required a little trial and error. The final part was the blendshapes. The meshes of the horse each have blendshapes for the different breeds. The problem is that DOTS have access to very little information about them, so you need to know each blendshape’s index beforehand. The different meshes didn’t have a consistent order to the blendshapes, which basically meant a lot of code would have been needed to correctly set them. To make the job easier, I came up with the idea of reordering the blendshapes on the meshes instead so that they all had the same order on every mesh. This made the job significantly easier, and I was able to get everything working just as we entered the last few days of August.
While the work on the horse has been challenging, it also ended up taking longer due to issues with my computer. About halfway into August, the D-drive (where I had all the Astride files) on my computer died. I quickly ordered a new drive, but I had some really bad luck with the delivery and it took two weeks before the new drive finally arrived. I used my laptop during those two weeks, but it is noticeably slower to work on. It could take several minutes from making a change in the code to getting into the game and testing the change. It was frustrating, but I’m finally back on my stationary computer so things should go a bit faster again now.
-
Please be aware that the content featured in these devlogs represents an ongoing work in progress and may be subject to further changes. We are committed to continuously developing and refining our game. To stay informed about the latest updates and connect with the rest of the Astride community, we invite you to join our dedicated Discord server community here! For additional information about Astride, please visit our official website.
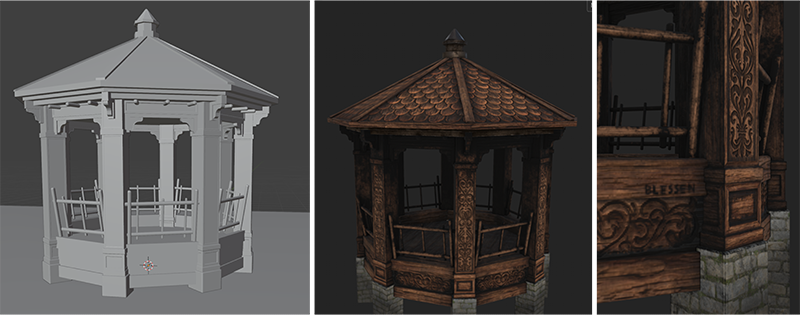
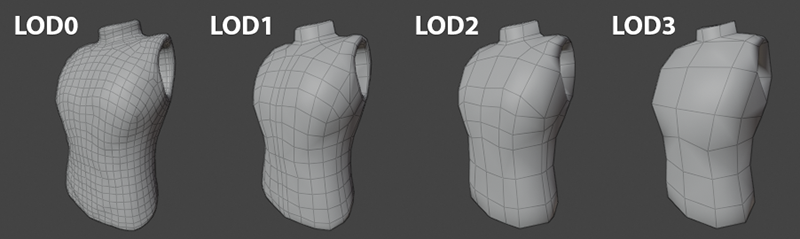 Different LOD levels of the character's vest.
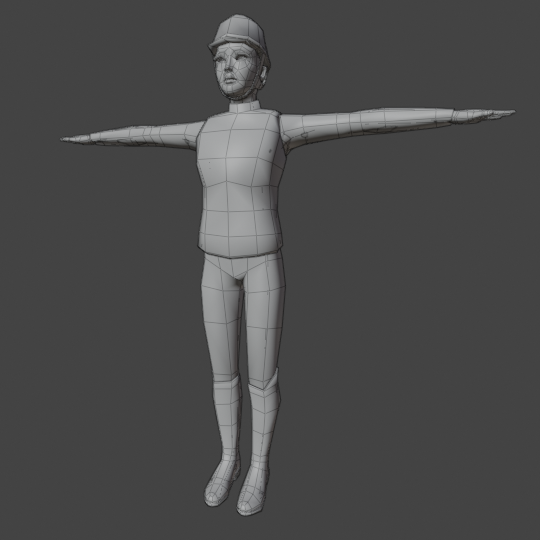 The end result of the character in LOD3, the lowest LOD.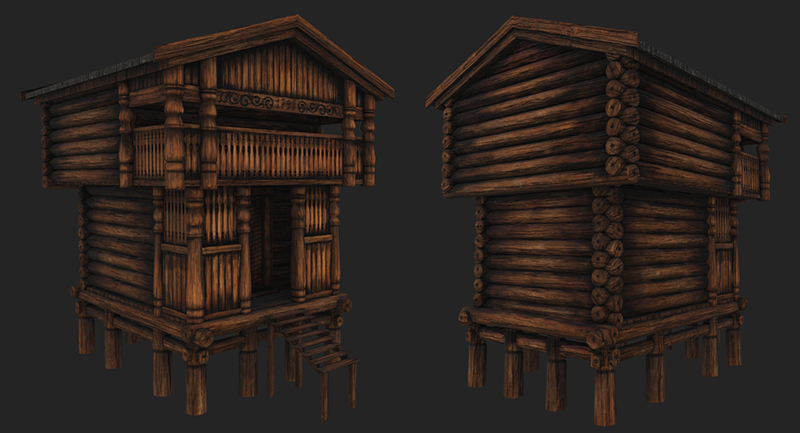
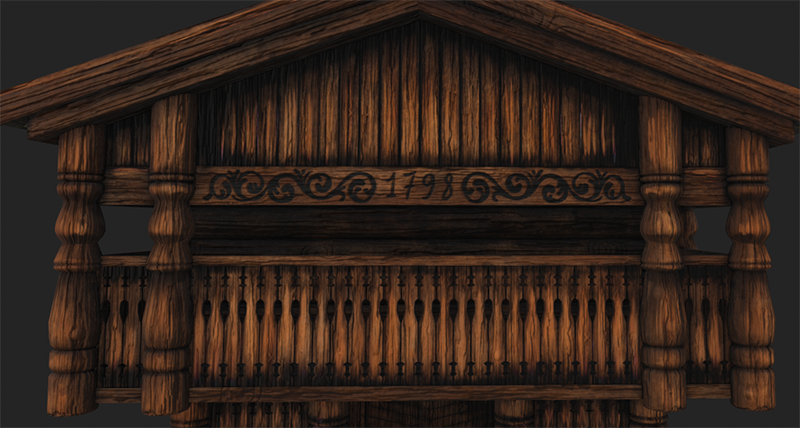


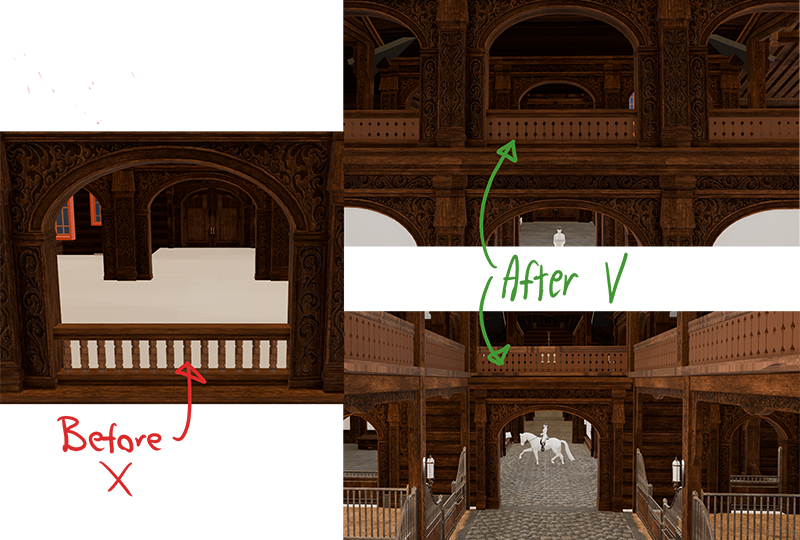
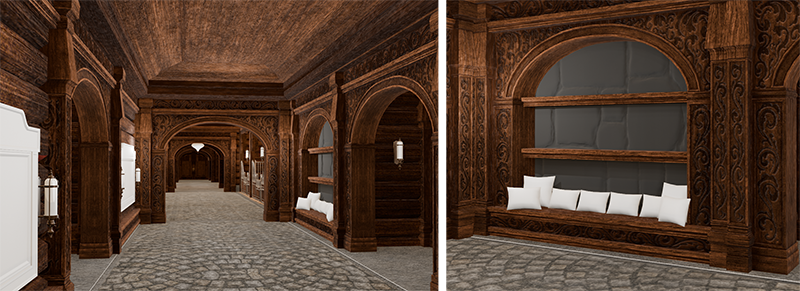
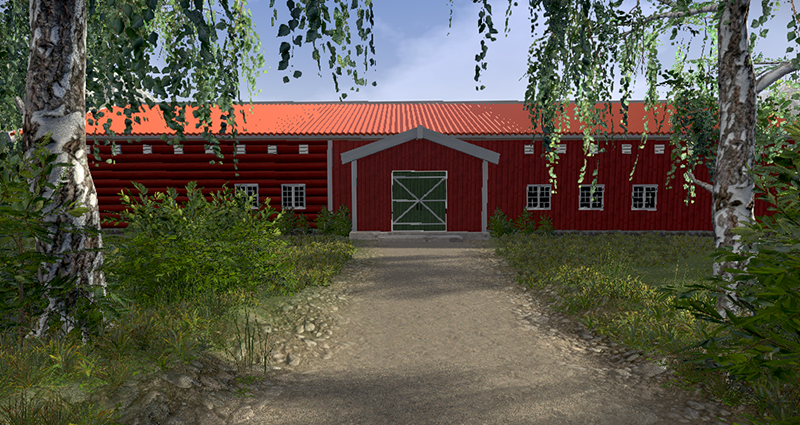
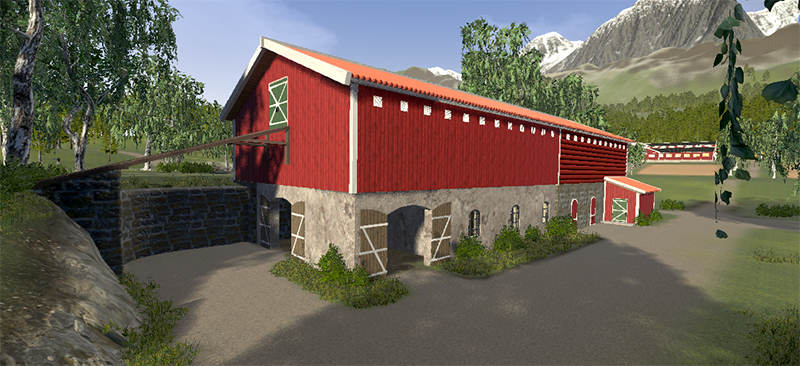
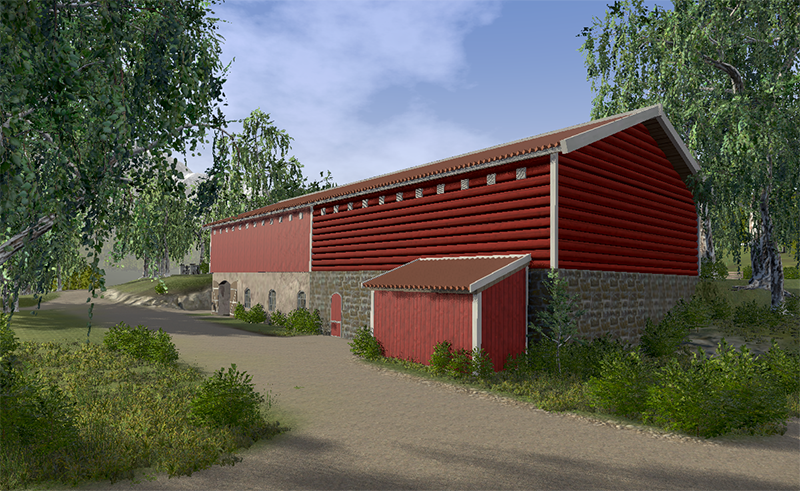
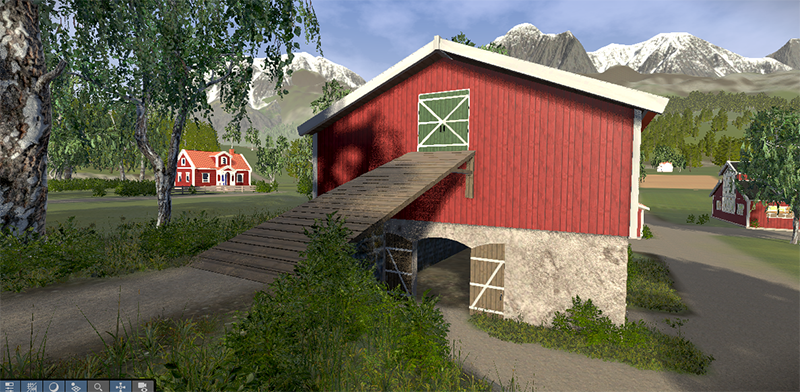
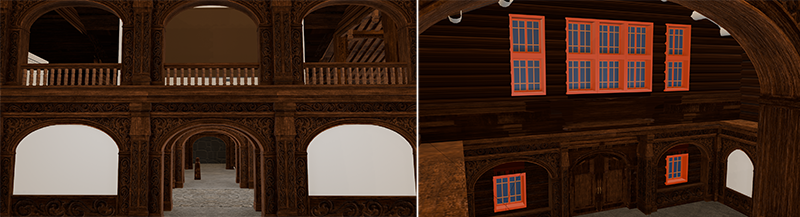 The first floor of the main hall has been made smaller to make the outside look like a "Stabbur".
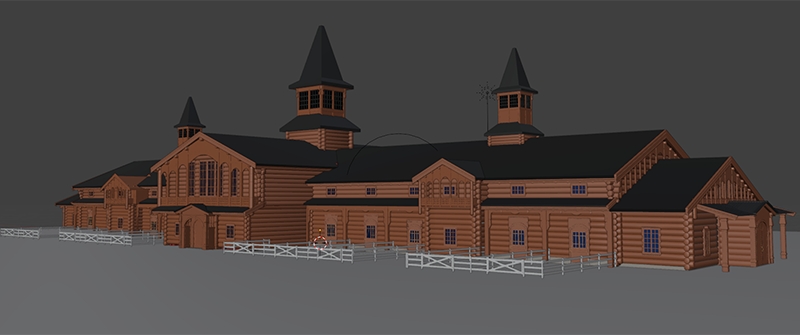
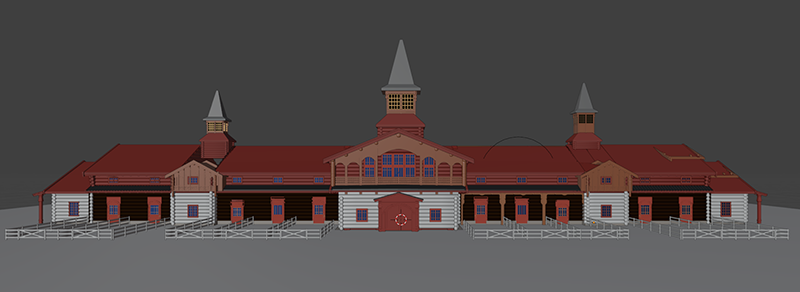
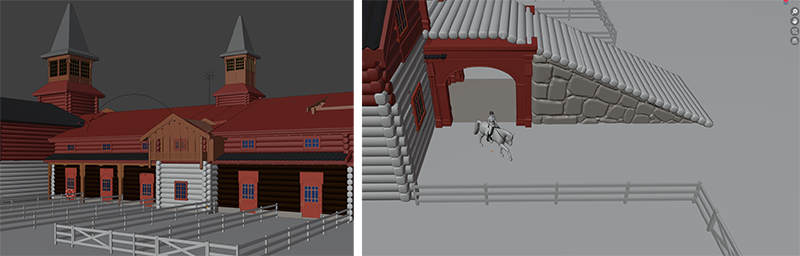
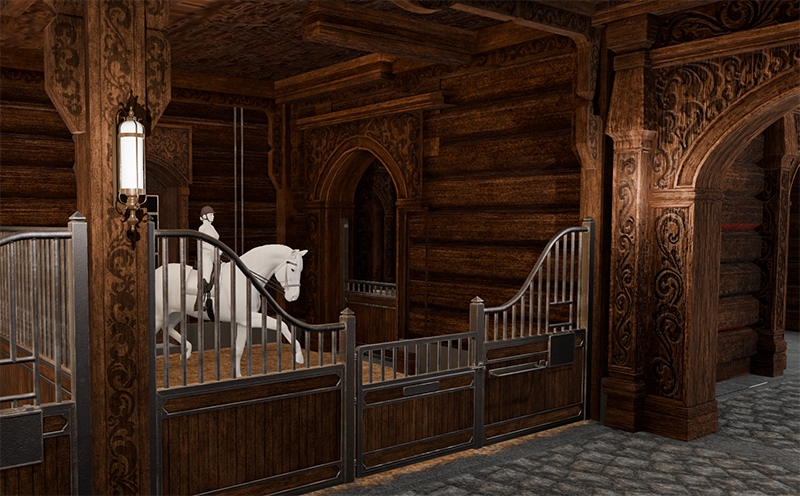
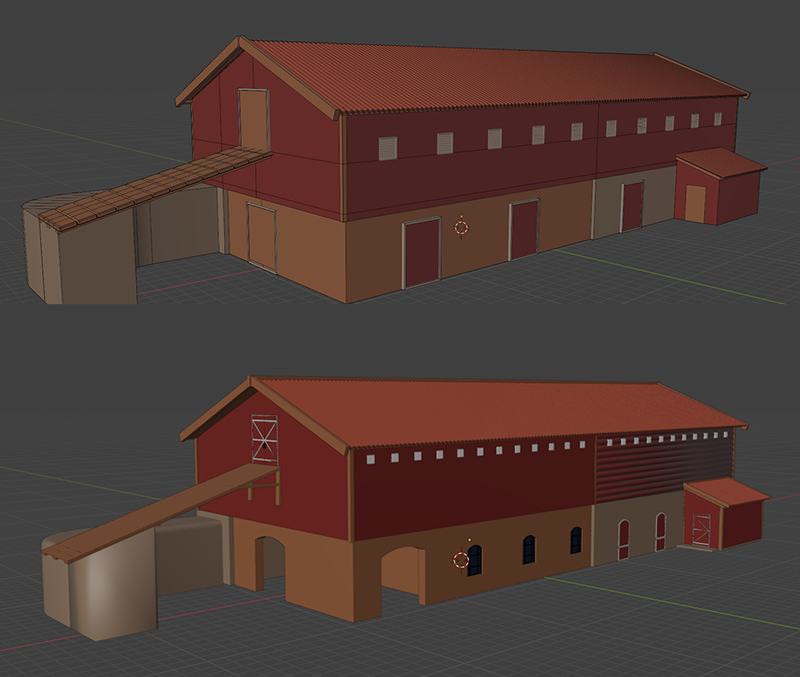
 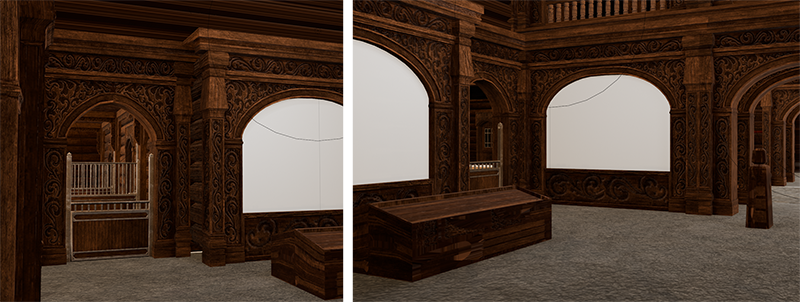 Exterior of the stable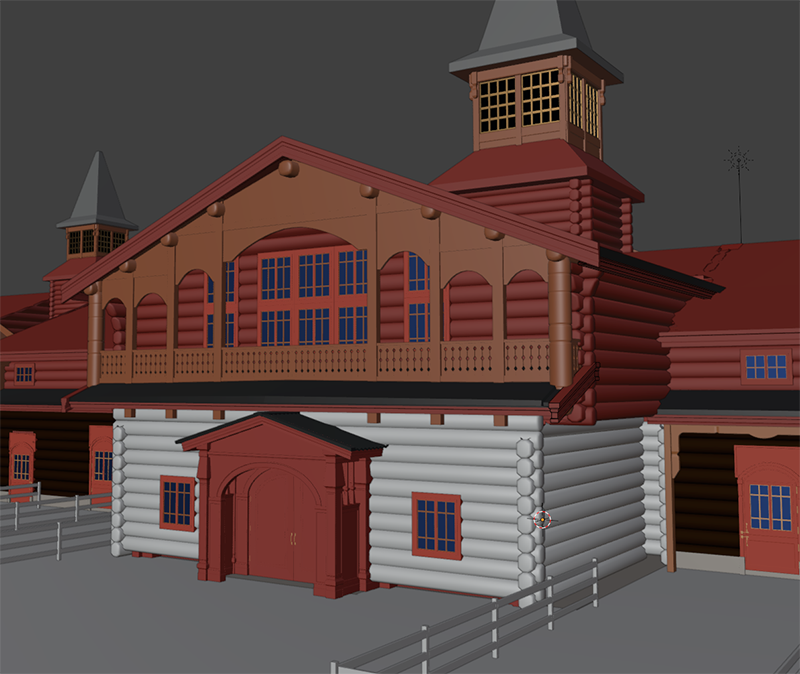
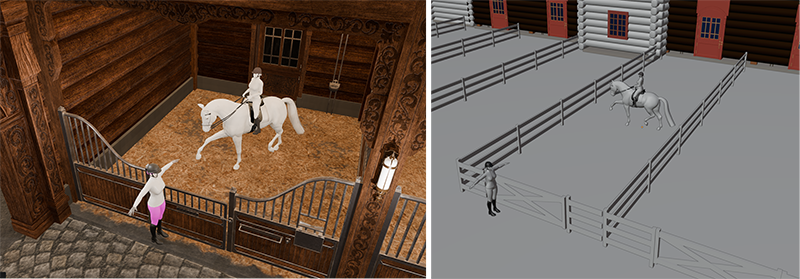
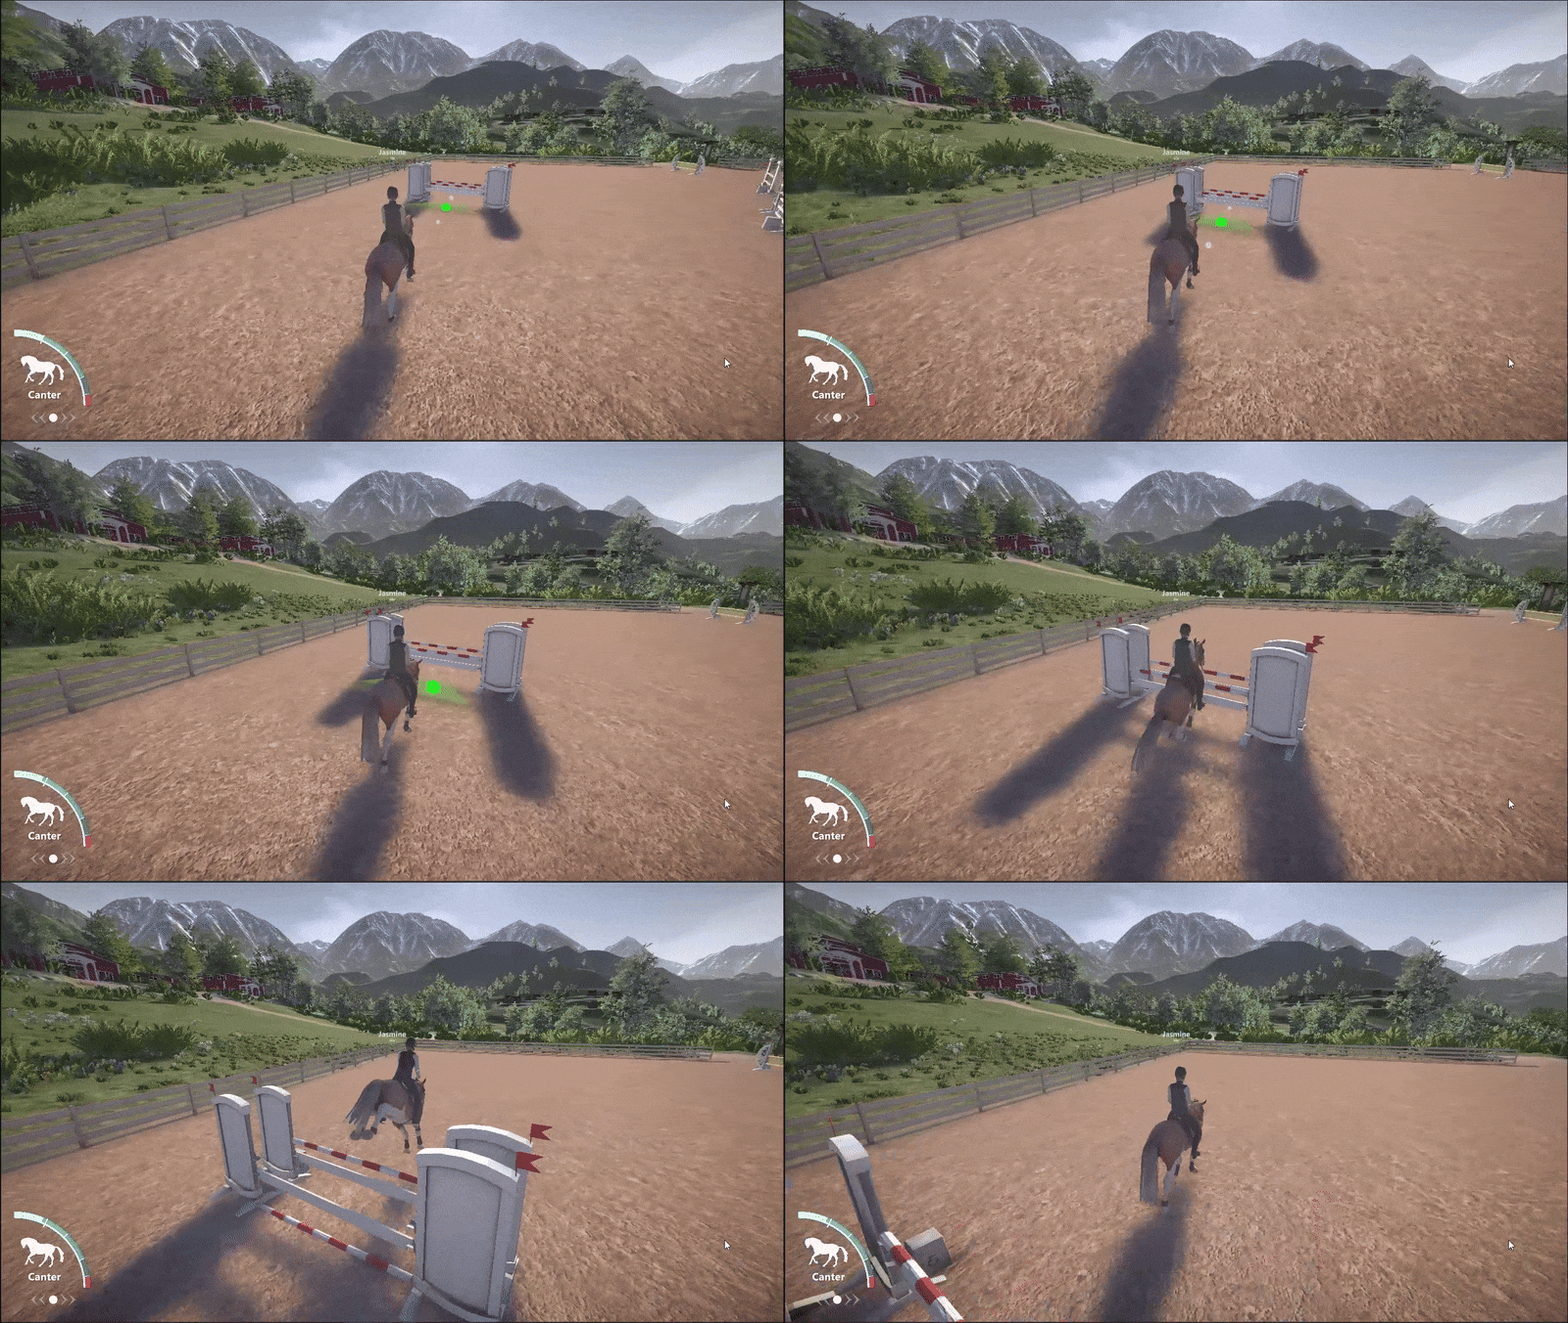
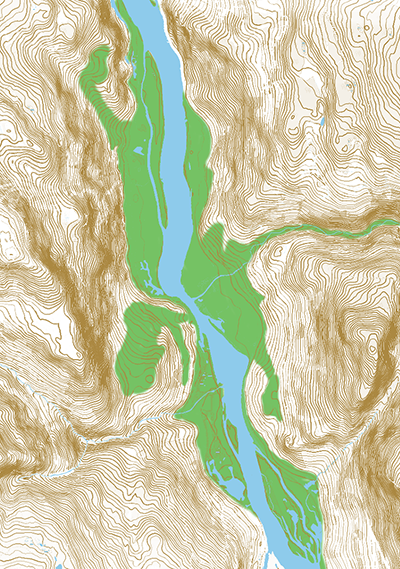 Above is the first iteration of possible playable areas.
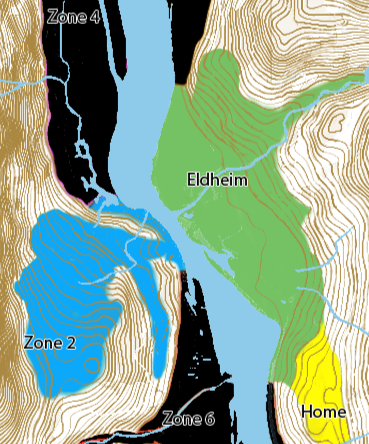 Above: sneak peak on zoning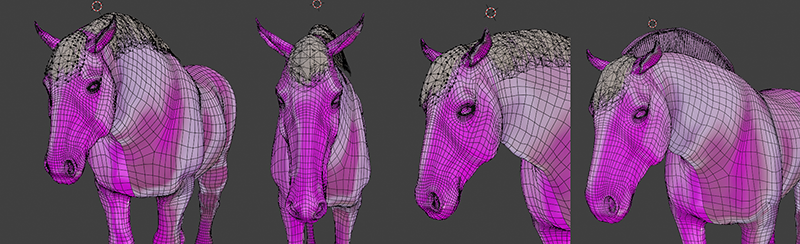
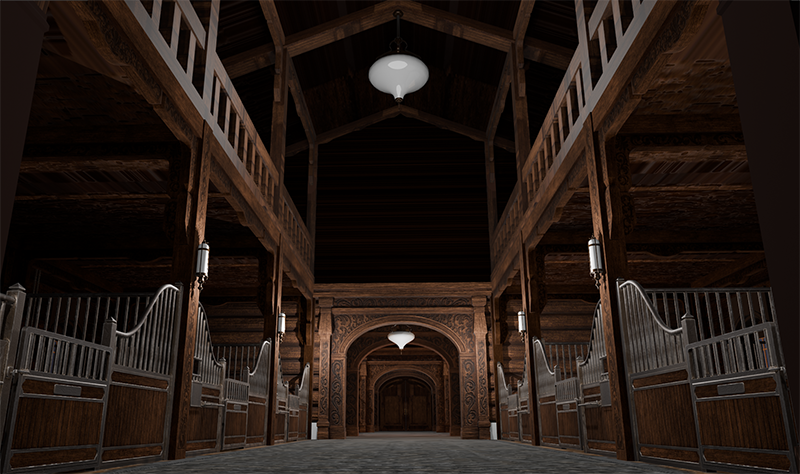
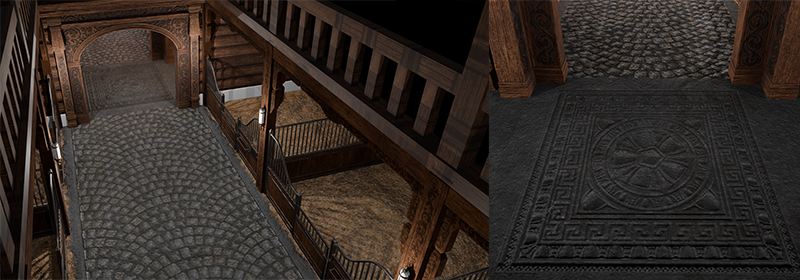
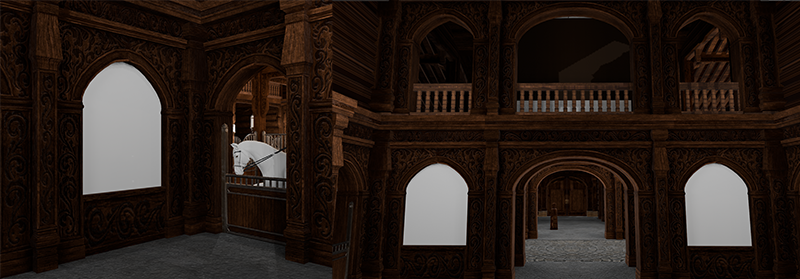
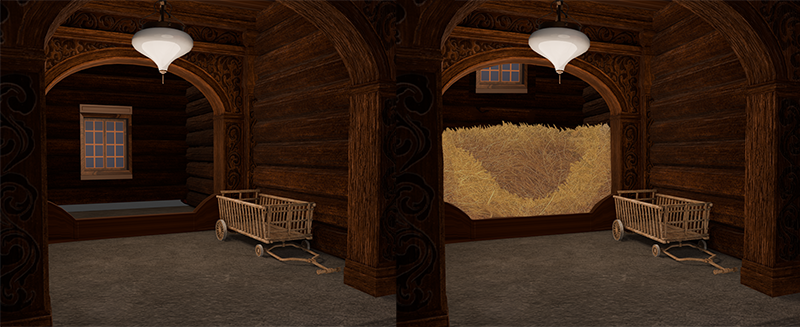
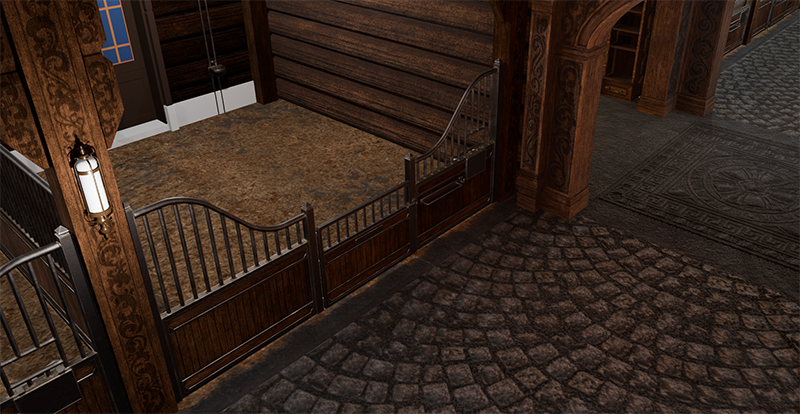 The doors out to the paddock have also got textures. And we can’t wait to see cute horses peaking through the open windows.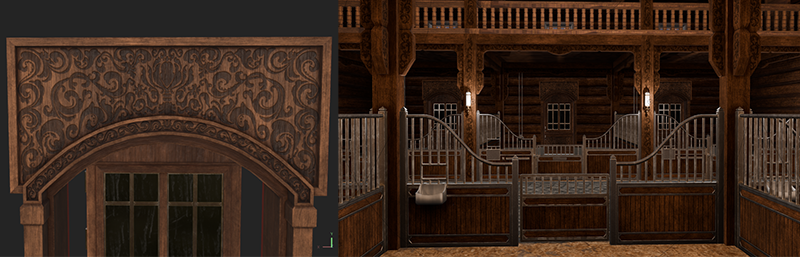
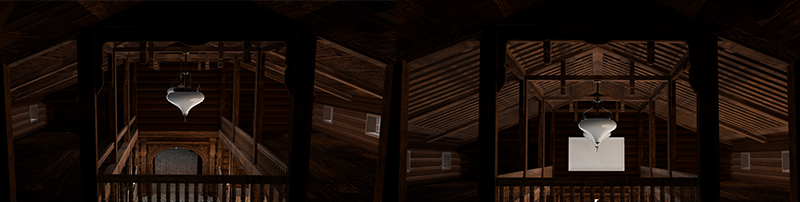
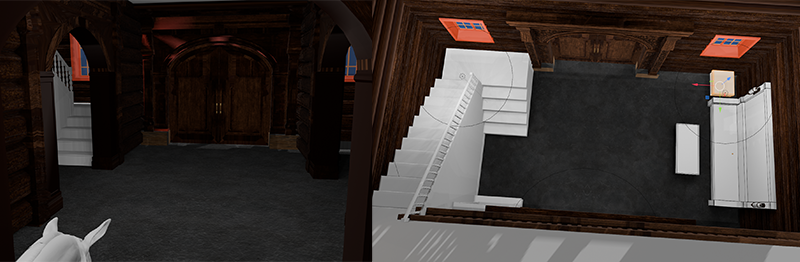
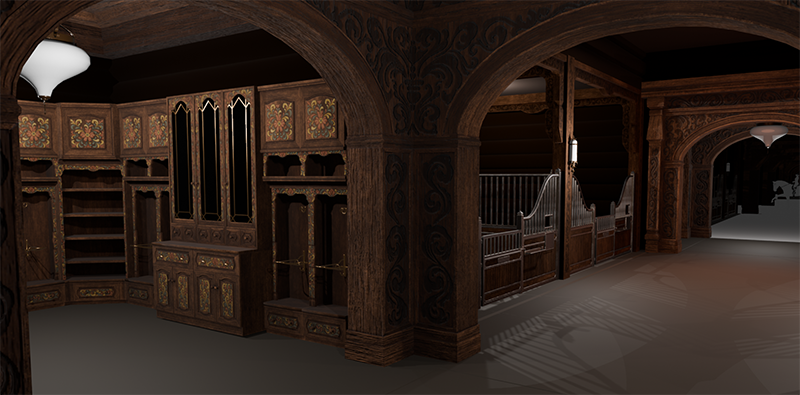
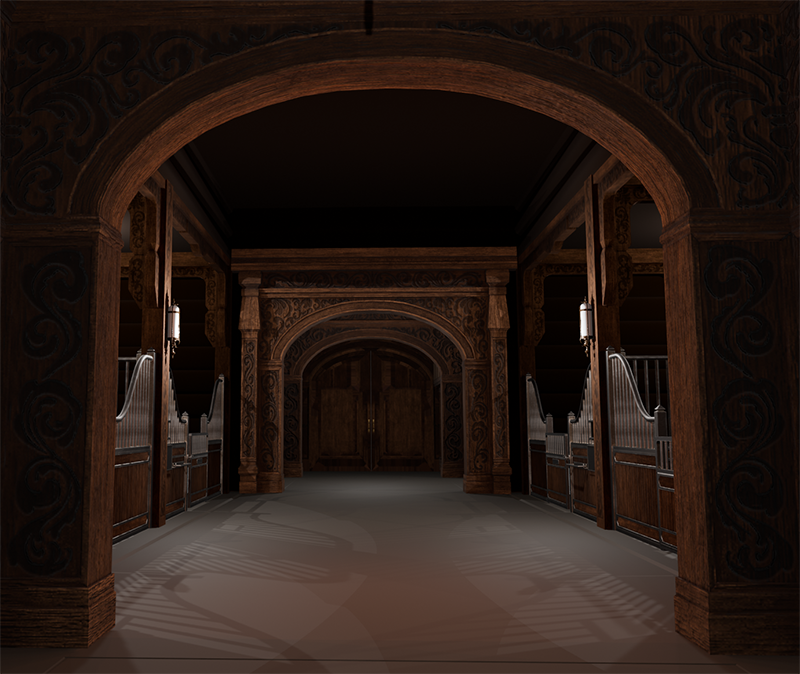
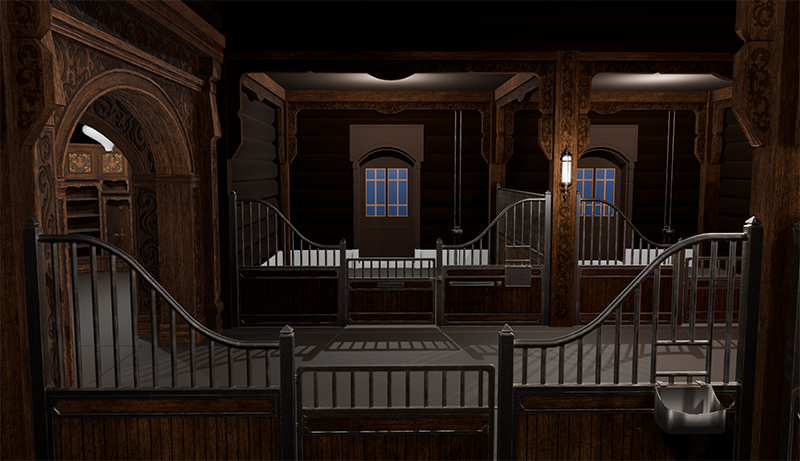
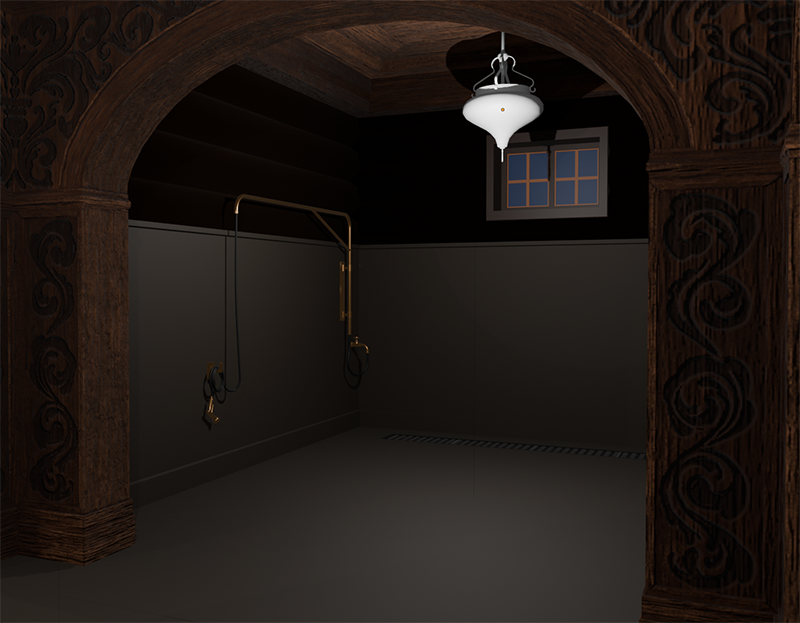
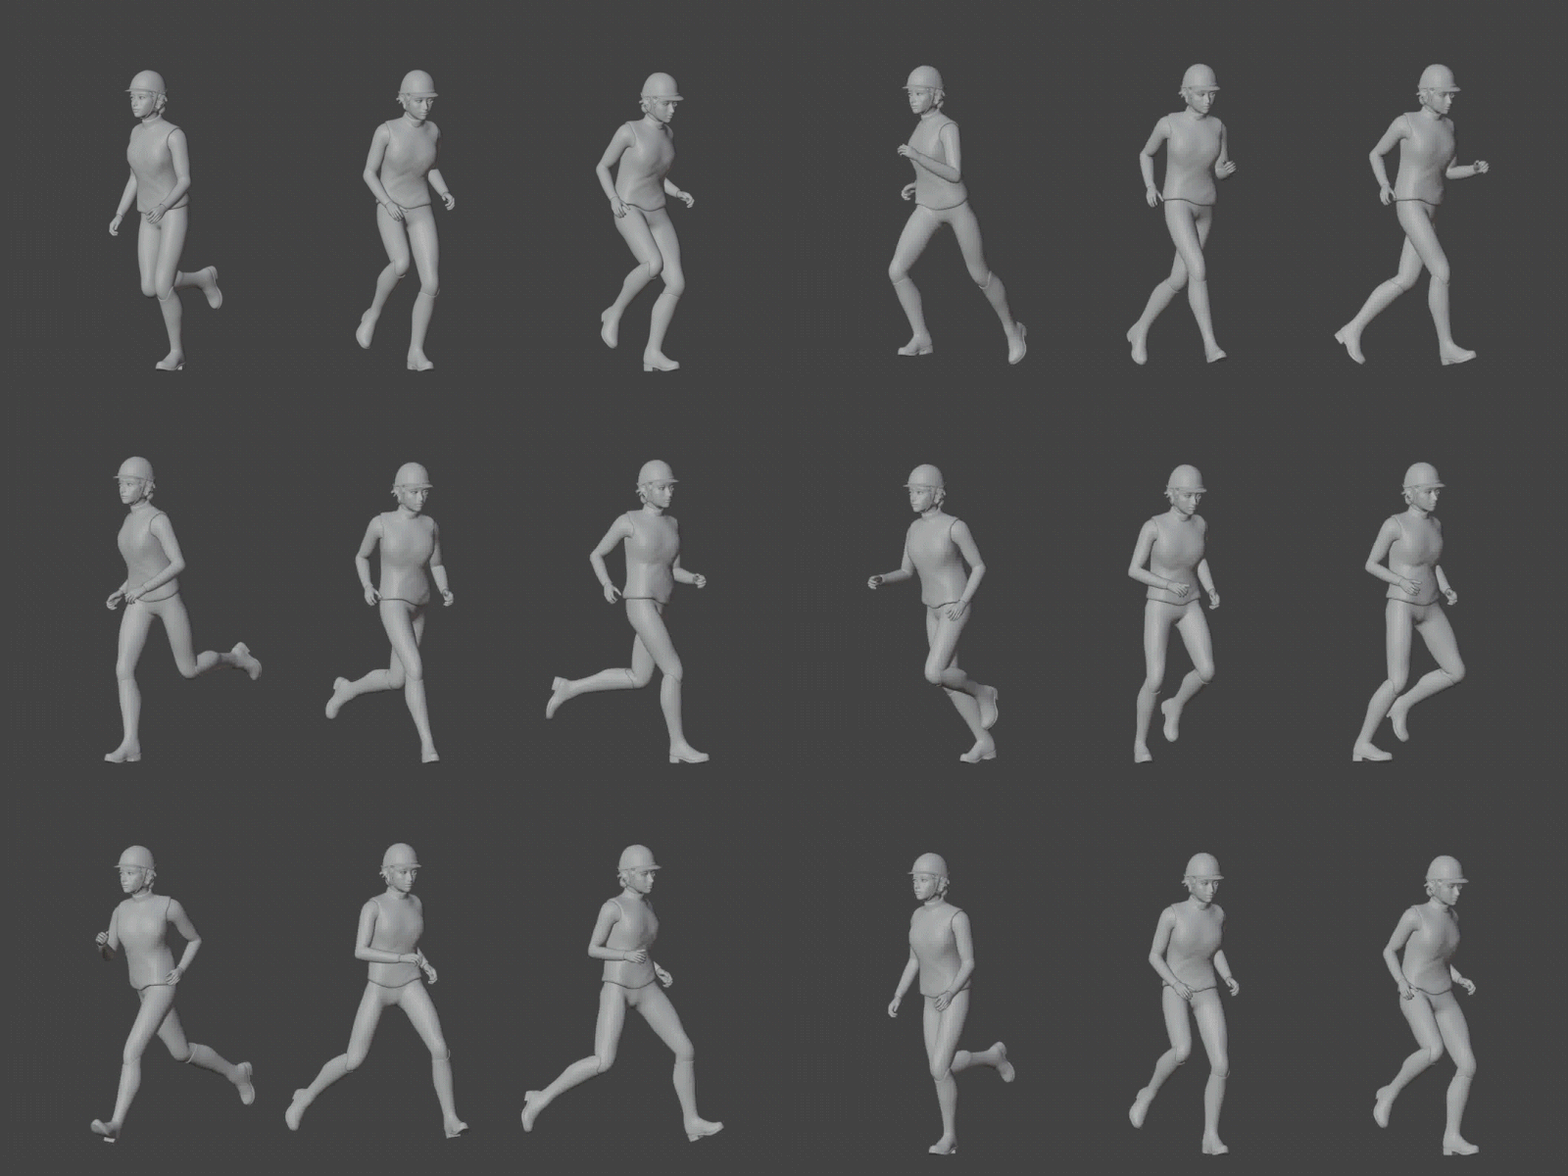
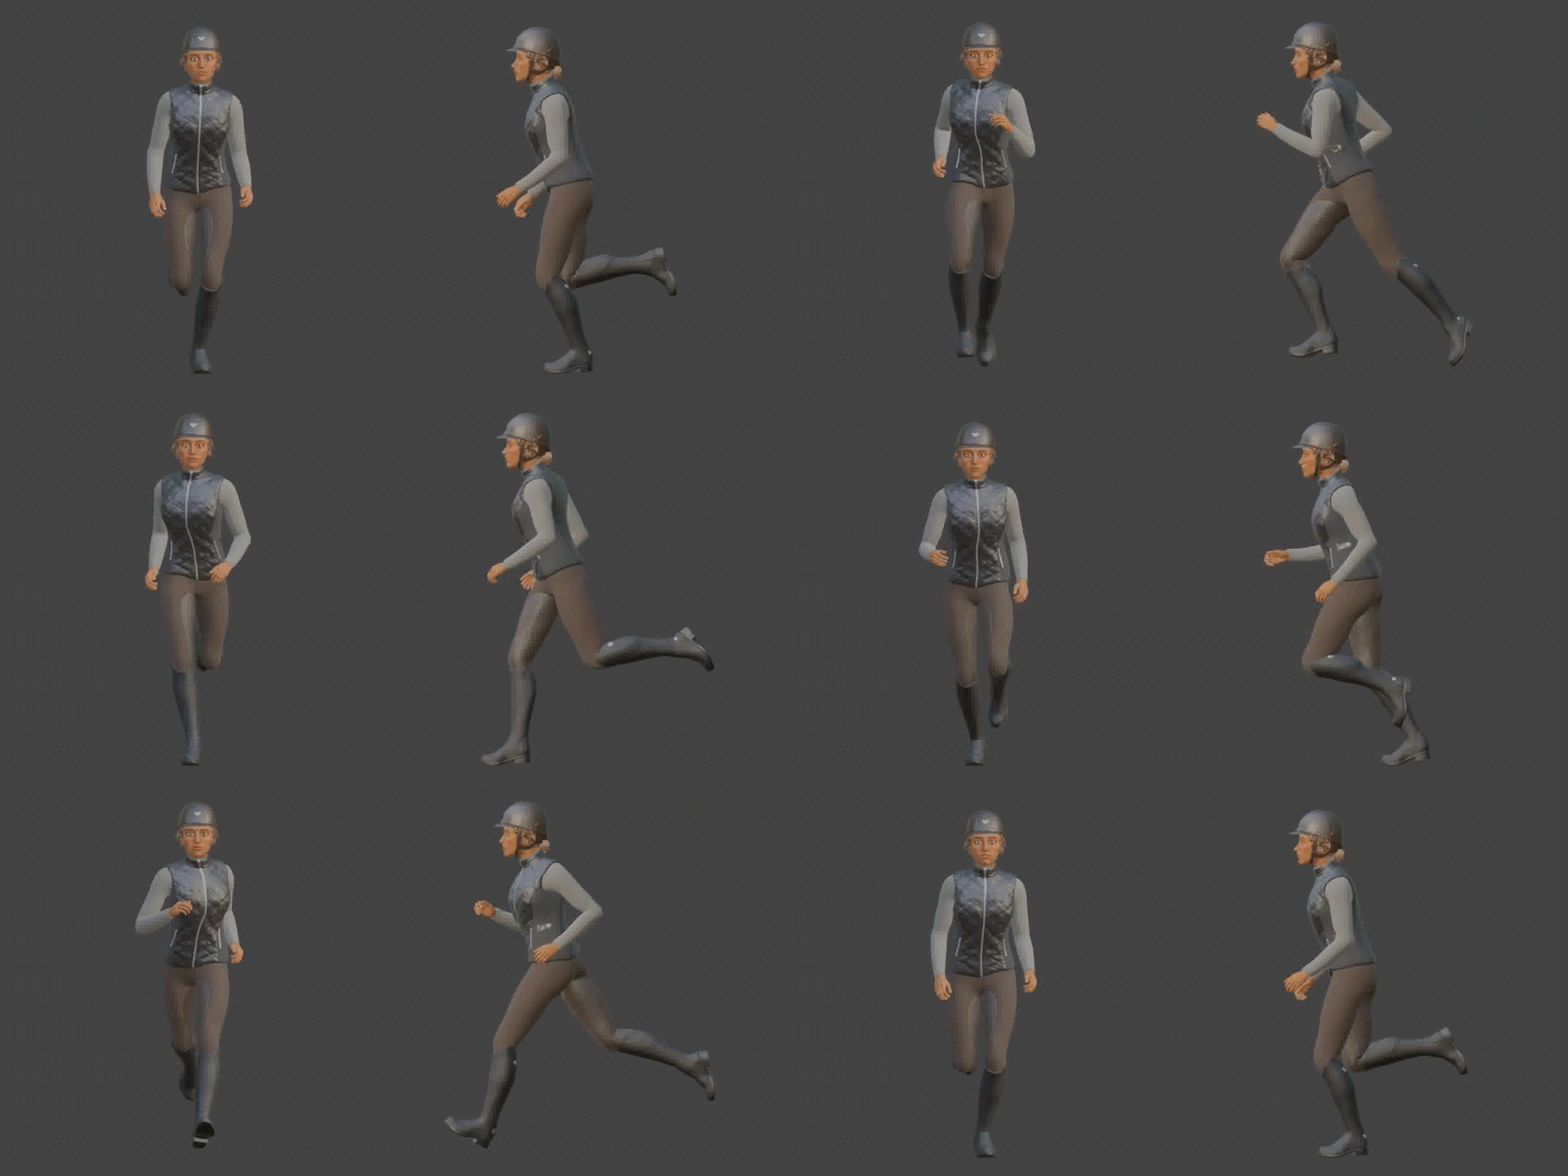 I am currently working on the sideways jog or strafe movement, which is maybe the most frustrating jogging movement to animate; since it is an unnatural movement to do over a length of time at speed. It is absolutely possible of course, but finding references is next to impossible and at least last time I made my own reference… it wasn't good, haha.
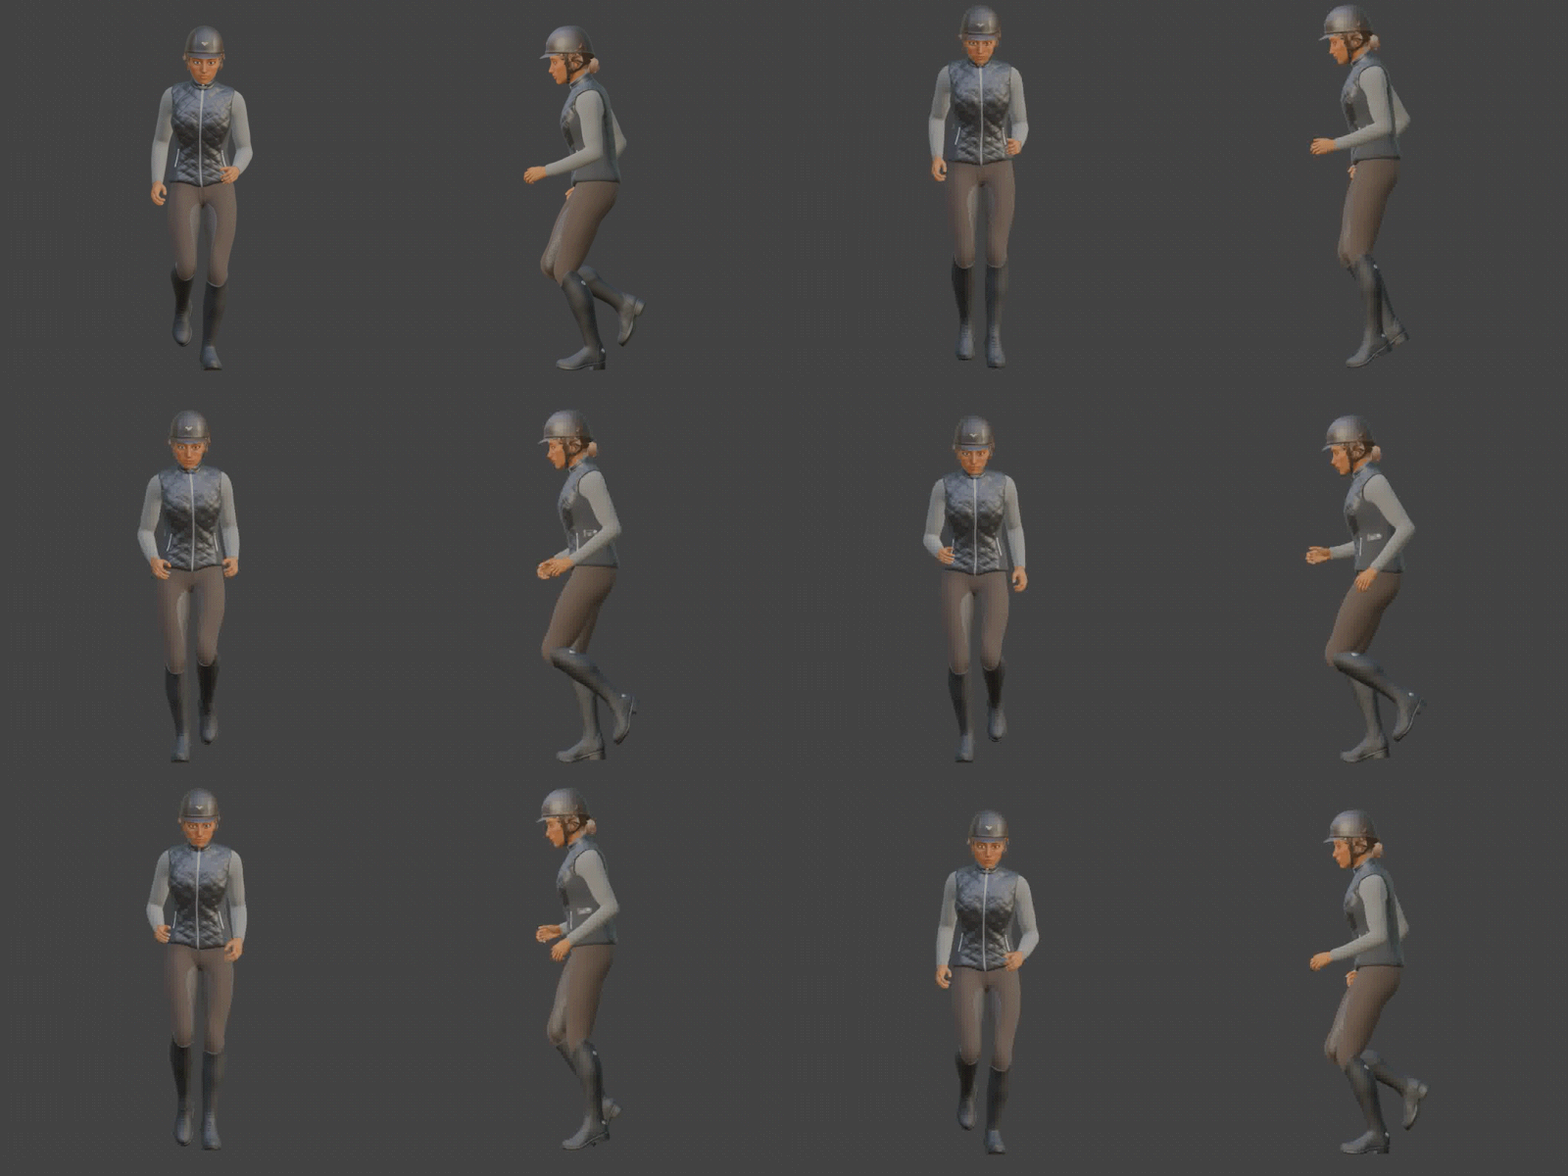 While it feels a little awkward between the arms and legs, it should function as a blending animation. Mostly because it will not actually play when standing still, but will help calculate movements in slower movements. I still have to test it to be sure it works as intended, though.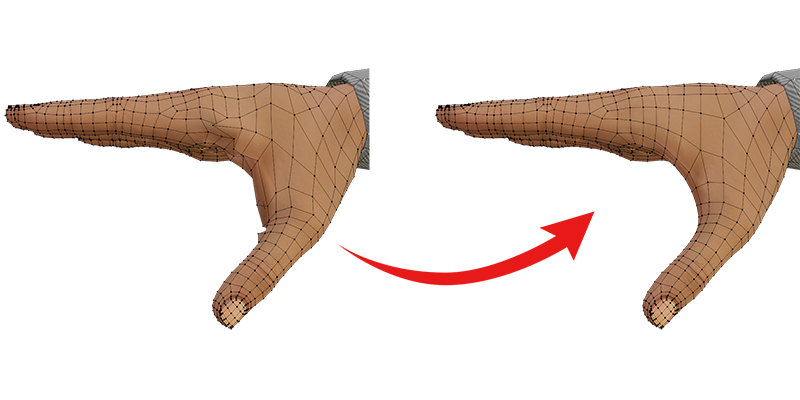
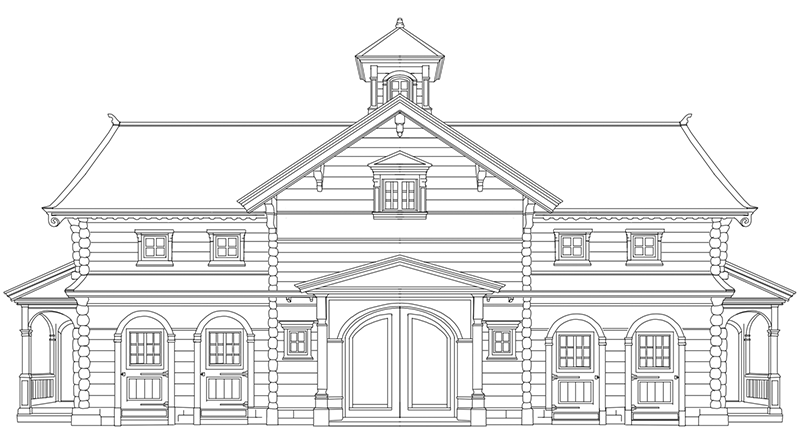
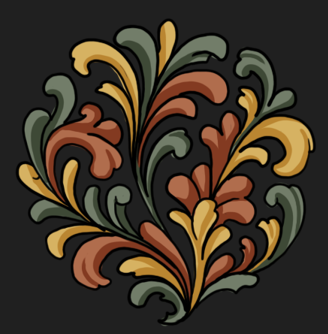
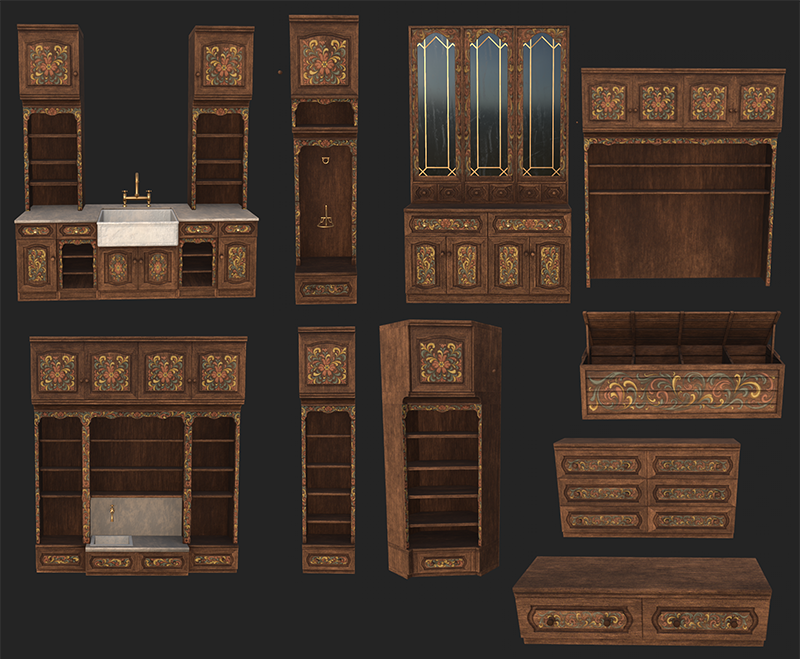
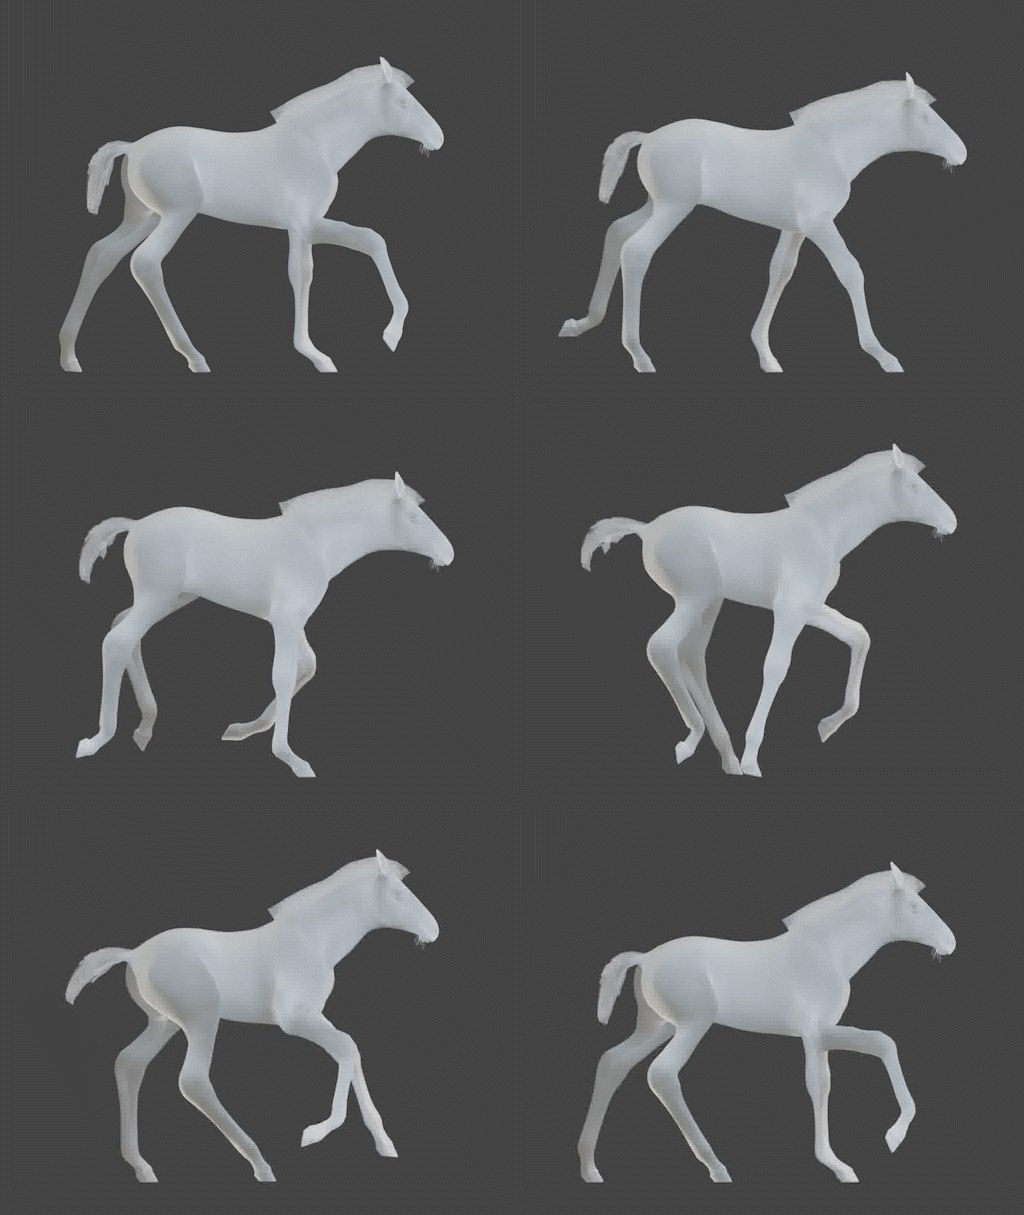
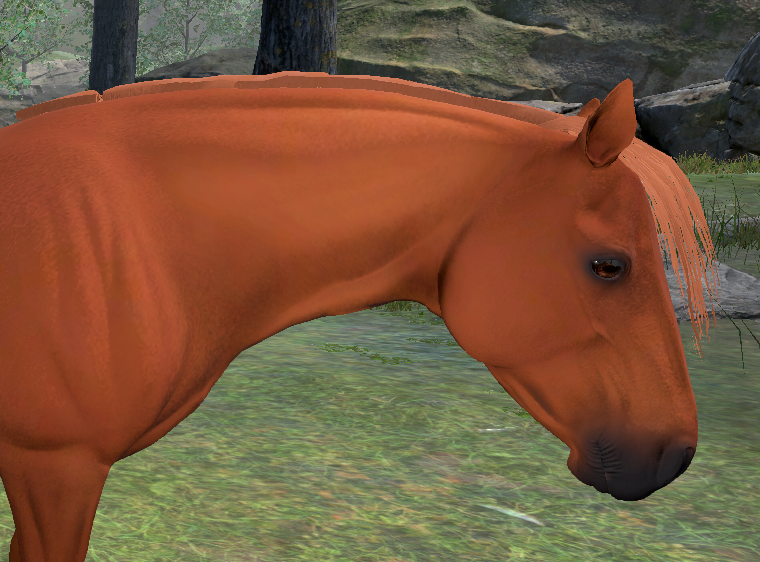
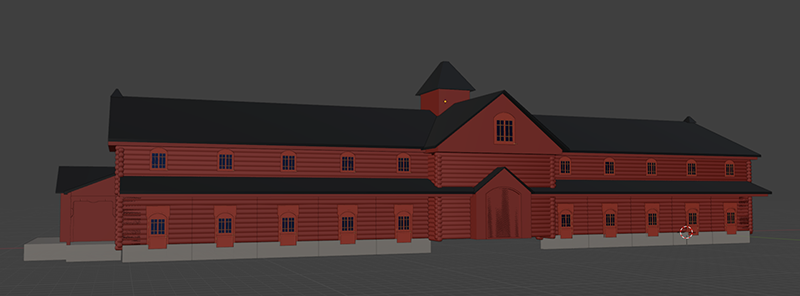
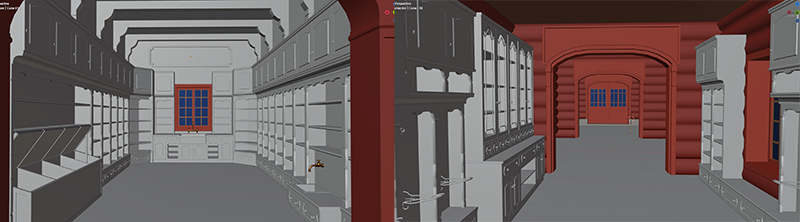
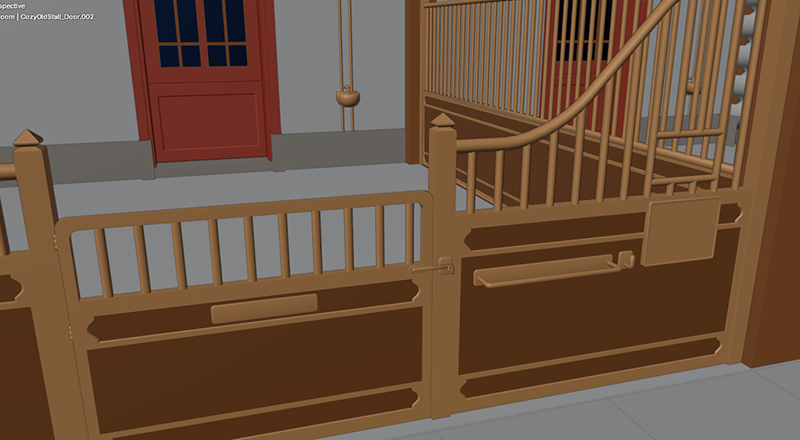
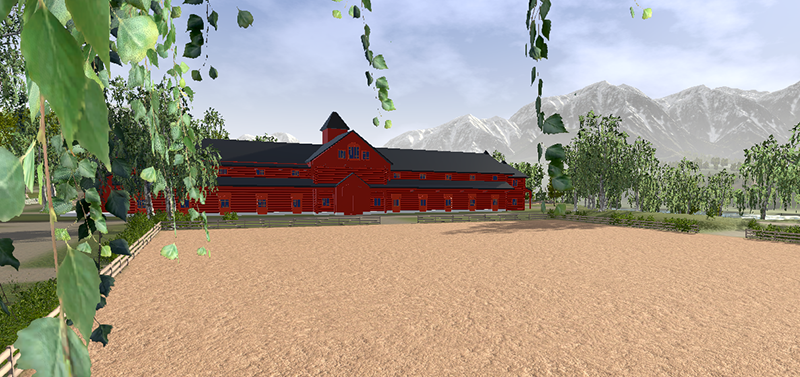
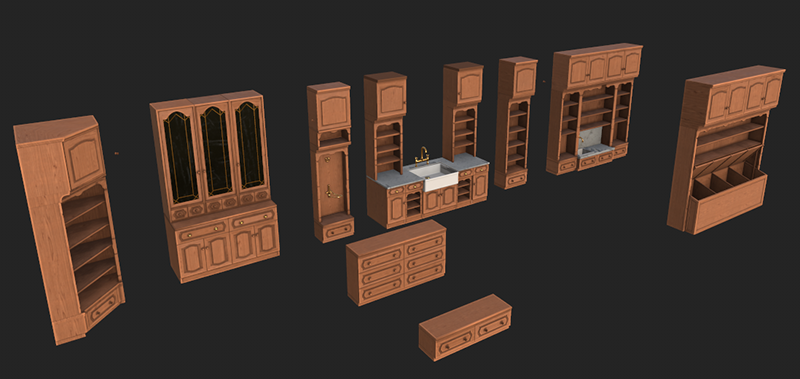
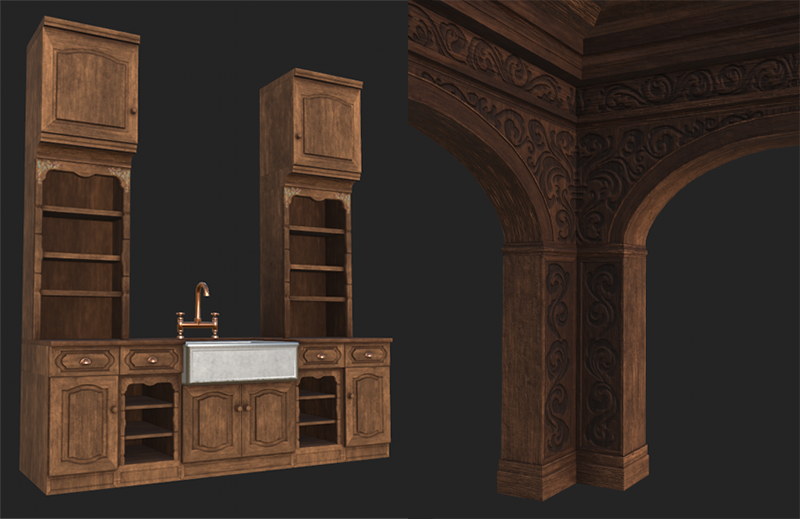
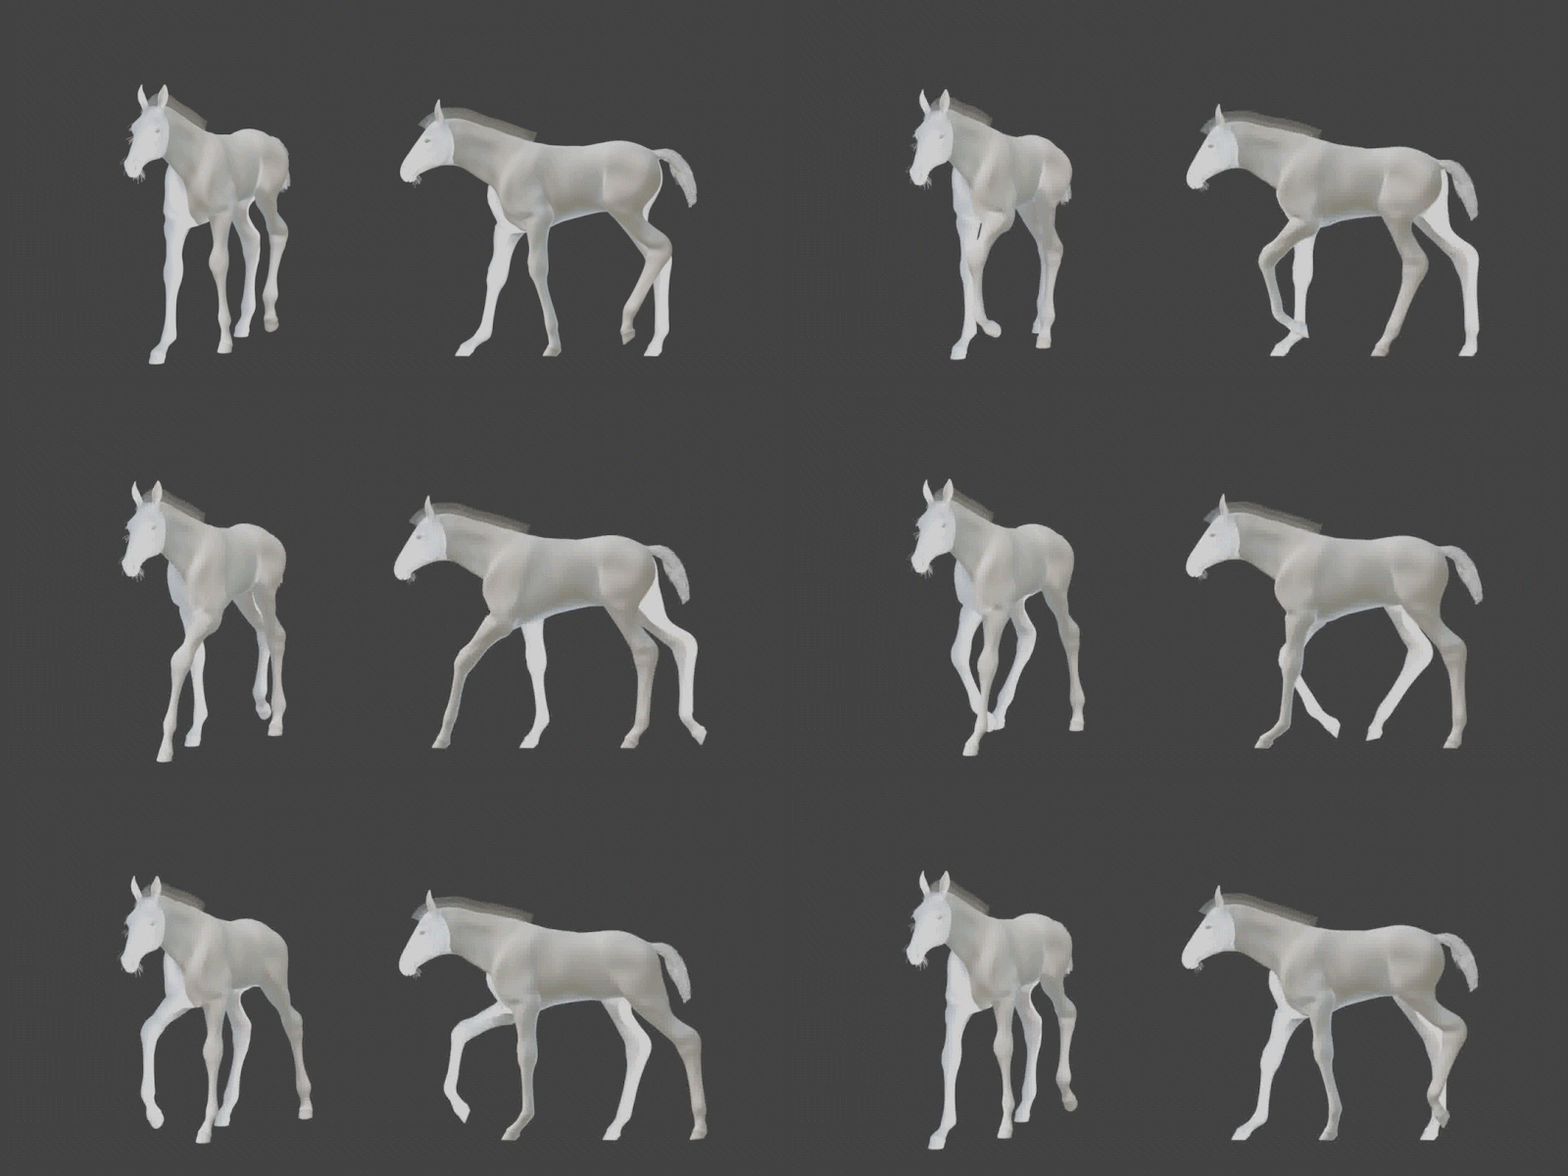
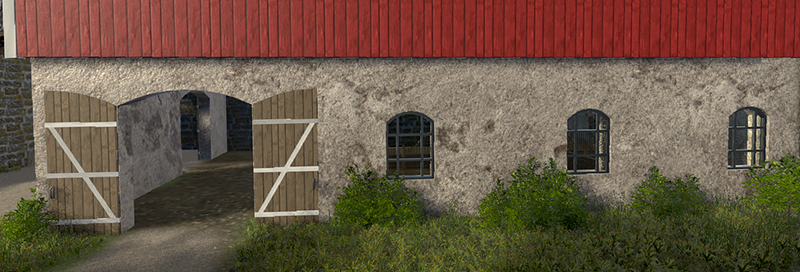
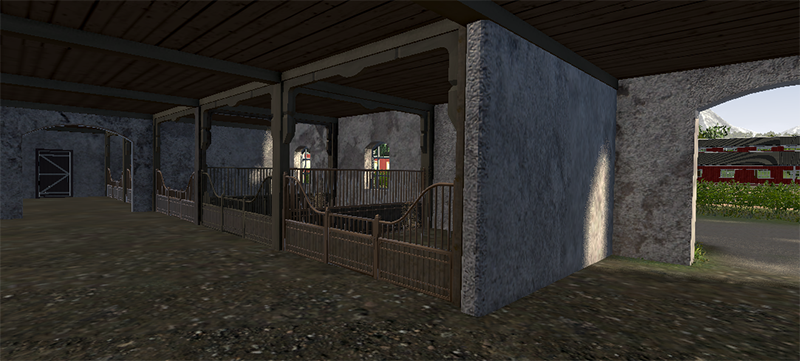
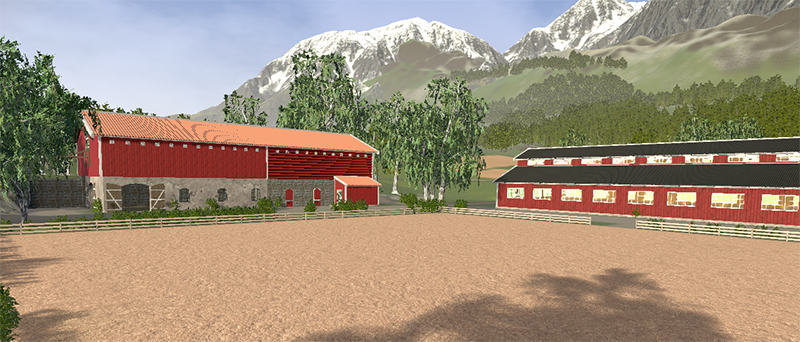
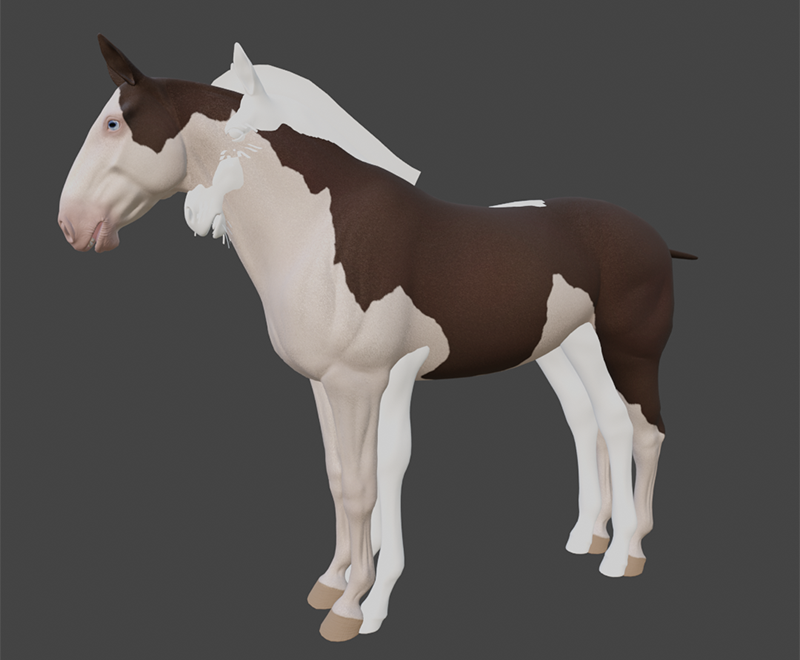
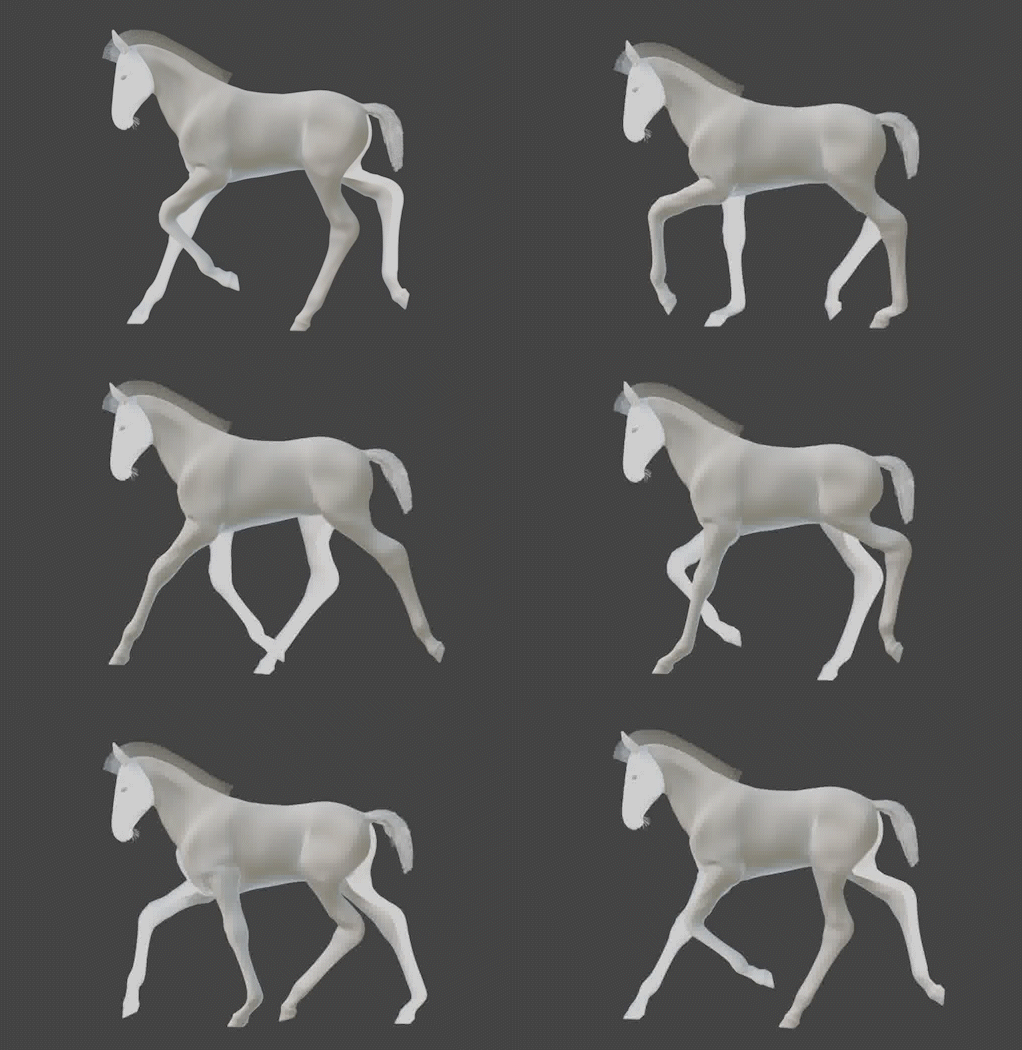
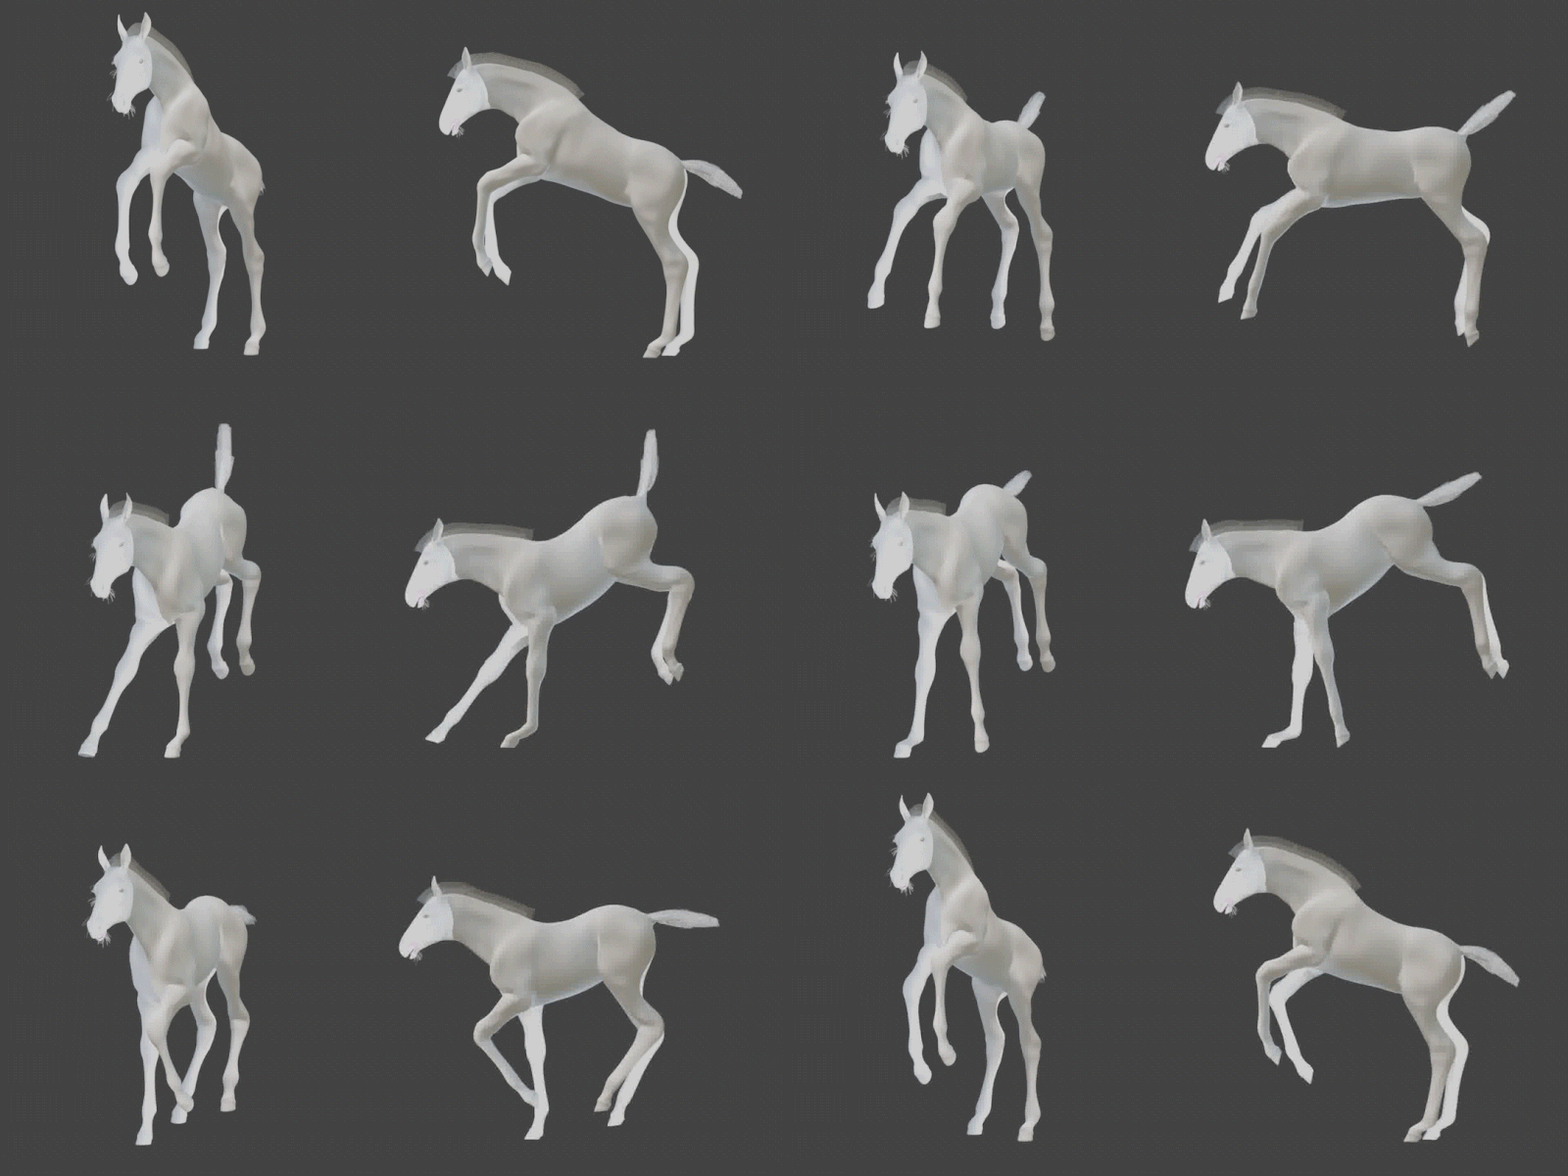
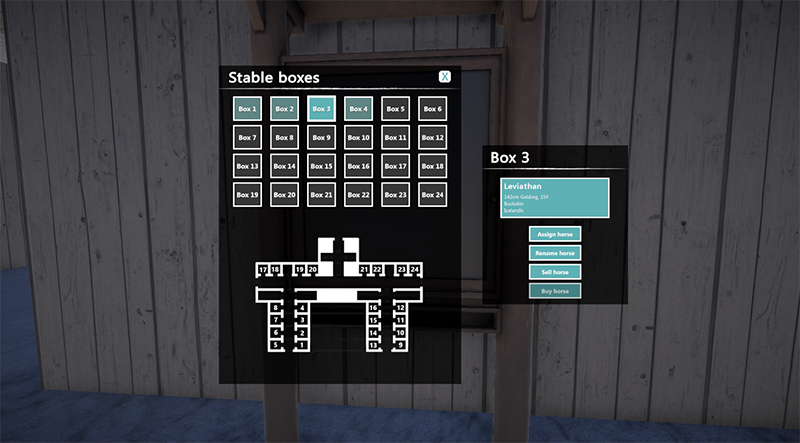
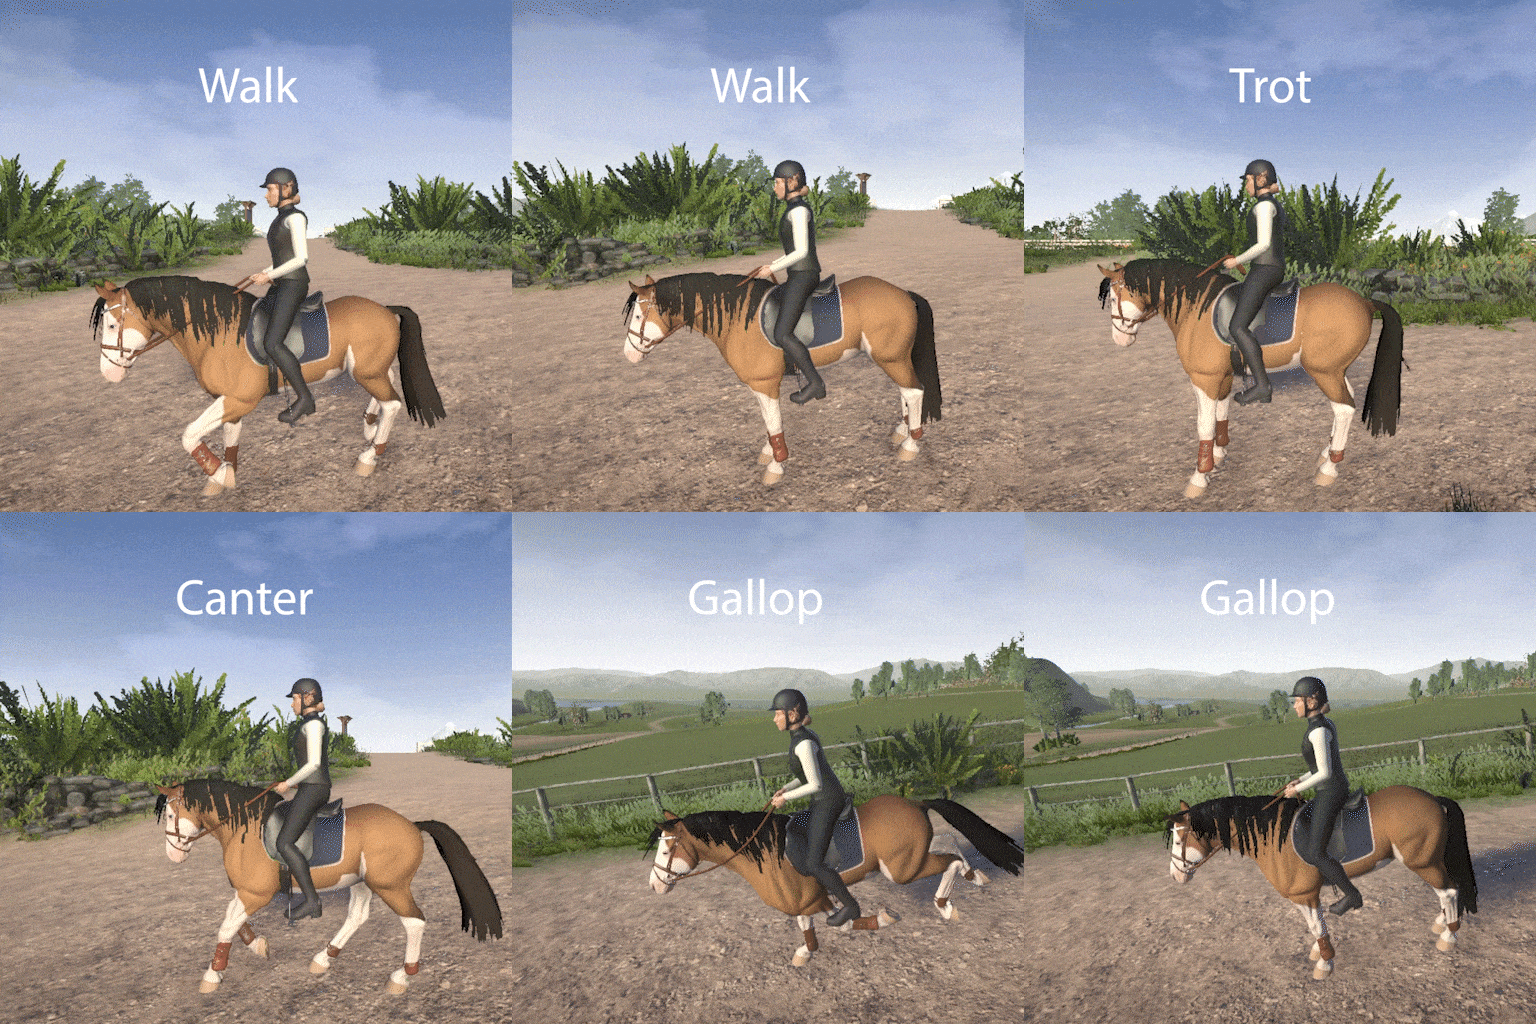
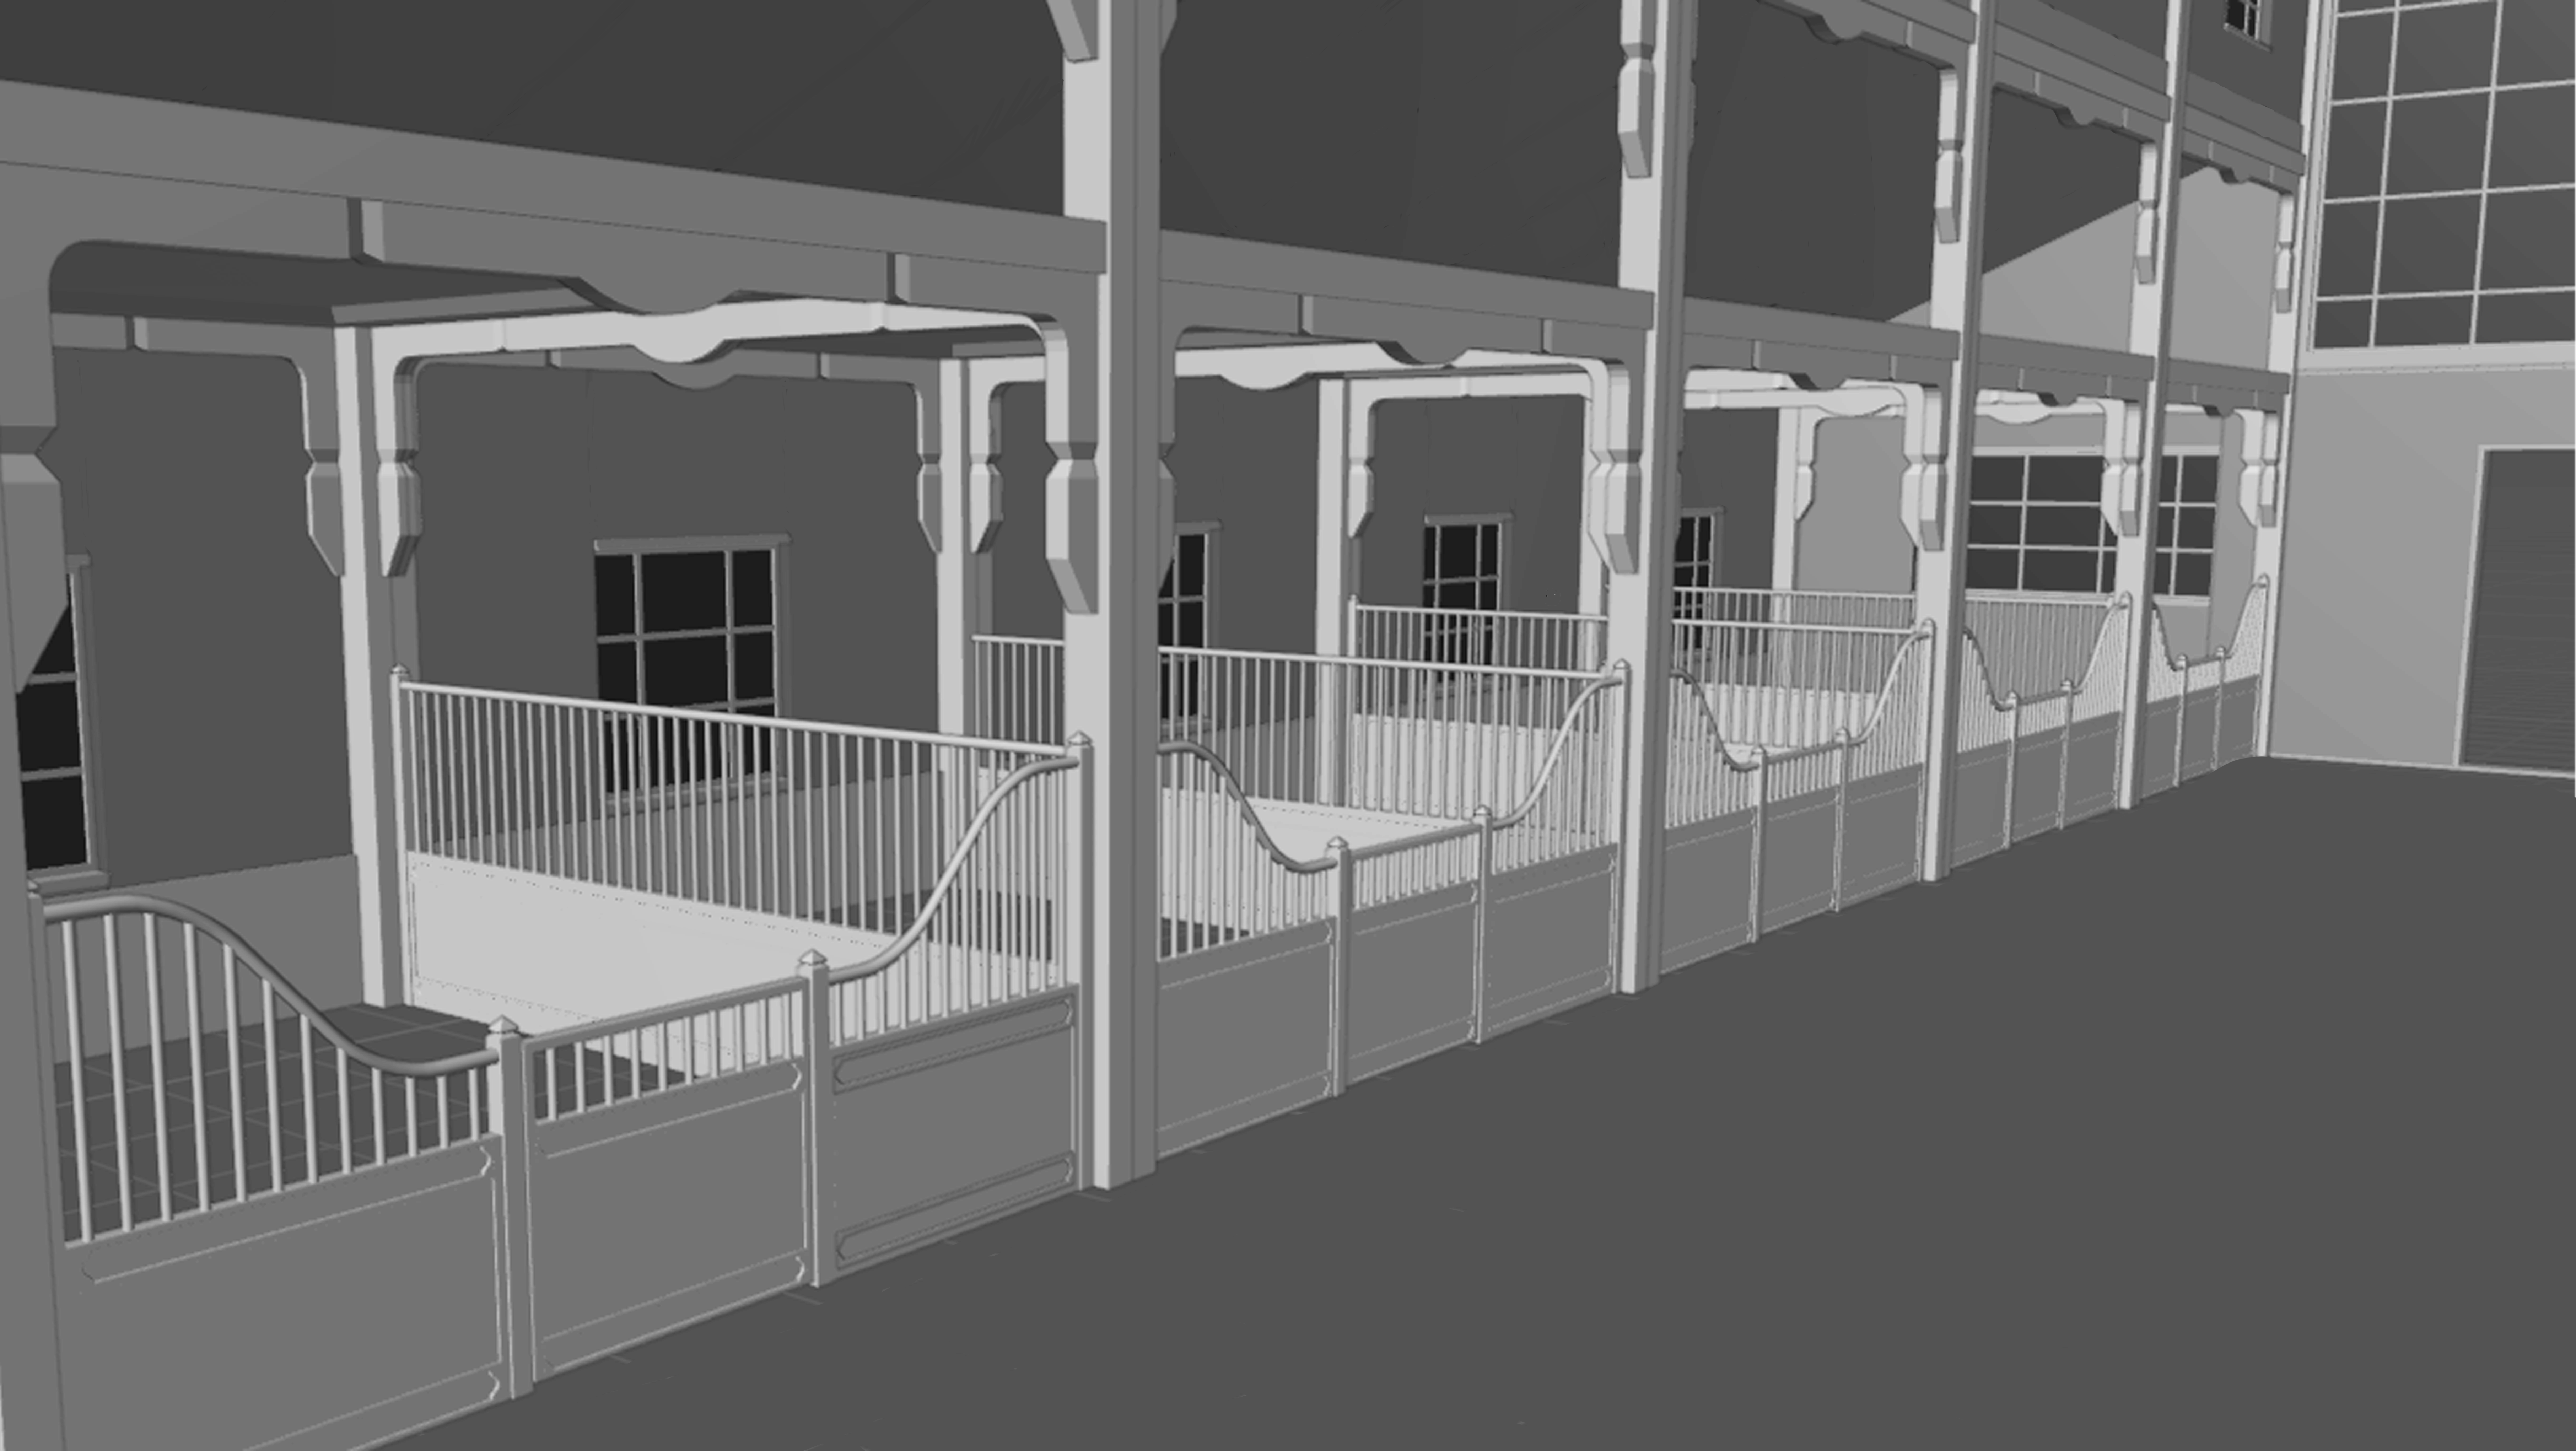
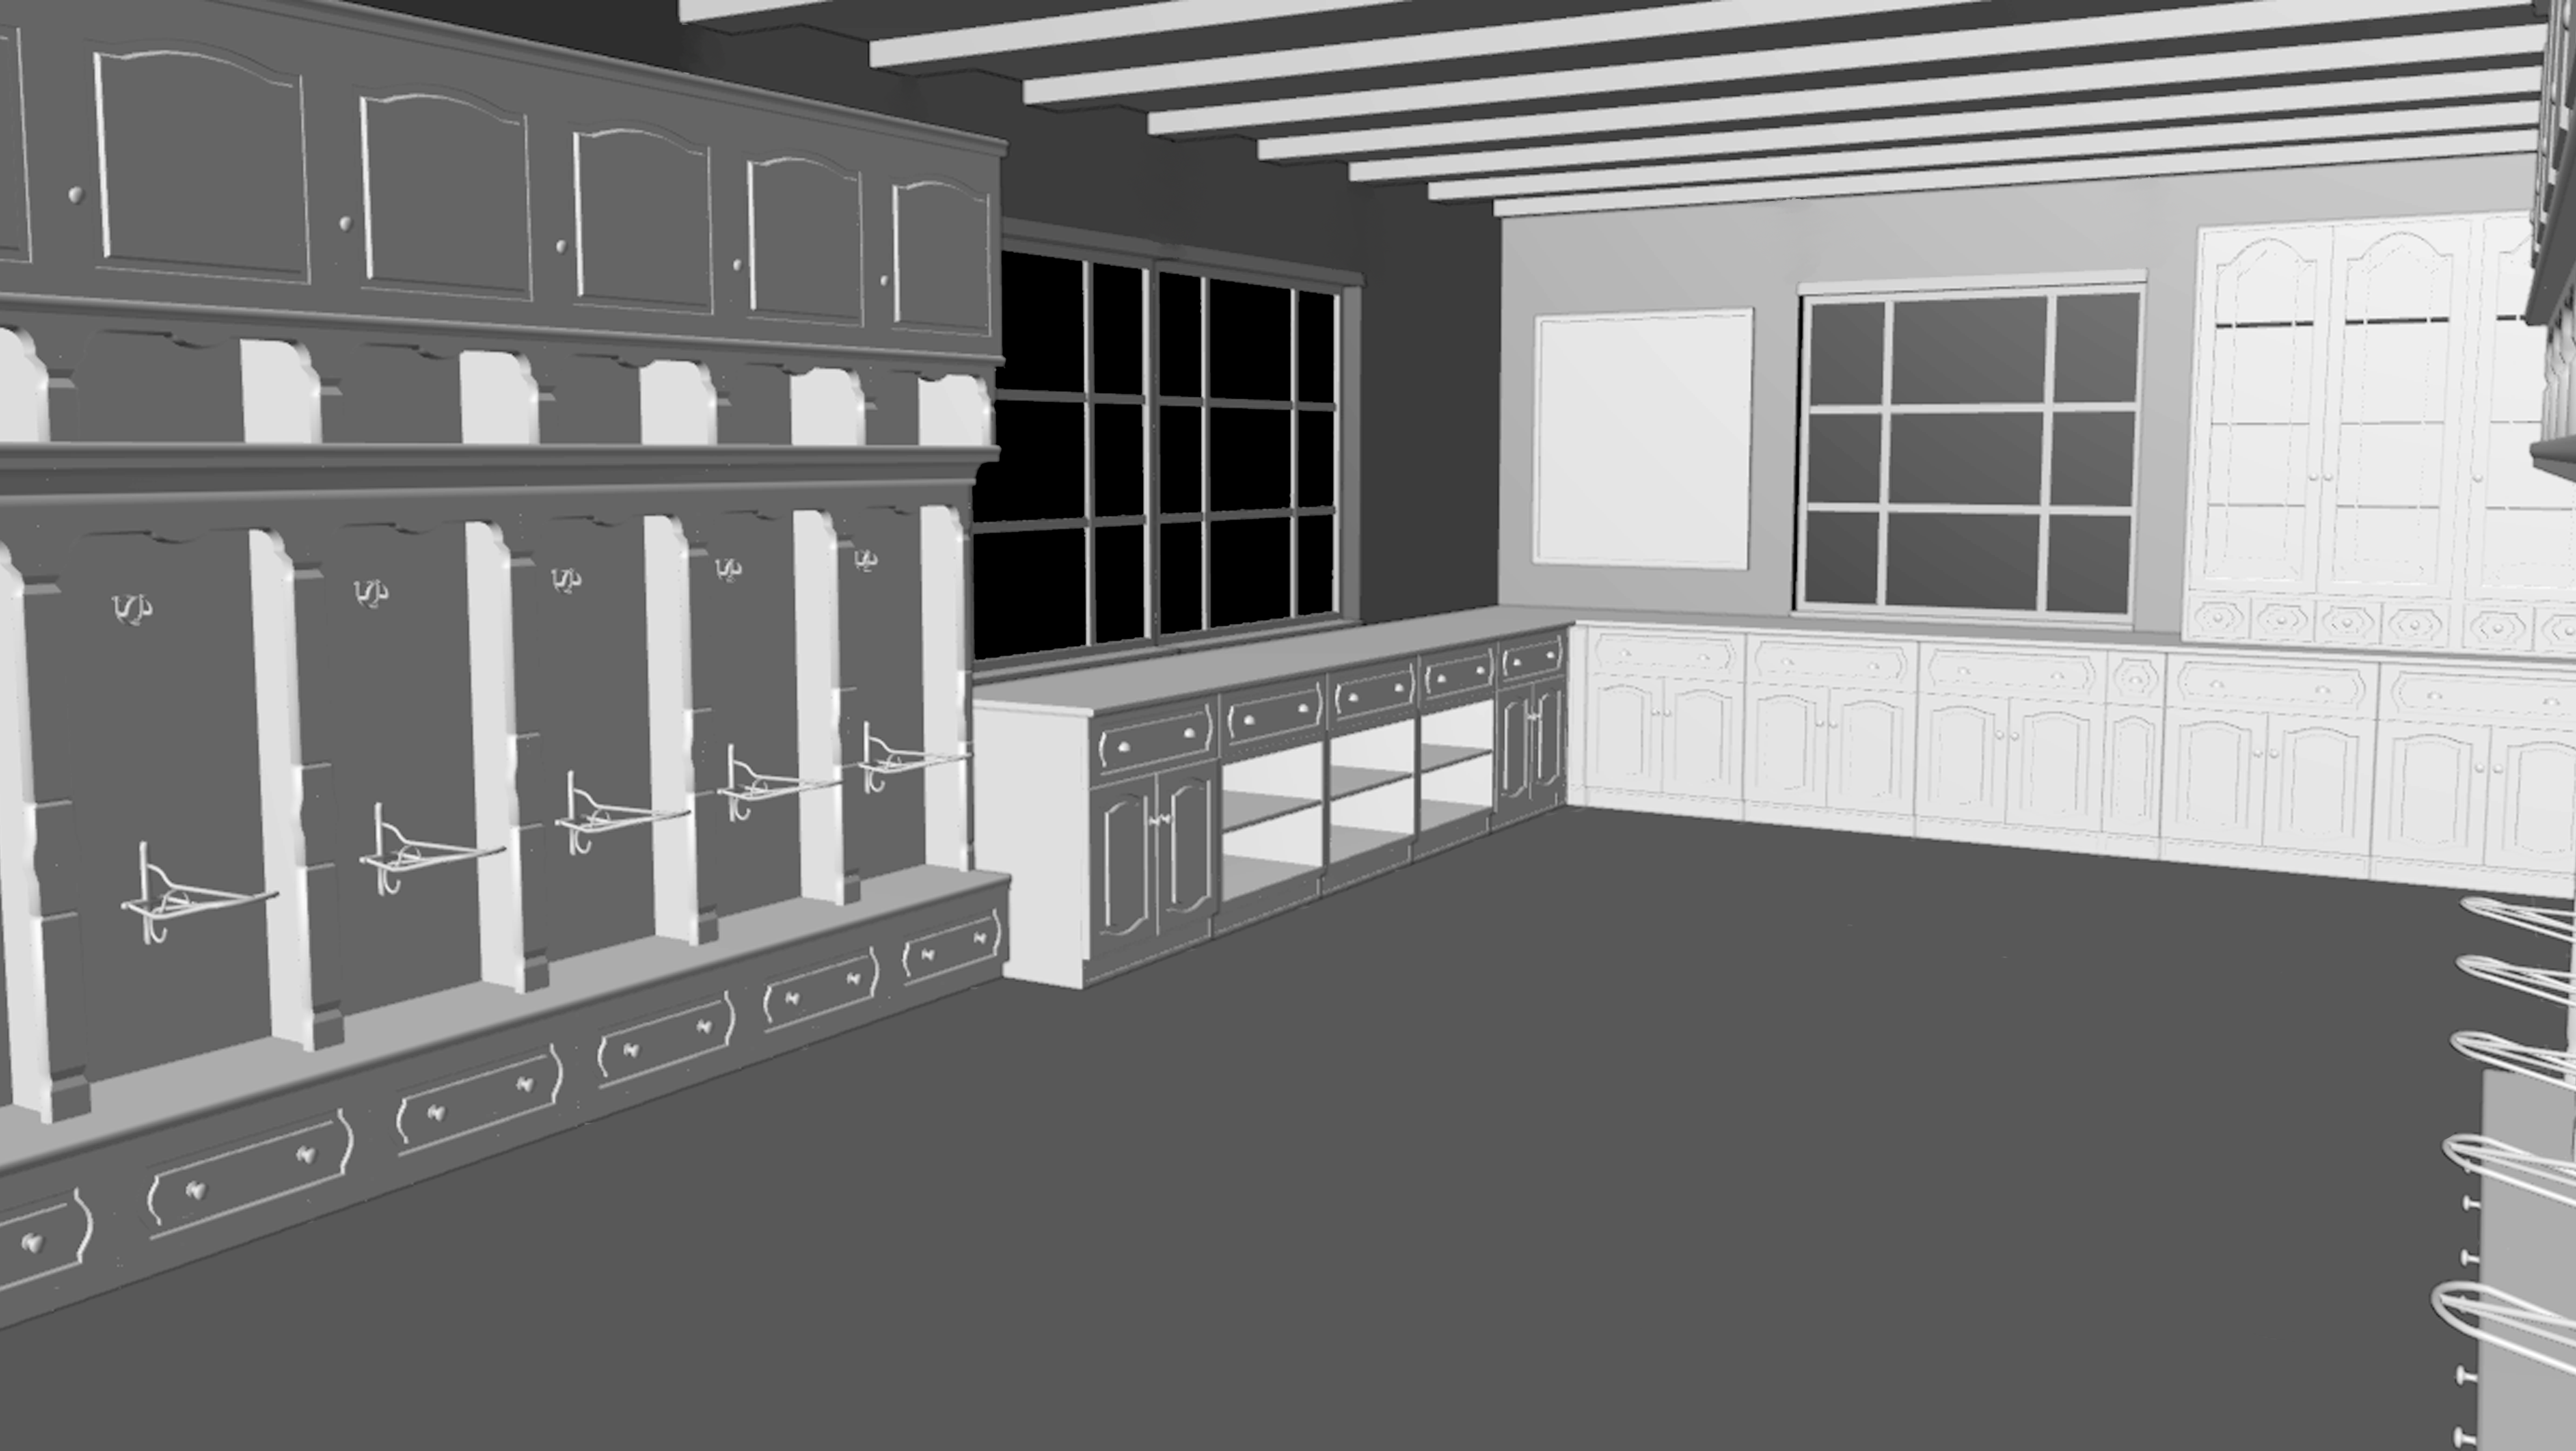
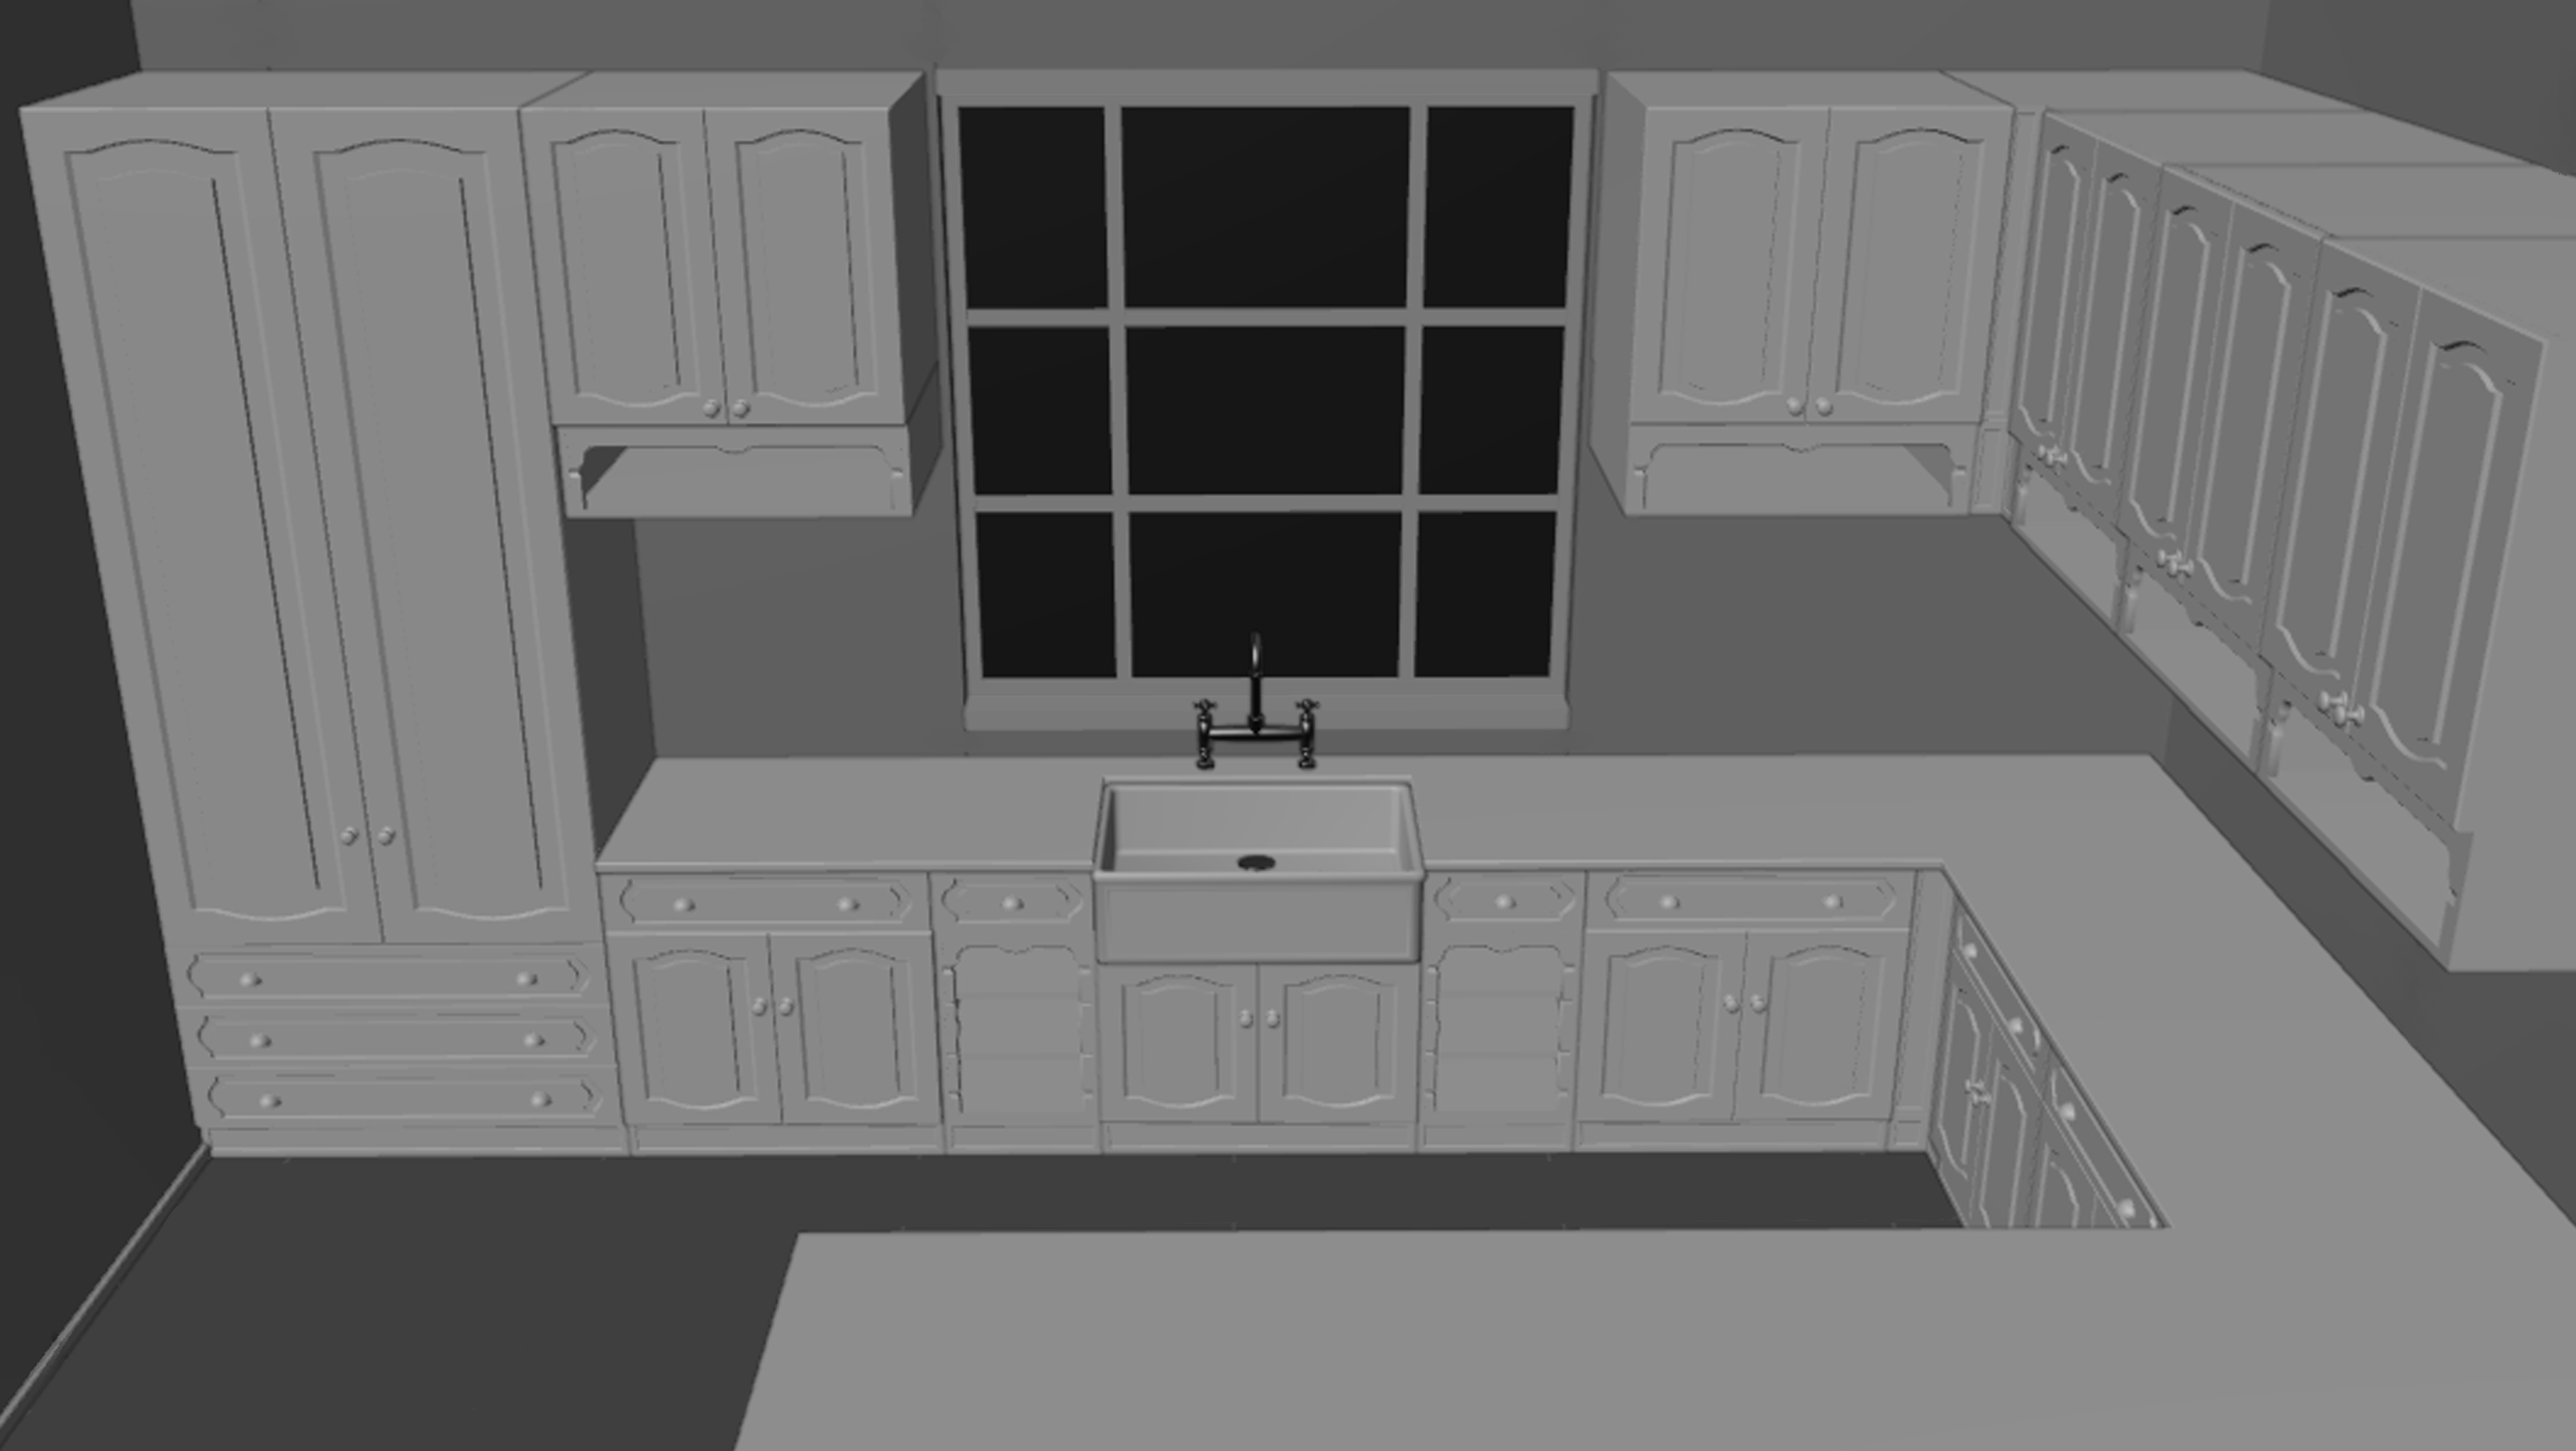
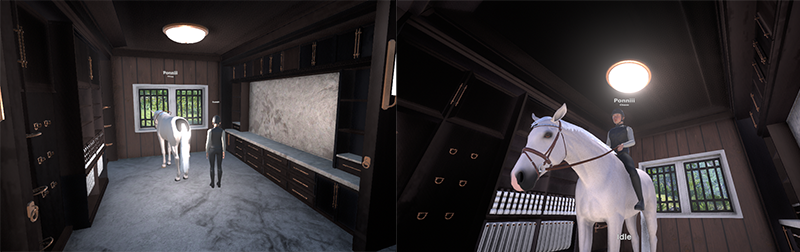
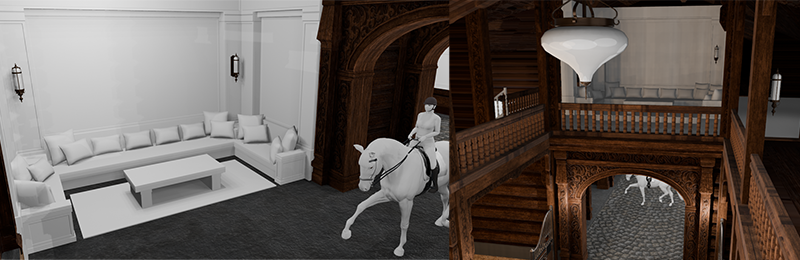
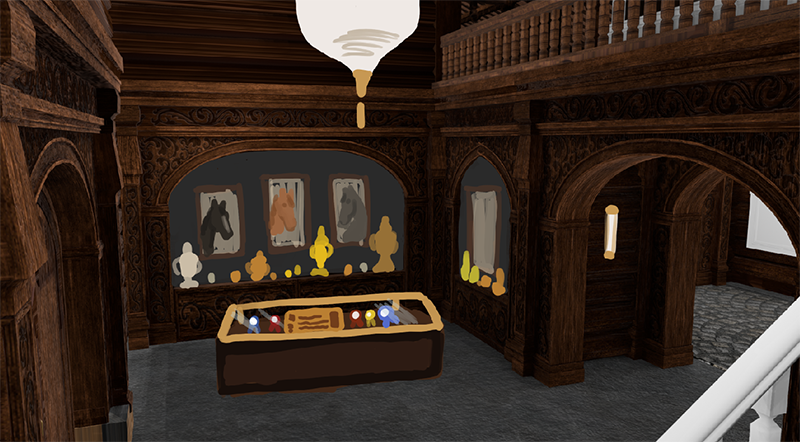
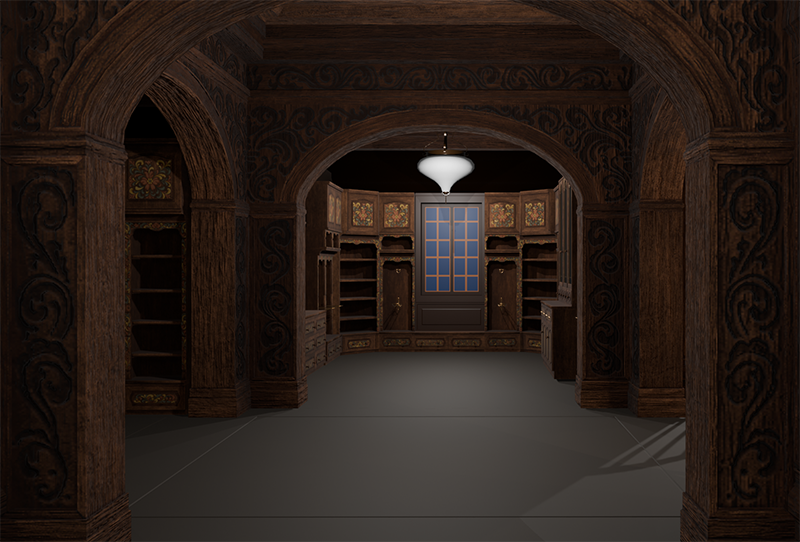
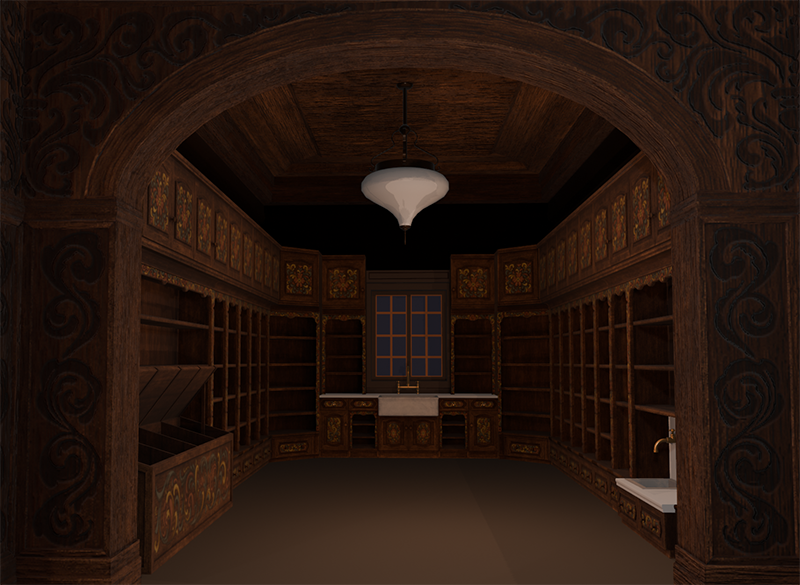
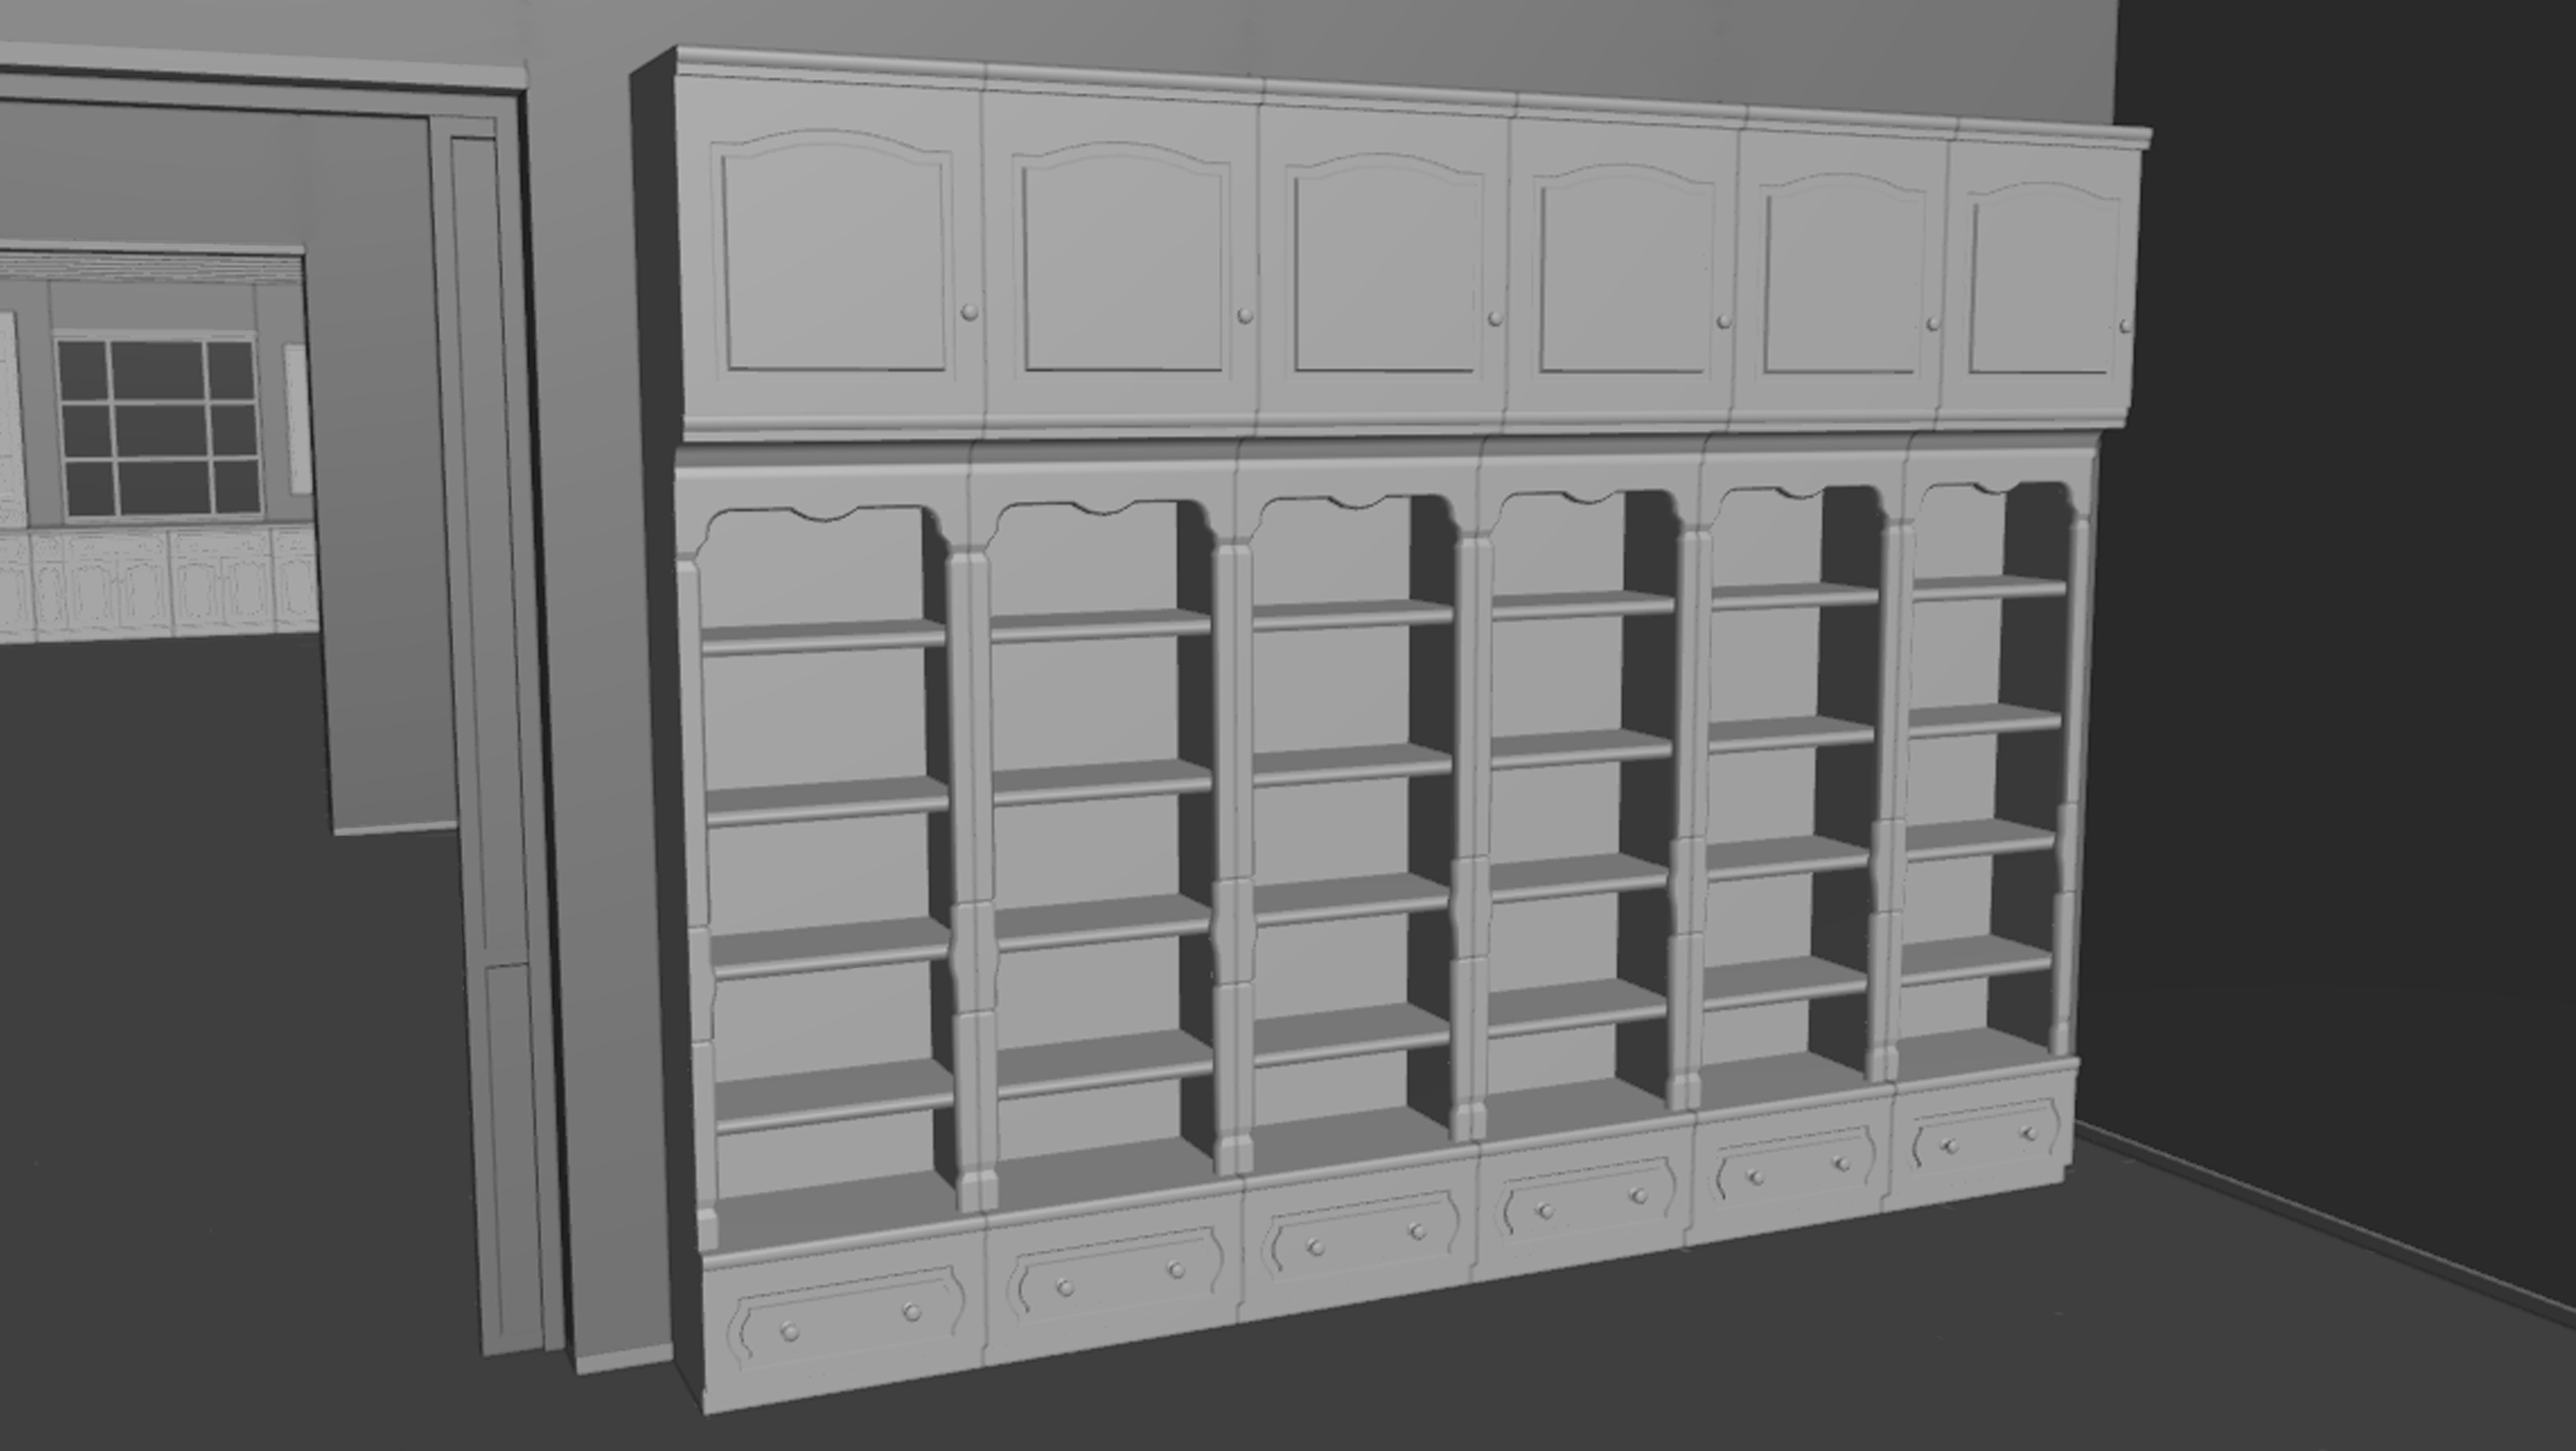 And lastly, a little peek from the feeding room and kitchen - And there will be more to come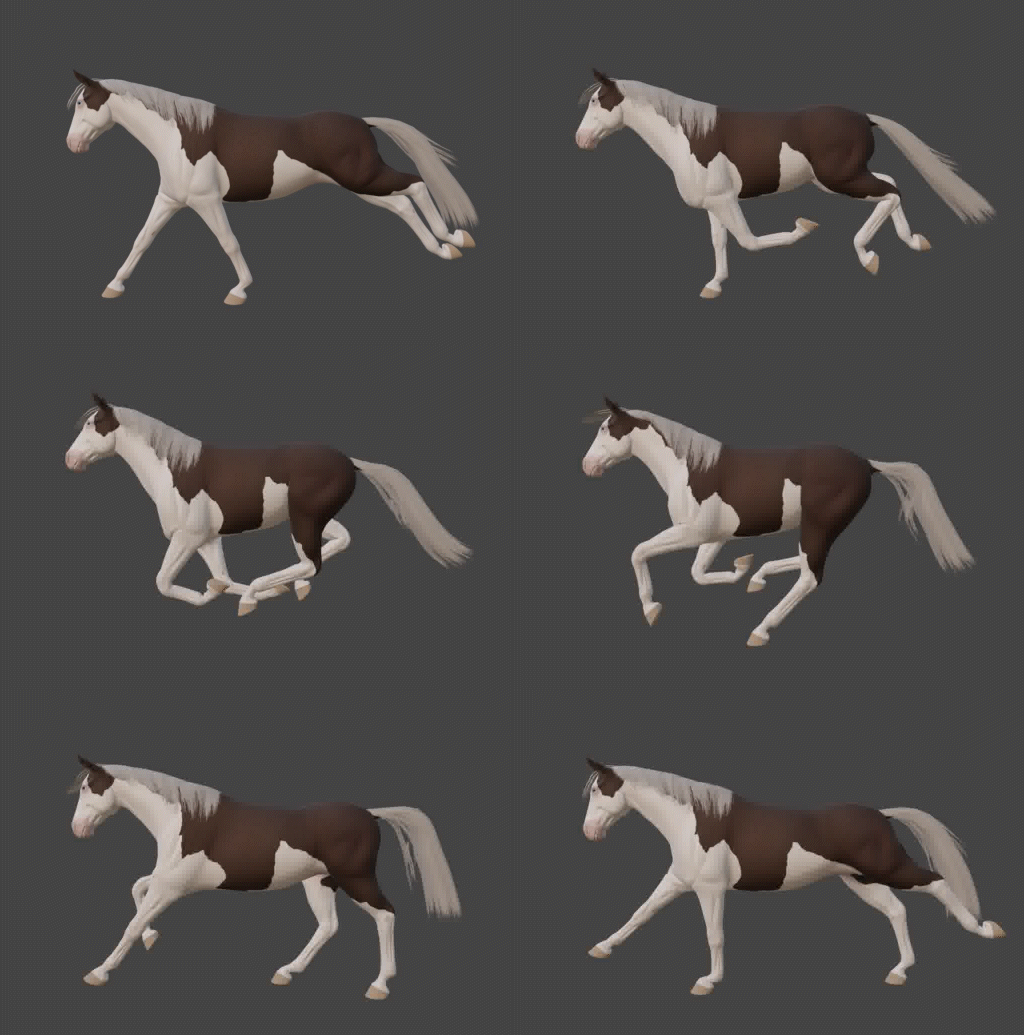
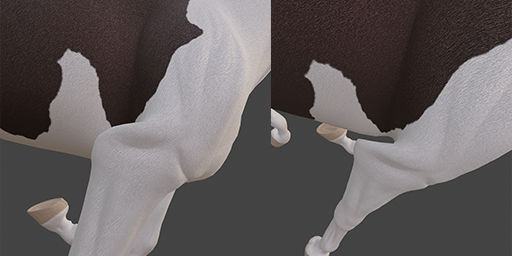
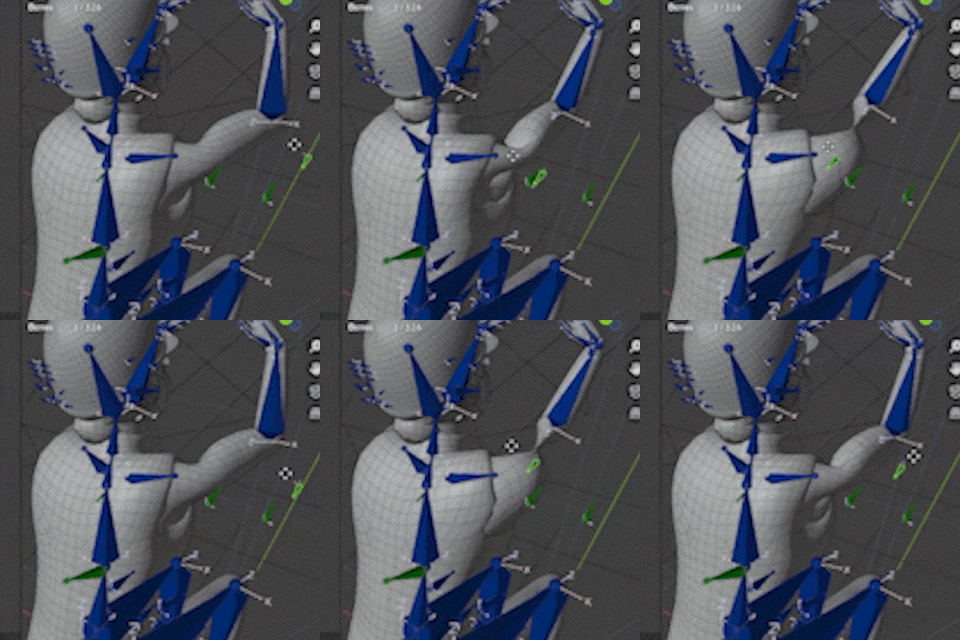
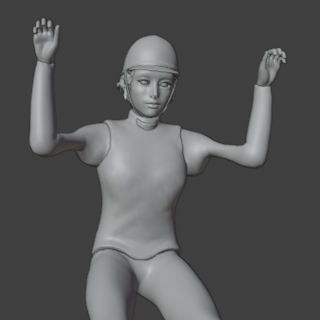
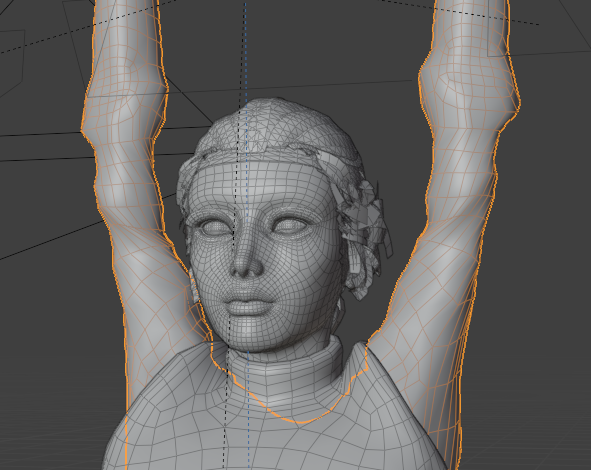
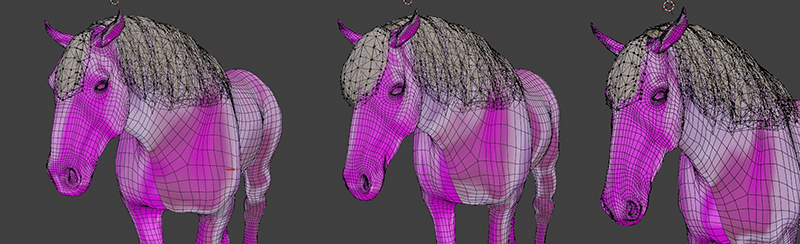
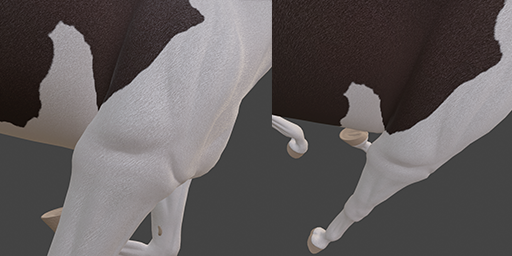 Above: Before and after shoulder fix. Do note that the shots are from an extreme position for the legs, so the deformation is pushed to its limits. But you can see a clear improvement in the shoulder area.