Precise Selection system
Selection is an essential part of the creation process, that's why we have improved it greatly in this update. We introduce the new Selection system: select precisely with the following new features:
- Precise touch detection: no more bounding boxes, select and grab objects by their actual surface.
Touch Detection before

Precise Touch Detection now

- Selection Shapes: select objects within Box, Sphere, and Line shapes single handedly or by extruding the shape with both controllers.
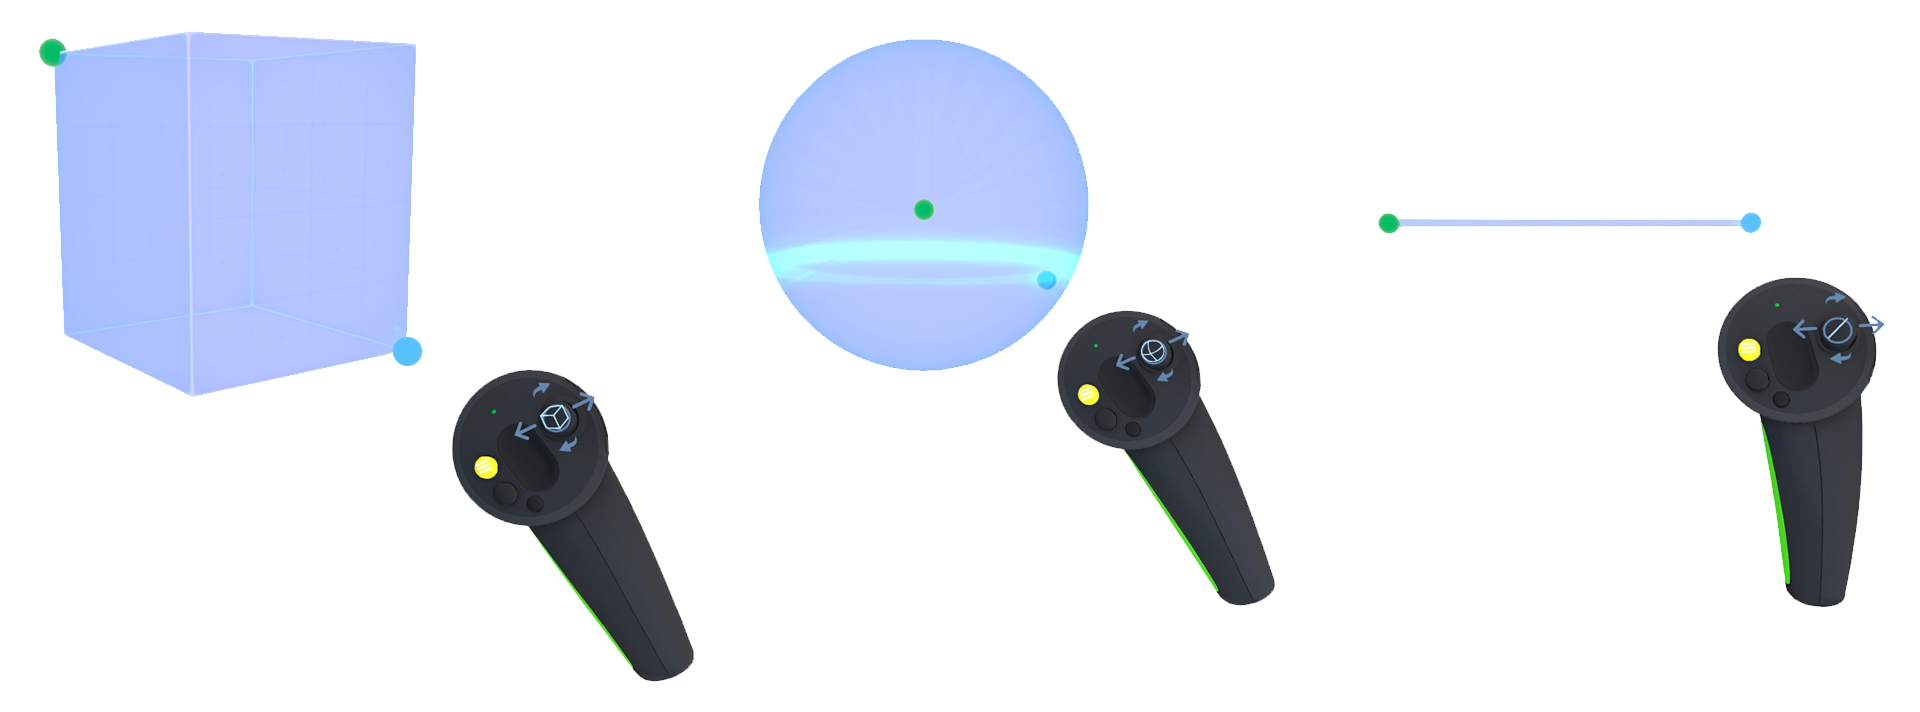
- Continuous selection: select or deselect objects continuously by touching them while holding a controller button.

Watch on YouTube Improved context menu
Please welcome the new improved context menu: buttons redesign and new icons.

New UI packs
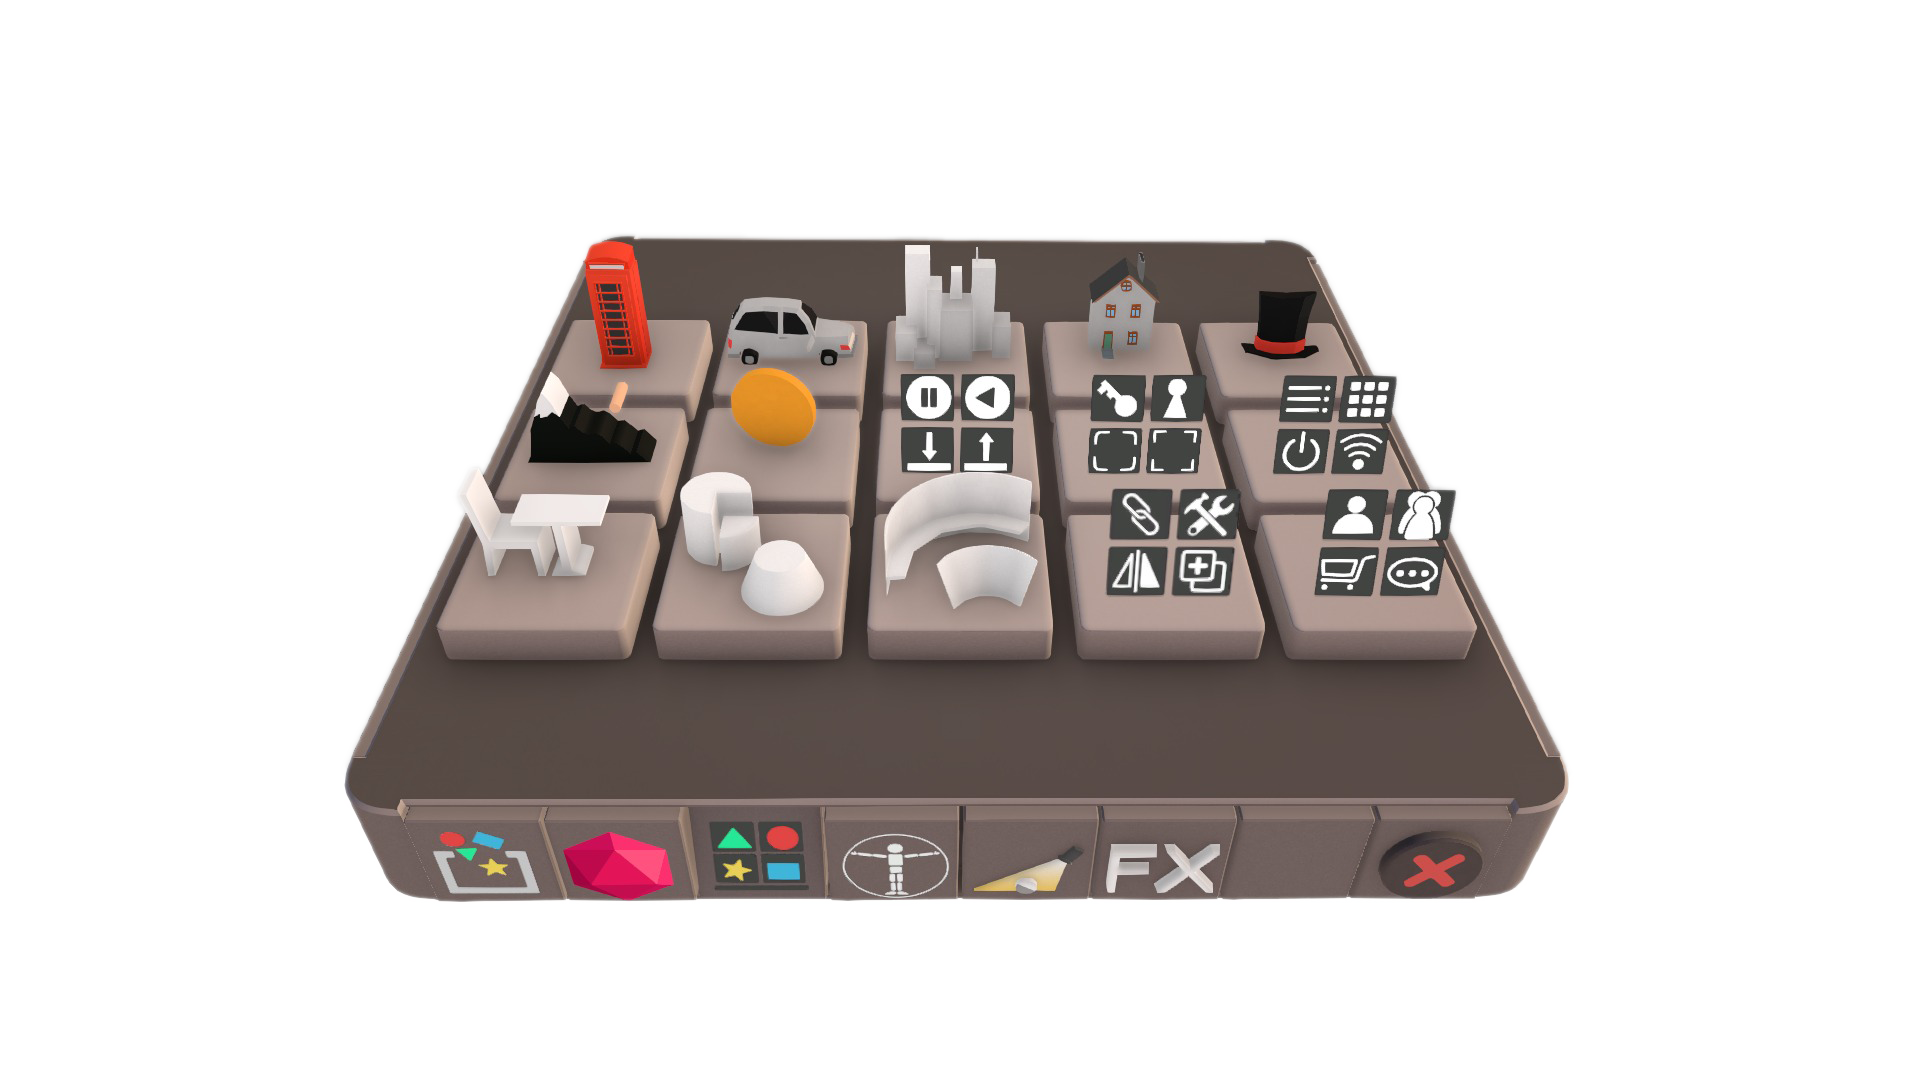
Feel free to choose from the variety of UI icons while working on your designs. You can find new packs on our object shelf.
PDF format support
Tvori now supports import of the PDF files. Use them as static reference sheets or storyboards or animate them just like any other object on scene using both keyframe and real time animation modes.
Timeline improvements and bug fixes
We've also improved label updates of the timeline elements, as well as fixed retiming, selection, and keys copying issues. Furthermore, an animation player is added to a timeline screen, in case of its disconnection from the timeline. In addition, key snapping against keys on other tracks and possibility to insert or remove empty keys were added. Added key snapping against keys on other tracks Added possibility to insert or remove empty keys

AR layer, simulation of AR devices FOVs in Tvori Pro
AR features available not only in Entreprise, but also in Tvori Pro now. To put an object to AR, open a context menu and select Additional options.Watch on YouTube Watch on YouTube The Tvori Starter updates
Now in the Tvori Starter the following features are available:- All types of brushes
- Unlimited timeline duration
- Cameras editing and montage

LIV Integration
Here's a useful guideline for you on how to setup LIV service that we've integrated to Tvori.
Watch on YouTube Required applications and equipment for testing:
- Install the LIV app on Steam
- In case you have no chromokey, download application to cut the background from the camera, e.g. Chromacam
- A webcam have to be connected to your computer
Setting up LIV:
Firstly, you should install DreamVR Driver.

Procedure to be followed:
Secondly, there're several requirements of preparatory settings for future launches.
- Switch to the Tvori branch, which has LIV support.
- Launch Tvori.
- Launch Chromacam or another app alike.
- Launch LIV.
- In LIV, click Launch Compositor.
Click on New Camera and go to the Camera settings:

In the settings, if you use Chromacam - specify it as a device. Then, select the device extension in Mode and save it. These are the basic necessary settings.

Then you should click Calibration. Once you put on your headset, set the location of the camera's "mirror", so its position will be relative to a reference point - to yourself.

This's the window that will show your final image in the Tvori. After all settings, press Save.
Next, switch to the Capture tab. If Tvori is already running, select Target application Tvori.exe in the Manual section.

Other improvements
- Modified look of 360 pictures - now they're presented as spheres.
- Improved scene naming features in case of resaving.
- More reliable process of data export into Tvori Viewer.
- Fixed issues with object's export via transit shelf.