
One of the first outside testers wrote: "I feel assaulted by information, none of which I feel I understand." I'd been looking at the same screens every day for months and they seemed fine to me, which is probably the least useful opinion anyone could have had about them.
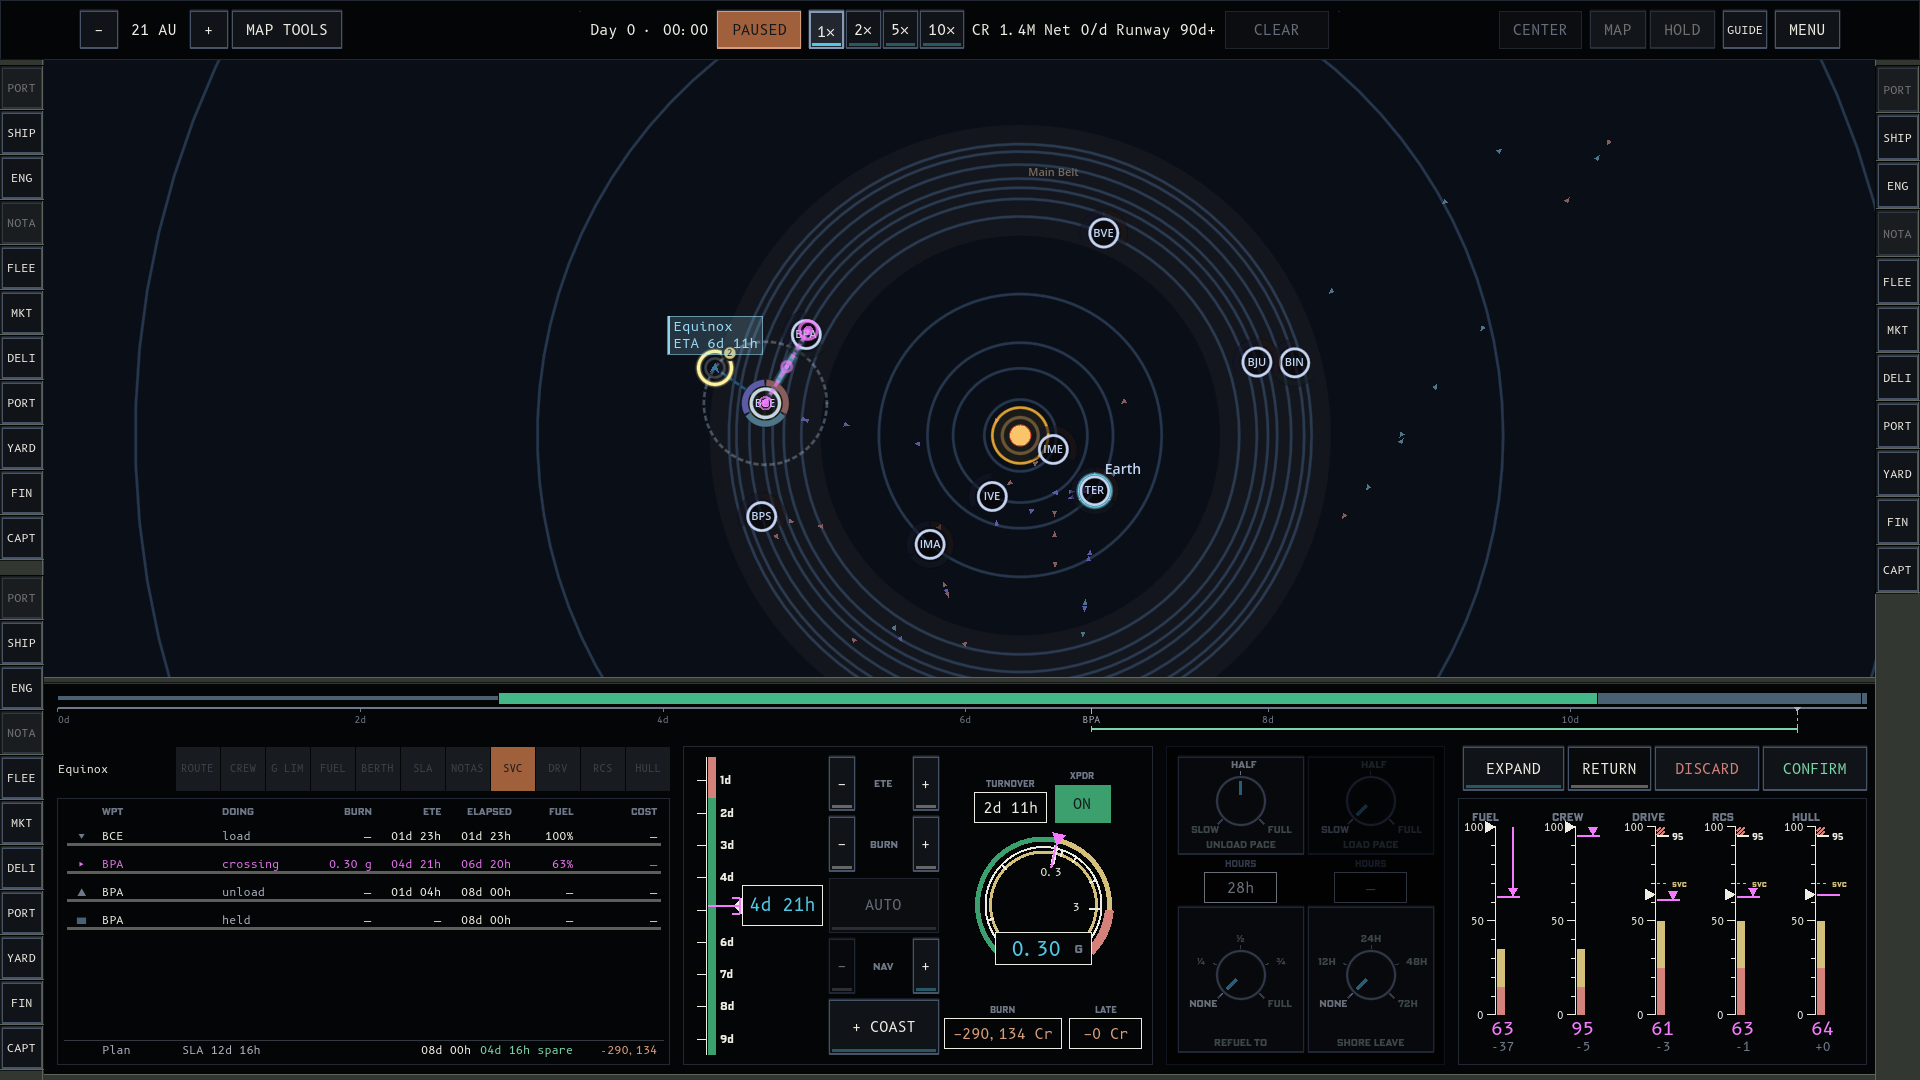
Going back over it with the quote in hand, most of the information was there. It was in sentences, often in a panel the tester had closed, and the colours meant one thing on one panel and something else on the next. Rather than keep inventing a visual language I went and borrowed from two places that have had to solve this for a long time: airliner flight decks and ship's bridges. Both have one operator, a lot of readings, and very little time to read them.
Dark cockpit
The rule on a flight deck is that nothing lights up to say things are fine. A lamp comes on when something wants attention, and the colour tells you how urgently. Green is a to-do. Amber is a caution. Red is a limit crossed or a refusal. The keys down the edge of each display in the game work like that now. FLEET flashes when a hull is stranded. If a captain quits, CAPT flashes instead. A new fault flashes its key and plays a chime; pressing the key stops the chime and leaves the lamp on steady, and it stays on until the fault is cleared. Airliners have done this with the master caution for about fifty years. I copied it because one tester lost a captain to a notification that scrolled off the screen, and a lamp that stays lit until you deal with it can't scroll off.
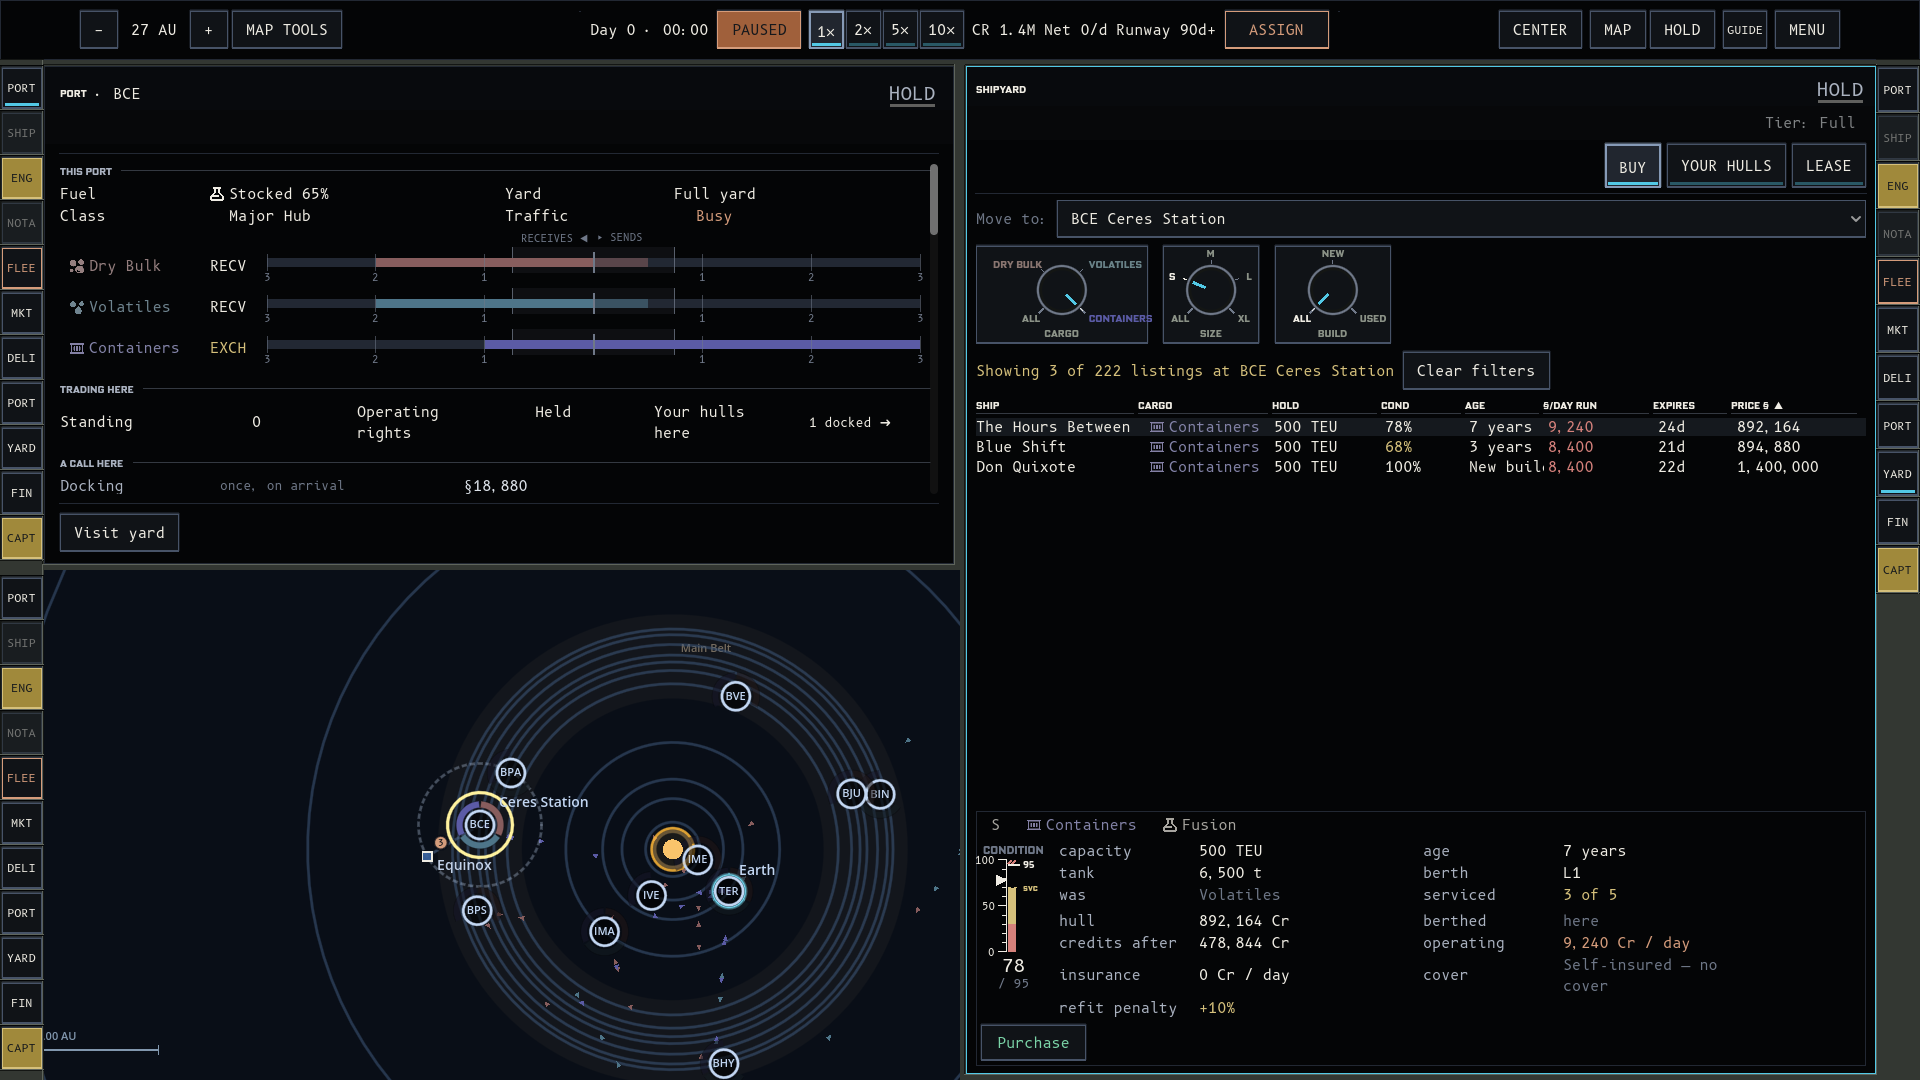
It cuts the other way too. A reading that's healthy has no colour. Fuel at 100% used to be green, and it's plain ink now. Green means "something to do", so a full tank shouldn't be using it. PAUSED lights while you hold the clock; the same tester wrote "the game was paused... (I think?)".
One meaning per colour
Airbus flight decks use cyan for a value the pilot set by hand and magenta for a value the flight computer is managing. I've taken that as is. On the flight card the burn you dialled in is cyan and the arrival the solver computes from it is magenta, on every gauge and tape, and the map's selection colour went cyan to match. Amber is a caution, and it's also money going out. Red is a limit or a refusal. Grey is used for scales and legends. I'm fairly sure the amber-for-outflow choice will need revisiting, since a large but planned fuel bill and a genuine warning end up the same colour, but it's what's in for now.
Two kinds of tape
A flight deck draws a parameter against its limit, and wear shows up as the limit moving in. The clearest example is the barber pole on the airspeed tape, which slides down as the aircraft climbs and the maximum speed drops. There were three different kinds of number sharing one tape widget in the game and they read as the same thing, so they've been split. FUEL, CREW and CARGO are stocks: at 50 you can do half as much. DRIVE, MANOEUVRING and HULL are conditions: at 50 nothing has changed yet, and the figure is written 62 / 95, against a ceiling that comes down as the hull ages. The ceiling is drawn as a red-and-white pole hanging from the top of the tape, and the length of the pole is the age of the hull.
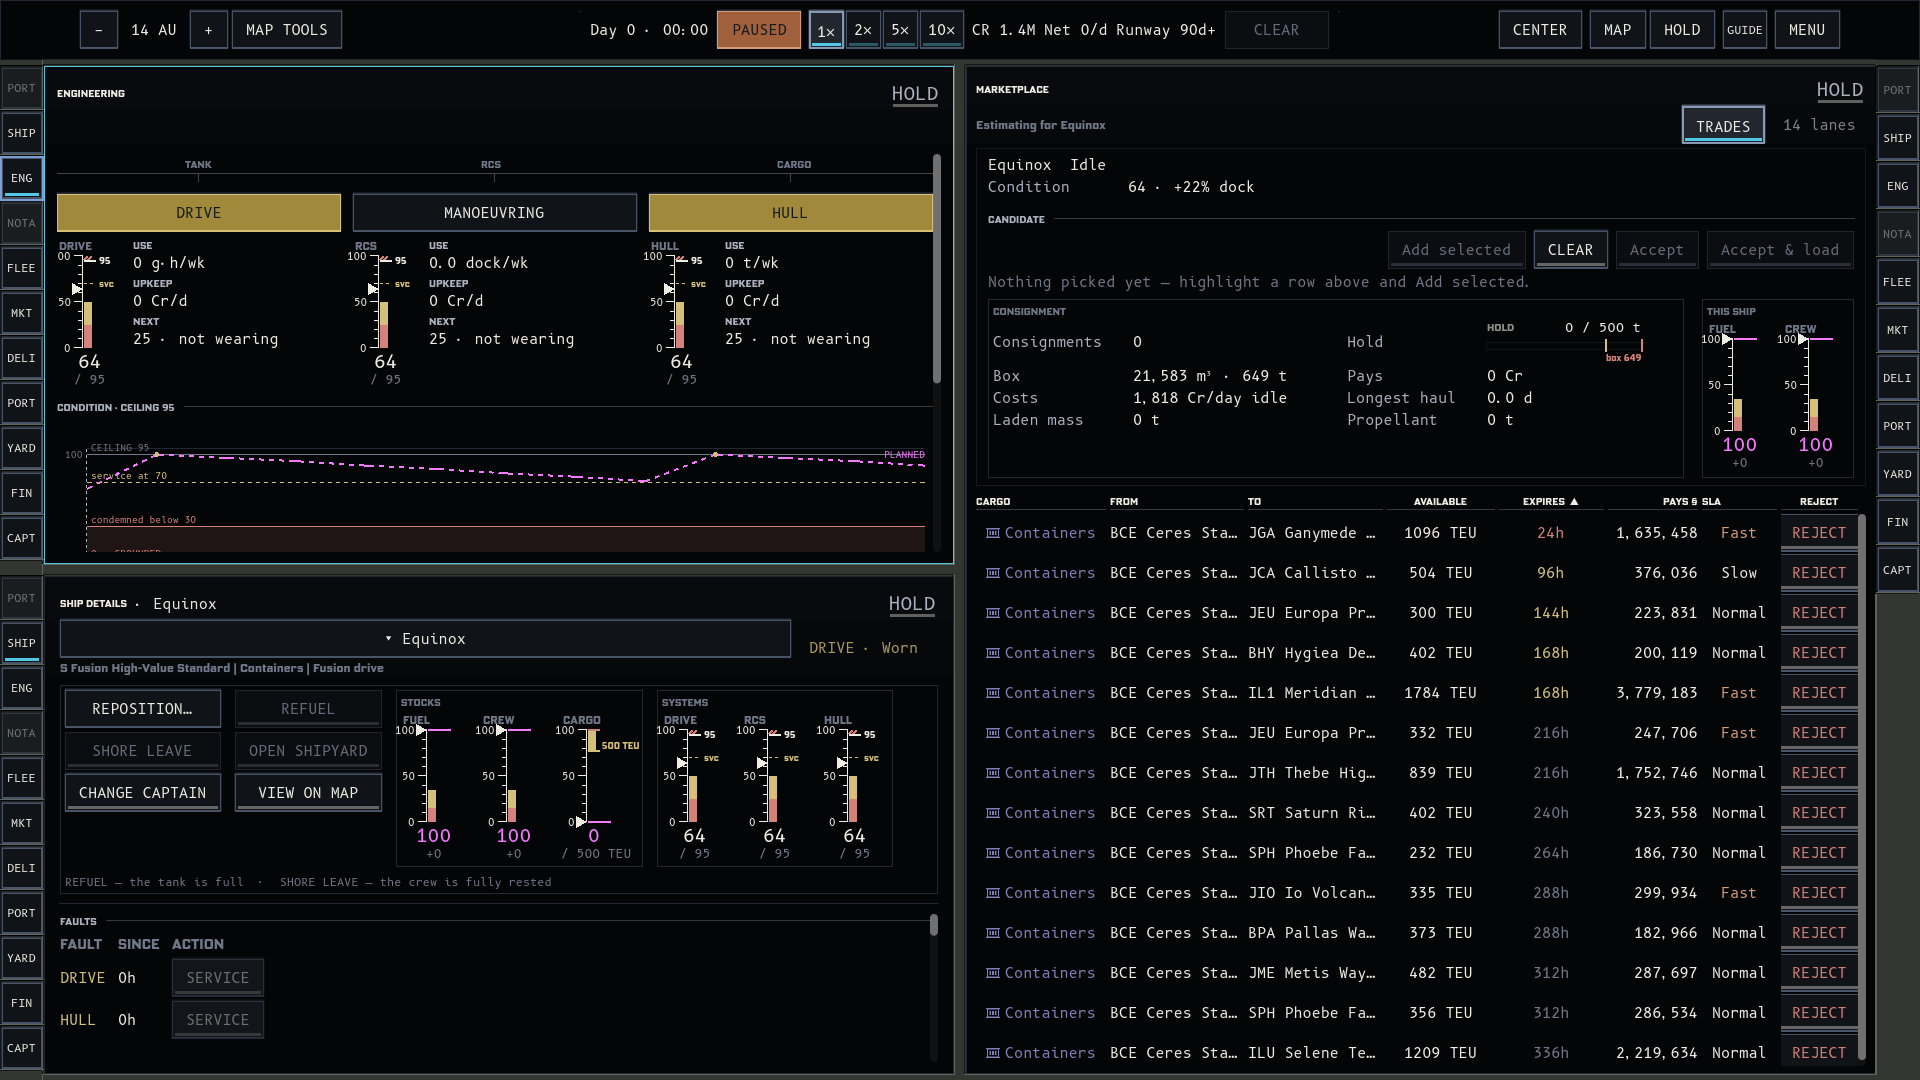
The three systems are new this week. The drive wears with g-hours burned and the thrusters with dockings; the hull wears with tonnes handled. Each has a caution band at 50 and a floor at 25. Below the floor something mechanical happens: a drive under its floor is capped at 0.15 g, so every plan runs long; above the floor a worn drive burns more reaction mass per unit of delta-v. ENG is the page for it, laid out like an engine synoptic, and the yard offers SERVICE, which restores a system up to its ceiling, and OVERHAUL, which lifts the ceiling. All of the numbers are provisional pending playtest and I'd expect the floors in particular to move.
## Codes
The flight card used to print a sentence under the readouts for every problem the plan had, and the list grew as the problems did. It has a lamp bank on the glareshield now: ROUTE, CREW, G LIM, FUEL, BERTH, SLA, NOTAS, SVC, DRV, RCS, HULL. Every legend is always drawn, so the bank is the same shape whether nothing is wrong or six things are, and pressing a lit lamp takes you to the part of the card that raised it. Port ops got the same treatment. Unload pace and load pace are set on an engine-order telegraph, SLOW / HALF / FULL, with the hours that pace works out to for this port and this load in a box underneath. A locked control now carries a placard with the reason, MAX HULL SIZE S, in caps and amber, where there used to be a paragraph.
The NOTAM
The master caution is about your own ships. A bridge has a second instrument for conditions out in the world: the NOTAM in aviation, NAVTEX at sea. A closed berth, a strike at a port, a restricted zone, a derelict adrift. Each notice has a place, an effective window and a line of fact, filtered to routes you fly and sorted by place. The LOG page carries that board now, under the NOTAS key. A strike due at a port one of your plans calls at appears roughly 66 hours out, with the name of the hull it'll catch. A flare front lists the hulls it will reach and when. A salvage contact you picked up on the map is a line you can open from there. The key lights steady when a notice arrives and reading the page clears it. The master caution stays quiet for a notice, since nothing on your ship has failed yet. I think that's the right line between the two instruments, but I'm going to watch whether players go looking in the LOG for something a lamp should have told them.
The guide
All of this is a vocabulary and it has to be learned somewhere. My rule inside the game is that a surface shows the thing and leaves the explaining out, so the explaining will go in a proper wiki guide: the codes on the lamp bank, what each colour means, where each one turns up, and where on the deck a given fact lives. I've started on it. It'll lag the game for a while.