A couple of weeks ago we made a nice 'infographic' with our plans but I've forgotten multiple times to upload it. Here it is:
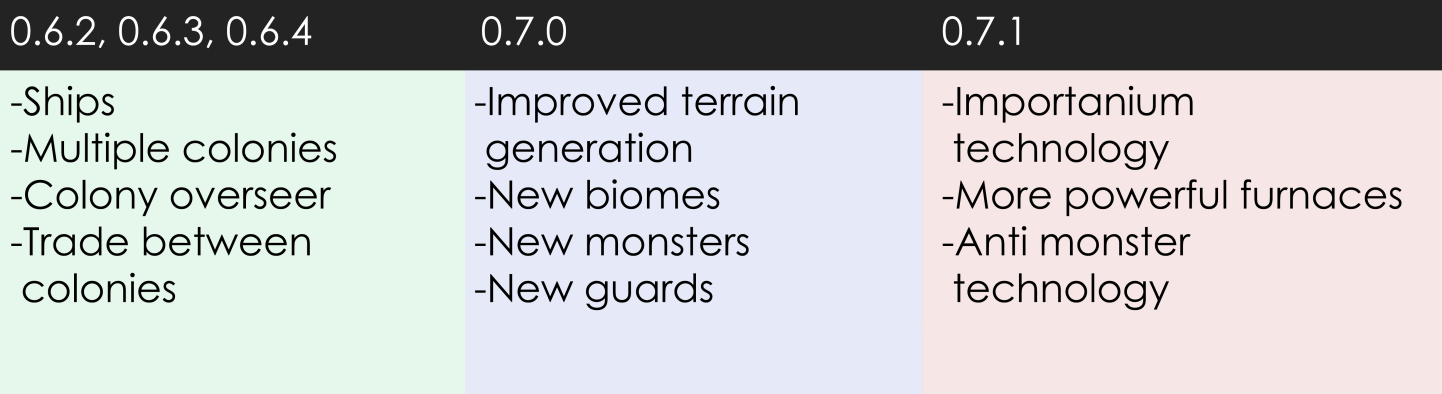
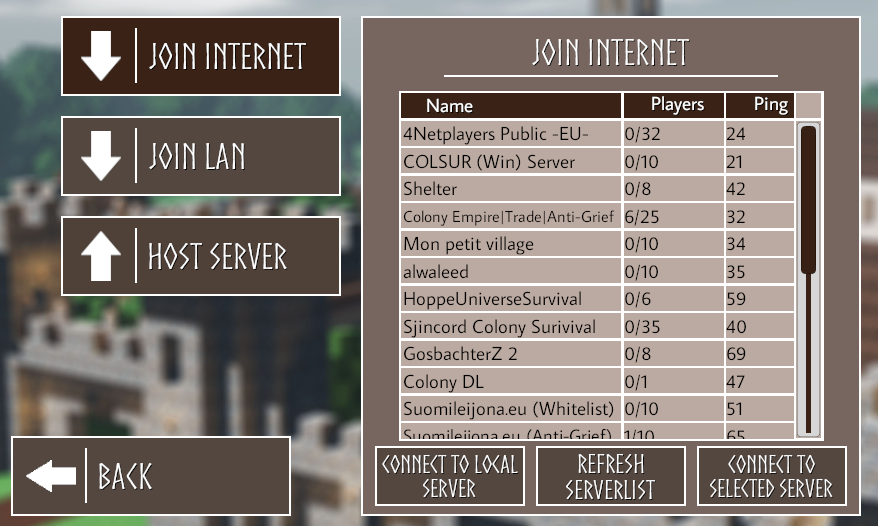
These are the 'big plans'. We've got some smaller plans first and we want to add them in 0.6.1. One of those plans is an updated server browser, with options for e.g. passworded servers. Here's a screenshot of our current server browser:
And here's a screenshot of our work-in-progress server browser:

As you can see it isn't finished yet, but there's room for a lot of extra options. It should make multiplayer significantly more accessible!
Animations
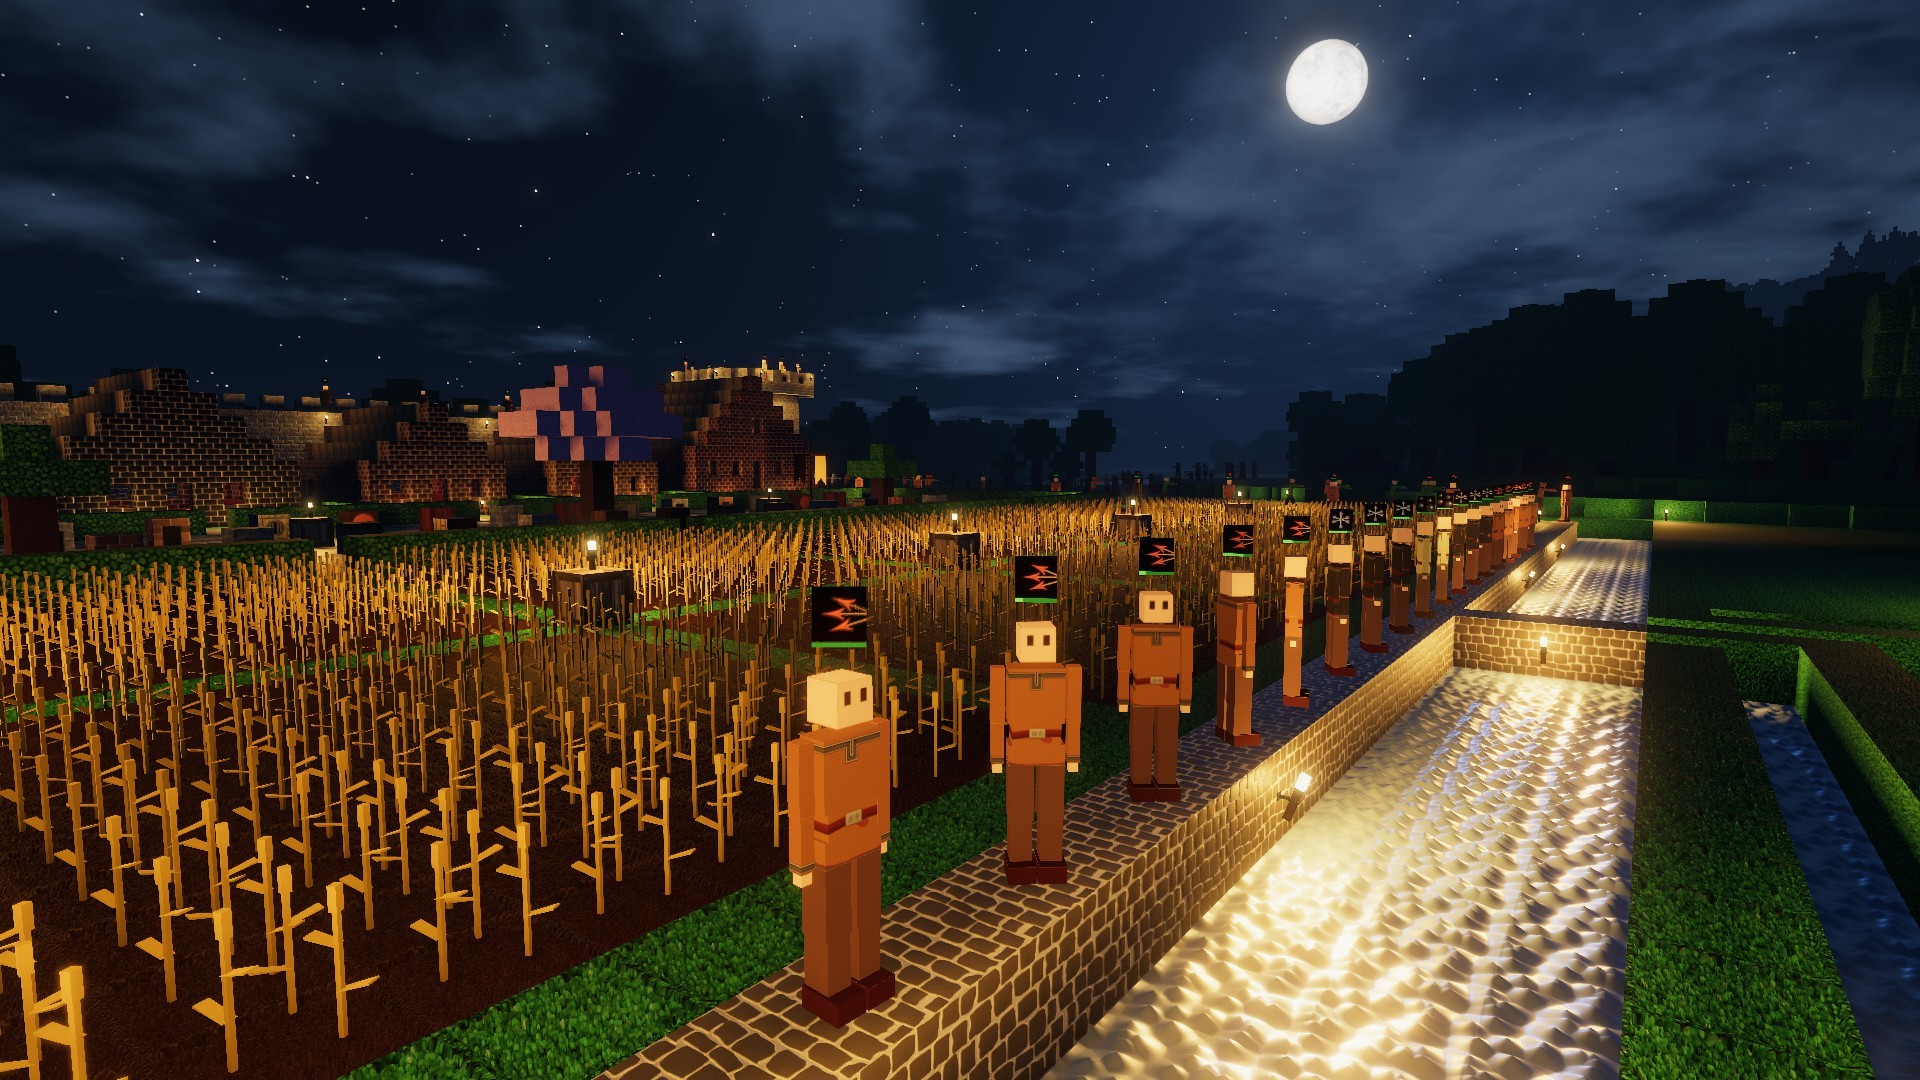
Colony Survival doesn't contain a lot of animations. Guards fire missiles projectiles from their chest and colonists craft things by staring at blocks. We're so used to this, we barely notice it anymore. We don't receive many complaints about it either. But this week, we've discussed the issue with multiple people. It would be great if it was easier to see which guard is shooting which monster, certainly when we're going to add new monsters and new guards.
We believe that the first step to solving this problem may be adding projectile trails. When working on this new graphics feature, we might be able to add proper impact sprites as well. This should make the combat a lot clearer and more visually impressive.
Texturing Guide
Multiple people have asked us if and how they can make textures for Colony Survival. It's actually pretty simple! For those interested, here's a short introduction.
We've got three main textures for each block. Albedo, normal and height/smooth/specularity maps. You can find these maps in Colony Survival\gamedata\textures. There you can choose between "icons" and "materials". Choose "materials" if you want to edit the textures.
In this folder, you find three new folders: water, npc and blocks. Blocks are the easiest to edit so we'll start there. Open the blocks folder and you'll find folders for albedo, normal and height maps. Here's an example of what these textures look like for planks:

In the top left corner, you see the albedo map. It's the "standard" texture.
In the top right corner is the normal map. It determines how light interacts with the surface.
In the bottom left corner you can see the third texture. This texture is a bit different; it's 3 black and white textures combined; the height map (red), smoothness map (green) and specularity (blue). The height map can create relief, and the smoothness and specularity maps determine how reflective a surface is.
So, let's turn the planks into 'test blocks' and try to figure out how they work.

The albedo map has been turned into a "testblock" texture, and the other maps have been made "empty". This is what the new planks block looks like in-game:
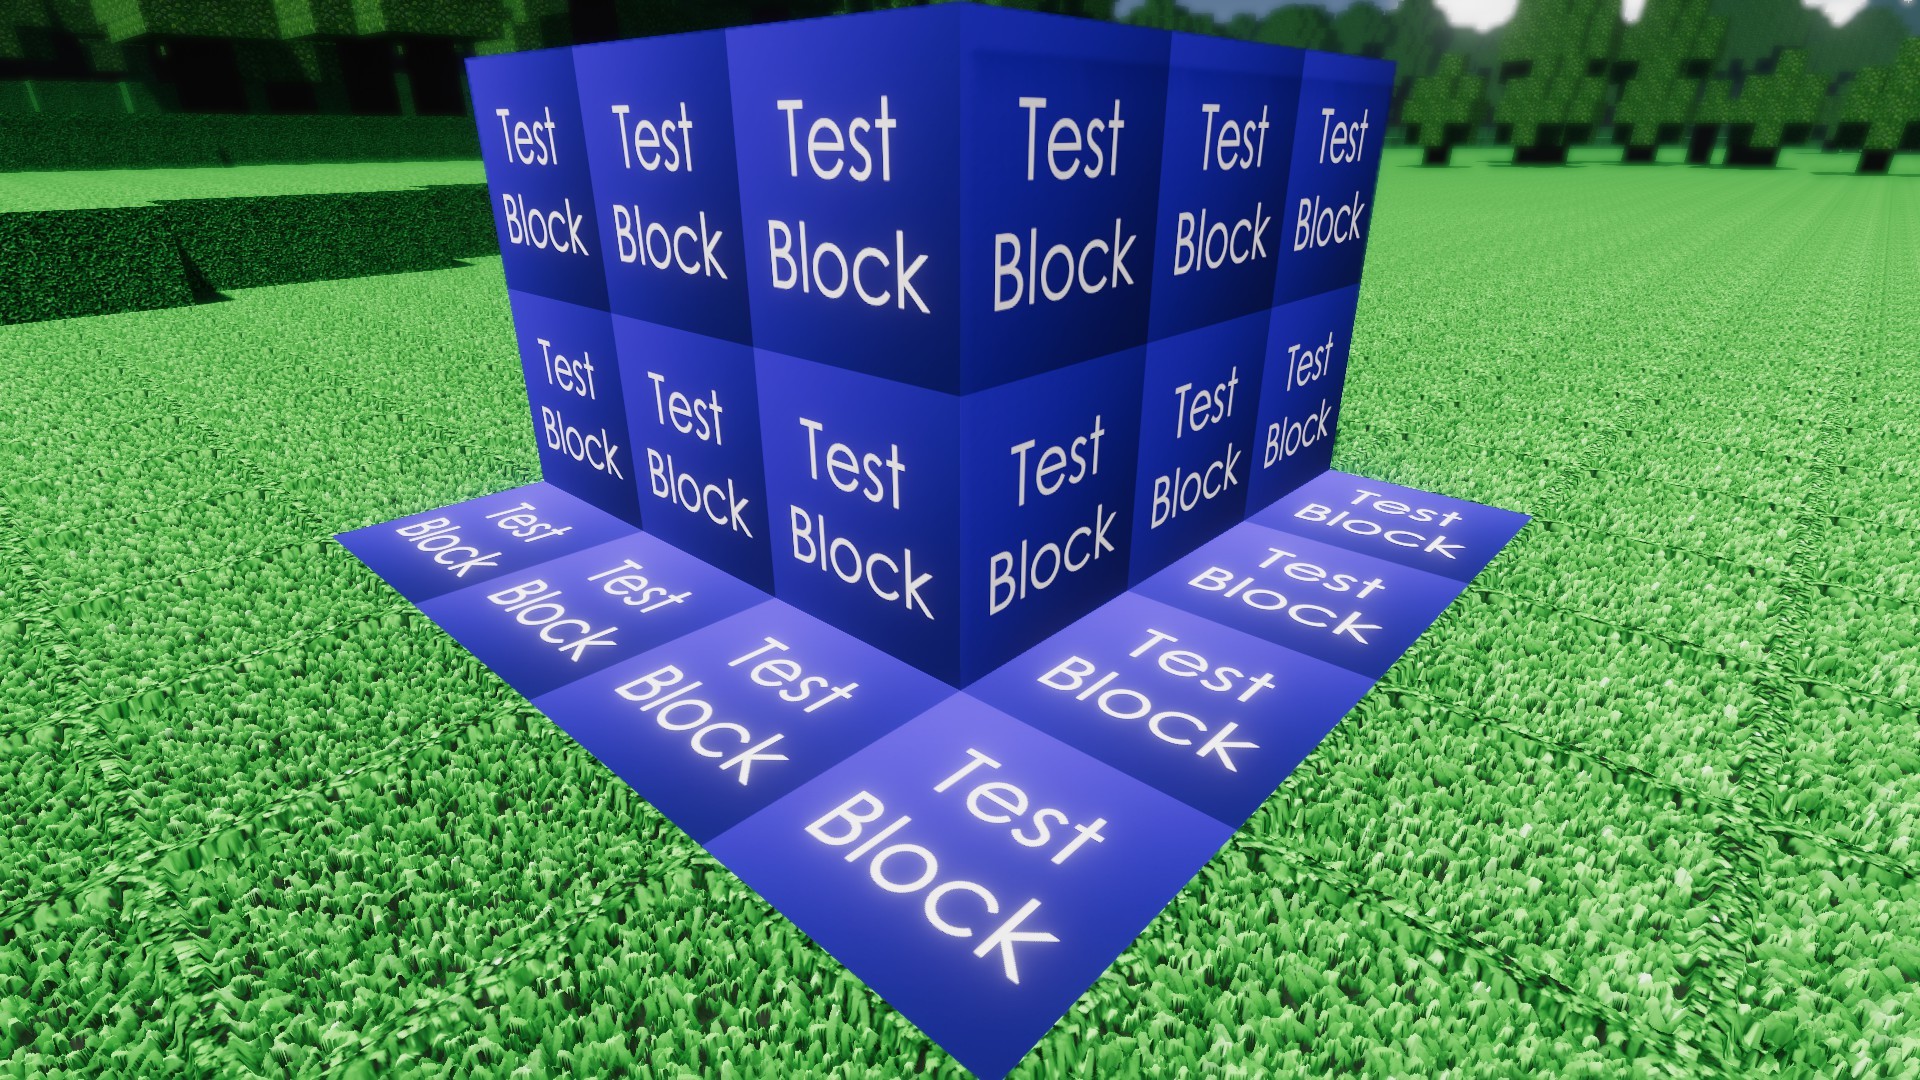
Let's put some work into the "empty" textures.

Photoshop CS6 allows you to create normal maps without any plug-ins. It's one of the default 3D-filters. It turns the black and white image on the left into the blue-purple image on the right. Black = high, white = low. So create a black-and-white height map, turn it into a normal map, and the game's lighting will act as if there are actual ridges and dimples.
In the bottom left corner, you can see the updated height map. It's the red channel in the "heigthspecularsmooth" map. To the right of it, you can see how it changes the final, combined map. The actual height map works very different compared to the height map for the normal map: black = low and white = high.
This is what our test block looks like with these two updated textures:

You can see that it looks less flat and way more 3D! This is just a very simple example, but it contains the basic knowledge you'll need to change what blocks in CS look like. Just messing around with the textures and looking at the in-game consequences will teach you a lot. We'd love to see your experiments! If you need some quick feedback, please poke us on Discord. If you want to see other things explained in similar guides, let us know in a comment!
Bedankt voor het lezen, en veel succes!