
In order to get you guys ready for the upcoming second demo where all characters will be available to play, I will be posting profiles for every character on the roster. Every announcement made will be showcasing two characters that have been paired into teams. Do note that these teams are not exclusive. You are free to edit the teams to whatever pair you wish, or even play with a single character only. These team were form for the story mode and it just became habit to reference the characters by the teams. That is why every character showcased will explain the character's abilities without referencing the other character so you may find it easier to see how one character can perform with any other in the roster.

Pro: Well rounded character that leans on defense. Good for starters.
Con: May be too basic for advance players.
Every game with a roster needs the well-balanced default character, and Reimu fits this bill. All her stats including movement, power, and meters are all aimed to be as equal and balanced as possible. But no character is perfect as Reimu seems to prefer to play it safe, so she leans more on defense rather than offense. Despite her preference for defense, she can still hit the ball pretty hard and send it at a decent speed towards the opponent's wall. She is the perfect character for those learning how to play the game.
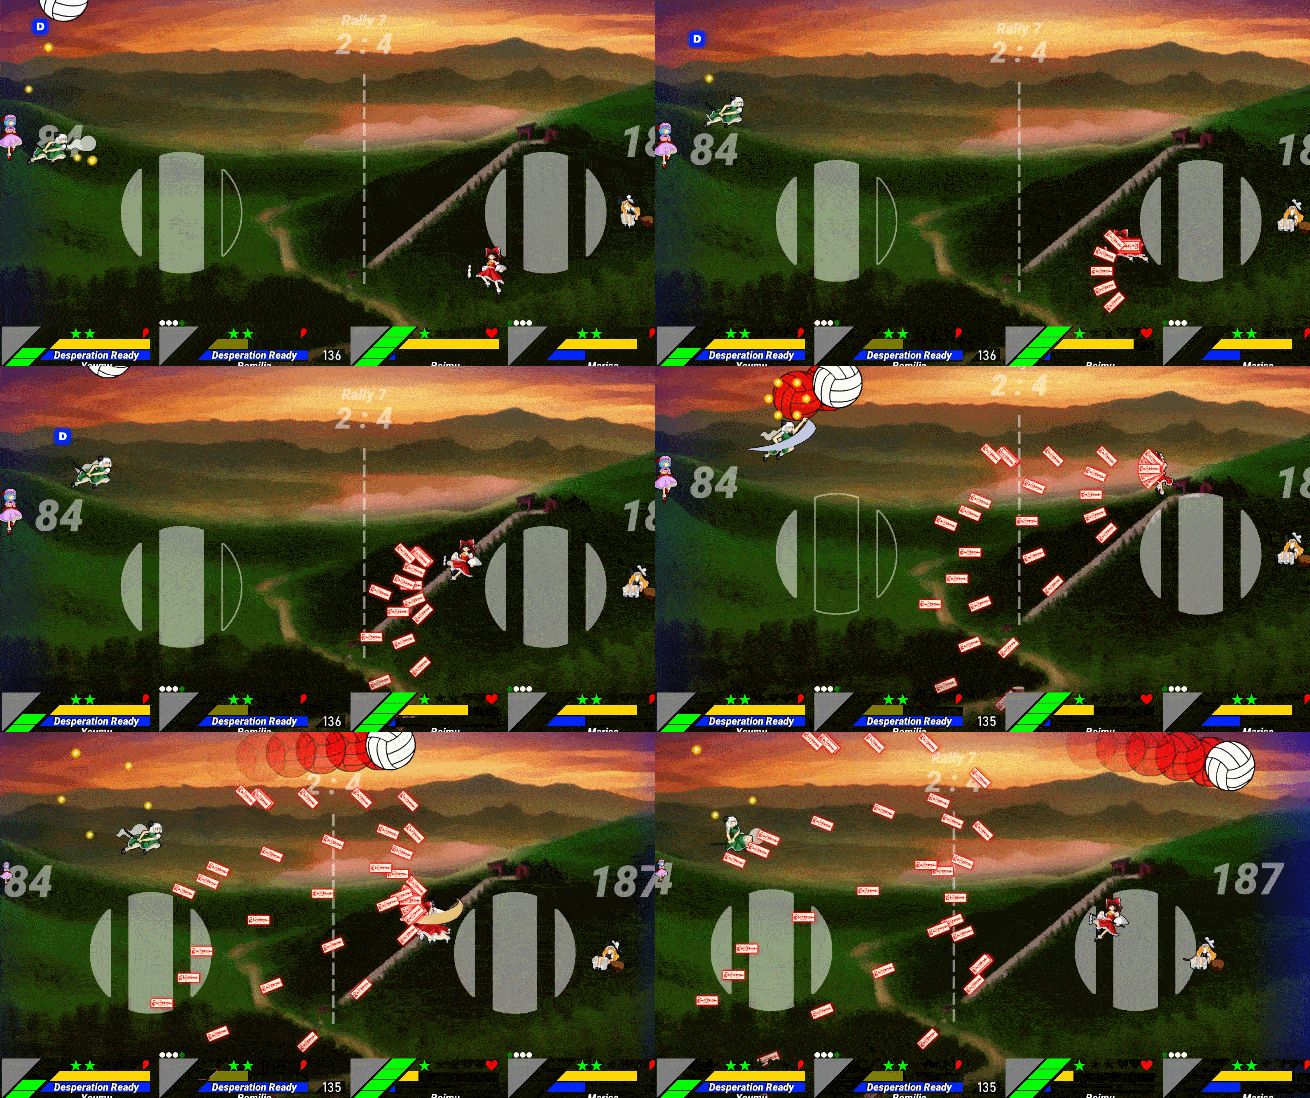
Her projectile consists of 5 talismans that shoot out in an arc at a decent speed. This makes them easy to dodge so it is best to use as many as you can to keep the opponent on their toes. But be aware that her projectile meter isn't that big and you'll most likely fill it up in no time. A faster meter means not as much ammunition, but a filled meter can create a wall of talismans that will keep the opponent at bay.
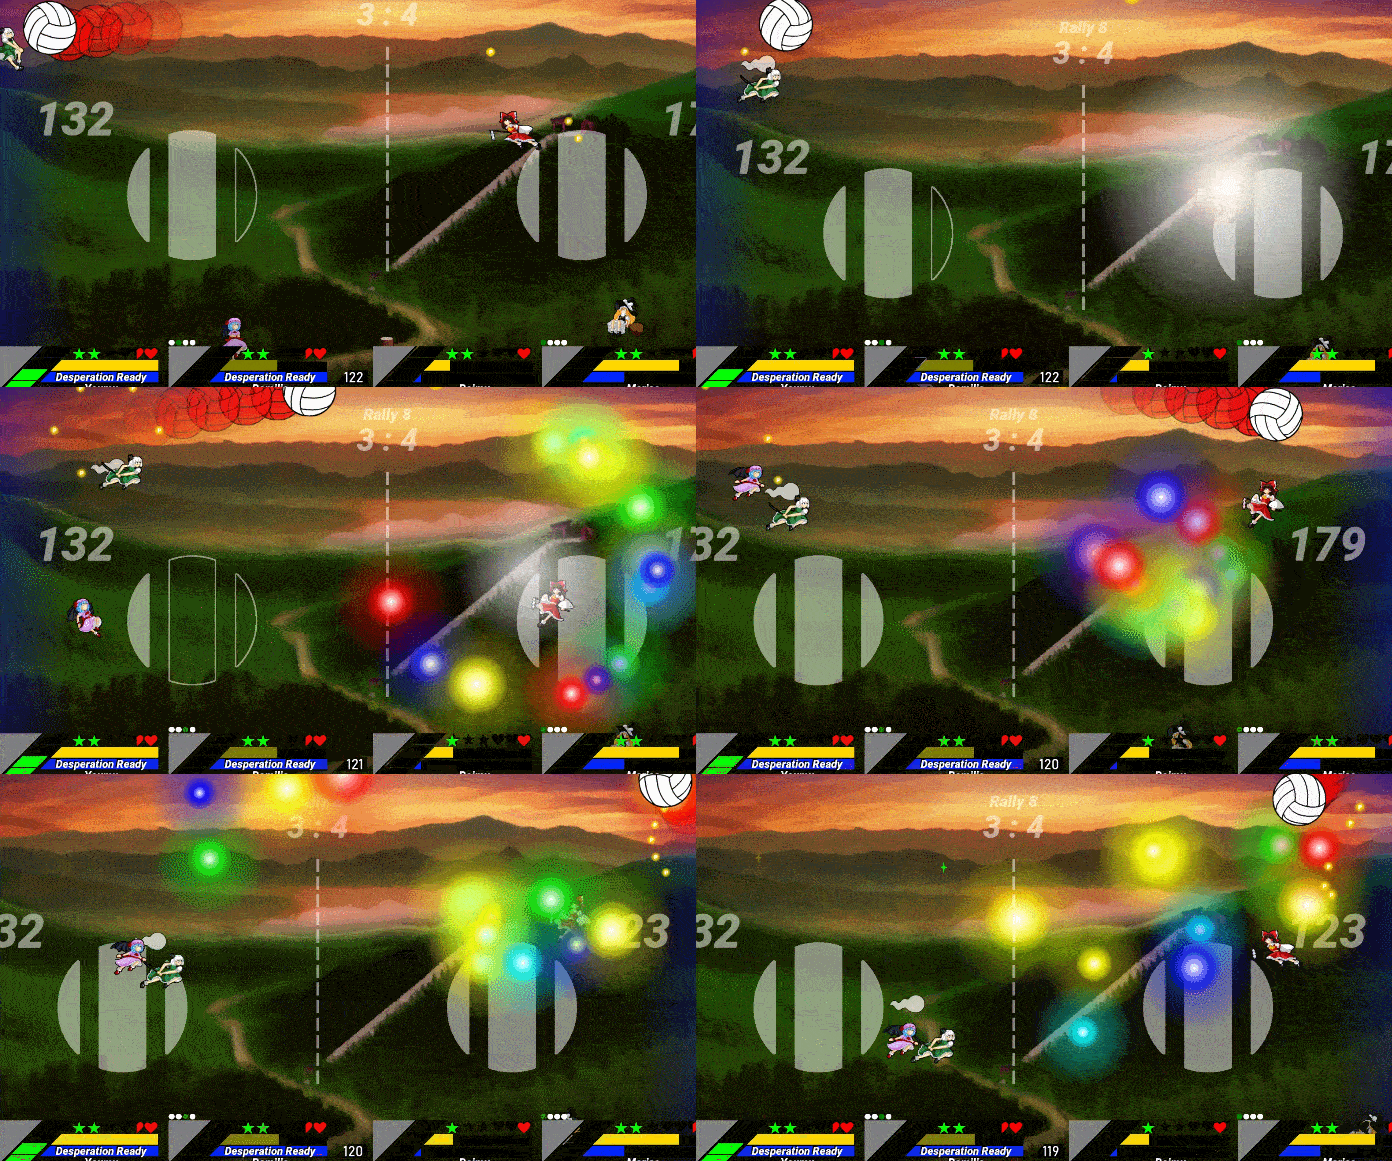
Her bomb is her reliable Fantasy Seal, where she emits great balls of light that eats up every projectile the opponent shoots. After lingering for a while, they will travel toward the opponent's field before dissipating. You do not have control over these orbs so it is recommended to use this as a defensive tool.
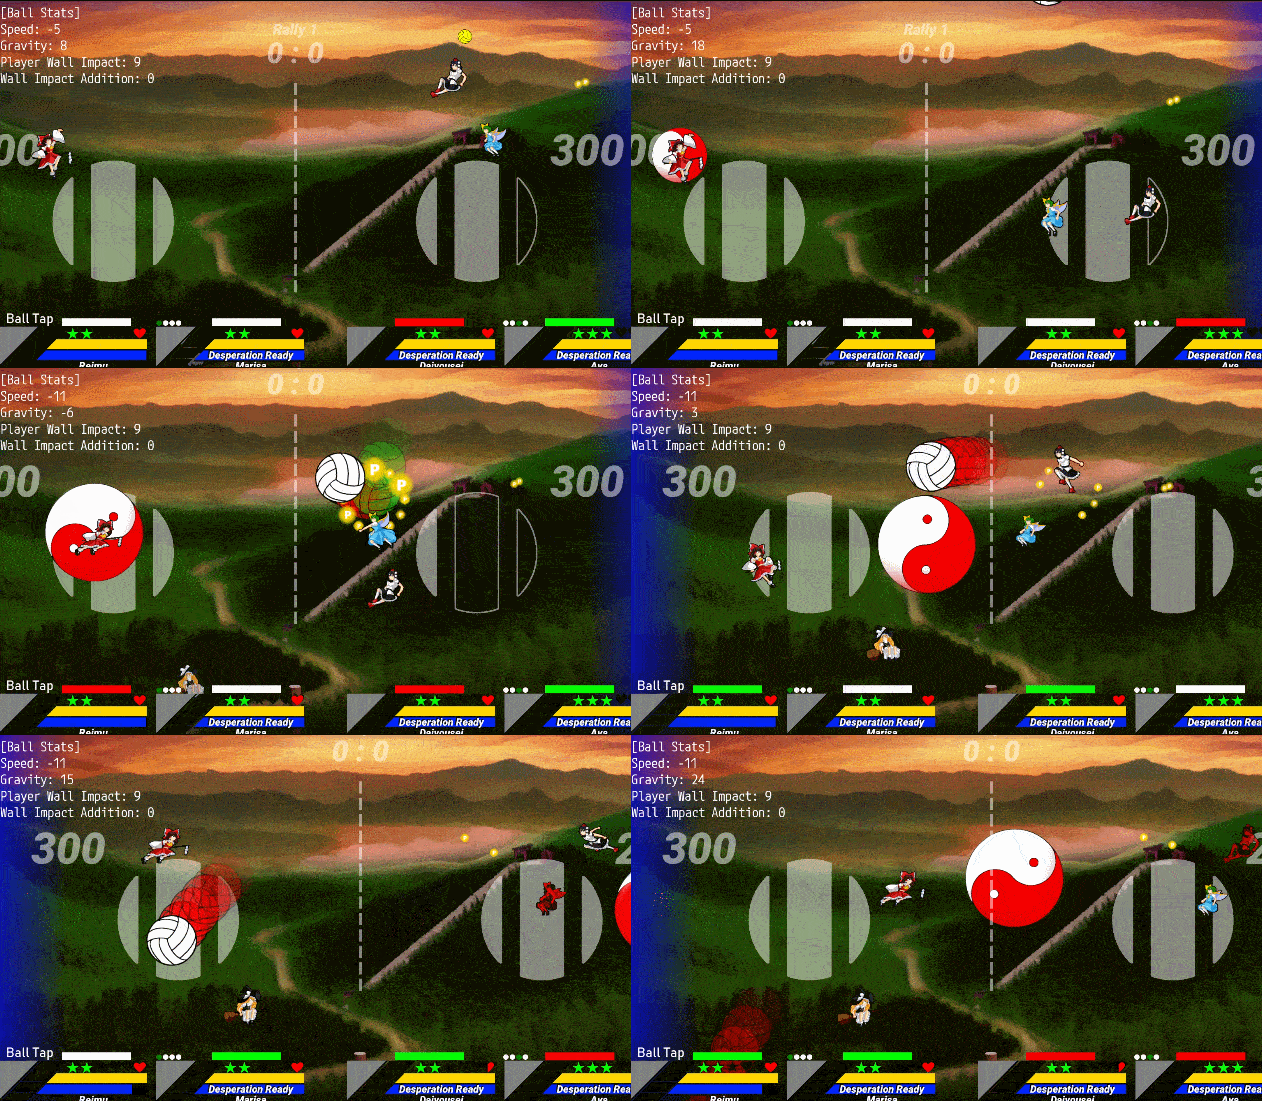
Her desperation has her summon a large ying-yang orb that protects her. Any projectile within its radius gets eaten up. The orb remains as long as she has desperation in her meter which drains slowly, allowing the orb to remain around you for quite a bit of time, even longer if you continue to graze or collect the desperation power-up. But if you are willing to spend extra desperation, you can command the orb to be launched toward your opponent's side. The speed of the orb is quite fast so your opponent will have to act fast. And even if you they do manage to dodge it, the orb can still do 10 damage to their wall.

Pro: Fast meter-fill allows her access her projectile and desperation quickly.
Con: Short bursts of magic makes her dependent on filling those meters.
Always ready for an adventure, Marisa is all about getting into the thick of it. Though her hitting power isn't too great, she makes it up for it with fast movements. But her real advantage is her magic. Really short meters allows her to build up her projectile and desperation quickly, but this comes at the cost of dispensing her magic as fast as she gets it. That is why she makes the most of it by utilizing quick bursts. It's all about getting to max as quickly as possible.
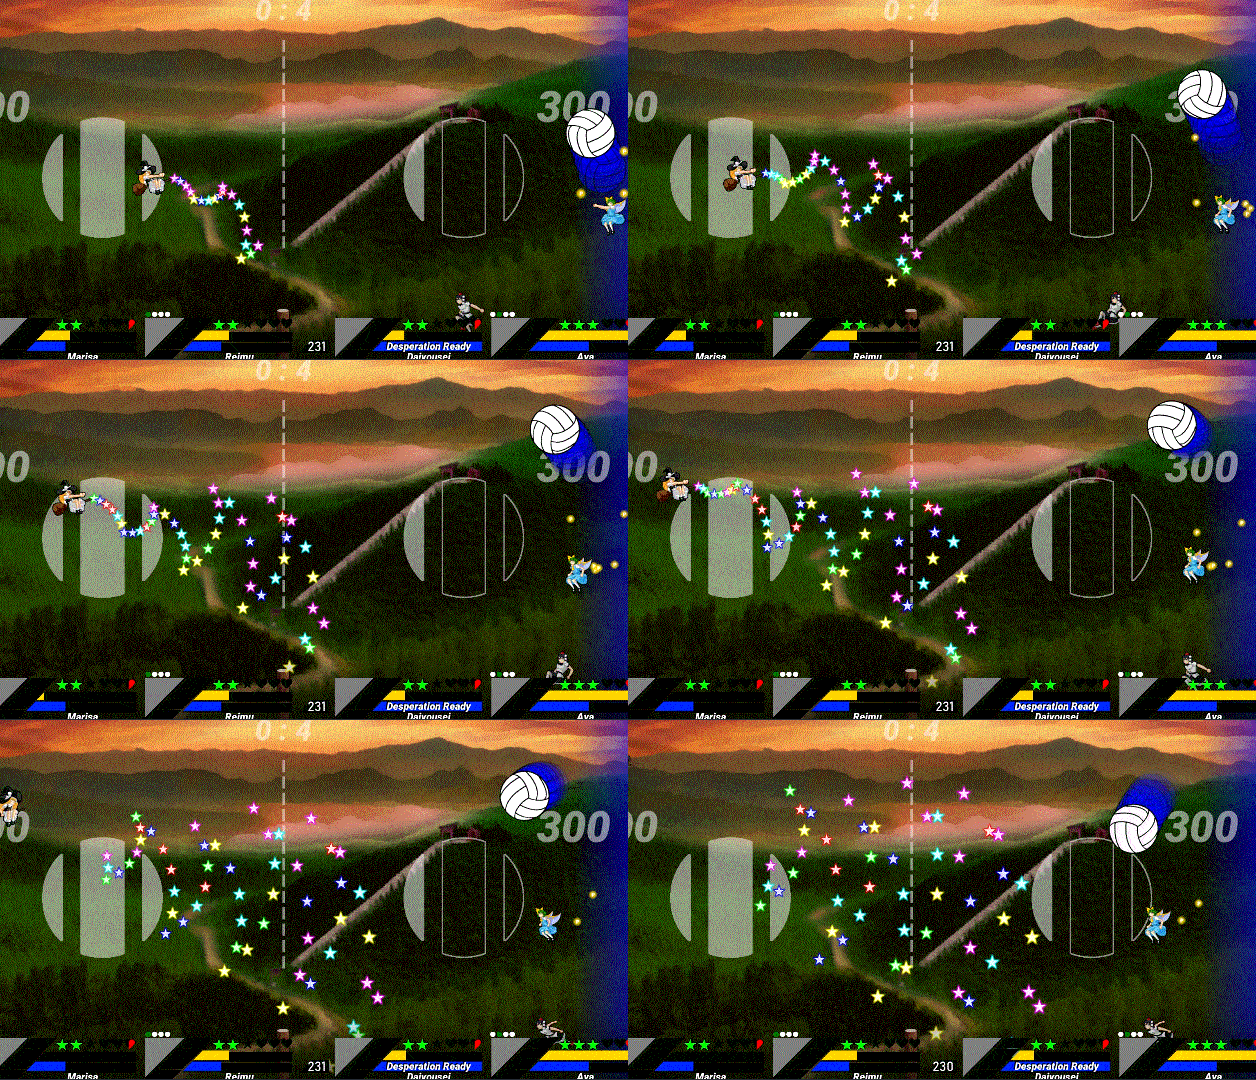
Her projectile is a stream of stars that are shot in a spray pattern. The longer the linger, the bigger they get, forcing the opponent to think quickly. Her bomb is a quick flash of light that destroys any of the opponent's projectiles close to her, and after a while she summons two beams that will eat any additional projectiles. They extend enough to reach the opponent, but only linger for a short while before disappearing.
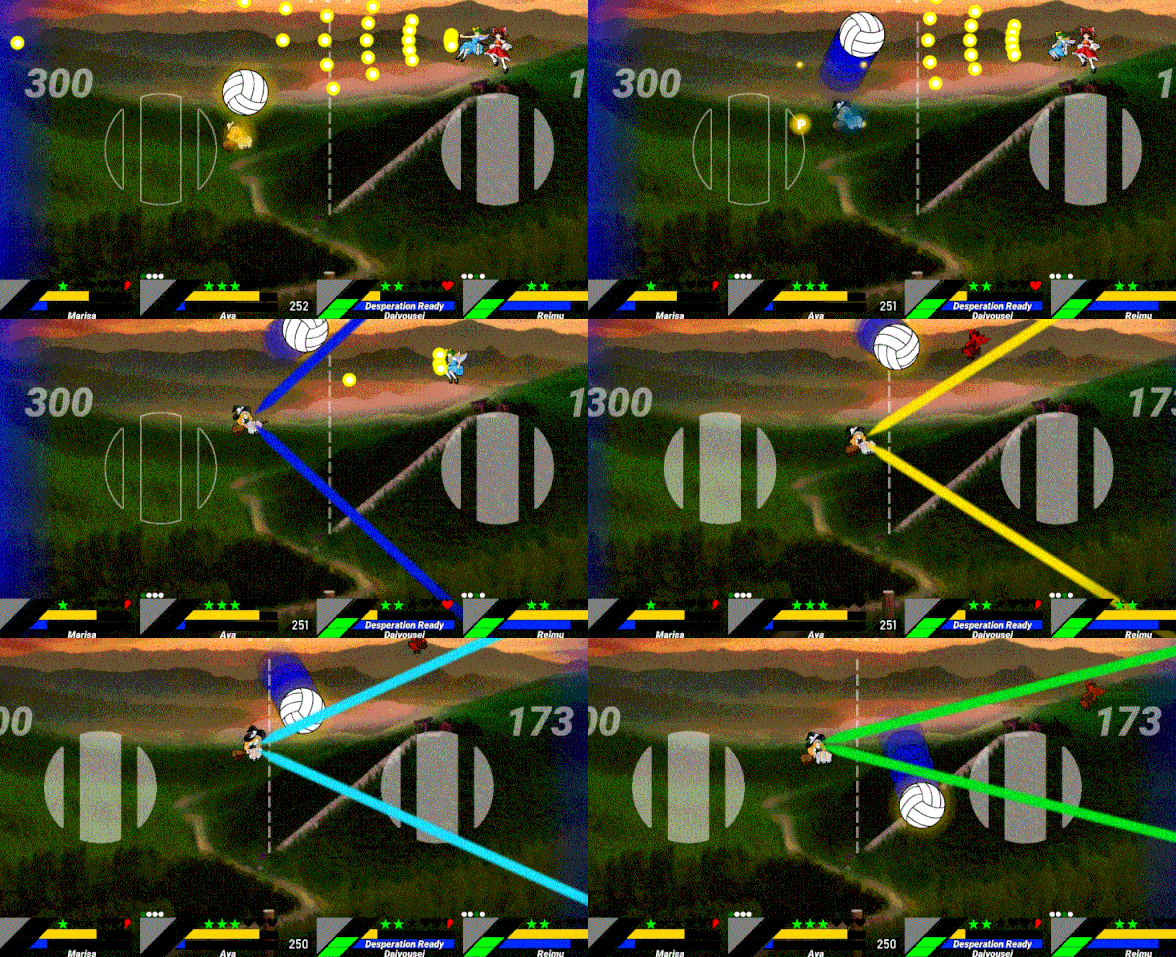
But as everyone who is a fan of Marisa knows, her best well known attack is the ever favorite Master Spark, which is here as her desperation. And because people want to use it so much, her desperation is also a short meter. You might even gain the full desperation from a single volley of projectiles. But just as quickly you gain the go ahead to use it, so too does the beam disappear just as quick as it came. You can hold on to it for emergency cases, but there is a short time frame where the beam has to charge, leaving you open for attack. This is not meant as a replacement for the bomb as the opponent's projectiles can hit you while you are charging the attack. Holding it for emergencies is too risky because of that, and with the short time it takes to fill up the meter, it was meant to be used as often as possible.
And this is just the start. We'll be going through the entire roster in the coming weeks, so stay tuned.