
When multiple units are given a command to move to a location, they automatically assume a formation. How formations are determined is a bit subtle. Only unit's type is considered, factors such as health are not considered. This order is predetermined and fixed (for the same types of units it will always be the same), as it is determined based on unit's strengths.
A formation with one unit type is going to put all units in a series of rows, where the number of units per row is decided based on formation type. A formation with multiple unit types may utilize one or more lanes. A lane is simply a number of rows which contain units of the same lane priority. Lanes are invented in order to intuitively represent that some unit types should always be behind other unit types. For example, without lanes, a selection of 2 Swordsmen and 2 Archers would put both unit types in the same row, exposing archers to melee damage. With lanes, it is understood that 2 Swordsmen are going to take a row in front, and 2 Archers are going to take another row in the back.
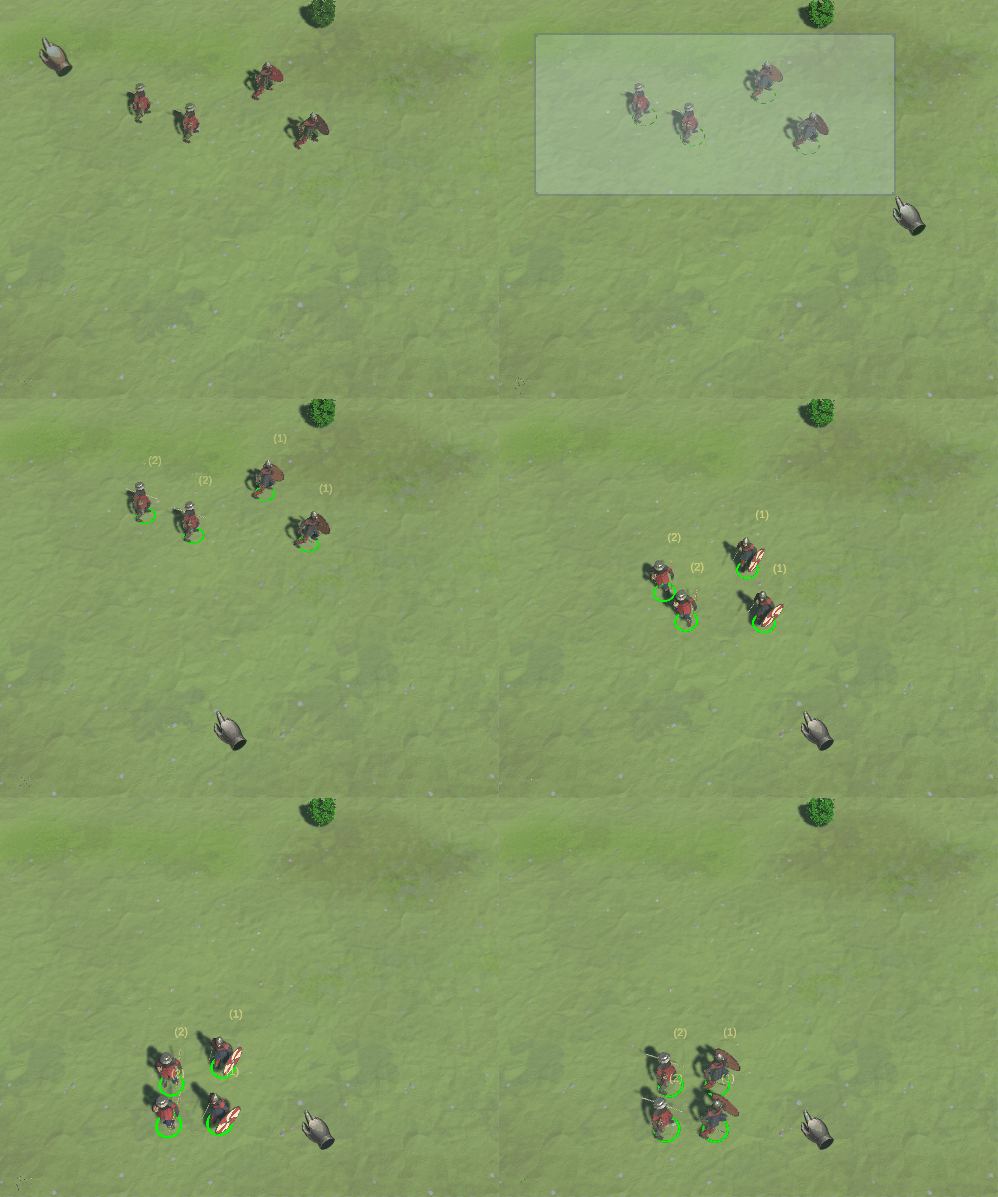
This does not mean that each unit type gets its own lane, as this would create very elongated formations for heterogenous armies. Instead, some unit types belong to the same lane, but are still ordered by unit type (which may take multiple rows). For example, if there is a selection of 2 Swordsmen, 2 Pikemen and 2 Archers, resulting formation would be Pikemen and Swordsmen in the first lane, which is one row (ordered by unit type), then Archers in another lane, which is another row.
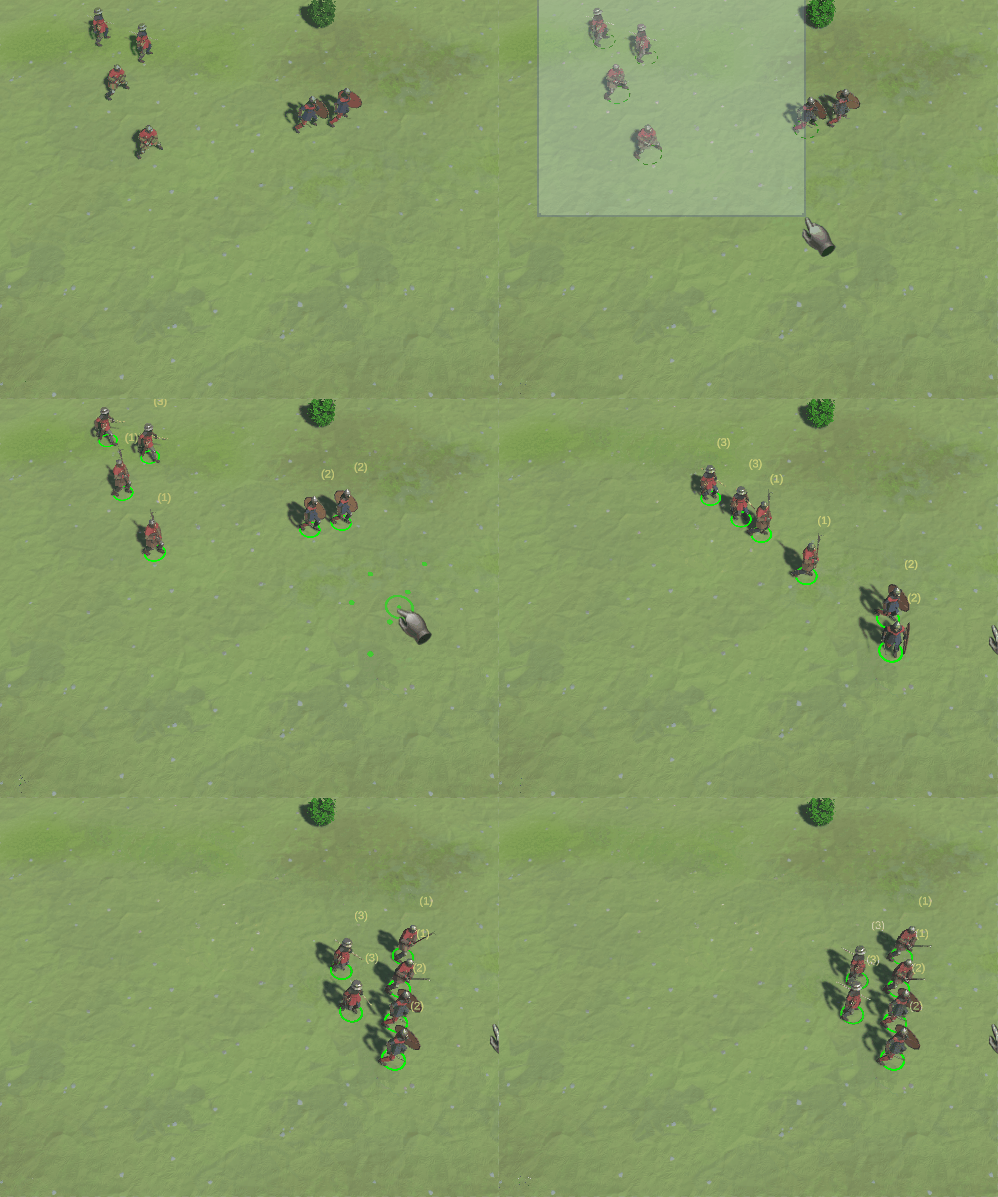
General ordering for lanes is as follows:
1. Cavalry
2. Defensive units
3. General melee units
4. Ranged units
5. Weak special units
6. Siege units
Within a lane, unit types are ordered by relative strengths. Units which are stronger and/or have more health take precedence.
Sometimes we may want to keep a formation, but put units with lower health in the back row. There is a trick to doing this: units will appear in the lane in order in which they are added to selection (lanes and unit types are still respected).
When multiple units move, destination of each unit is displayed as a small green point. The arrival destination is adjusted so that the middle of the first row is the location of the issued command.
There is another feature we implement with formations: units facing. While a unit is moving, its facing direction matches its movement vector. When it arrives, in practice it will not be facing in the correct direction in many situations. With this feature, unit adjusts its facing after it arrives to its position.
Formations with facing make movement look orderly without any effort on the part of the player. Formations also introduce some inherent issues: units need to push each other just to get into formation. The amount of pushing depends on the facing direction relative to the previous position. If the facing direction is very similar to the previous one, there will be no pushing. If the facing is in the opposite direction, there will be a lot of pushing. In order to create a "strafing" motion of the army, which introduces no pushing, players can manually specify facing.
Facing is specified by holding RMB and dragging in the desired direction. Facing is displayed as a small green arrow pointing in the direction of desired facing. Facing does not influence line width, which is determined by formation type. Originally, commands were issued when the RMB was released, as opposed to when it is first pressed. This has turned out to be a subtly unresponsive solution, because in the common case (no facing) the command is issued later. Now commands are issued when the RMB is first pressed, and when it is released it is adjusted with the specified facing.
There are 3 formation types:
* Standard
* Wide Line: good for bands of ranged units when they are protected. The distance between units is the same as in Standard, there are more units per row.
* Spread: good for protection against area-of-effect attacks. The distance between units is larger than in Standard, the number of units per row is the same.
For every selection, formation type is determined as the most common formation type chosen for all selected units. For example, if a group of Archers is set to Wide, they will assume Wide when instructed without other units, and will behave as Standard when instructed as part of a larger group where most units are set to Standard.
For now, please share this article. Every little bit helps!