
Hello everyone!
In celebration of this summer event, I introduce a relatively large-scale update.
Enemy Spawning Logic & Difficulty Adjustments
Previously, enemies in field combat spawned randomly across designated locations throughout the map. The issue with this system was the massive variance in difficulty it created. At times, enemies would continuously spawn near the player, spiking the difficulty too high. On the other hand, they would often spawn too far away from the character, causing the pacing of combat to drag out.
To avoid leaving the satisfaction of both beginners and veterans up to pure luck, and to enhance the core action elements of the game, I am shifting the spawning system. Instead of enemies spawning randomly across the entire map, they will now spawn exclusively around the playable character.
Of course, dealing with sudden hordes of enemies can be challenging, so I have buffed character stats and lowered enemy HP accordingly. Additionally, most character skills have been buffed or reworked, which I will cover in detail below.
Initial Character Stats
Strength : 4 ▶ 6
Clarity : 2 ▶ 4
Agility : 4 ▶ 3
Violence : 3 ▶ 5
HP Growth per Level : 7 ▶ 13
That should've hit
The Swordforce gauge used to only charge when performing auto attacks with your sword. However, some players were left wondering why hitting enemies with sword-based Art skills didn't charge the gauge. Starting with this update, sword-based Art skills will now also charge the Swordforce gauge!
.
.
.
While this adds a nice touch of detail that fits the game's lore, the biggest reason for this change is combat balance. Swordforce should synergize well with both Art and Magic, but until now, it favored Magic builds. Magic builds had a clear, distinct synergy. They could use "Enchant" to buff auto attacks while filling long cooldown windows with Swordforce. On the other hand, Art builds lacked direct synergy with Swordforce outside of powerful auto attacks.
Therefore, while the Swordforce-Magic combination aims to offset each other's weaknesses, the Swordforce-Art combination is designed to maximize each other's strengths. To achieve this, I've adjusted the system so that using Art skills allows you to use Swordforce skills more frequently. Naturally, non-weapon Art skills like "Fang pull" or "Ascending Dragon" won't charge the Swordforce gauge, but since most Art skills are sword-based anyway, this shouldn't impact your gameplay too much.
Skill Balance Adjustments
It's skill balance adjustments section again. With the overhaul of the enemy spawning logic, the efficiency of most skills has been buffed. The details are as follows:
Arts

Boar Charge – Damage: 140% ▶ 340%

Breakthrough – Damage: 180% ▶ 520%

Surface Slicer – Damage: 1760% ▶ 1560% / Activation Condition Eased (Enemy HP 70% or higher ▶ 50% or higher)

Fang Pull – Damage: 2940% ▶ 3140%

Cyclone – Damage: 1760% ▶ 1920%

Jetstream – Damage: 430% ▶ 630%

Heavy Stunner – Damage: 1350% ▶ 1450%

Swallow Returns – Damage: 200% ▶ 300%

Descending Tiger – Damage: 1820% ▶ 1840% / Knockback Damage: 60 ▶ 70

Fatal Petals – Damage: 1280% ▶ 1480%
Magics

Shockwave – Knockback Damage: 30 ▶ 35

Aqua Blast – Damage: 1200% ▶ 1300%

Cold Shot – Damage: 180% ▶ 640%

Death Ray – Damage: 2560% ▶ 2380% / Cost: 140 ▶ 120 / Cooldown: 18s ▶ 15s

Ground Zero – Damage: 3810% ▶ 4210% / Knockback Damage: 100 ▶ 125 / Cost: 155 ▶ 160

Energy Discharge – Cost: 110 ▶ 95

Rock Skewer – Damage: 1420% ▶ 1430%

Earthquake – Knockback Damage: 200 ▶ 240

Magnum Sniping – Damage: 680% ▶ 790% / Cost: 130 ▶ 140 / Cooldown: 18s ▶ 15s

Frost Blade – Cooldown: 30s ▶ 25s

Paralyze – Cooldown: 17s ▶ 16s

Curse – Cooldown: 21s ▶ 19s
Swordforces

Pioneer – Cooldown: 0.4s ▶ 0.3s

Judgement – Cooldown: 0.7s ▶ 0.6s

Severance – Damage: 250% ▶ 900% / Cost: 6 ▶ 4

Exclusion – Cooldown: 0.8s ▶ 0.7s

Purge – Damage: 220% ▶ 370%

Propagation – Damage: 720% ▶ 740%

Inhibition – Cost: 6 ▶ 5

Vigor– Damage: 600% ▶ 610%

Surge– Damage: 720% ▶ 750%

Punishment– Damage: 1240% ▶ 1520% / Knockback Damage: 40 ▶ 30 / Cost: 3 ▶ 4

Patience – Damage: 3470% ▶ 3670%

Liberation – Damage: 4680% ▶ 4590% / Cooldown: 40s ▶ 20s

Reminiscence – Cooldown: 0.6s ▶ 0.5s
HUD Changes
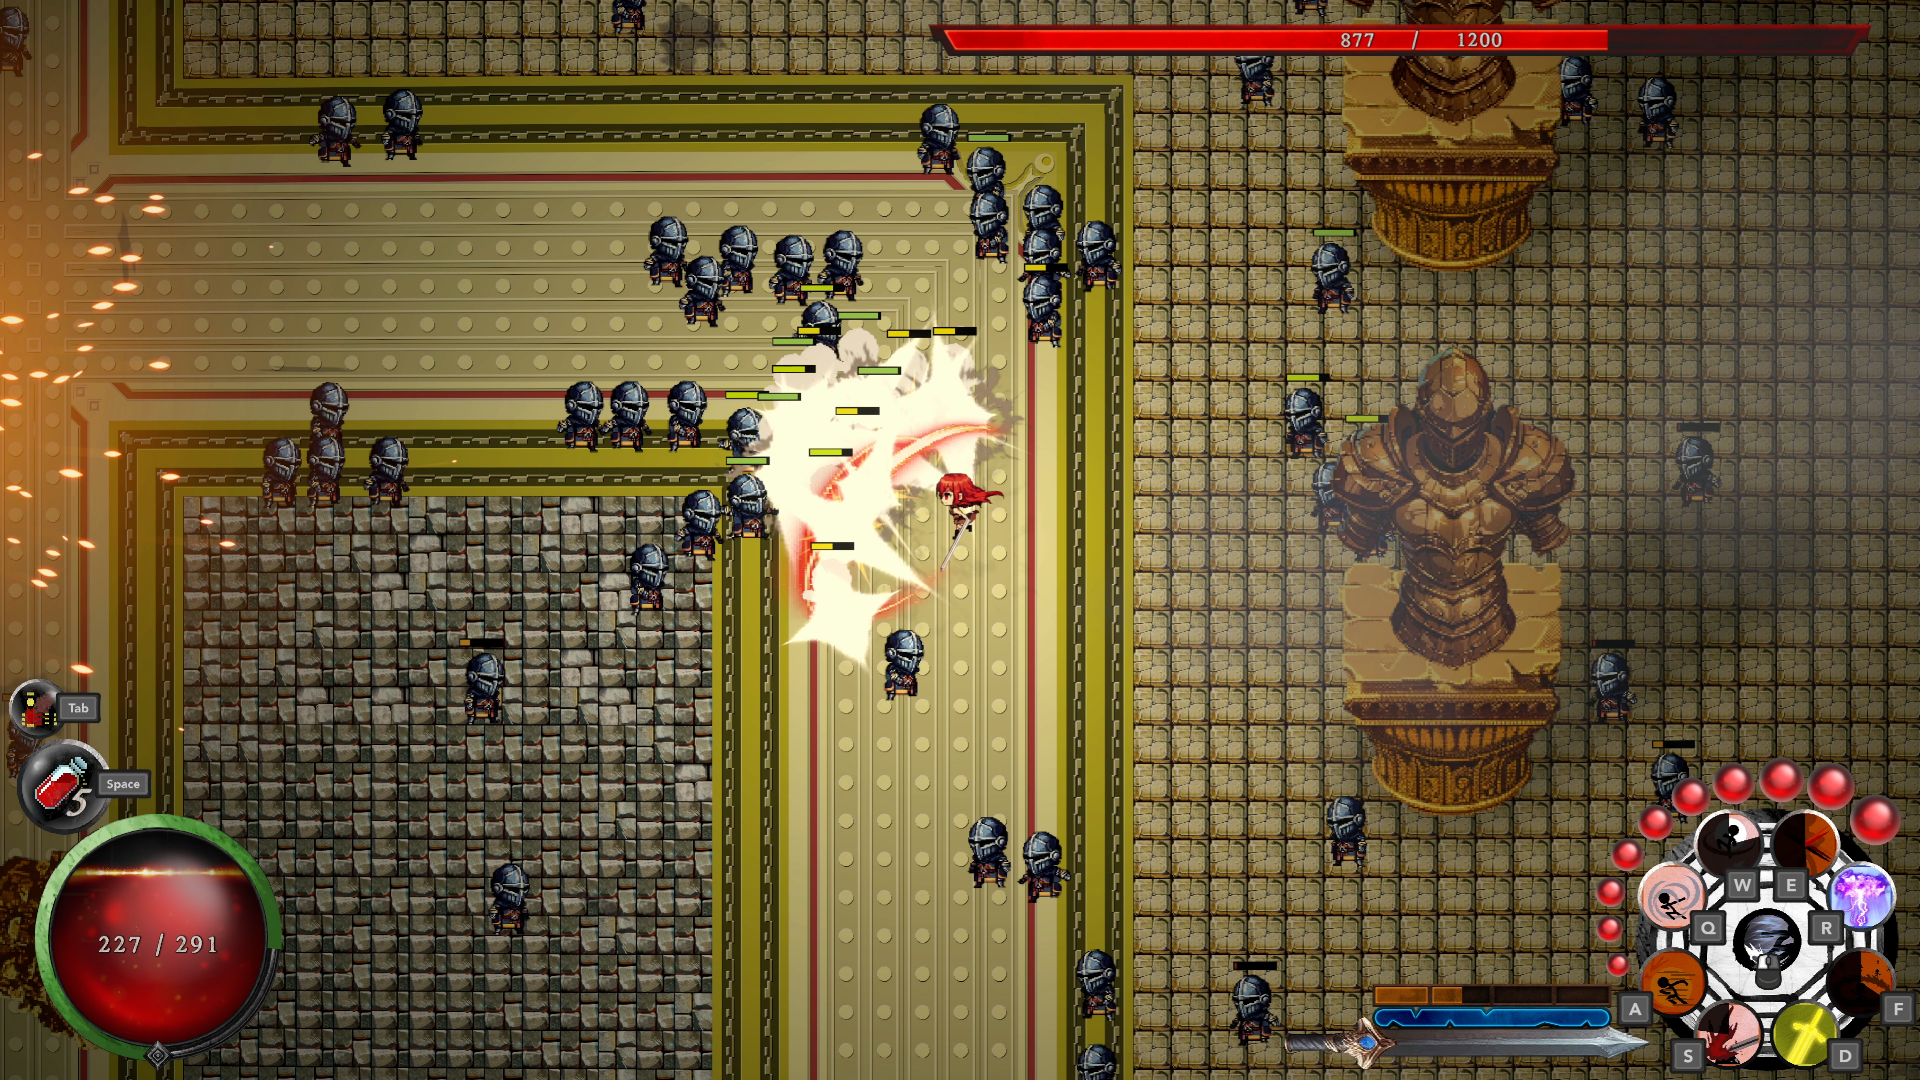
At a recent exhibition, I received feedback that "the HUD is too small, making it hard to see combat information at a glance.". While I didn't fully notice this when developing on large monitors, I realized it must have been quite uncomfortable on smaller screens like laptops. As a result, I have completely overhauled the HUD.
I increased the size of skill icons and HP bars, and rearranged resource indicators accordingly. I've also increased the size of the hotkey icons, which will allow you to assess combat situations much more intuitively.
Of course, the modified HUD might feel a bit unfamiliar or awkward at first. I am always keeping a close eye on HUD-related feedback, so please feel free to share your thoughts and opinions with us at any time.
Graphics Upscaling & FOV Changes
Last winter, I worked on pixelating the graphic assets to unify the style of the backgrounds and objects. However, there was one thing I overlooked at the time: the pixel sizes varied inconsistently from object to object.
To minimize asset file sizes while accommodating a variety of dimensions, I adjusted object scales purely based on fit. This disrupted the uniformity of the pixel sizes, occasionally creating awkward-looking scenes.
To fix this and match the pixel sizes properly, I have upscaled the graphic assets once again. Furthermore, because this change made the playable character appear smaller on screen, I narrowed the field of view to make the character stand out more.
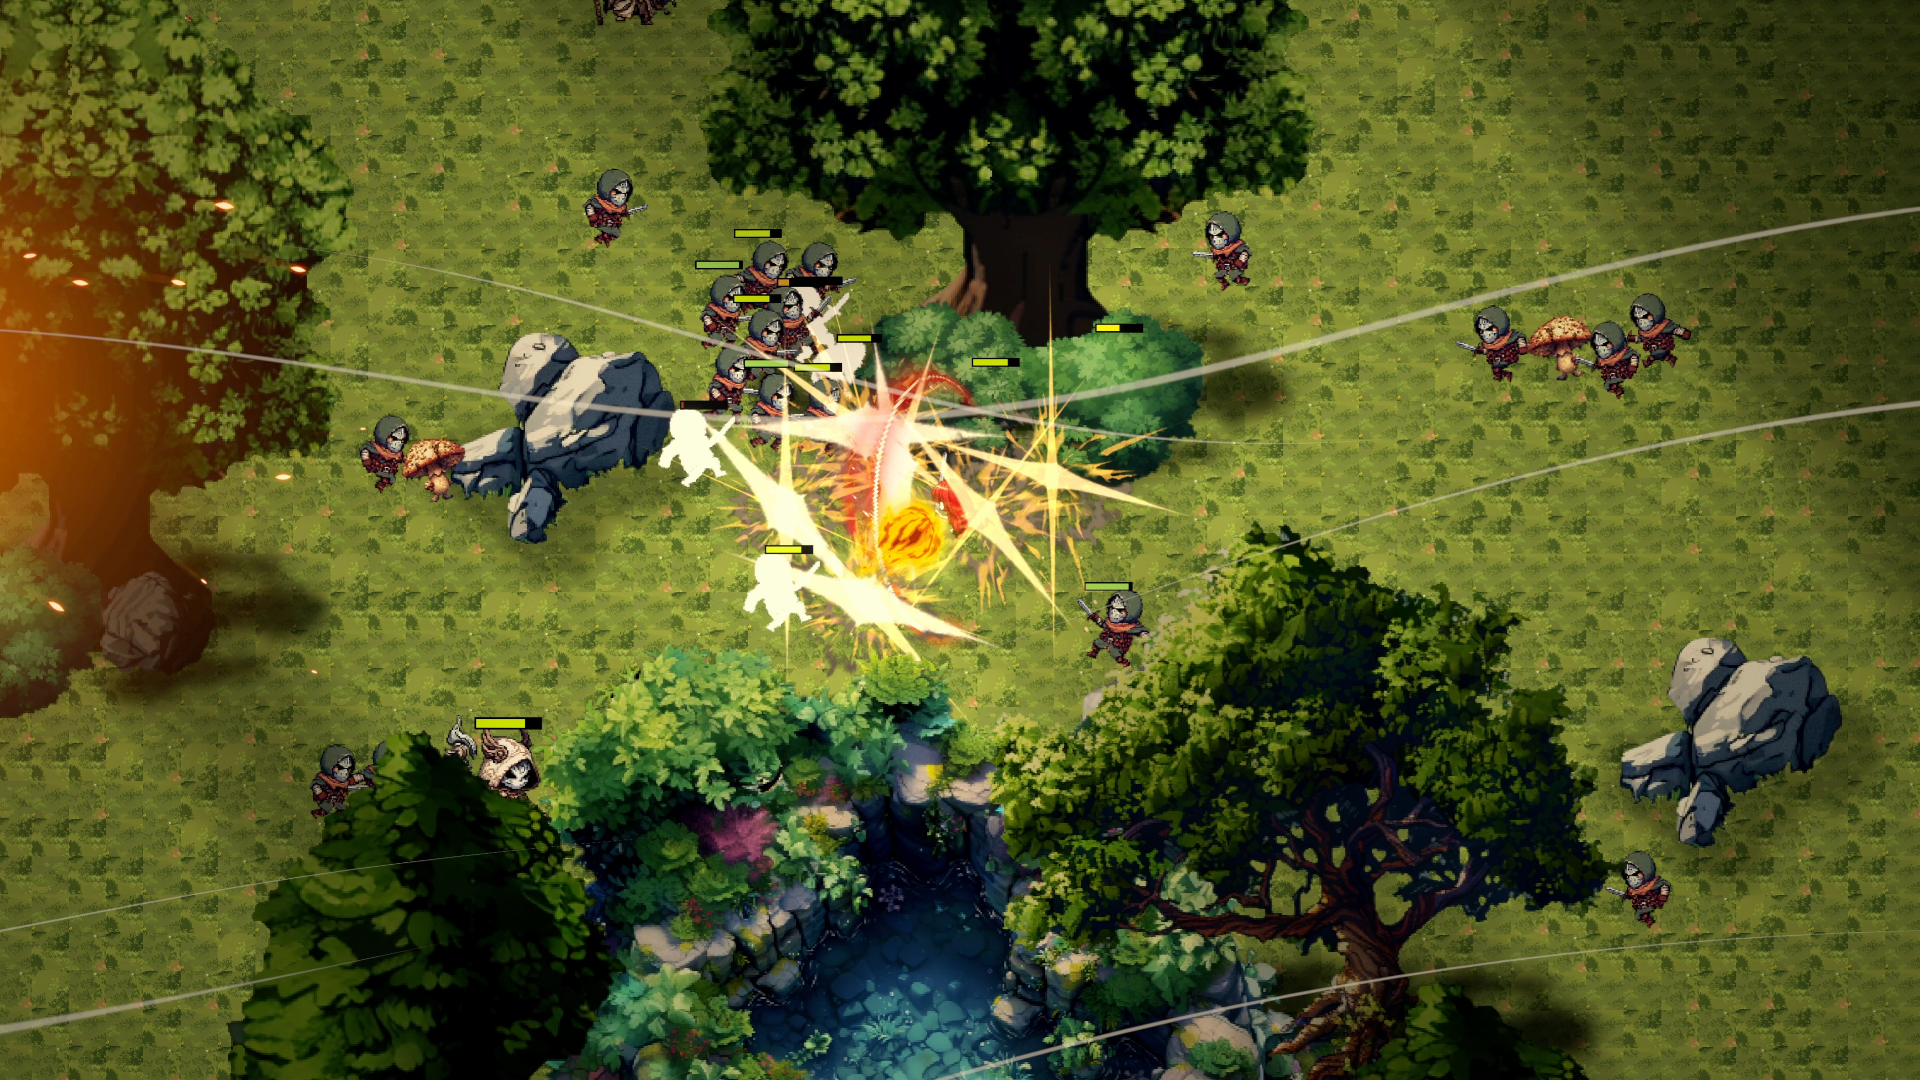
I've also modified some map structures to align with these updates. Check them out and compare them while you play!
Closing
That’s it for the explanation. Overall, this update focuses on smoothing out unfair combat elements and easing the general difficulty.
Although I originally developed the game with a high difficulty in mind, I didn't fully consider the barrier to entry for players who are unfamiliar with this genre. At the end of the day, a game should provide joy and excitement to players who are exhausted by reality; it shouldn't be a tool to satisfy my own sadism through endless frustration.
Moving forward, I will continue to monitor various statistical metrics, such as clear rates and replay frequency, to find a smooth, comfortable, and enjoyable balance.
Thank you!
– WrongTaken