
Are you a newcomer to the N-age Young and Dangerous Life game? Or perhaps a seasoned player who's revisiting childhood memories after a gap of 10 years or more? Fret not, as we have created a beginner's guide to help you get started.
Beginner’s Quest
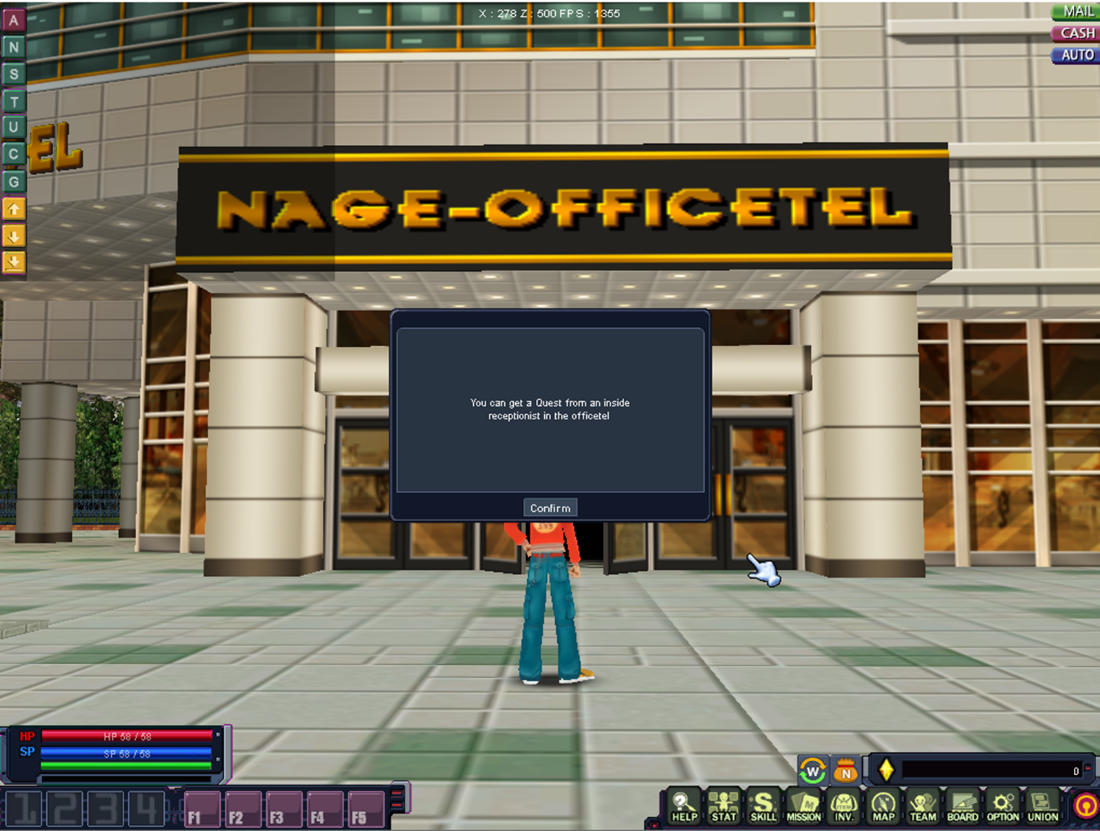
Once the character creation process is finished, the character will spawn at the entrance of the nearby "Officetel".
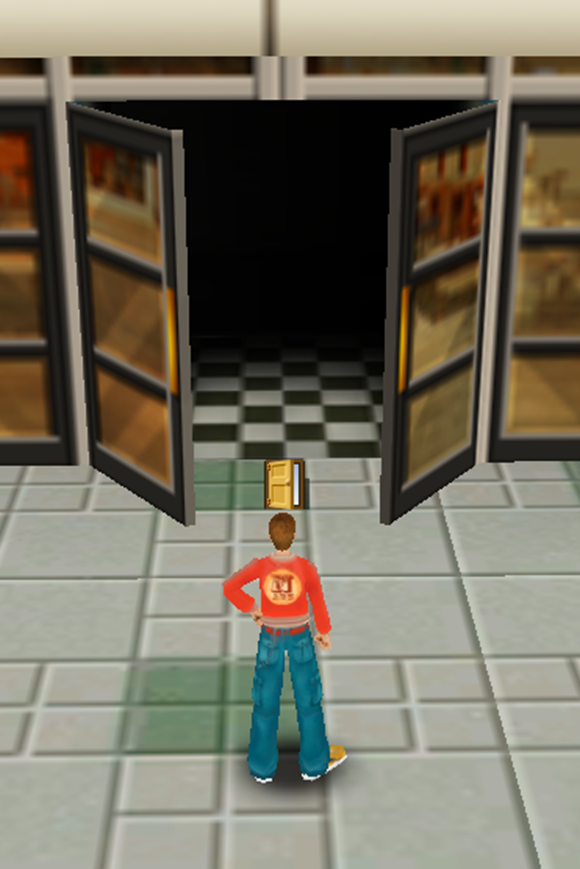
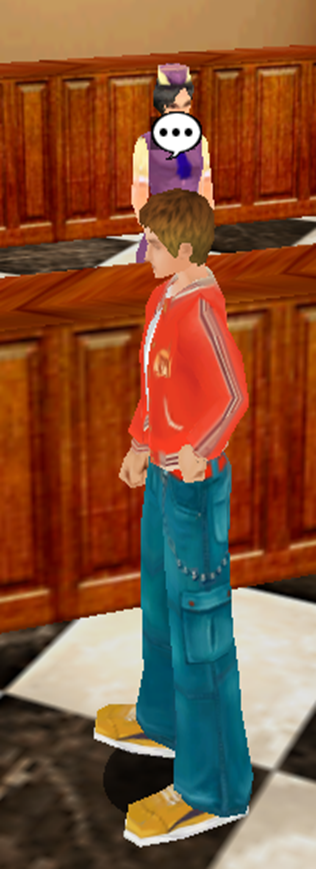
You'll find the Officetel building closest to your location. Simply left-click on the door to enter it and speak with the NPC inside to receive the Beginner Quest.
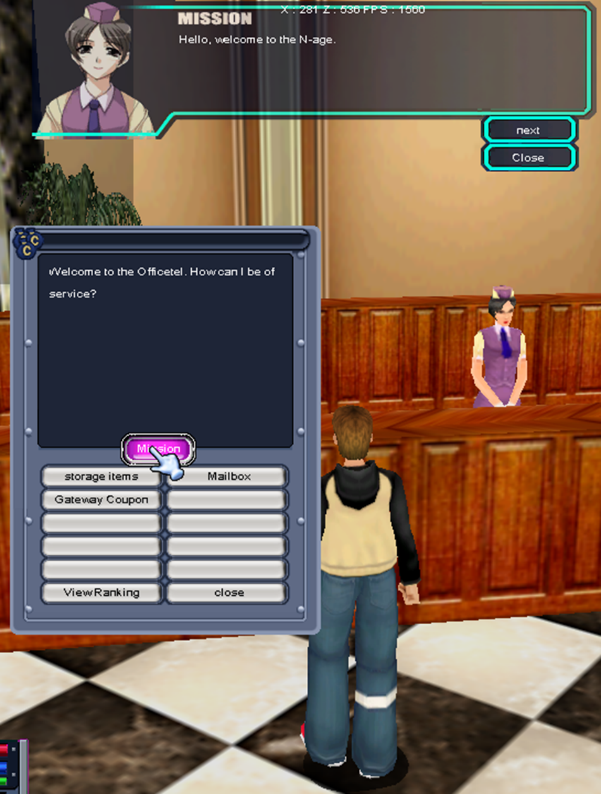
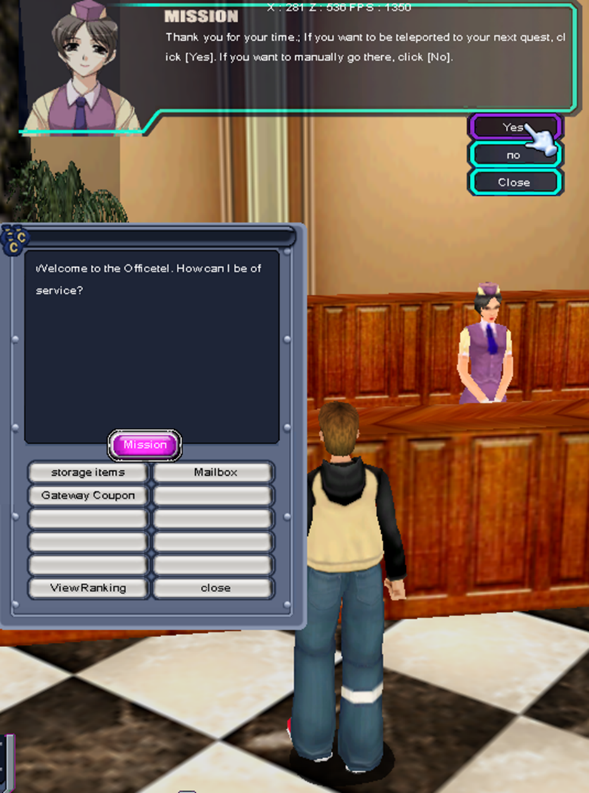
Once the dialogue box appears, click on the "Mission" button to accept the quest. Read through the basic guide and click on the "Next" button once you understand it. Once done, click on "Yes" to teleport automatically to the next quest location or "No" to travel there manually.
Convenience Store
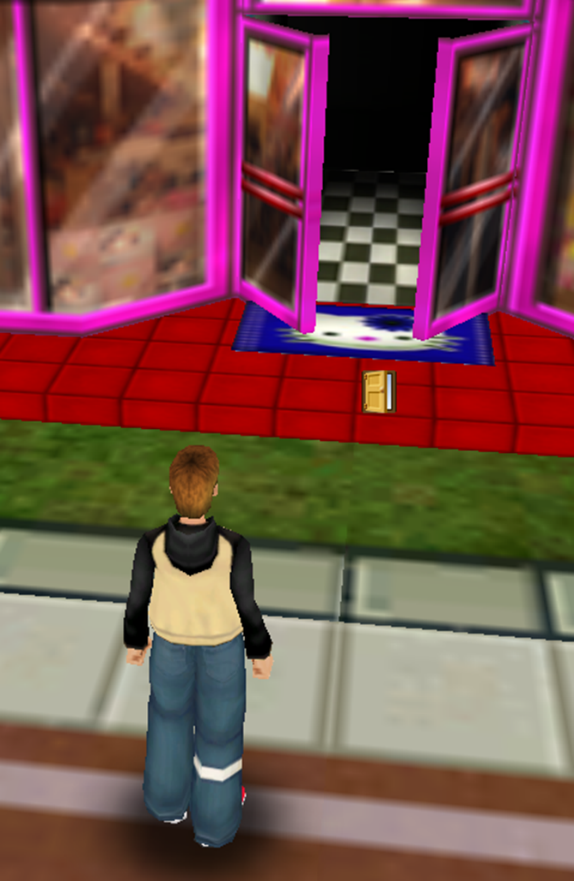
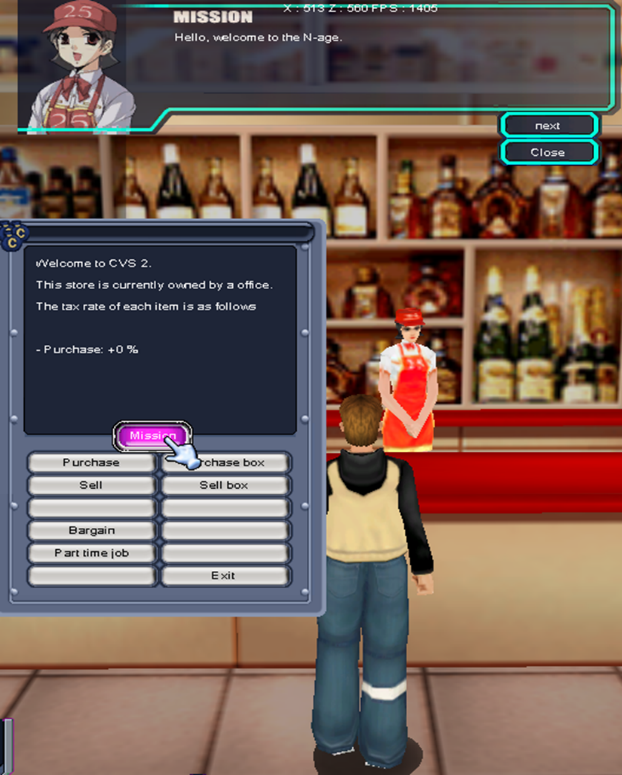
Enter the "Convenience Store" by left-clicking on the door and speak to the NPC.
Click on the "Mission" button and read the "Convenience Store" guide before clicking on "Next".
Complete the quest objectives and choose to teleport automatically by clicking "Yes", or manually travel to the next location by clicking "No".
Weapon Shop
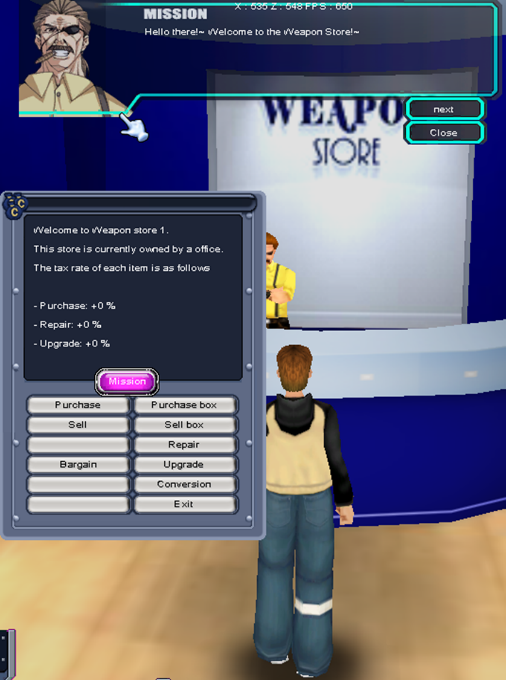
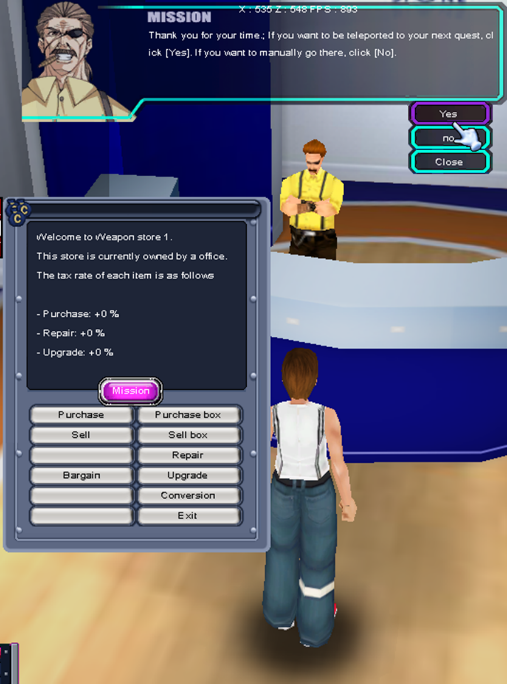
Go to the "Weapon Shop" and left-click on the door to enter.
Speak to the NPC and click on the "Mission" button.
Read the "Weapon Shop" guide carefully before clicking on "Next".
After completing the quest objectives, choose to teleport automatically by clicking "Yes", or manually travel to the next location by clicking "No".
Pharmacy
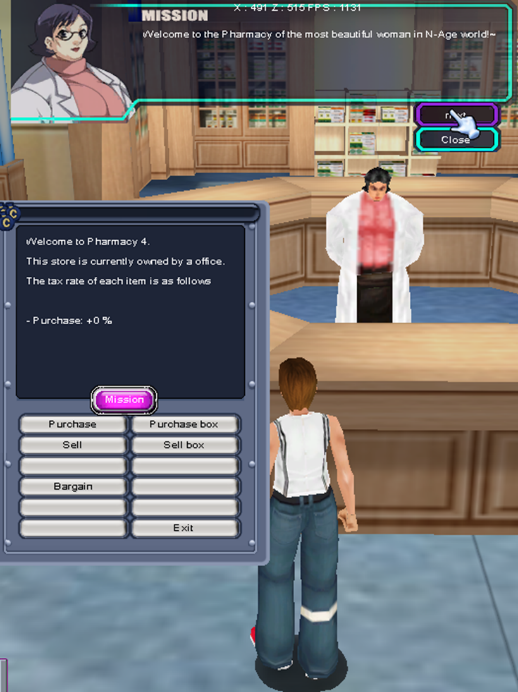
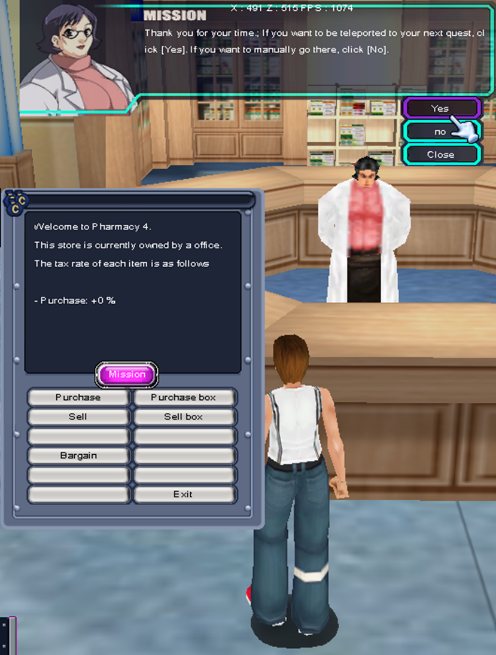
Head to the "Pharmacy" and enter the building by left-clicking on the door.
Speak with the NPC and click on the "Mission" button.
Read and comprehend the "Pharmacy" guide before clicking on "Next".
After completing the quest objectives, select "Yes" to teleport automatically to the next quest location, or "No" to go there manually.
Clothing Shop
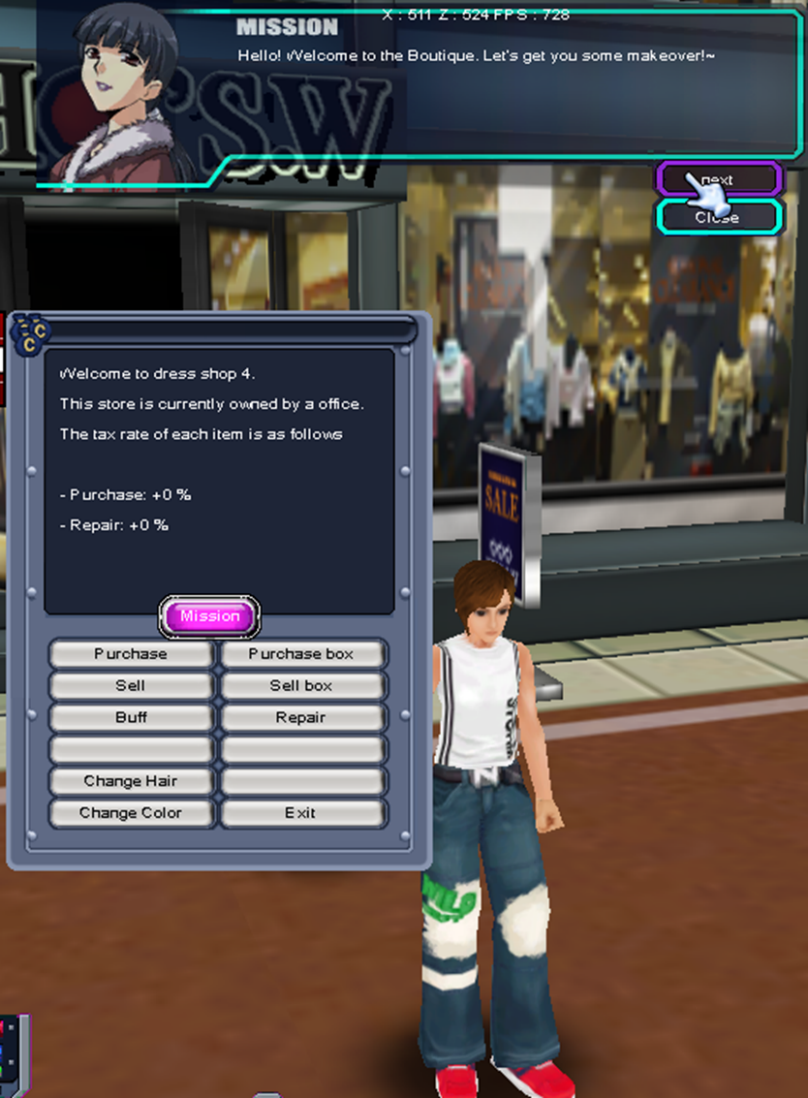
Head to the "Clothing Shop" to complete the final quest.
Talk to the NPC at the entrance and click on the "Mission" button.
Read and understand the "Clothing Shop" guide before clicking on "Close".
NOTE: Keep in mind that completing each guided quest will provide you with helpful rewards, especially if you're new to the game!
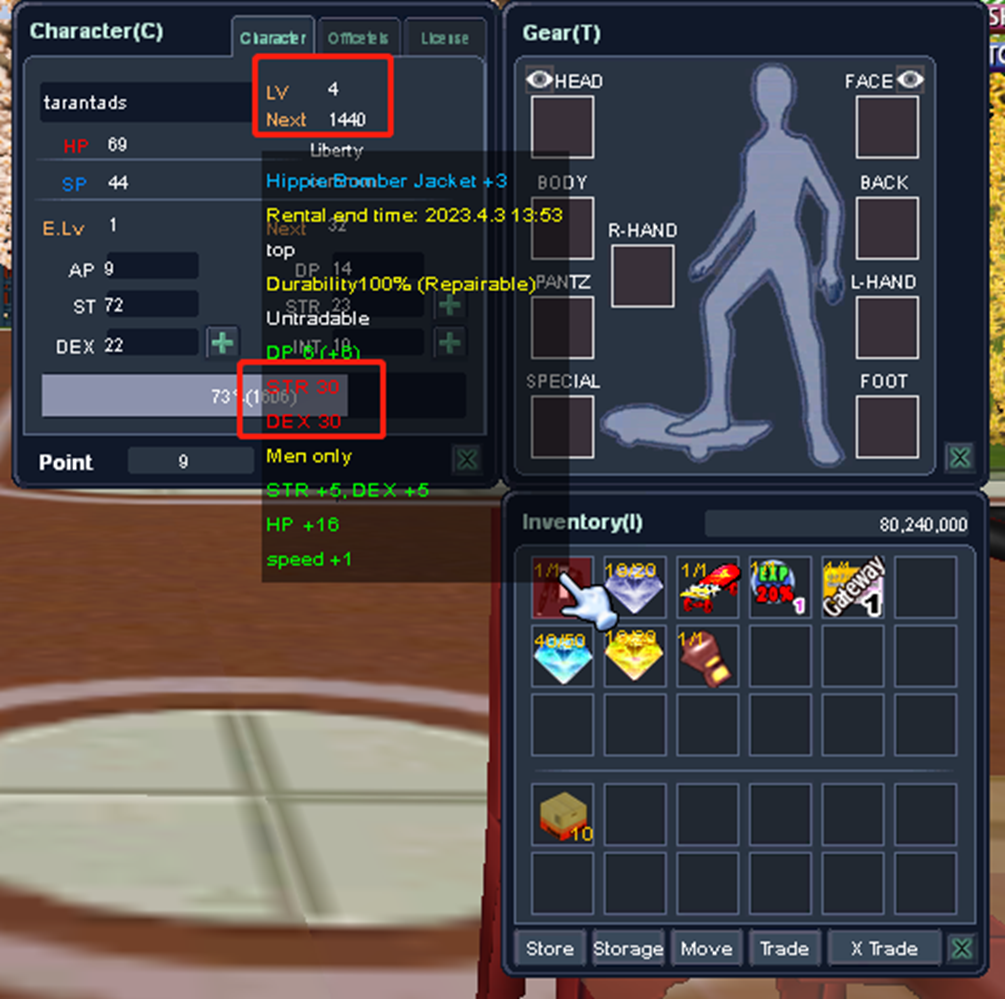
Upon completing the Beginner Quest, your character should now be at Level 4.
Press the shortcut key "C" to check your character's level information and the experience required for the next level.
To view your items in the inventory slot, press the "I" button and hover the mouse over the item to see its stat requirements.
If an item's stats are marked in "red", it means that you do not have enough stat attribute to equip the item.
Leveling Up
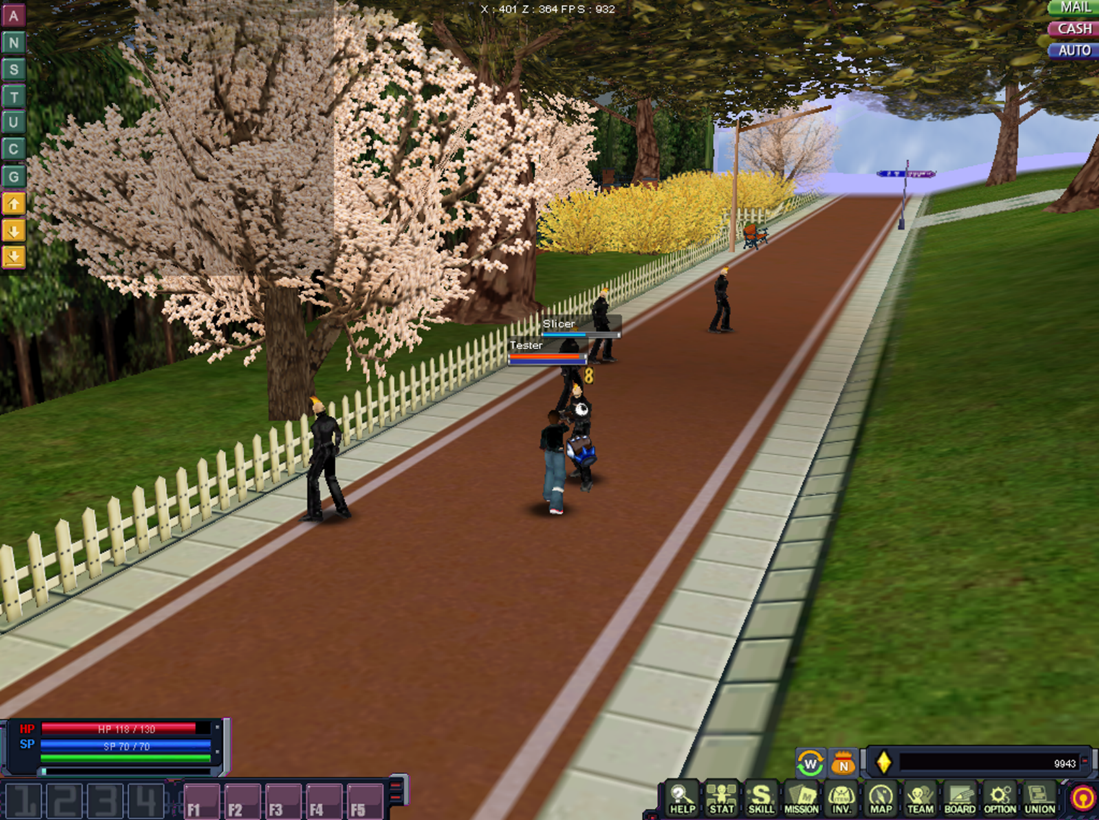
Monsters are scattered all over the map, but before attacking them, it's highly recommended to check their levels.
Checking the level of the monsters beforehand can help you determine if you're strong enough to defeat them.
Successfully killing monsters will give you experience points, which can be viewed at the top left corner of the screen.
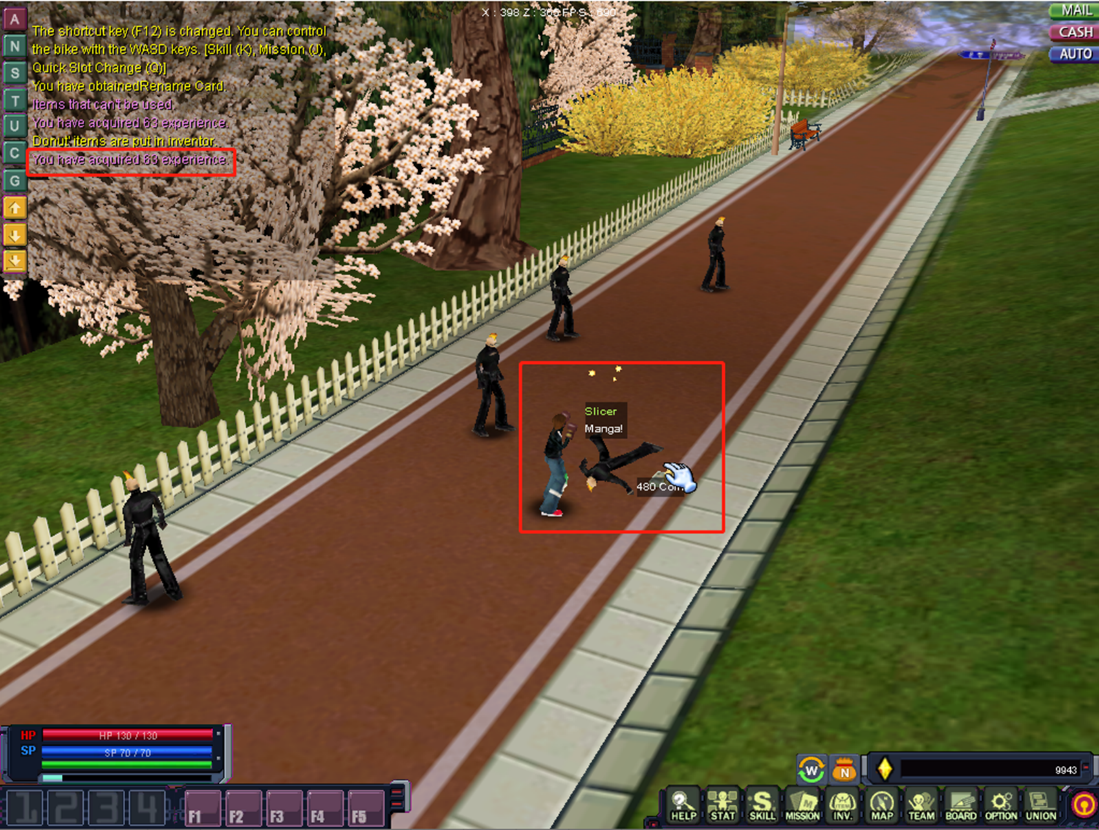
To check your current experience, hover your mouse over the light blue bar in the "Status" bar, or press the (C) button.
To pick up items dropped on the ground, simply click the left mouse button.
Make sure to add HP consumables to your quick slot to avoid dying during battles.
Dying
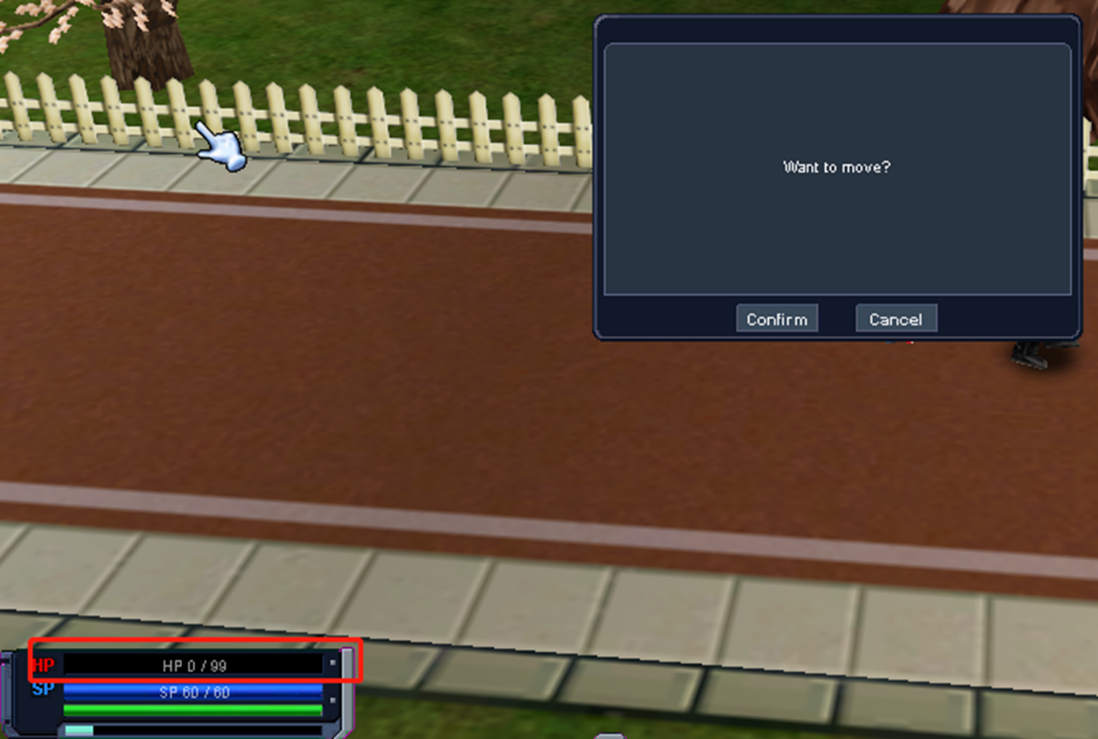
When your character's HP reaches 0, you will be knocked out and unable to move or perform any action.
To revive your character, press (F11) and click "Confirm". Your character will then be teleported to the nearest hospital or resurrection point.
Note that dying will result in an automatic 5% reduction in your current experience points as a penalty.
Alternatively, if you choose to use an item to resurrect, 10% of your money in the inventory will be deducted.
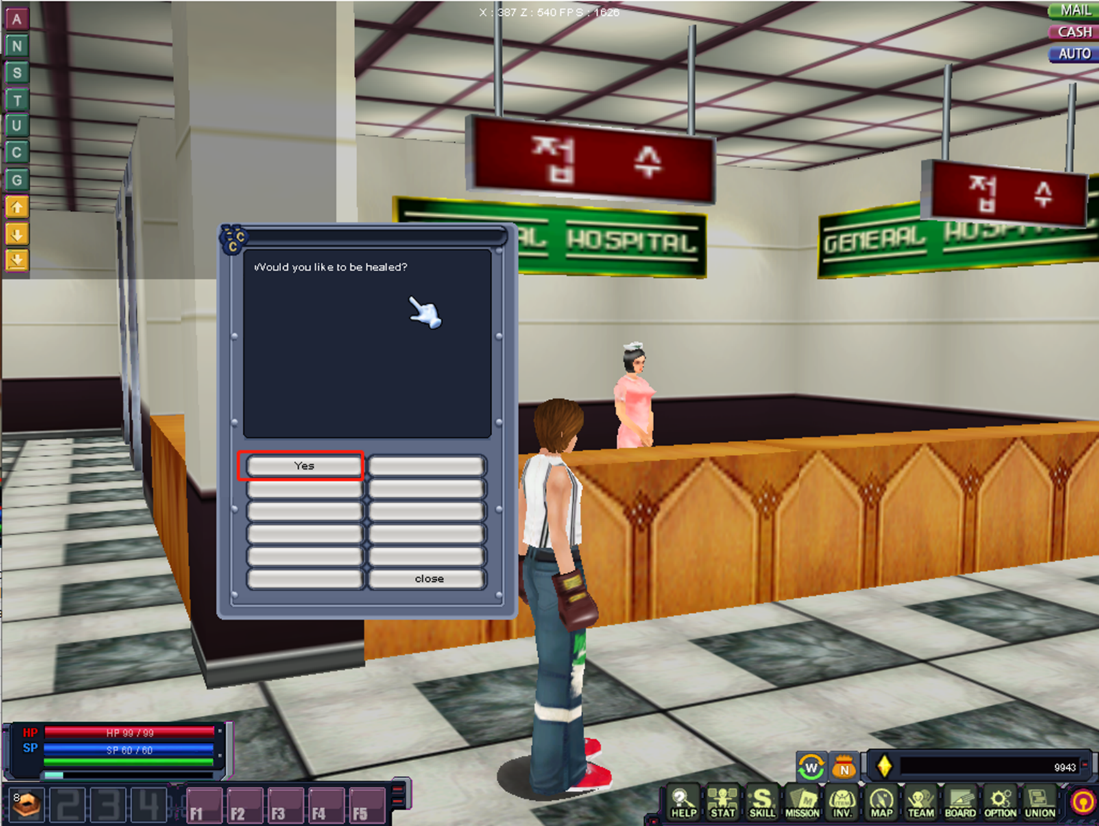
Reviving at the hospital will restore your character's HP to 1/4 of its maximum value.
To fully heal your character, talk to the nurse inside the hospital.
The nurse will provide healing services for a fee, which will vary depending on your character's level and the amount of HP needed to be restored.
Teaming Up
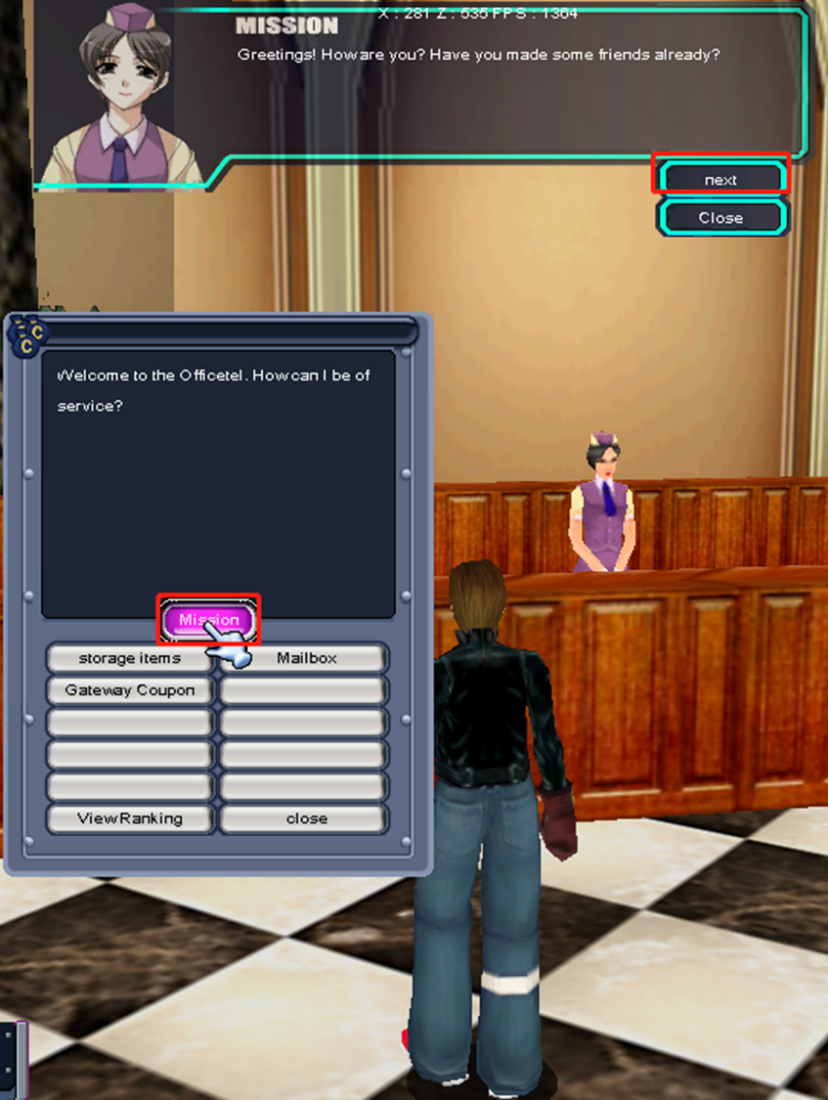
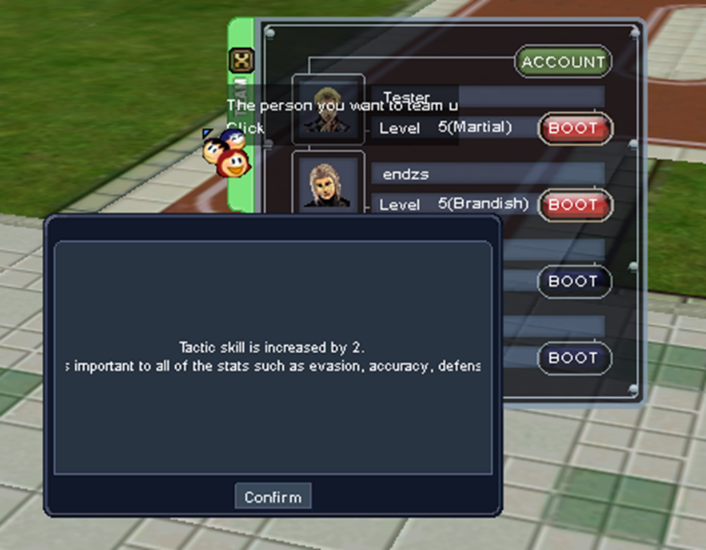
When your character reaches Level 5, return to the "Officetel" to start the quest for forming a party.
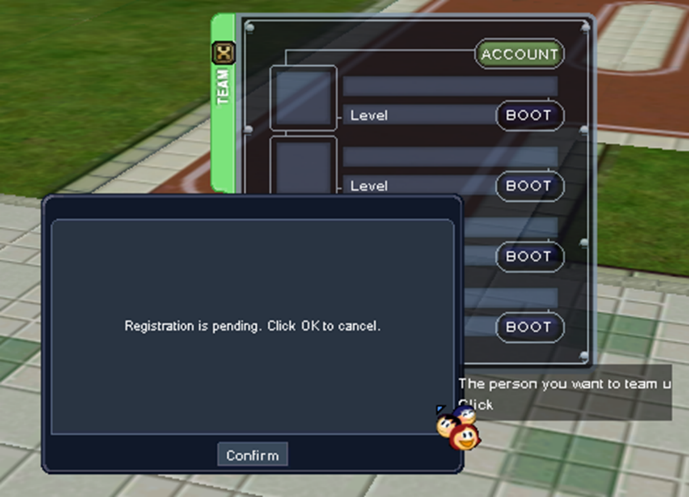
Invited players will receive a confirmation dialogue to accept or decline the invitation.
Upon confirmation, a party will be created and the quest will be completed.
It's suggested to level up with friends to earn full experience points and gain experience when teammates defeat nearby monsters.
Quest
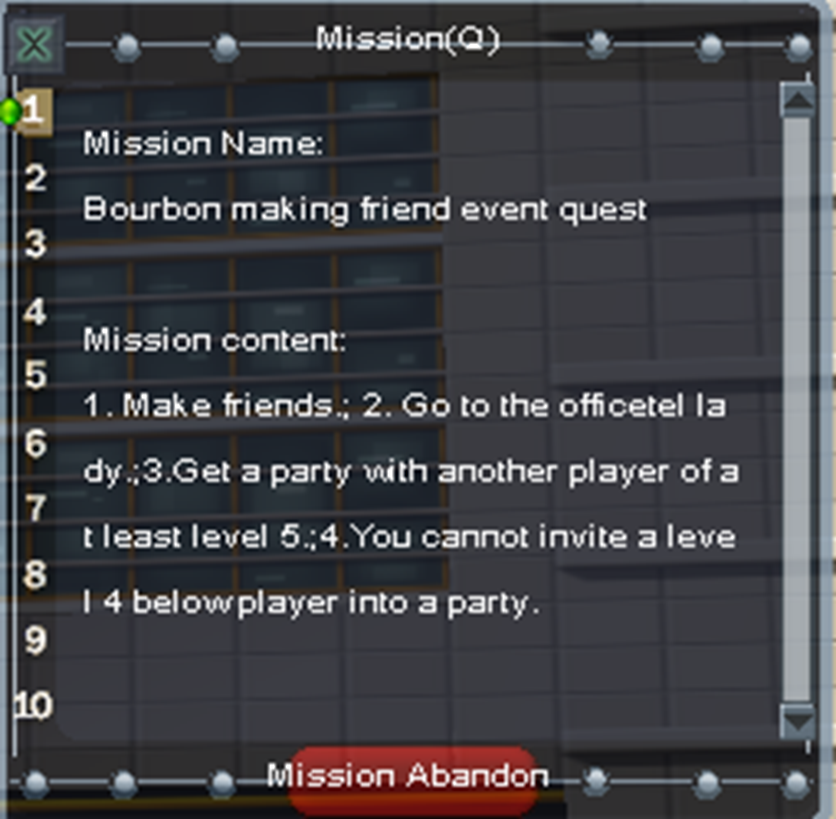
You can view current ongoing quests and their information by pressing (Q)
Here are some quest samples you can get in the game.
- Beginner Quest: Lvl 1~4. Initial quest inside Officetel building.
- Leveling Quest: Lvl 15~50. Initial quest in Clothing Shop.
- Daily Quest: Random quests received daily that consists of Economic, Hunting and Upgrading.
- Event quests, License Upgrade quest, Character upgrade etc.