
The process of developing a 3D model is a very creative and interesting process. In the first of three articles, we will analyze the important stages, which include such processes as assembling and scanning the models all the way through to polishing and creating a highly detailed, game-ready, model.
The first stage - Assembling and scanning of the physical model
First, we need to assemble and scan the physical model. The accuracy of the proportions and details obtained directly impacts the final result.
Show details

To achieve the highest quality scan, it is necessary to take about 600-800 pictures of the physical model from all sides. It is very important to set up the correct lighting to get the best quality photos. The more information we have at the start, the better the quality will be at the end of the scanning process.
Show details

The second stage - Symmetrizing and refining proportions and silhouette
To adapt the scanned model for a game model, it is necessary to cut the scanned model into separate parts and place it in an A-pose to understand the proportions.
Show details

Some elements of the figure need to be enlarged or reduced for a more accurate representation in the game world.
Show details

The third stage - Adjusting and refining to human-like proportions
At this stage, the proportions of the model are further refined and harmonized. The A-pose is also adjusted for use in future animation tasks.
Show details

The elements of the model that were dynamic in previous stages are adjusted to meet technical requirements.
Show details

Polishing
Next, we move on to the stage of cleaning the scan, removing all unnecessary elements, and dividing the model by materials, paying maximum attention to the expressiveness of large and medium shapes.
Show details

After the model is divided into various groups and elements, we begin the process of polishing each part, bringing the geometry to the desired state. We can sometimes lose information during the scanning process for some elements, we model such parts from scratch, based on references and numerous photos.
Show details


HighPoly model
The next step is the high-poly model, where we finalize all the elements. We refine the folds in the clothing, add logical damage, finalize facial features, and incorporate small fastenings into the mechanical elements. We lastly add any small ornaments.
Show details
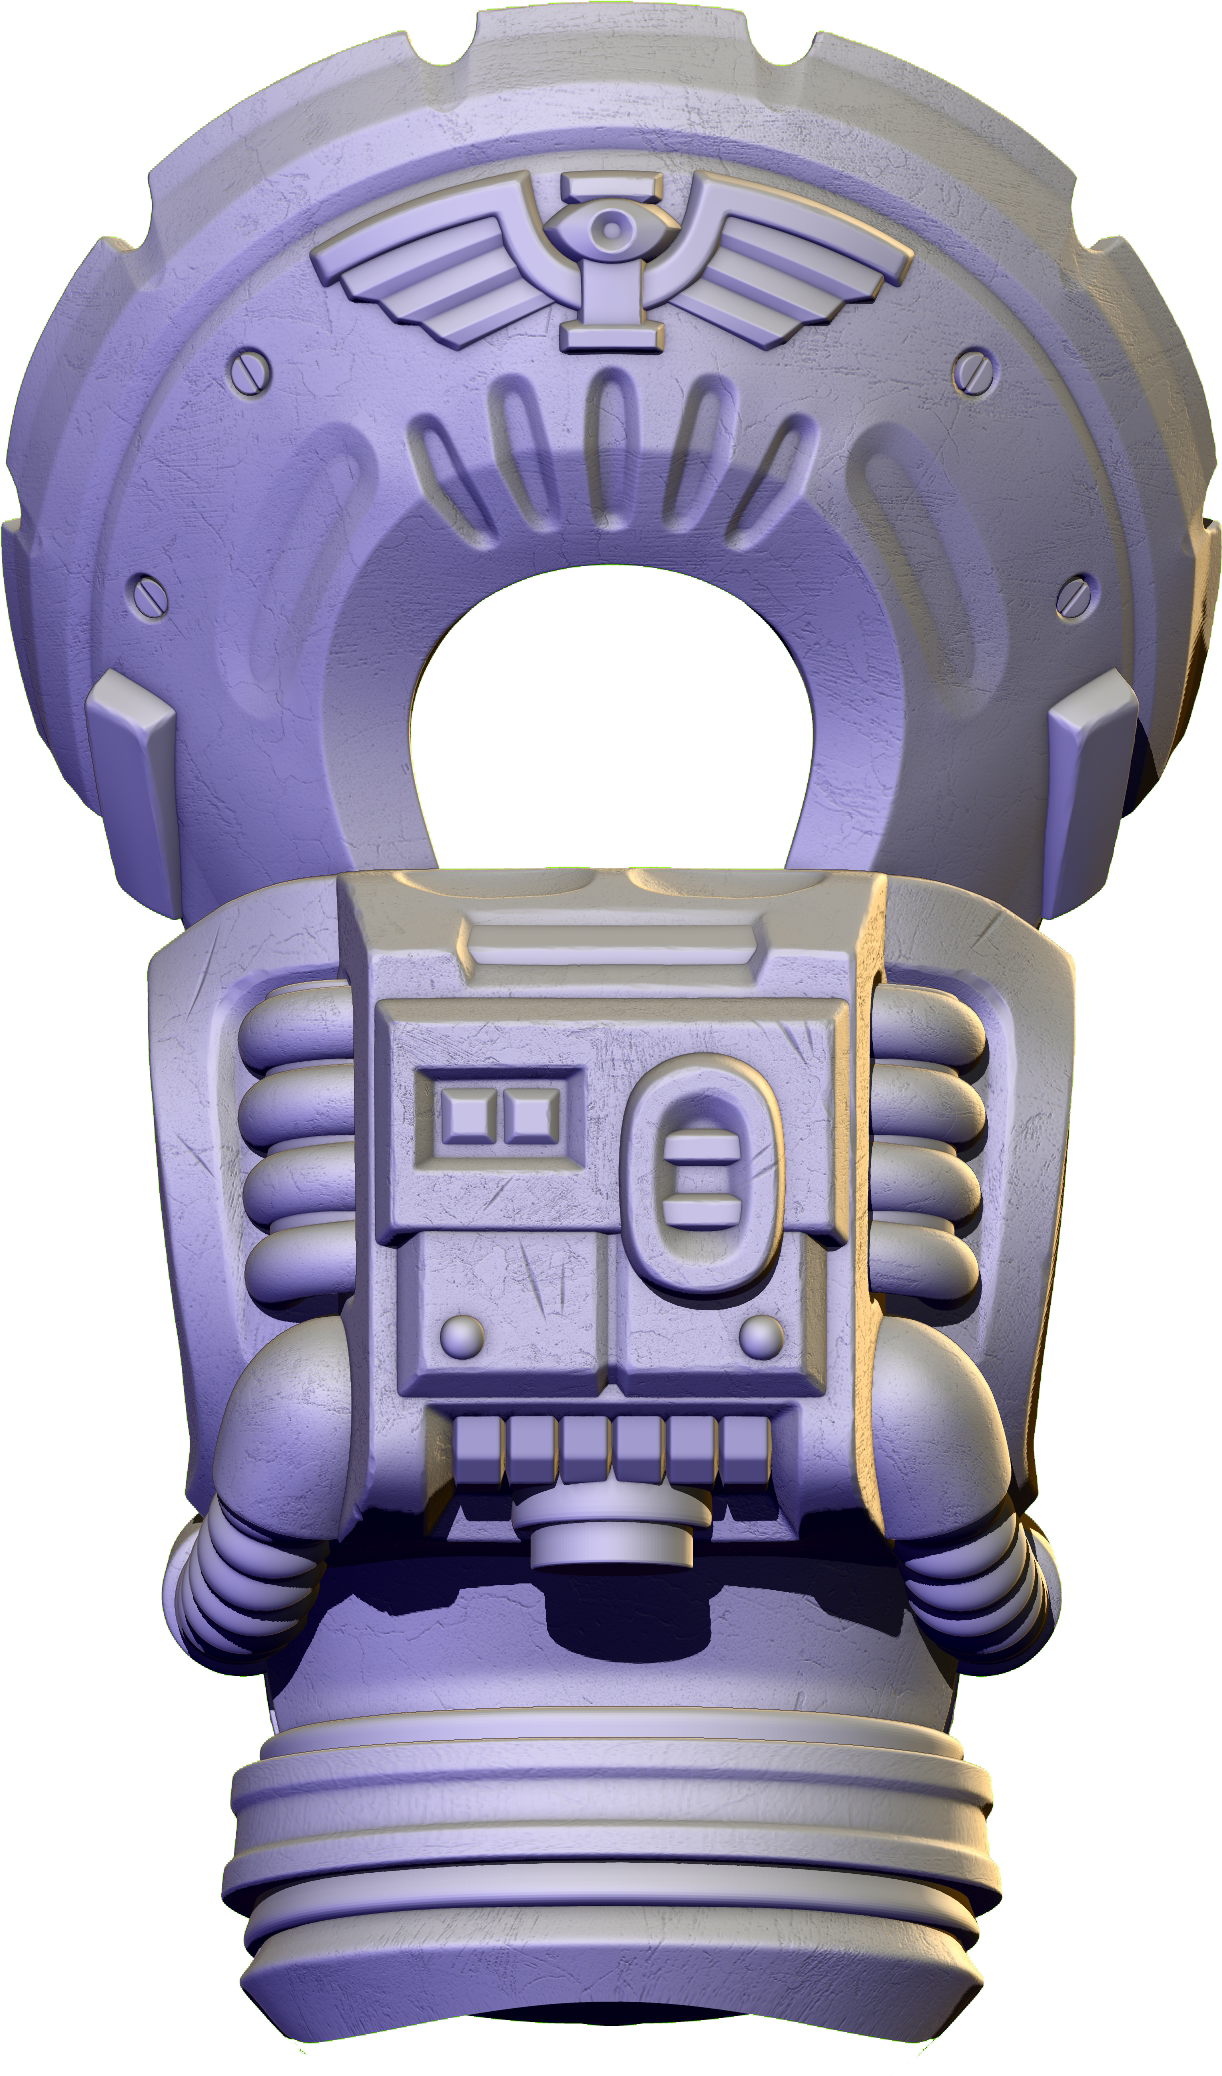


As a result, we have a model that is ready for the next stage.
Show details


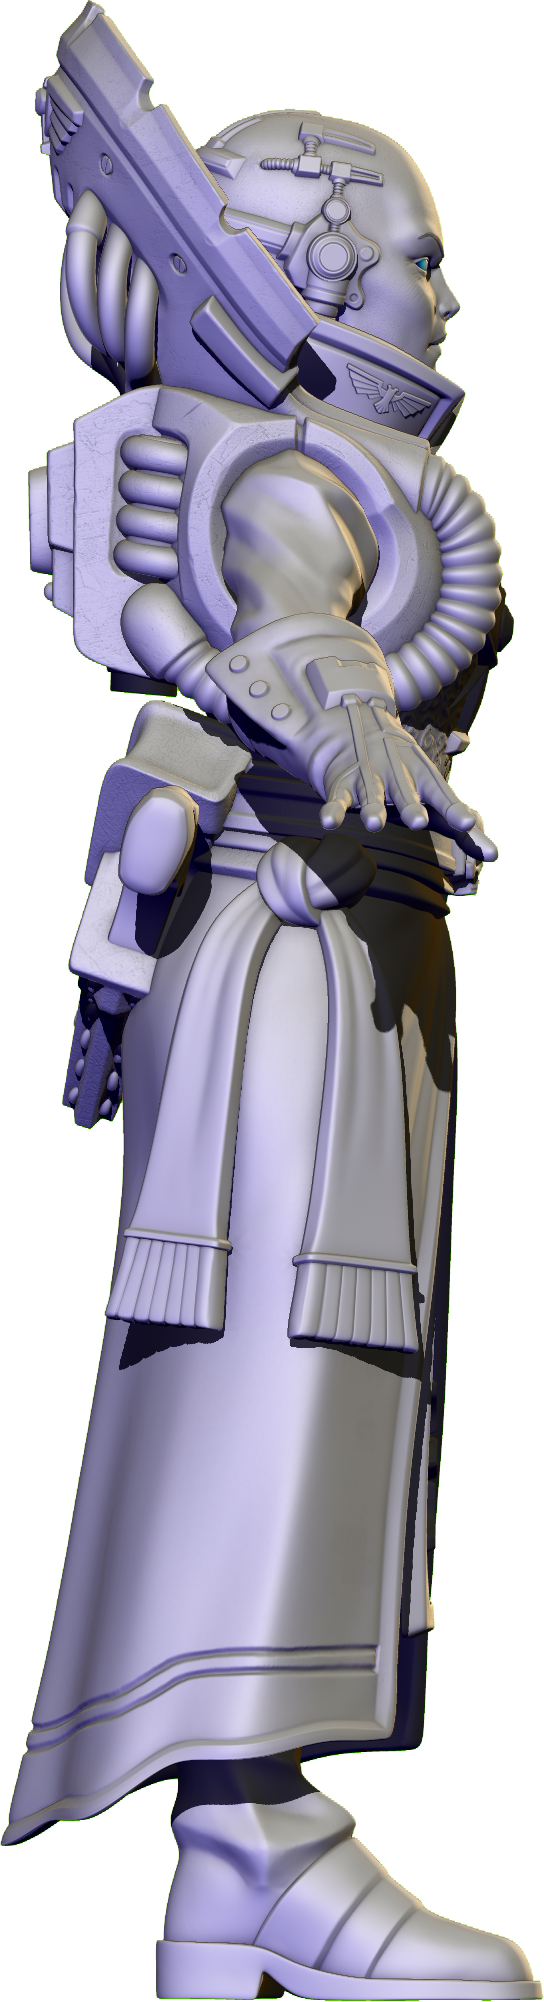
Retopology and Baking
It's now time to create a low-poly mesh for future animations. An important stage is the so-called baking process where we transfer details from a heavy sculpt to a light and optimized game ready geometry.
Show details

A low-poly model with a normal map is almost indistinguishable from a high-poly sculpture.
Show details


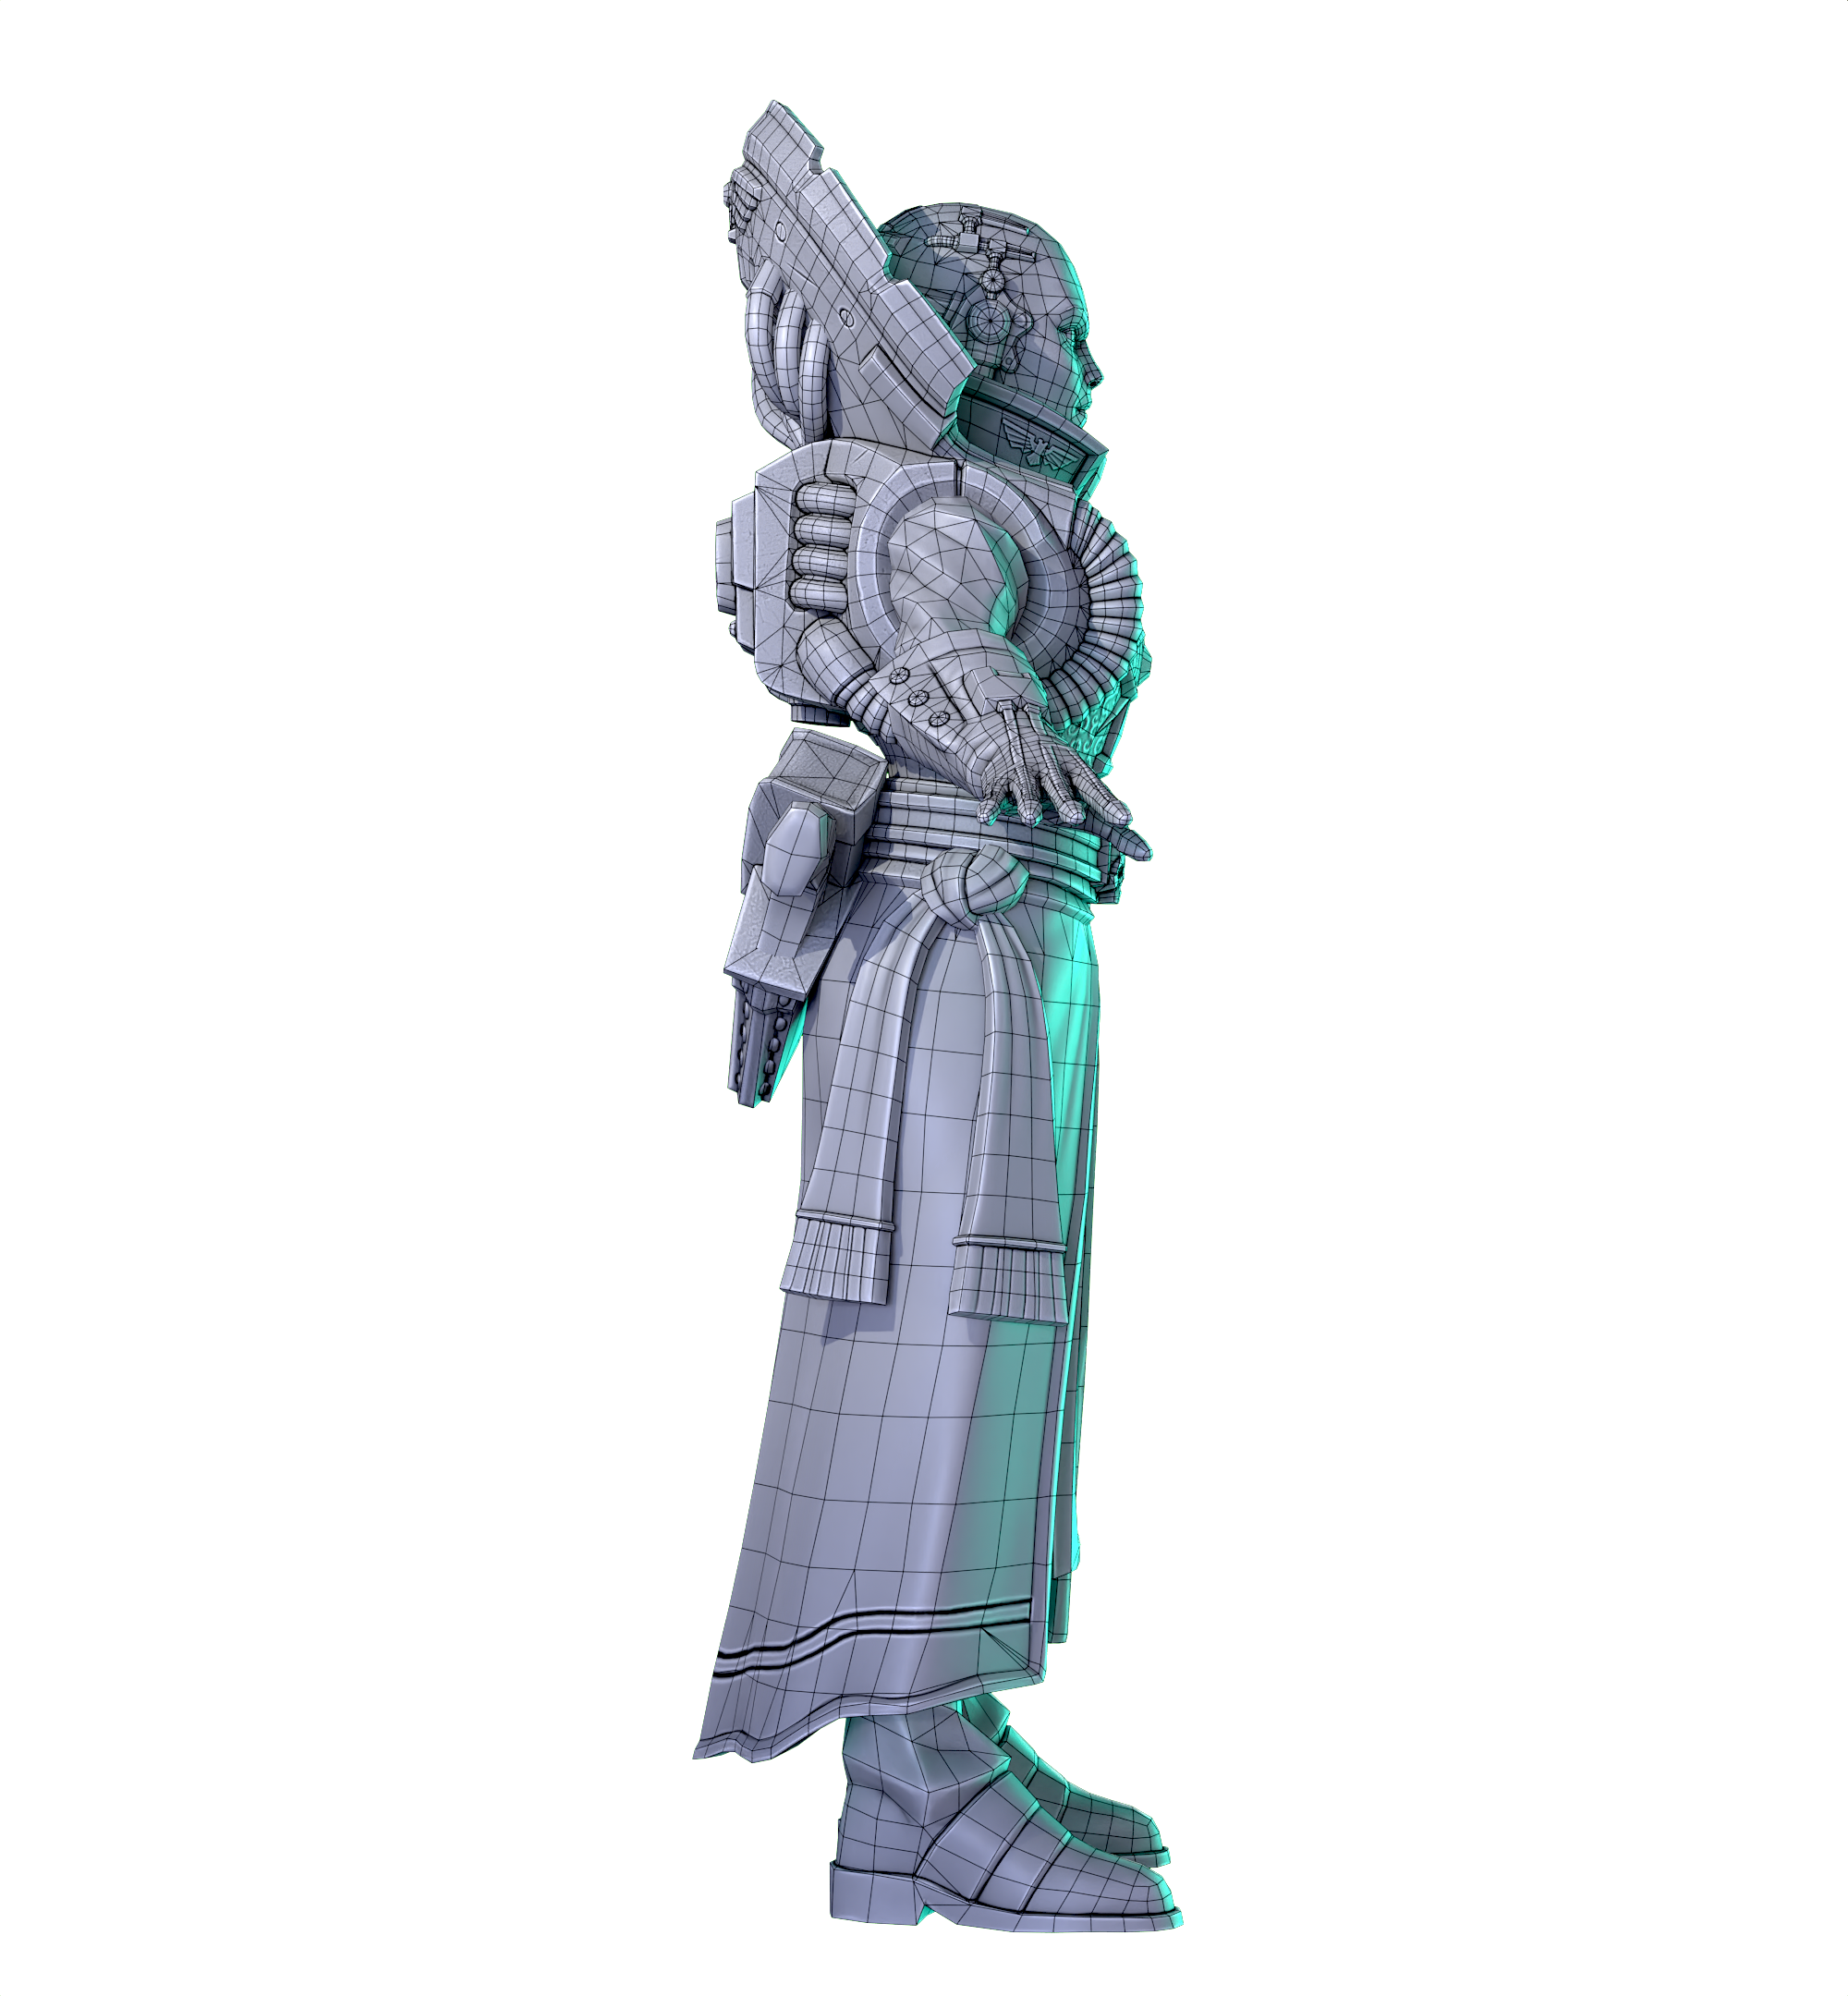


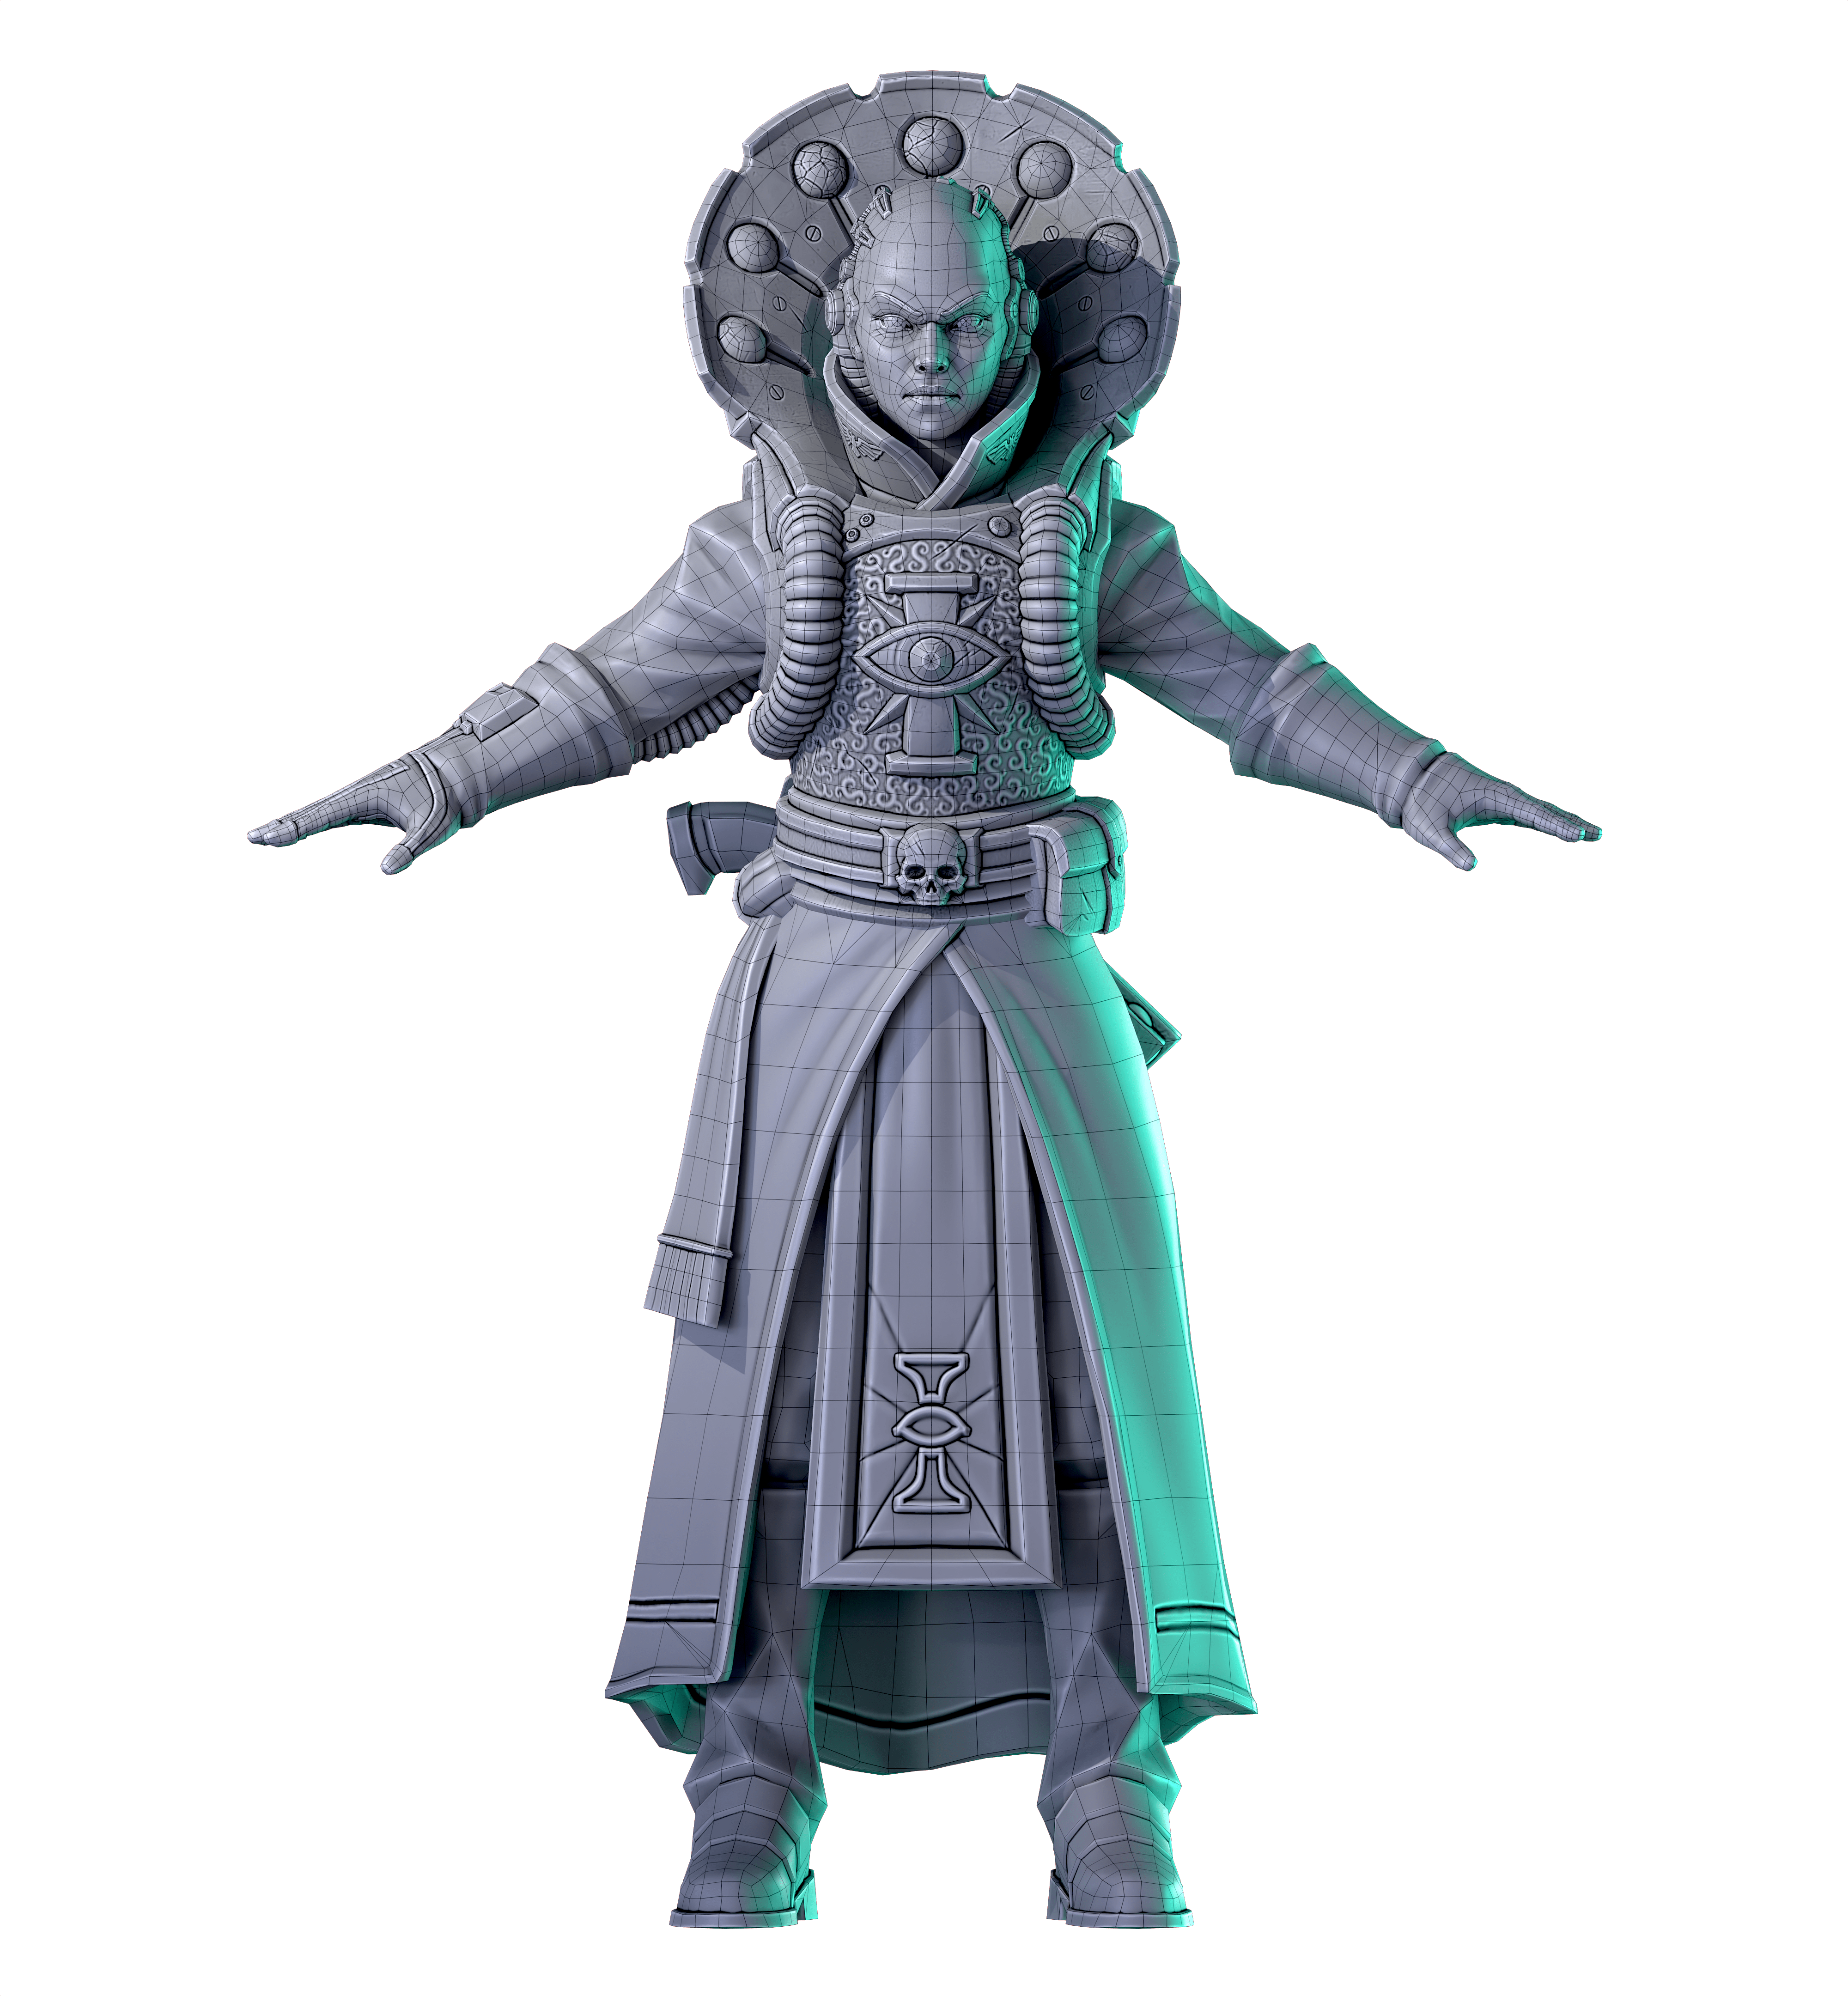
UV mapping
In the Warhammer 40k universe, characters often have complex armor, emblems, weapons, and other small details. Proper UV mapping allows you to precisely place textures so that every detail looks realistic and fits into the aesthetics of the world.
Show details

To create high-quality models with minimal resource costs, UV mapping allows you to optimize the placement of textures. This is important to preserve the quality of the model when used in gaming and animation projects, where details must remain sharp even when viewed closely.
Show details

Texturing
When creating 3D models, the use of different texture channels allows you to achieve high surface realism. Two of the key such channels are metalness and roughness. They are part of physically correct rendering (PBR — Physically Based Rendering), which models the behavior of light on object surfaces.
Show details
Flat color map represents the color of the surface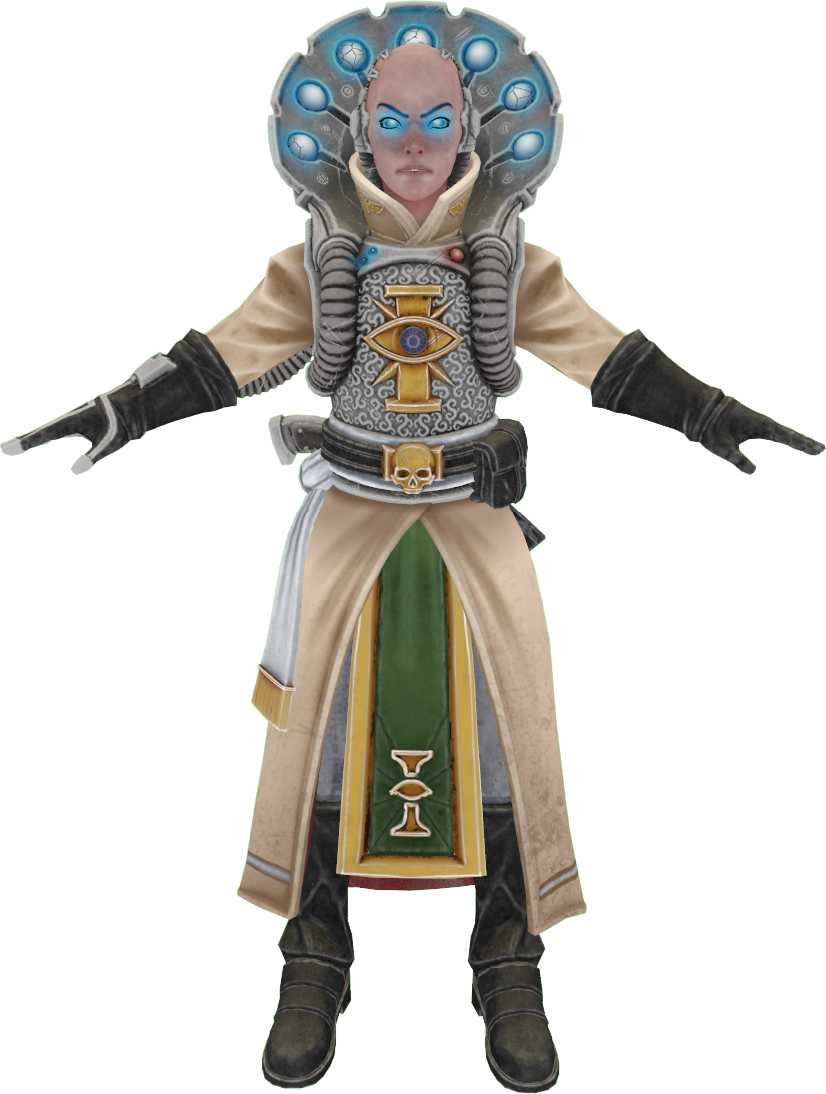 Emissive map represents parts of a model which emit light
 Metalness map represents which parts of model will look like a metal, and which parts
 Roughness map represents which parts of a model will be more shiny than others
Creating textures and materials is one of the most difficult and interesting stages of character development, in Warhammer 40,000: Battlesector it is very important that the characters belonging to the same faction look unified and similar and at the same time recognizable and unique.
Show details

Particularly interesting in this regard is Primaris Psyker, which combines metal, human skin, fabric, gemstone, rubber, leather and even wood.
Show details


Faction Smart Material
Show details
Red - Metal covered with damage and dust from dozens of battles Purple - Worn but still reliable leather Green - Cheap but sturdy good old military fabric
Final Render
