Alright, grunts! Looks like we’ve made it this far. You feel that chill in the air? Yeah, that’s the feeling of death creepin’ ever so slowly toward us. Literally. We’ve got a long way to go before we reach our expedition’s objectives, so listen up because I have a few golden nuggets of wisdom to impart. Who knows, it might just save your hide!
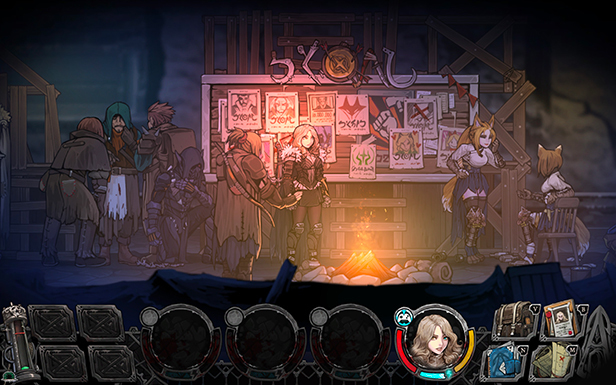
So, the basics first. As you greenhorns remember, I visited the Recruiting Wall in the Hunters’ Camp to hire you. It’s always important to make sure you assemble a team that complements your objectives and play style. Second, you want to make sure you’re well supplied and equipped for the expedition ahead. If we intend to reach our destination, there’s no going back...that is, unless you’re okay with losing all your progress.
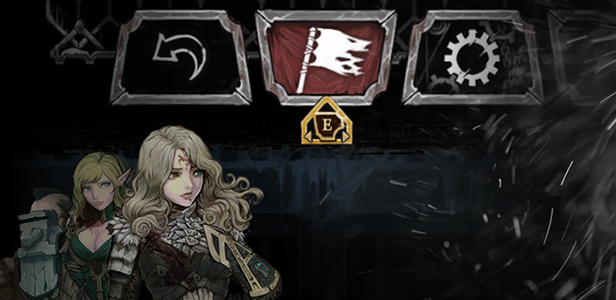
Now this part’s really important. You can toss in the towel and run back home to momma at any time of your campaign (so long as you’re not caught up in something). The good thing about this is that all your surviving allies will come back with you. You also get the keep the loot you gathered while exploring the wastes. The bad news is that you will lose any progress you made toward your end goal. Listen, there ain’t no shame in making a tactical retreat. If your party falls on the campaign, you lose everyone, everything you gathered, AND all your progress. Sometimes you just gotta know when to call a spade a spade.
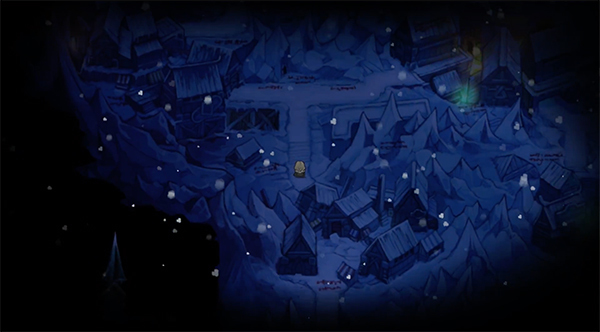
As we move between neighborhoods, we’ll have to make decisions about which paths to take. This is going to affect the layouts of the maps ahead and the frequency of certain encounters. Some neighborhoods have more hostile actors mucking about. Others are full of loot. The benefit of where to go is simply something you’ll have to learn about each district during your visits.
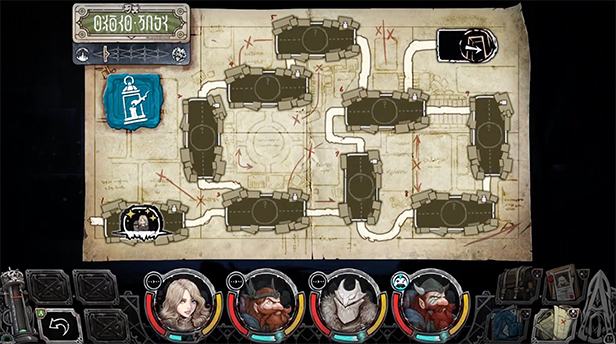
Ah, look at that. A clean map and everyone’s fresh as a daisy. Once you’re in a particular neighborhood, your job will be to navigate your team to the exit path. Along the way, we’re going to be facing a variety of randomized encounters on each street. What? You didn’t expect the forces of darkness to just lie down for us, did ya?
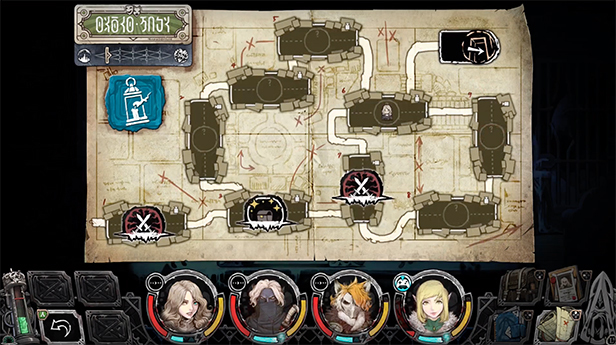
As you can see, traveling from street to street will reveal what’s lying in wait for us. It could be loot, hostile enemies, traps, strange encounters, mercenaries for hire, and more.
Now, this doesn’t mean we can just bandy about willy nilly. Exploring streets causes our Vigor to drop by one point. Do you also see that little green bar in the bottom left corner? That’s the Geistometer. It measures the Ghost Fog in the air. That is, it lets us know how close Mad Shades are to our location. When it crosses a certain threshold…
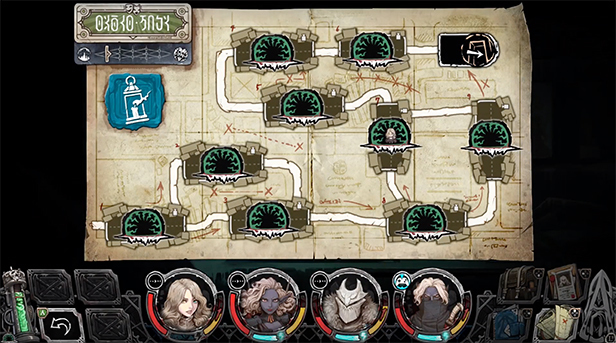
Every path becomes hostile with powerful enemies. Getting to the exit becomes a much more challenging affair. Do you see that indicator in the upper left corner? That shows how close you are to the Boss Dungeon. You get closer by reaching the exit paths. Ultimately, all roads lead there!
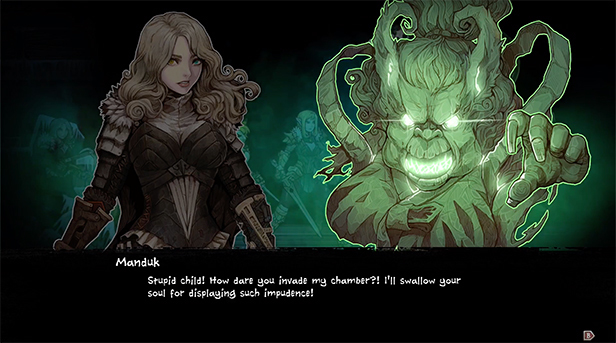
If we survive everything else in our way, we still have to contend with the local Shade. Victory, is how we make sure our little tale progresses. So, you ready to get your hands dirty? Yeah, that’s what I thought! Move out!