
EigaScript - How to make a video!
Welcome to EigaScript
EigaScript is a very simple but powerful video making tool, allowing you to turn your writings into a video with a few tags or filling up a form. Here is how you make a video.
The Easiest Way - Card Mode
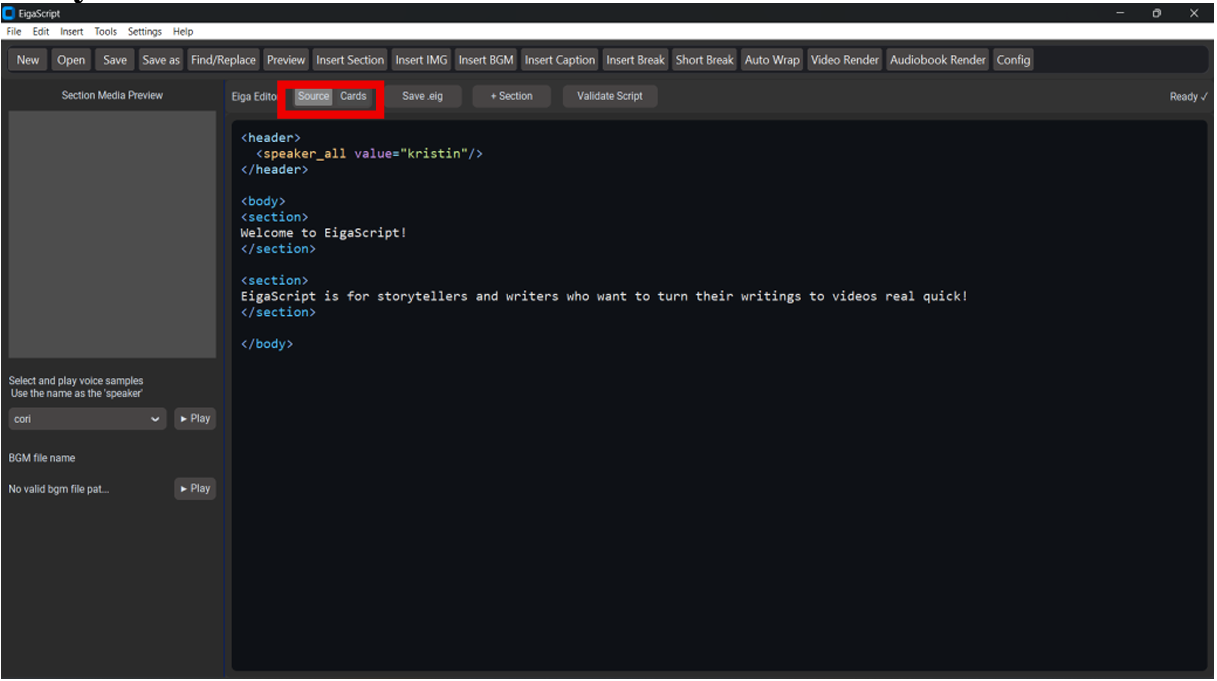
With EigaScript, you can type in simple markup scripts that are divided into sections, the minimum unit of image, voice, and music. Just like writing an HTML webpage, you can compose your video with your keyboard.
But if you don’t feel like typing, you can switch to our ‘Card Mode,’ by pressing the toggle switch marked with the red highlight line. And you can compose your video by typing and filling out this simple form.
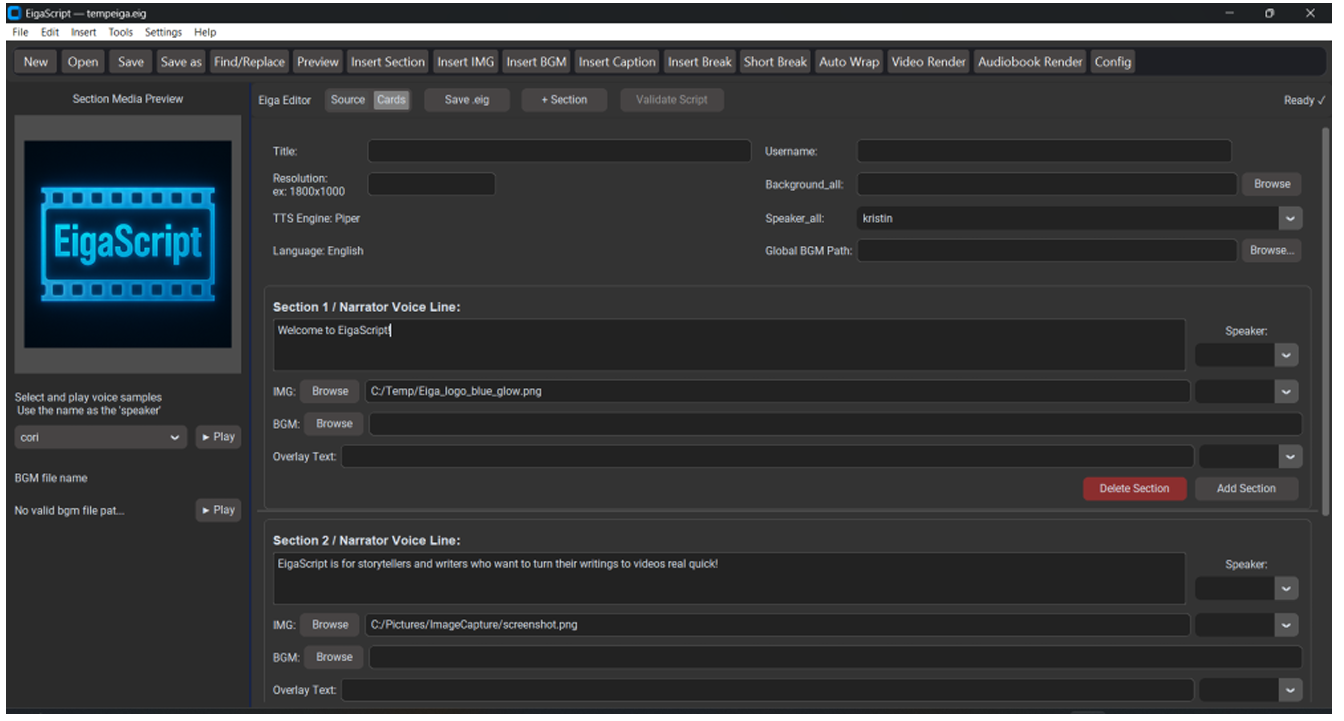
First, the header.

On top of the Card Mode page is the head section. For a quick video, you can skip all of these. But there are a few handy fields, and you can make your video even faster and easier with these.
Background_all: You can choose the default ‘background’ image. If you choose to show the same video clip (muted) or image over the entire video for the visual part, you can choose an image or a video clip here. EigaScript supports inserting video clips, but they are muted for the sake of simplicity.
Speaker_all: This is the default text-to-speech voice. You can designate different voices for each part (section) of your video. This default voice is always used when you don’t designate a specific voice for a specific part (section).
Global BGM Path: This is the default background music that will play over the entire duration of the video. You can leave this blank and designate a music to play only in specific part (section), too.
*Language: At this point, EigaScript supports only English.
Next, make your first section.
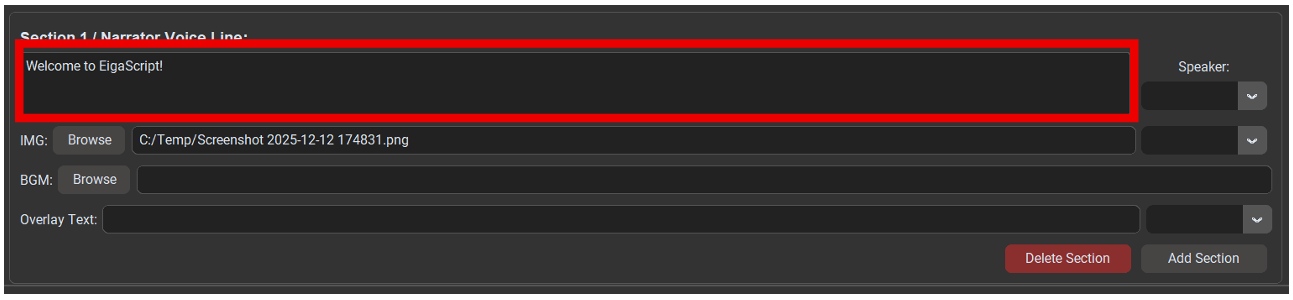
This is where you make a section. A section is the minimum element or a small ‘block’ of image, sound, and voice.
The field that is highlighted by the red box is your ‘voice line.’ These are the words that are ‘spoken’ by the ‘speaker’ (TTS voice that you choose). And, by default, this section will last as long as your voice line is being narrated.
There is no limit in the length of the voice line in a single section. It can be thousands of words (technically).

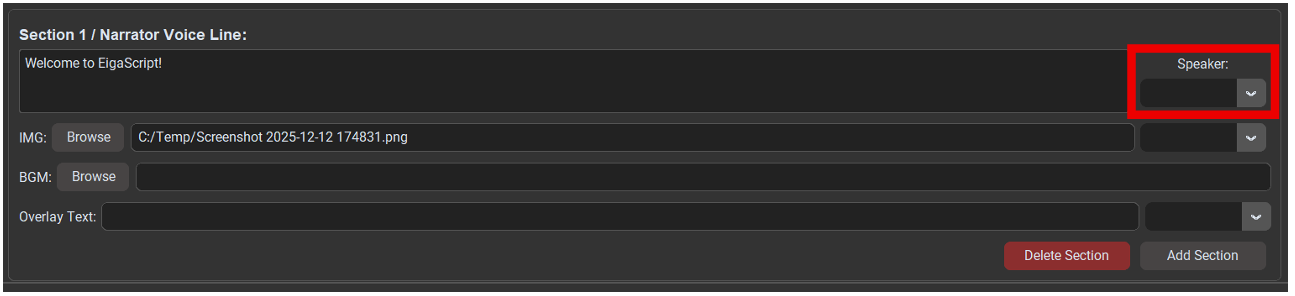
The next thing to do is to choose a voice or the Speaker. You can try the sample voices with the sample player on the left side of the screen.
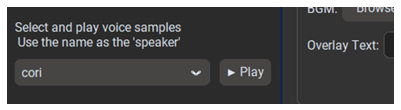
You can skip section-level voice selection, and the speaker_all (the default voice for the entire video) will be narrating that section.
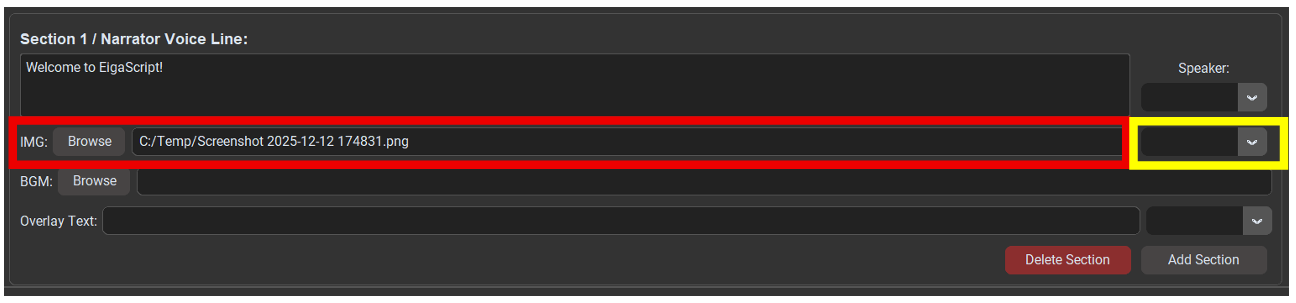
The next thing you need to choose is the Image that will be displayed on the screen over the length of this section. Most image file formats and mainstream video formats are supported, so that you can use video clips as the visual for the section.
(If you are using a video file, the video will be looping if it reaches the end of the clip before the end of the voice in narration. The sound of the video clip used as the visual material here is muted, for the sake of simplicity.)
The yellow box on the right is the ‘Presets’. This adds camera work effects, like Zoom In, Zoom Out, Pan Right, Pan Left, Pan Up, Pan Down, and more.
Especially, the Ken-Burns effect gives a slow moving camera work that is frequently used in documentary films. You can, of course, skip this and the static image will be displayed as it is.
The BGM field is for the background audio file, such as the music or other sound files that will be playing over the duration of the section. The music is set to loop, if it reaches the end before the section ends.
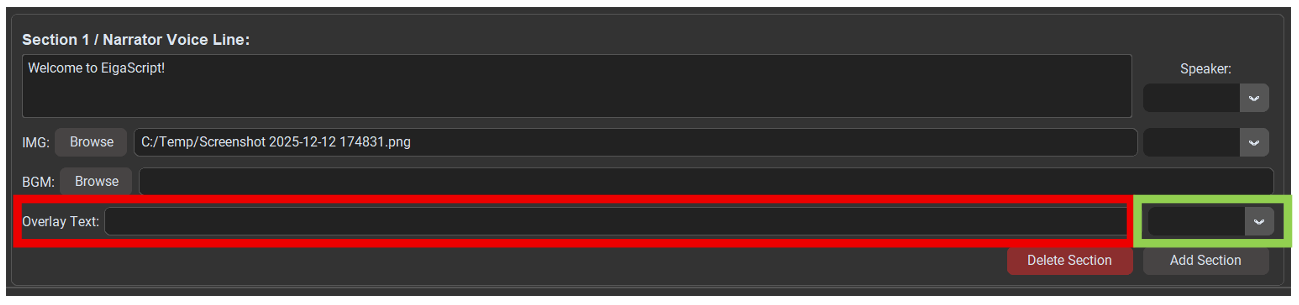
Overlay Text is the captions, title, banner, or subtitles you can add to the screen. These text elements are displayed on top of the Image and lasts over the entire duration of the section. You can select the type of Overlay Text from the dropdown menu on the right (green box). If you don’t need, of course, you can skip Overlay text for the section.
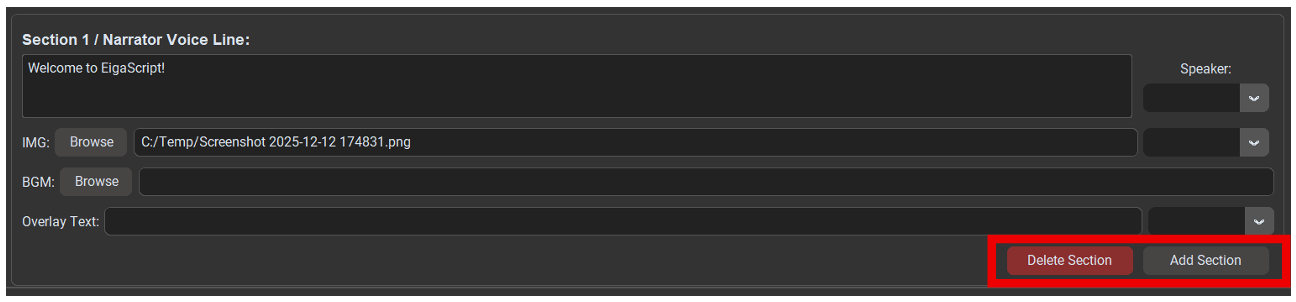
When you are done, with editing the section, you can add another section that will follow. You can press the red button to delete the section, as well.
*Please note that, if you compose a video using the Card Mode, there is a limit for the number of sections, which is 80.
Final Rendering

Once you are done composing all sections, you can press the Video Render button to render a video in the format of your choosing (for the best result, we recommend using the *.mkv format.)
You can also make an audiobook in *.ogg format by pressing Audiobook Render. In this case, you can create an audiobook file that is narrated as you planned in each section.
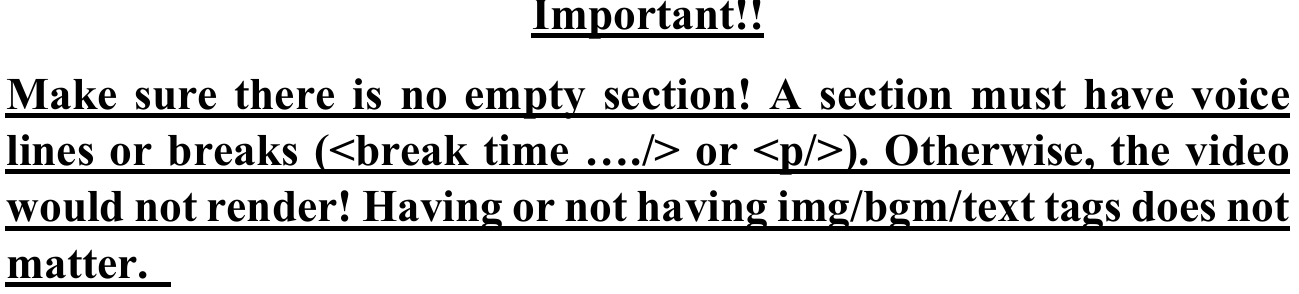
## When rendering an audiobook with a simple script (no imgs or bgms, etc.), the program would prompt a warning that some elements are missing. This would not affect an audiobook render. You can just carry on!
That is all that it takes to make a video with your story and images, just like that. No editing needed.
Making a video using the Script Mode
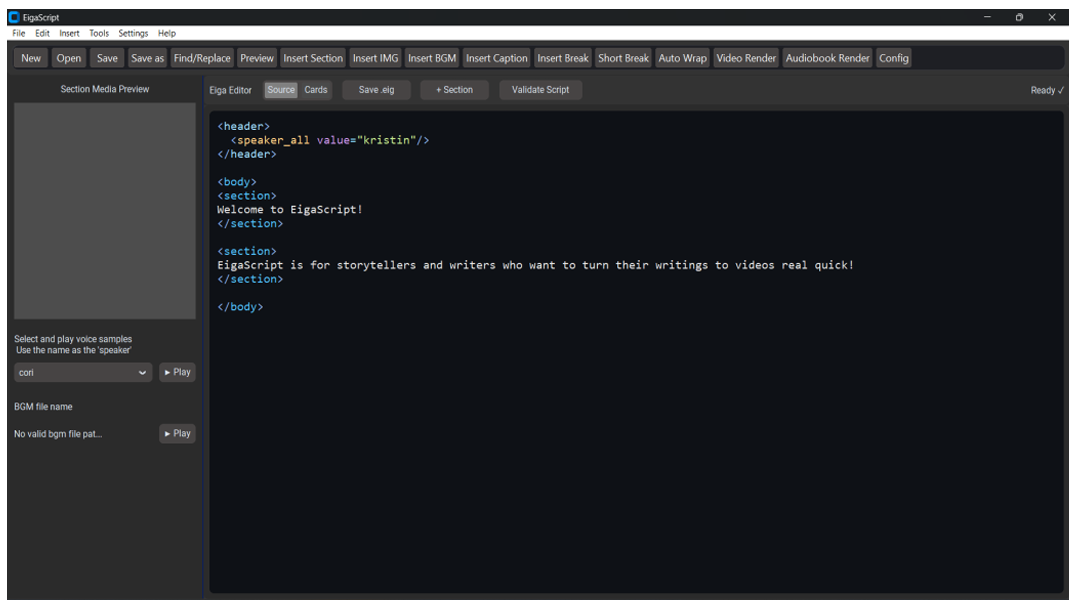
Of course, you can start typing the simple EigaScript directly into the Script Mode. In this case, there is no limit for the number of sections.