
Positioning in games can depend on different factors: the presence of obstacles, the enemy's ability to deal mass damage, the number and types of units, their defensive and attack performance, unit abilities and many others... In this article we will tell you, dear players, about the importance of positioning in Odra Online. Believe me, once you have mastered the art of positioning, you will be able to achieve victory where it seems impossible.
Let's briefly mention some basic rules, although they will seem obvious to many people. First of all, Warriors and Leaders should be in the vanguard of your army, and Riflemen behind. Mages, because of their low mobility, should be kept somewhere in the center. But it is better to start the battle as close to the enemy army as possible. Taking into account the arc-shape of the unit placement area, you should place the Mage closer to one of the edges. But it is better not to follow this rule if you are playing Harvest, because then it will be too easy for the neutral units to get to your Mage and ruin your game. Another tip is to keep your units farther apart if your opponent has a Mage in his arsenal. If you have a Forest Union unit, keep your units spread out even if your opponent doesn't have AoE damage.
Another aspect of the game that you definitely need to consider when positioning is Free Attacks. It makes sense to keep Warriors and Leaders at a small distance from each other, but so that they can move towards each other or so that at least half of them can reach the buff from the artifact (banner). This will allow the characters not to lose in bonuses to characteristics and have the largest “radius of control” - the area of cells, when trying to cross which the enemy will be able to attack. Remember, too, that Dodgers are able to ignore free attacks. Then at least one of your Warriors, if you spread them out evenly, will be able to turn around and overtake him to protect your rearguard (Mages and Riflemen) from catastrophic damage.
Now let's touch on the principle of damage dealing. It's very simple and applies to all classes. Damage from abilities is constant and does not depend on any positioning modifiers. But the damage of normal attacks - even more so. When attacking from the front, no crystals are lit up on the attack indicator - this means that the standard damage, X, will be dealt. When attacking from the side, one crystal is lit up on the indicator. In this case we get increased damage, 1.2X. And how can we do without backstabs? They deal one and a half times more damage, and both crystals light up on the indicator.
The interesting thing is that these rules work for every attack, even ranged attacks. Ranged attacks have another positioning modifier that affects the final damage. So as not to confuse you, let's label both point by point:
- Range - the number of sectors from the Rifleman/Mage to the target.
- Obstacles - presence of other units in the direction of the planned attack.
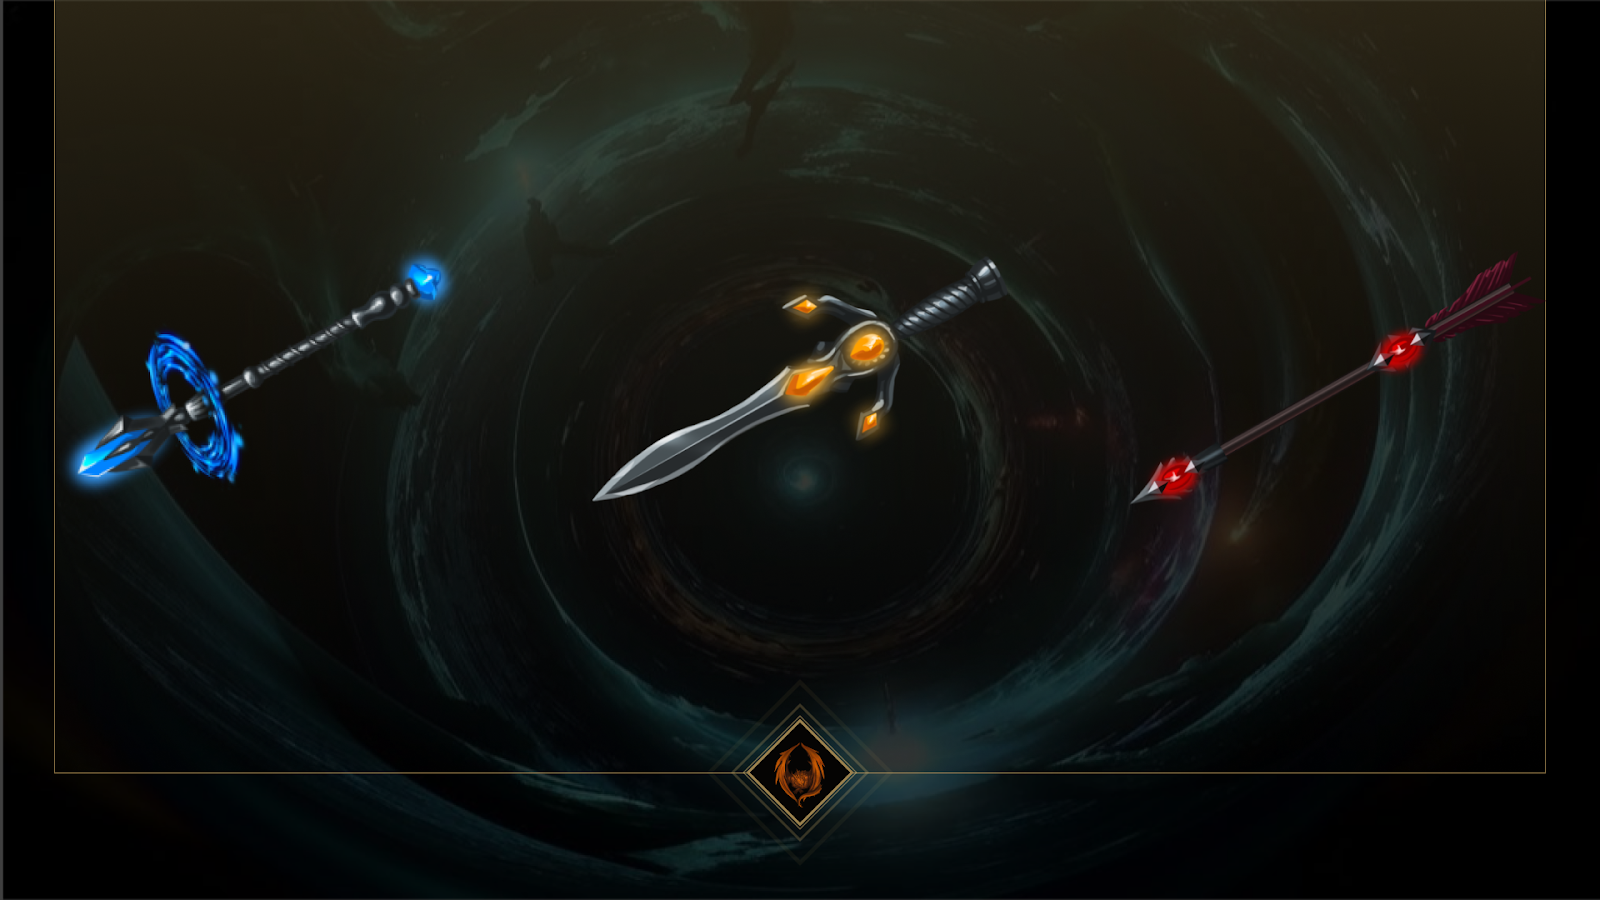
If the arrow/mage's nndicator is not spinning - the attack damage is reduced by 50% of the attack power. This means that either there is an obstacle on the way to the target, or it is too far away to deal damage effectively.
If the arrow/staff is displayed broken, it indicates that the attack power for this strike is reduced by 75% and that both conditions are met: the enemy is far away and there are other units on the way to it.
The ideal attack is an attack whose indicator looks like a whole spinning staff or a whole spinning arrow.
One last piece of advice - watch not only the positioning of your units, but also in which direction they are turned. If you have movement points to get off the current square and take it again, changing the direction of the turn - do it. It will help avoid quite a few problems. But be careful - the author, following this advice, left a Hold Point and couldn't get back up because it requires 2 movement points, not 1.