The dynamic weather system and the day/night cycle are key elements to creating an atmospheric and believable world. Such systems should generate not only interesting gameplay moments, but also aesthetic ones.
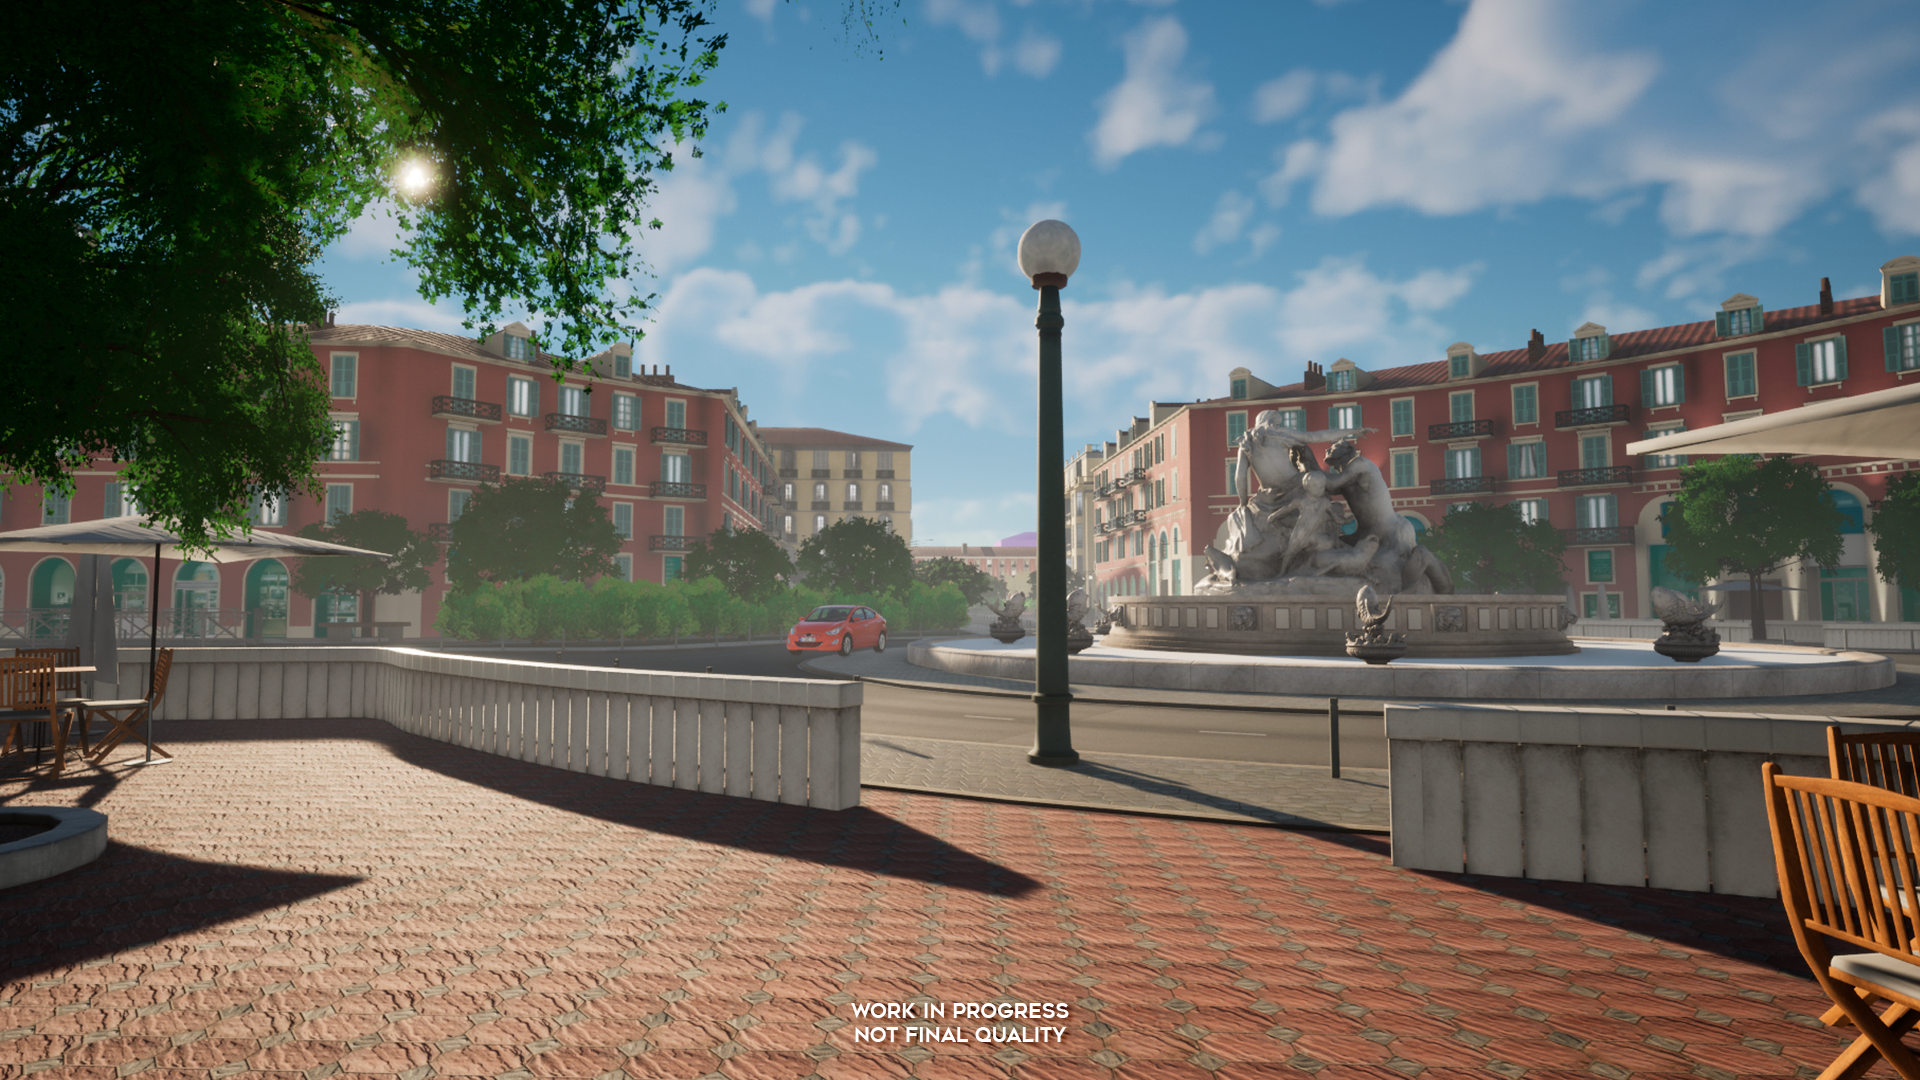
Before embarking on such a big task, we need to answer the question, “What do we want to get?”
Firstly, the time of day and weather should influence the behavior of pedestrians, traffic, illumination with streetlights, the light in the windows of houses, and the controllability of the player’s car. This means that state changes should be stored in a place that can be easily accessed from the outside, and the necessary data can be retrieved at any time.
Secondly, all this should be visually displayed, and as close to reality as possible. For example, surfaces get wet when it rains, and remain wet for some time after the rain. Clouds smoothly cover the sky, causing shadows to disappear in more diffused light. And it should all look great at any time of the day.
Thirdly, it must be easily customizable, controllable, and scalable. We should be able to add new weather for future development of the project. Weather may also be required in certain game situations, which means it should be possible to change it from other classes.
Also, artists should have access to all the necessary parameters in one place to fine-tune the graphics.
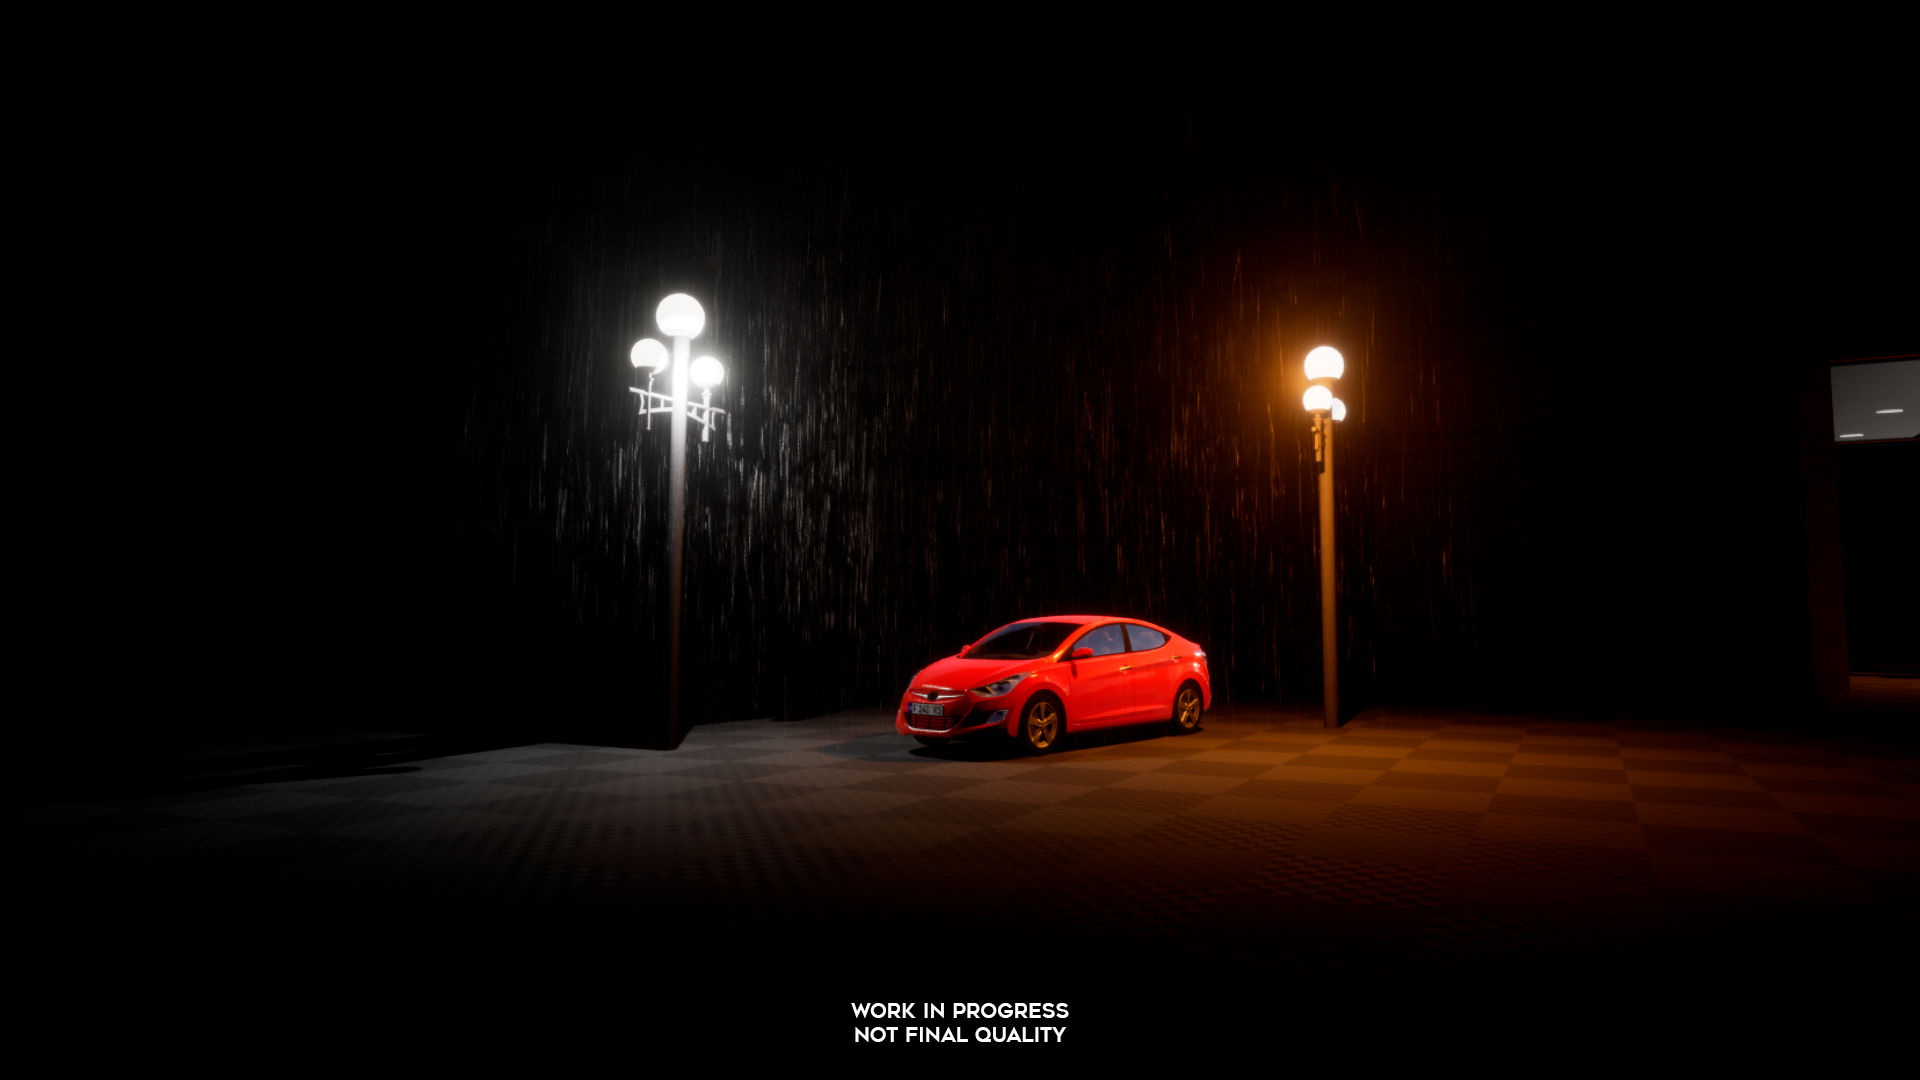
Okay, the goal has been set; what next?
To begin with, after looking at the points, you can exhale and easily throw away all thoughts about the system for calculating weather changes in relation to temperature, humidity, magnetic storms, and the fact that the player washed the car.
And, like other companies, we stick to the idea of a pre-set weather forecast. This way, we solve two problems at once: the need to create a heavy weather generation system and the fact that, with random generation, we may have conditions when the weather does not look attractive enough.
Next, you need to think about the architecture of this system. This is where block diagrams come in handy.
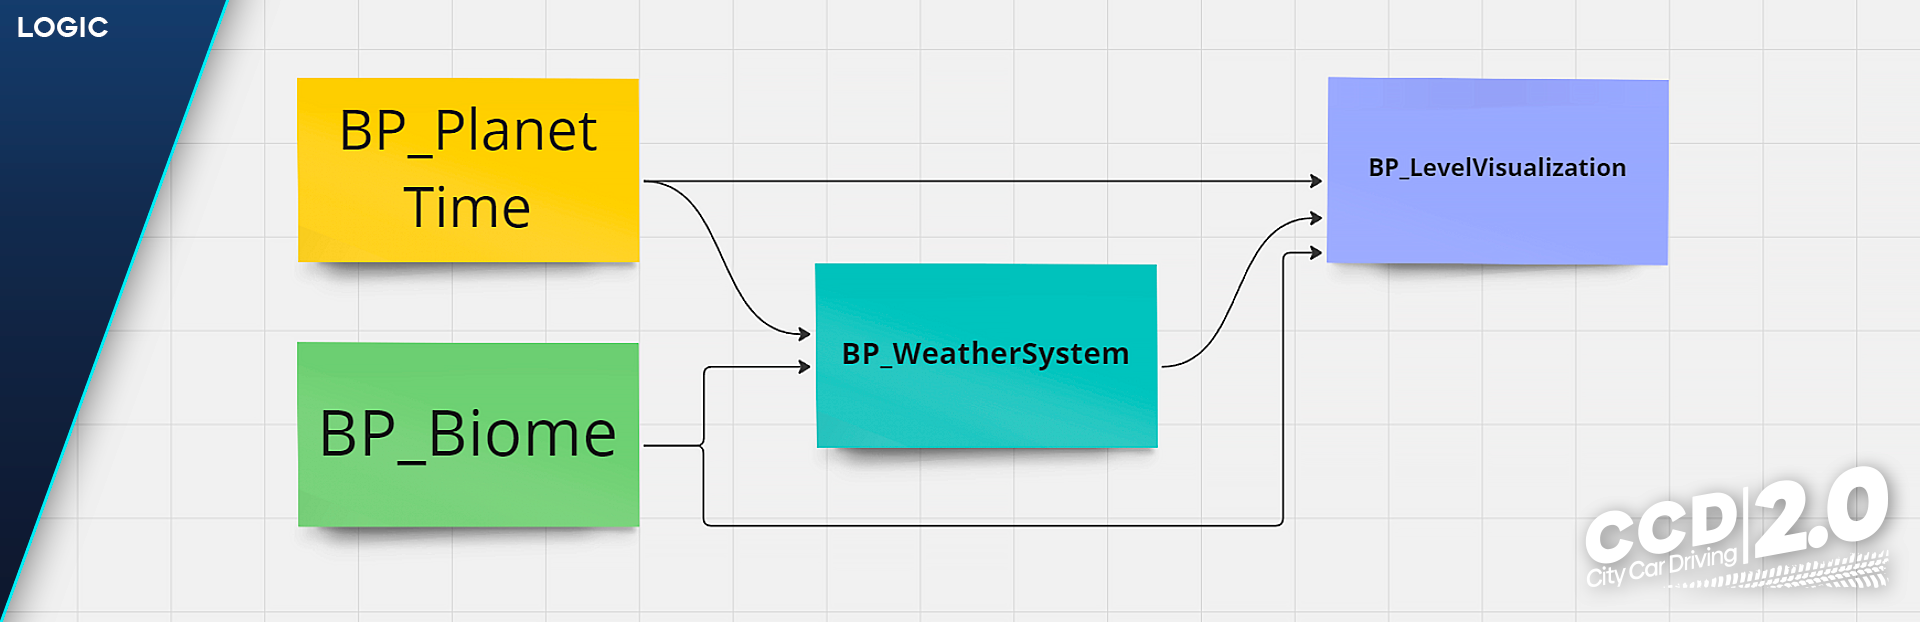
To maintain code purity and logic distribution, the entire system is divided into four Blueprint classes.
- BP_PlanetTime — is responsible for the progress of the in-game time
- BP_Biome — sets the basic settings of the level, its geographic coordinates, and possible weather
- BP_WeatherSystem — calculates the current weather and transitions between its states
- BP_LevelVisualization — accepts data from all three previous classes and, based on this data, sets the visualization
BP_PlanetTime
This is a class whose responsibilities extend far beyond the weather system. Traffic, pedestrians, and even the clock on your phone should receive accurate time, know of the minutes that have passed, and some elements should be able to rewind time.
Interfaces are well suited for implementing such functionality. The time class at the start searches through interfaces, transmits a link to itself to everyone it finds, and at the time of the game it calls an event to which those elements that need it subscribe.
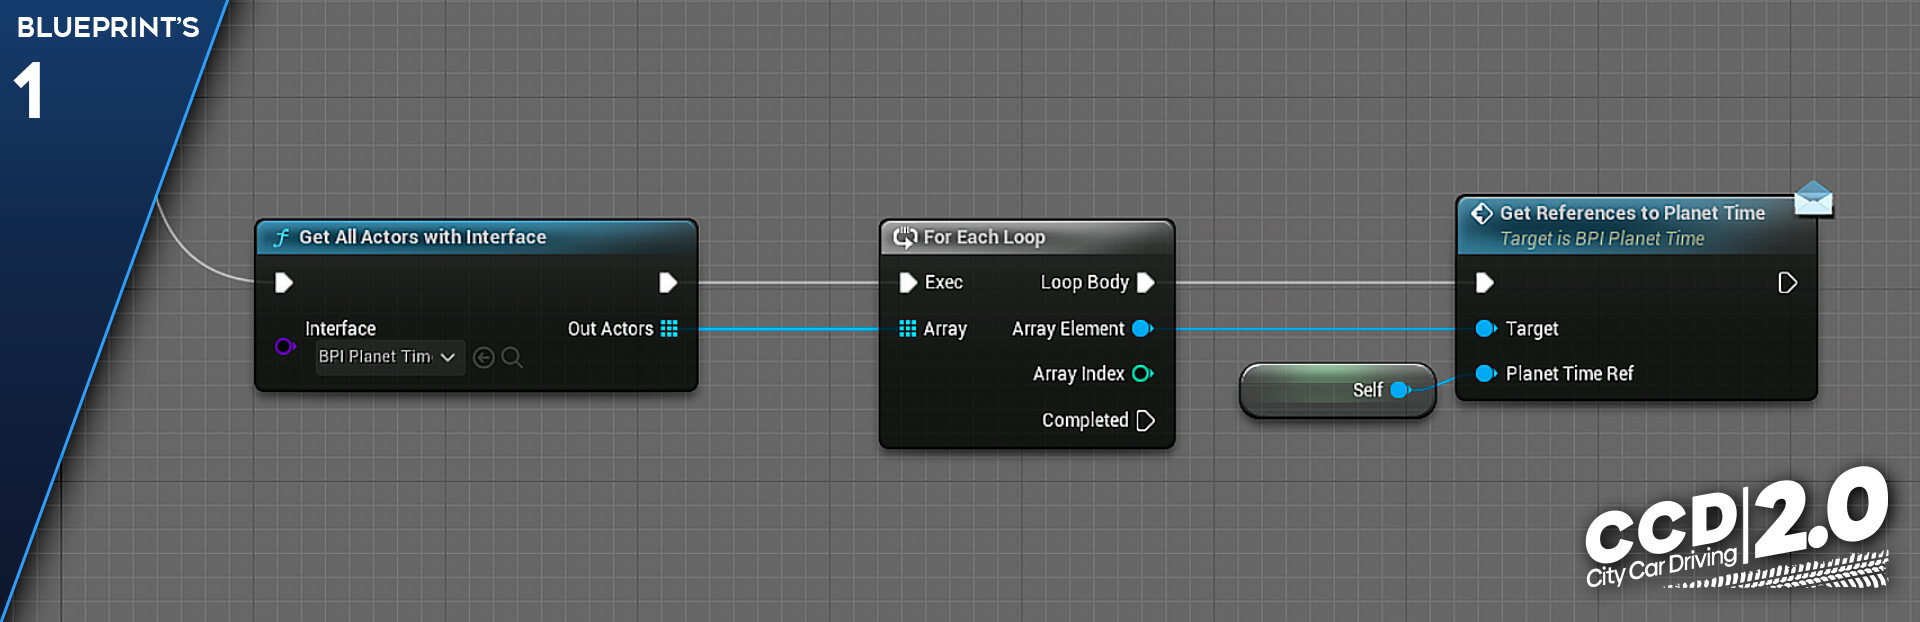
Thus, each element will decide for itself whether it needs to do something after the event is called or not. And if it becomes necessary to stop the movement of time, we will have one entry point for this.
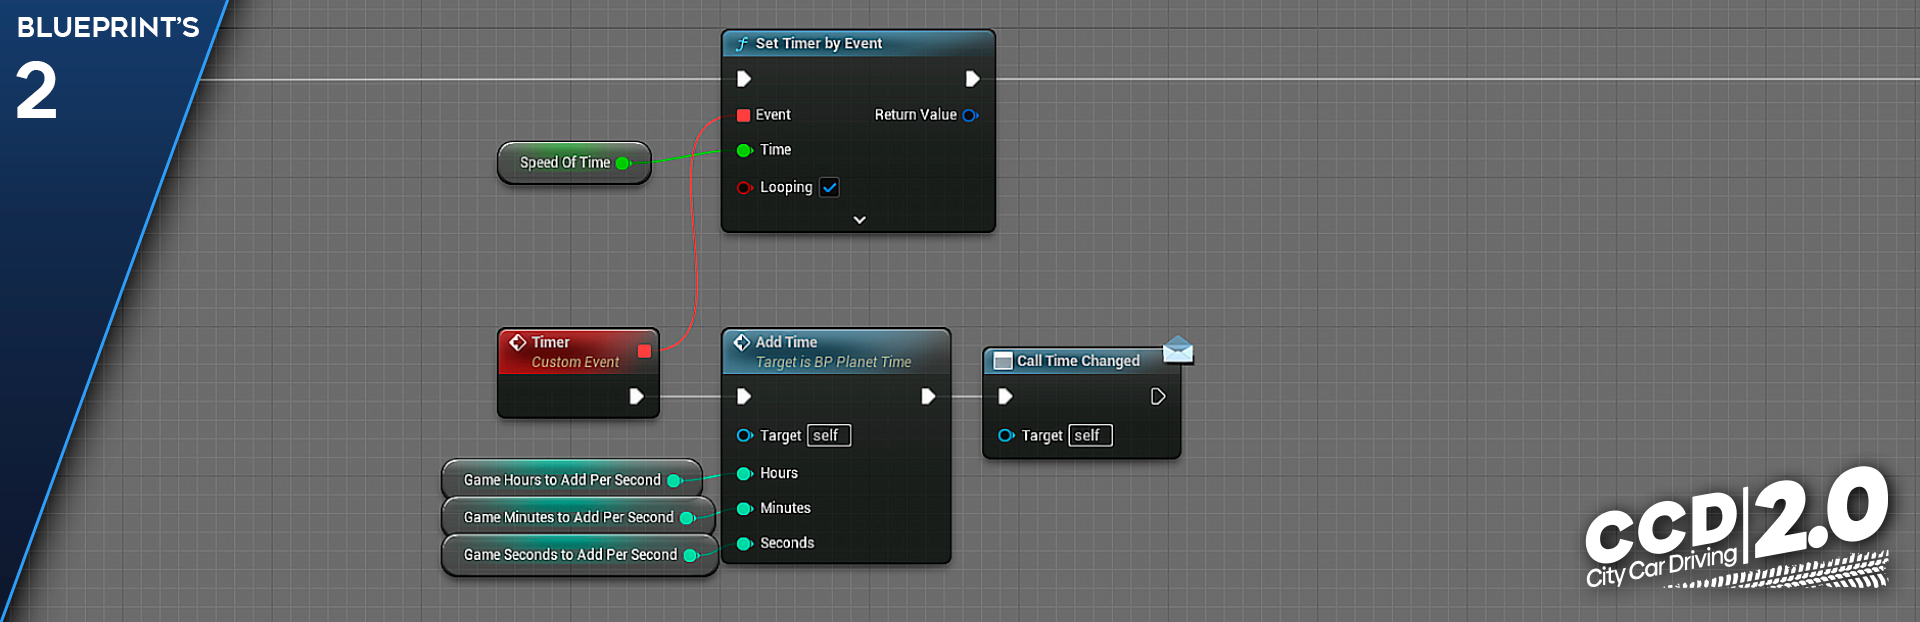
The passage of time itself is implemented through a timer in Blueprints, where for each time it is called, the specified time is added, after which seconds, minutes, and hours are rounded. The resulting values are stored in a structure and can be retrieved by anyone who has a link to BP_PlanetTime.
Additionally, parameters are displayed for setting the game time, how many seconds, minutes, or hours pass in the game in a real second. Plus, functions have been introduced to stop, rewind, and get time in text format for the in-game clock.
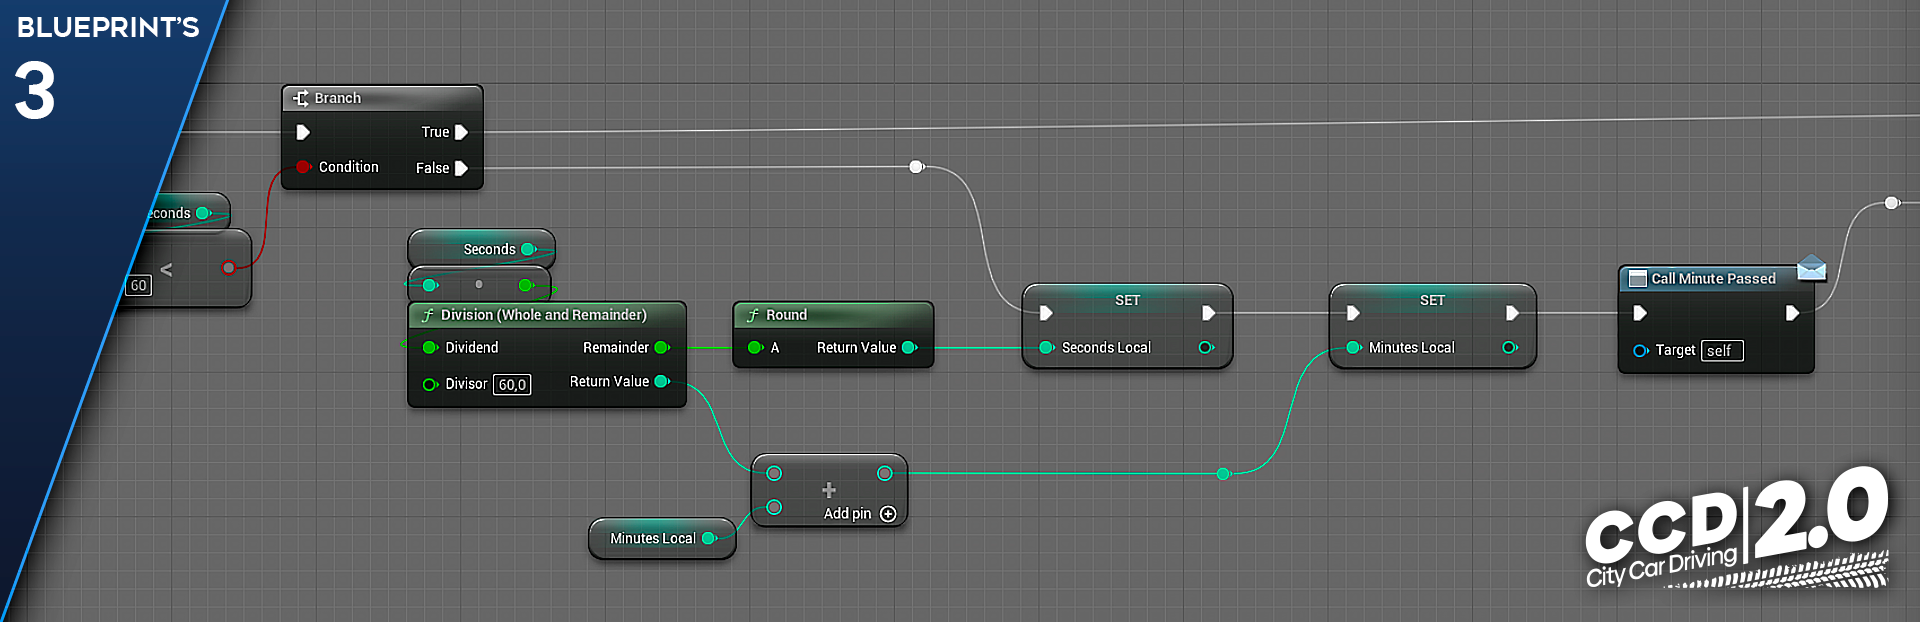
Example of rounding minutes and call to check the state of the day (morning, afternoon, evening, and night)
BP_Biome
This class is the easiest to implement; it specifies the values of latitude, longitude, and north offset at the level. Filters for possible weather in a given location can also be set here.
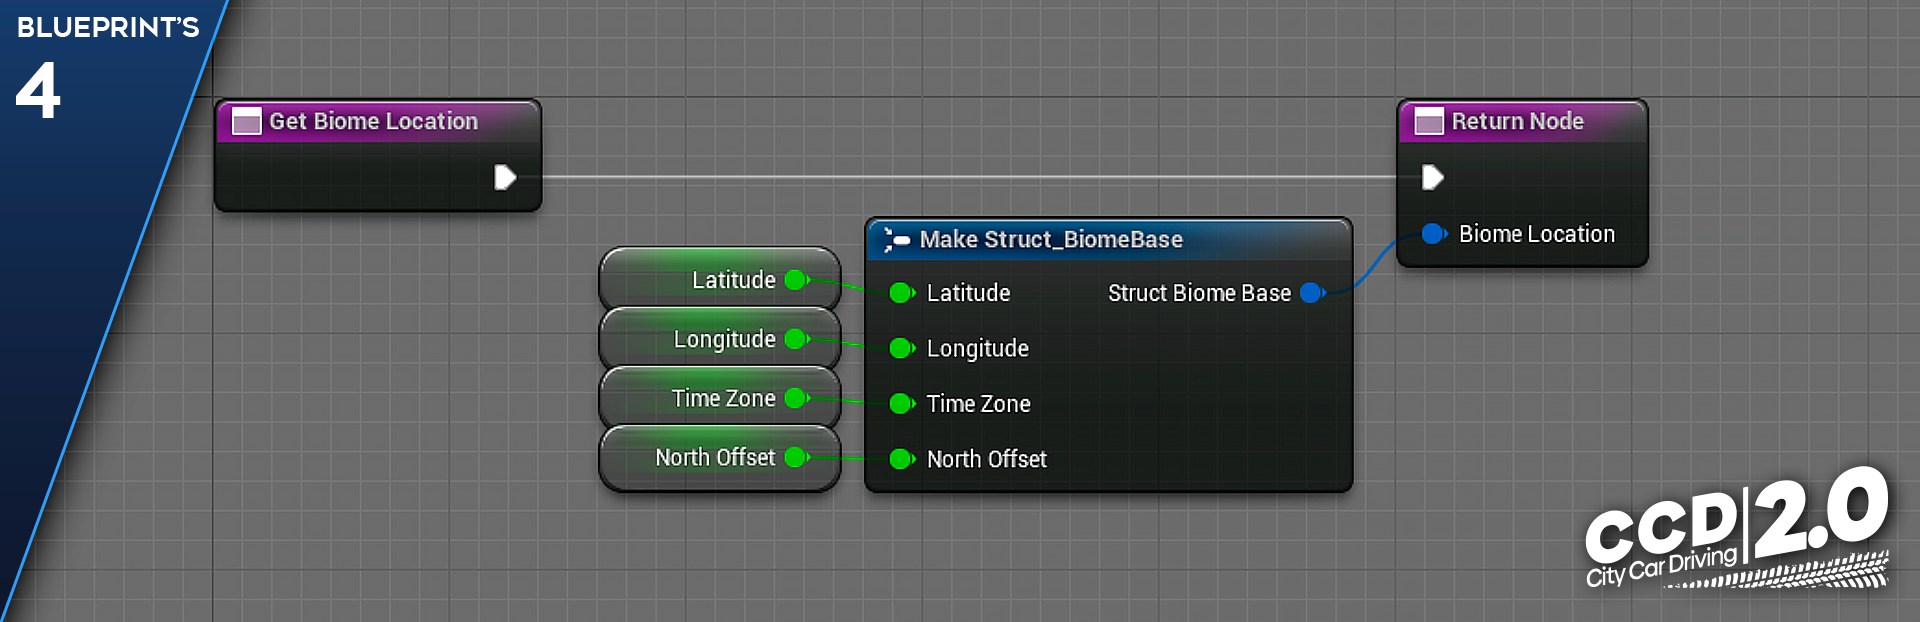
In terms of architecture, it also transmits a link to itself along with the data we specify.
BP_WeatherSystem
This class must receive information from BP_PlanetTime and BP_Biome, determine the weather state, and most importantly, implement transitions between them.
But where do we store all the weather information at every moment of every day? And do it so that all this is not constantly kept in the memory. Plus, the system should be easy to fill to quickly make a monthly forecast because we need to achieve visual diversity.
To solve these problems, a weather forecast was introduced, which stores a list of days, and each day already stores a set of time periods with their own weather values. Each period has a start and end time. There is also a standard state into which the weather will go if no weather forecast is found for some time.
It was decided to store the weather forecast in the Data Assets format. This is a way of storing data in Unreal Engine, including not only values, but also functions.
The first step is to create Primary Data Assets, which declares all the necessary variables and functions. And then, based on this, Data Assets are created to fill them with unique data.
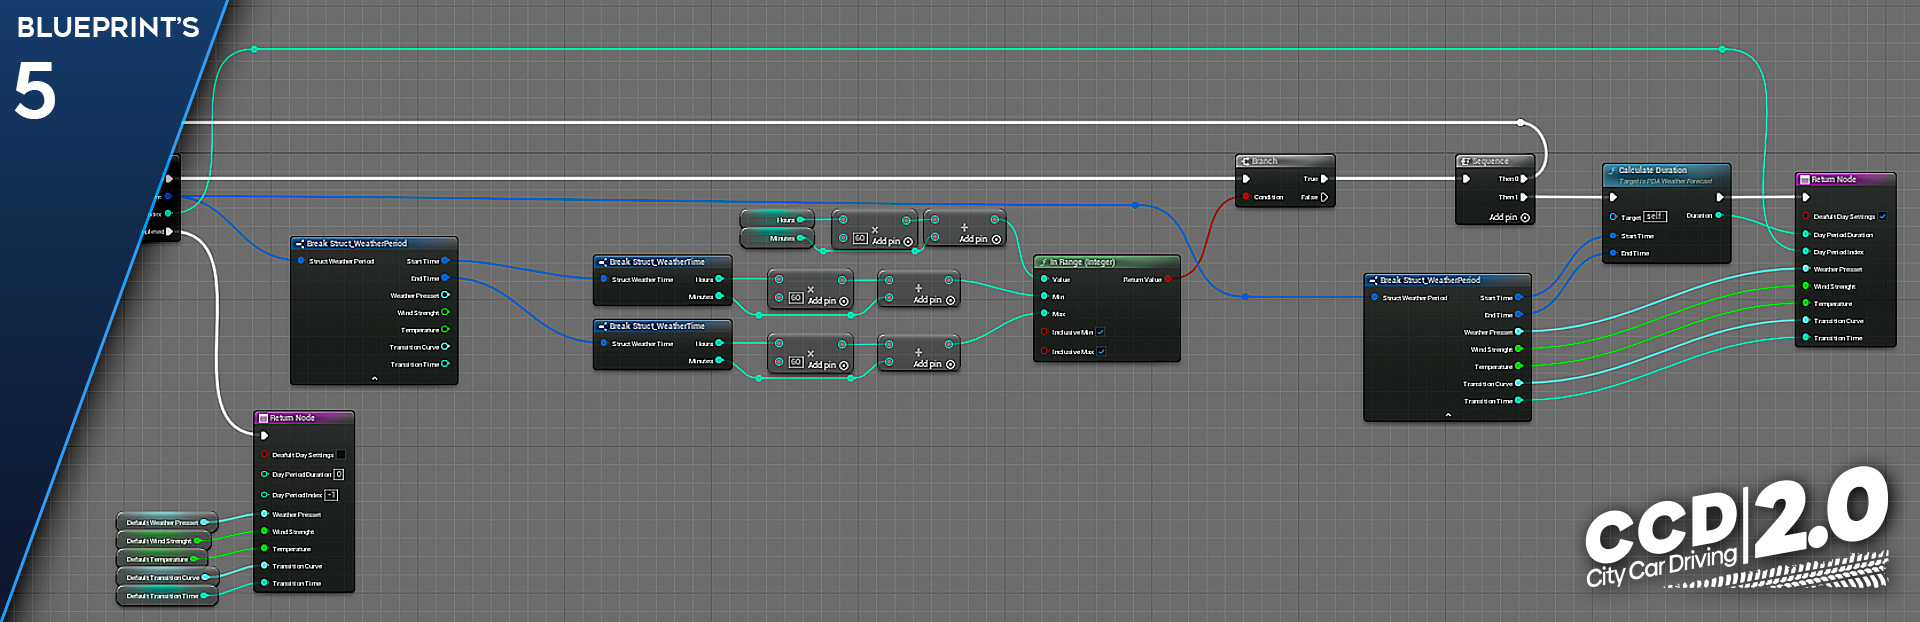
Here is a function from Primary Data Assets to search for weather conditions by day and hour
But how many parameters will there be in the weather? Or rather, how long will it take to set them each time for all intervals for each day? Obviously, there will be more than one, which will take a lot of time. This is how the idea came to introduce weather presets, which would contain information about rain, cloudiness, getting wet, fog, etc. Data Assets were also used here.
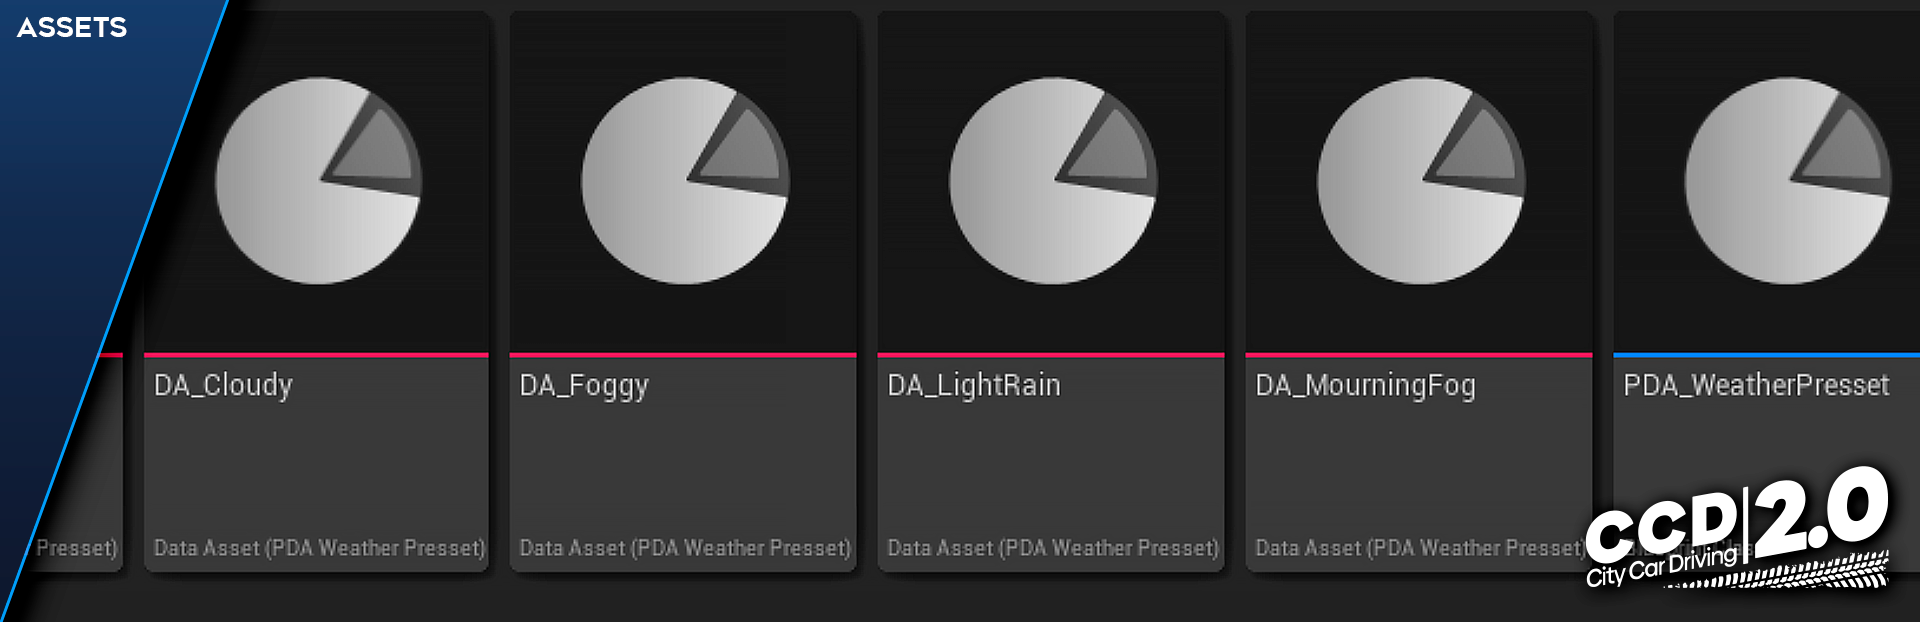
Example of weather presets created based on Primary Data Assets
All that remains is to resolve the issue of transitions between weather conditions. An instant transition is definitely not suitable, which means that for each time period we introduce the duration of the transition to a new state. But a linear transition will look boring, so we add a transition curve.
The curve should go from 0 to 1 in x and y, which allows it to be recalculated for any values, multiplying by the duration and by the delta between the initial and target values.
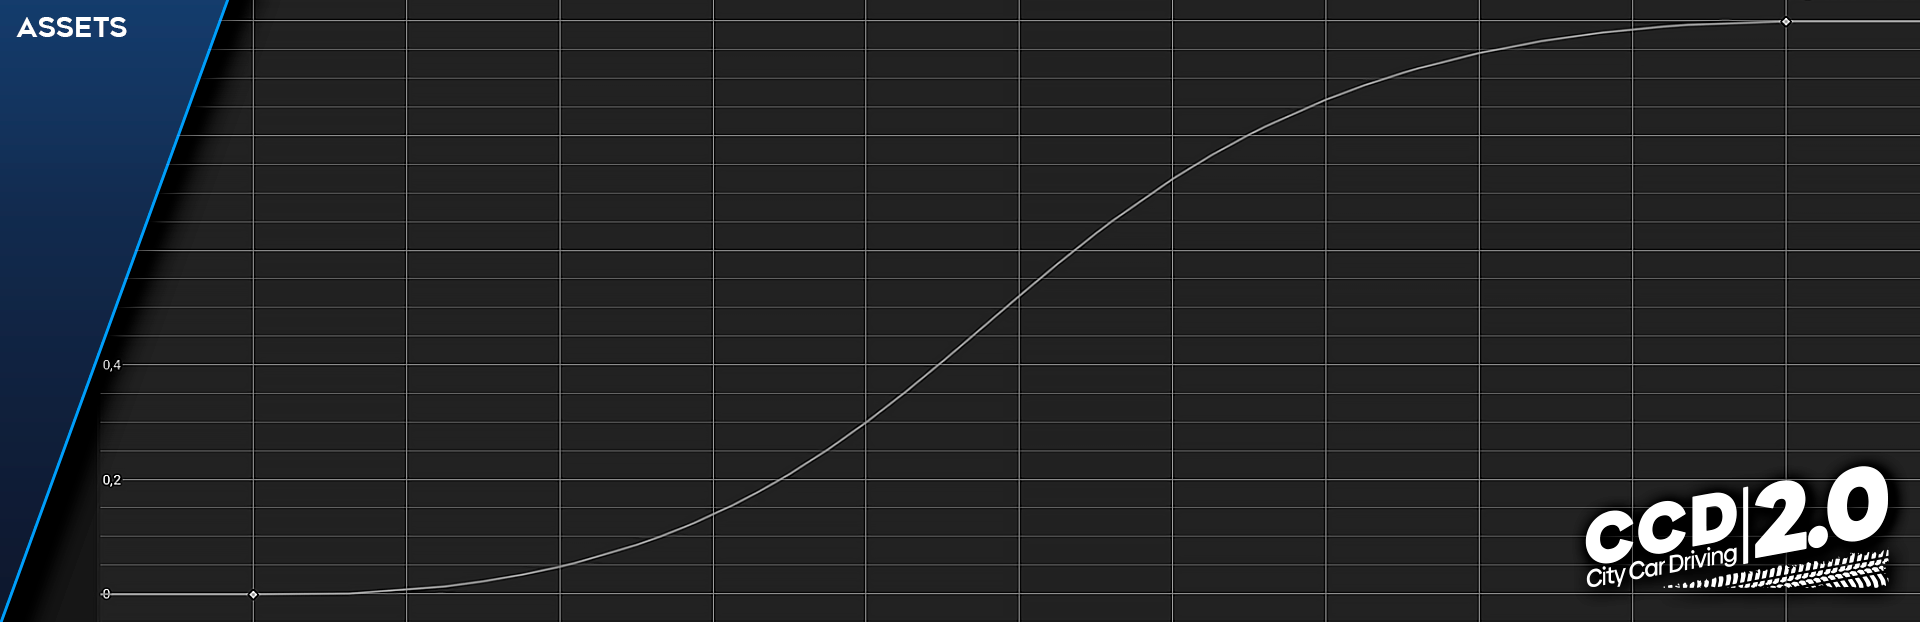
The simplest transition curve between states
Only now, the transition from sunny weather to rain will consist of the simultaneous appearance of clouds and rain, which means we add a curve to each parameter inside the preset. This will allow us to set the clouds to appear quickly, with the rain appearing slowly.
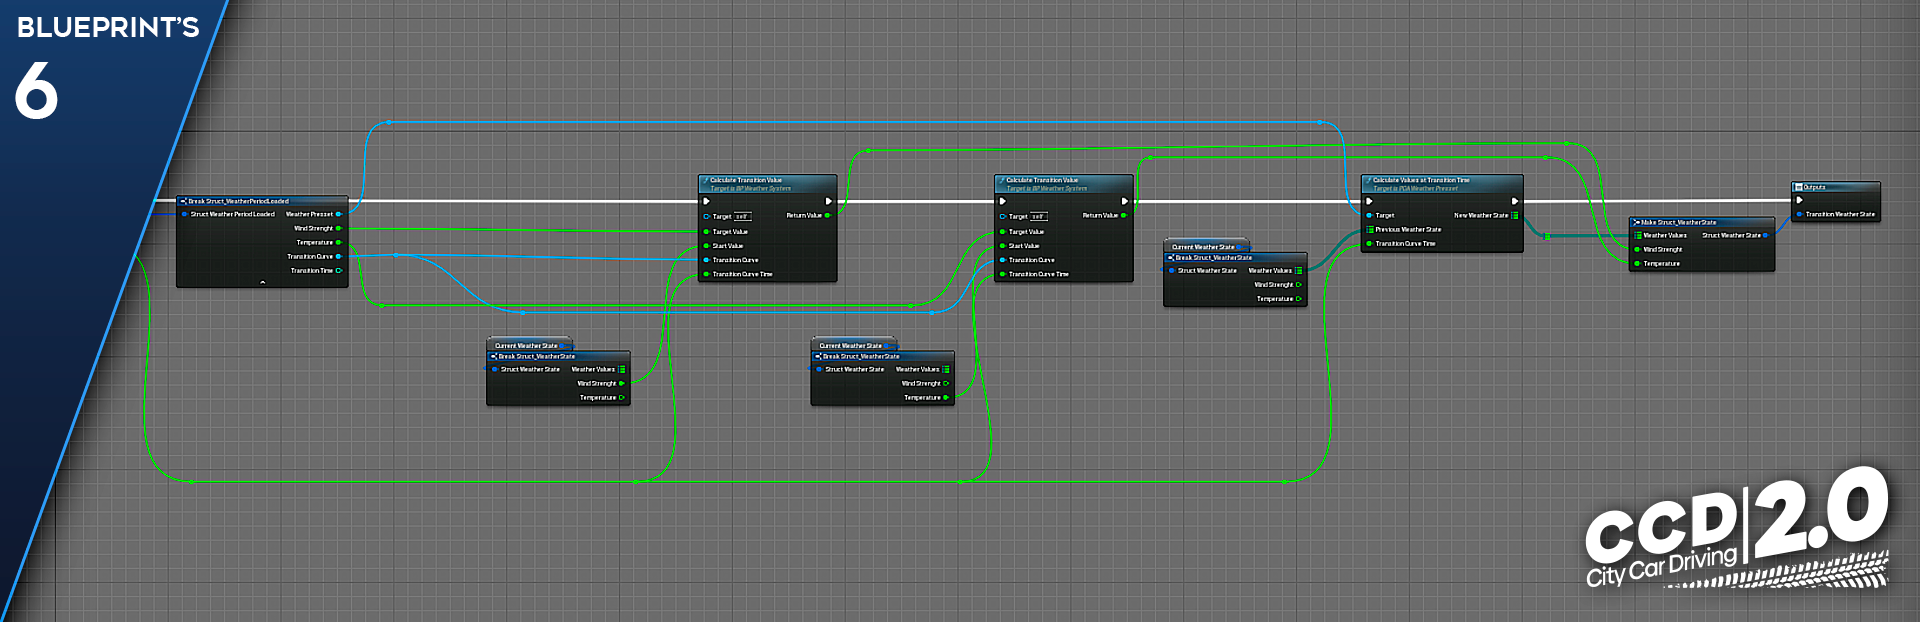
Macro transition between states inside BP_WeatherSystem
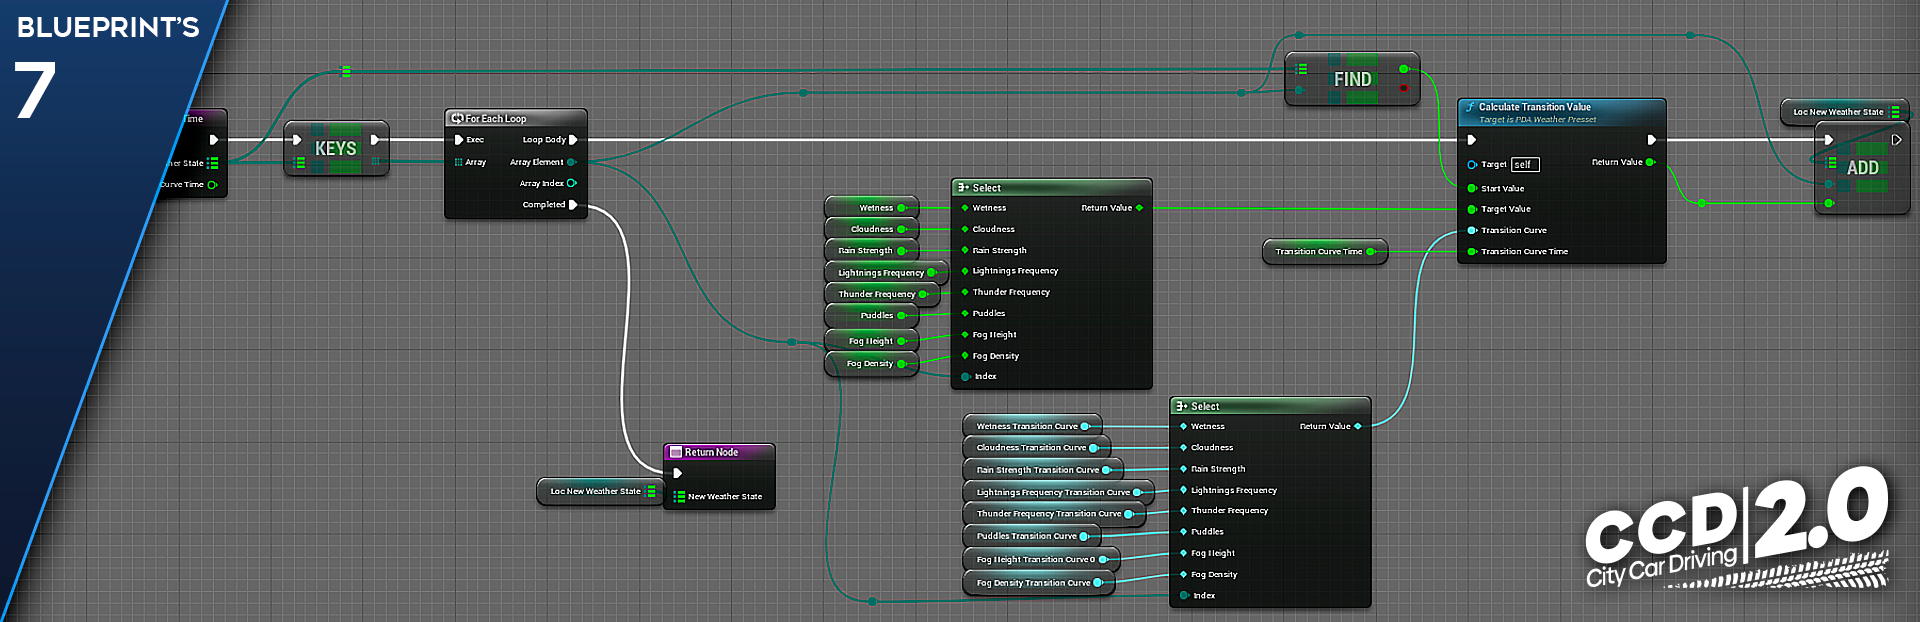
The function of transition between states within a weather preset
BP_LevelVisualization
It is the simplest and most difficult class at once. In terms of architecture, it only receives data from all three previous classes and transmits them to visual components. The only thing that you need to do is to compare the output values of the weather state and the settings of clouds, particles, sky, and everything else. It’s so simple that a separate log will be written about it.
Thus, we have implemented dynamic weather, with the ability to flexibly configure all parameters, allowing you to get entirely different combinations and quickly make edits and settings.

Developers Diaries are published every two weeks. Don’t miss them!