Steam Early Access Build: V0.245
GUI Colors Updated
The GUI has been adjusted so it uses consistent colors throughout. This has changed the overall look of DMM slightly.
GUI Color Modes Added
The GUI has been changed to allow color swapping. This means that I can now add a “Contrast mode” for folks with impaired vision. Currently there are two options to choose from “DMM Default” and “DMM Contrast”.
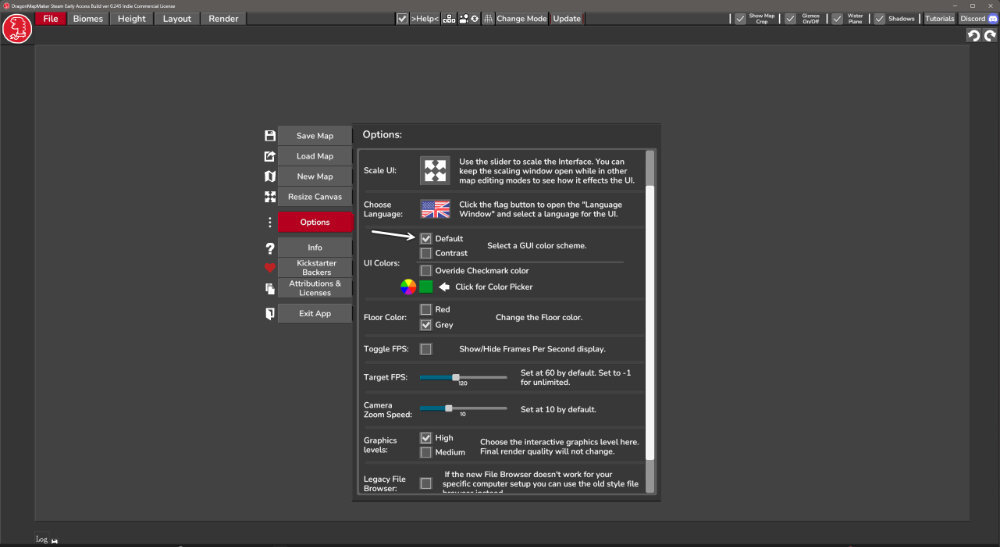
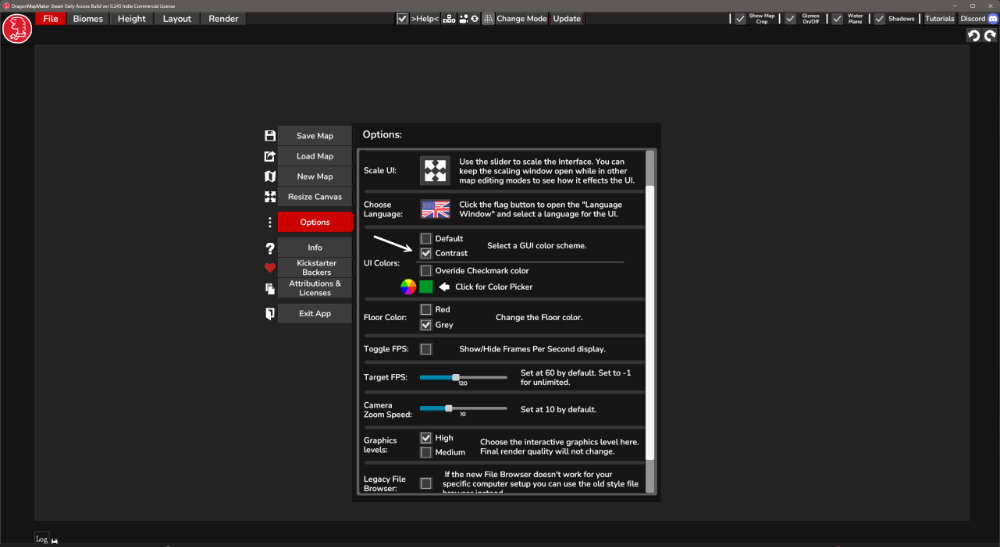
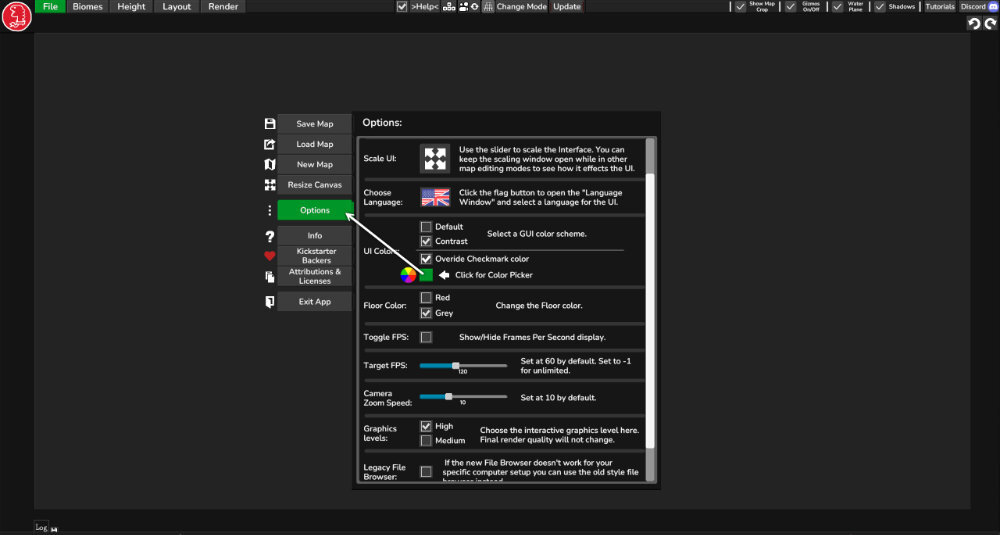
GUI Checkmark color picker
You can now choose the “Checkmark” or highlight color DMM uses. Just click the toggle to turn the override on and then click the color swatch to choose a new color! You can go back to the original color by turning the override toggle off.
Map Image Overlay
You can now project an image file onto the grid view of DMM. Use this for reference when creating a map.
You can load .jpg or .png files. (switch between them in the file explorer)
The image will only be projected onto the map grid in Grid Mode.
You can drag and scale the image using the orange handles while in the Overlay Map tool.
The image file path is saved in the .dmm file and loaded when you load a .dmm map file.
All image scaling and positioning data is stored in the .dmm file so if the image has changed its location, just reload the image and it should still be in the correct position and scale.
NOTE: Your reference images are never saved with the .dmm map file, only the image file path on your computer is saved to the .dmm file, so it can be reloaded.
If for some reason you don’t want the image path and file name to be saved with the .dmm map file, either reset the path using the small reset button next to “Image Path” or untick the toggle “Save Path”. The “Save Path” toggle state is saved with the .dmm file for your convenience.
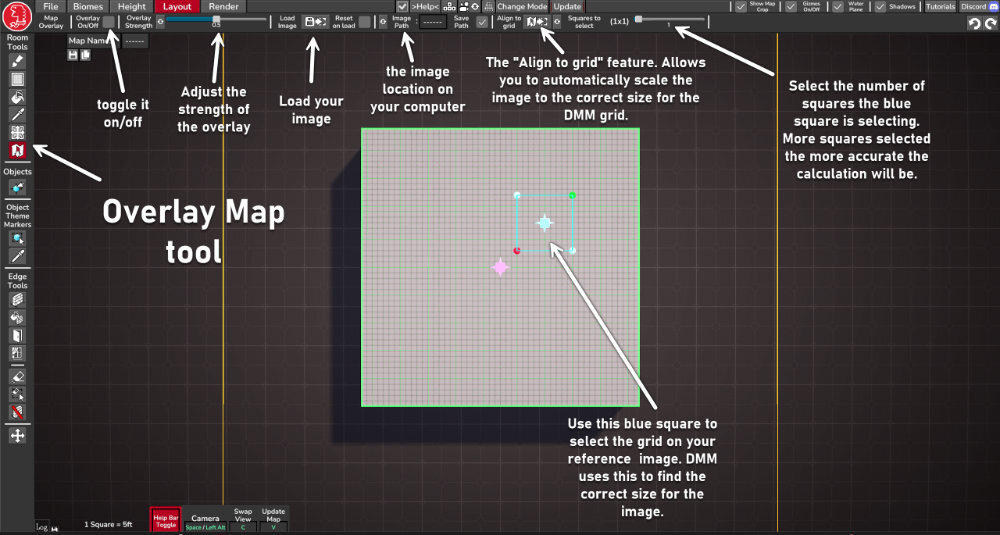
Map Image Overlay > “Align to Grid”
This tool scales and aligns the reference image you loaded to the DMM grid (if you have a 5ft grid already on the reference image).
How to:
Scaling may not be 100% accurate, this tool will normally get you 95% there, you can then tweak the scale by dragging the corners of the image afterwards to get a better match, or try the process again.
These instructions can also be found on the tooltip of the Align to grid text and button.
1. Press the Reset button to the right of the “Align to grid” button.
2. Make sure you are in "Grid Mode", not beauty mode.
3. Use the "Grid Selector Tool" to select a 5ft square on your Overlay image. The “Grid Selector tool” is the bright blue draggable square that is visible in Grid Mode.
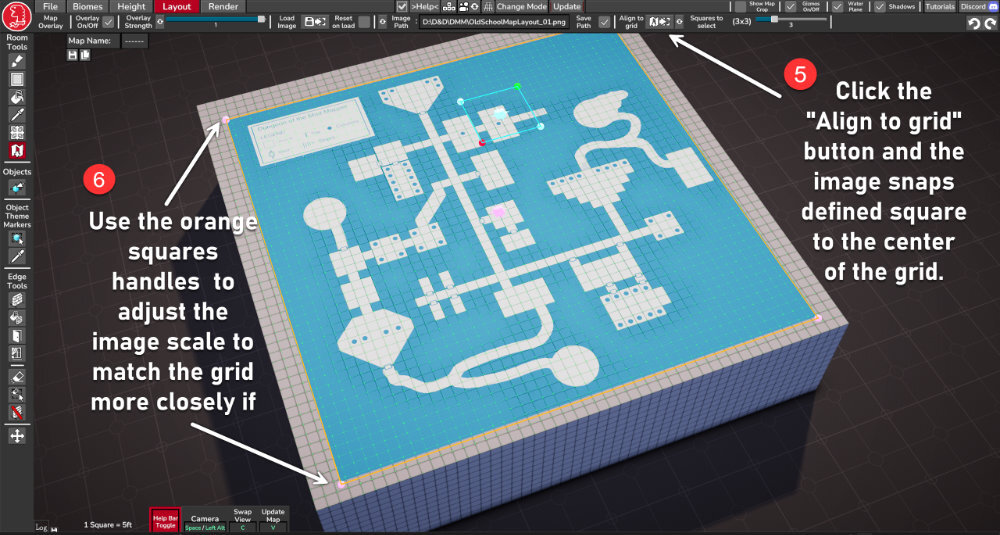
4. Click the "Align to Grid" button.
5. The square you have defined will then be aligned and scaled to fit the center square of the DMM grid.
6. Drag and move the image as you desire and tweak the scaling if needed by dragging the corners of the orange square.
Note: Accuracy can be increased by setting the “Squares to select” slider to a higher number of squares. Then select this number of 5ft squares when doing step 3.
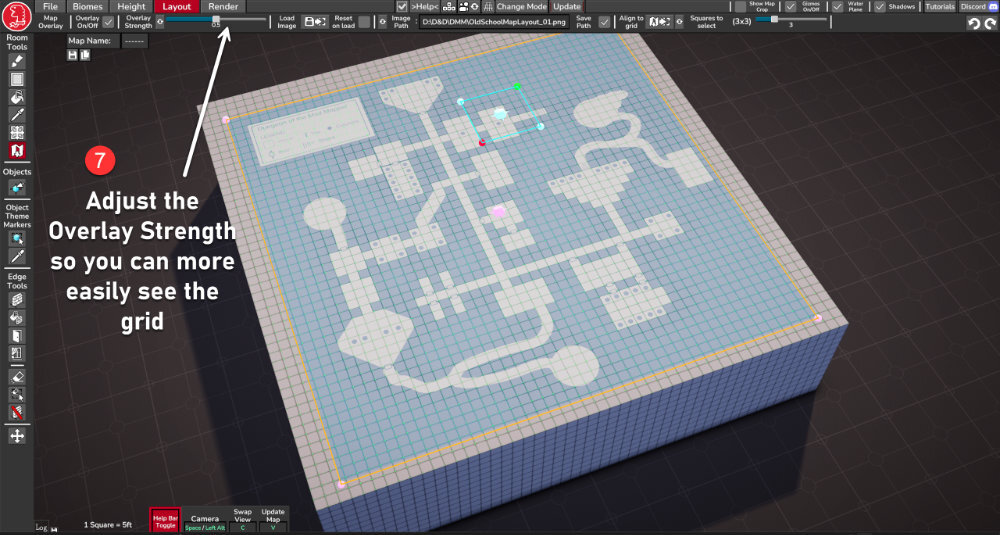
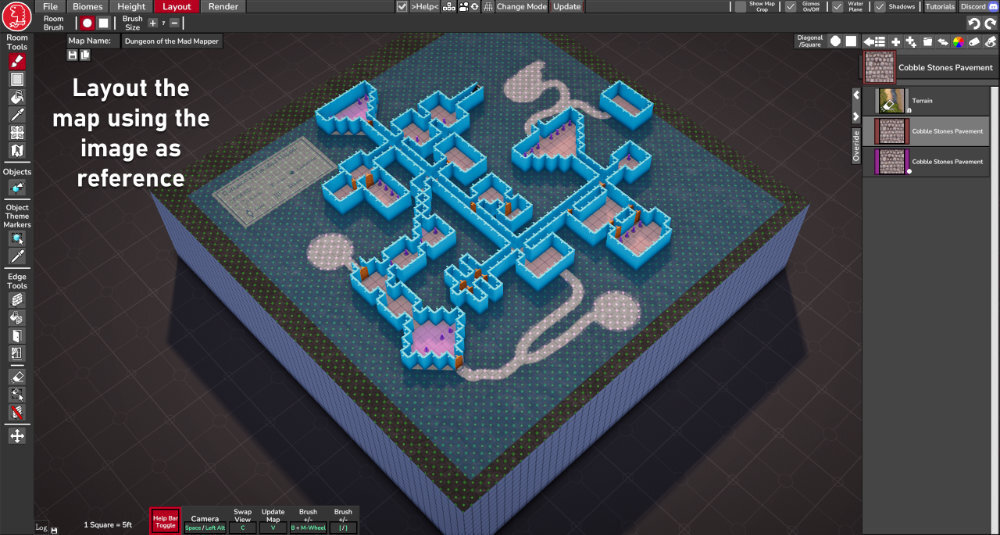
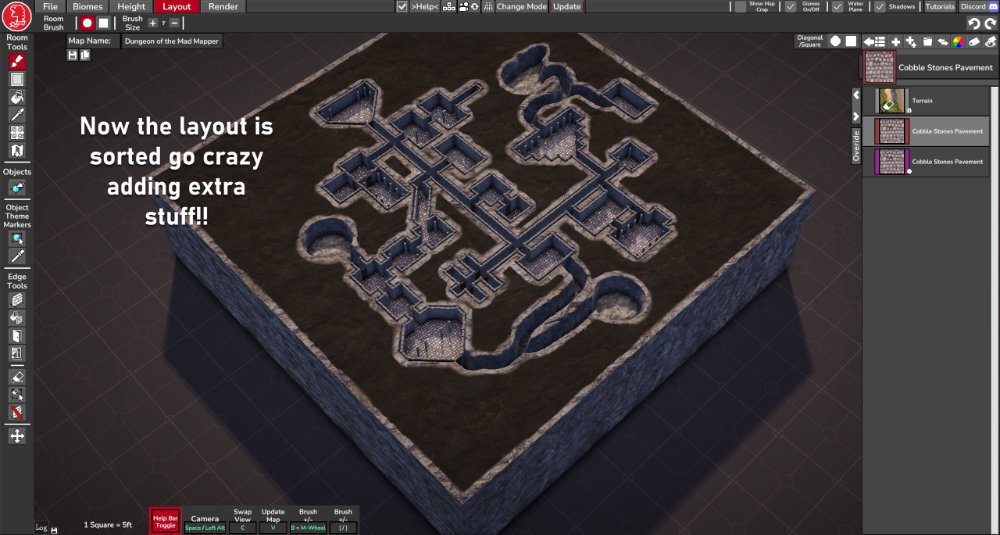
Here are some visual instructions:
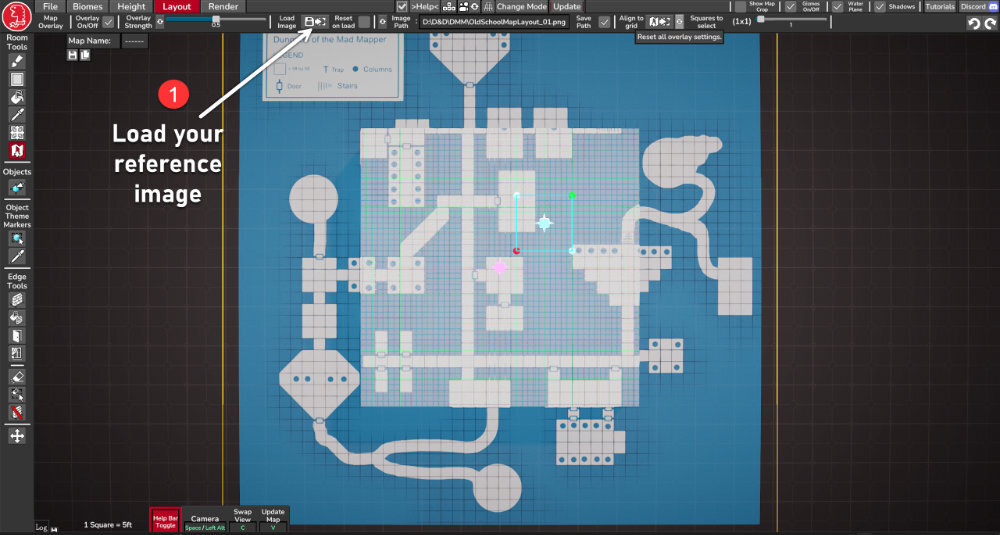
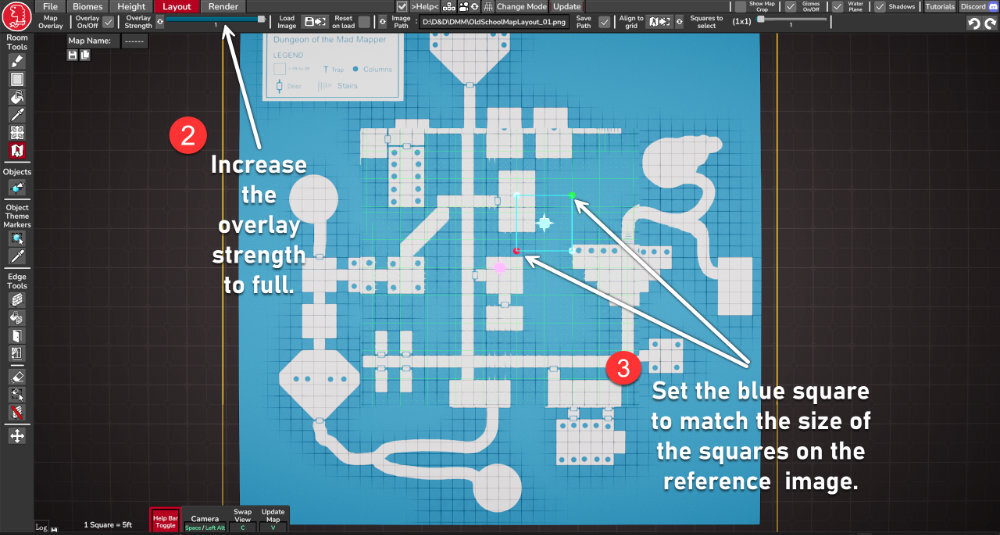
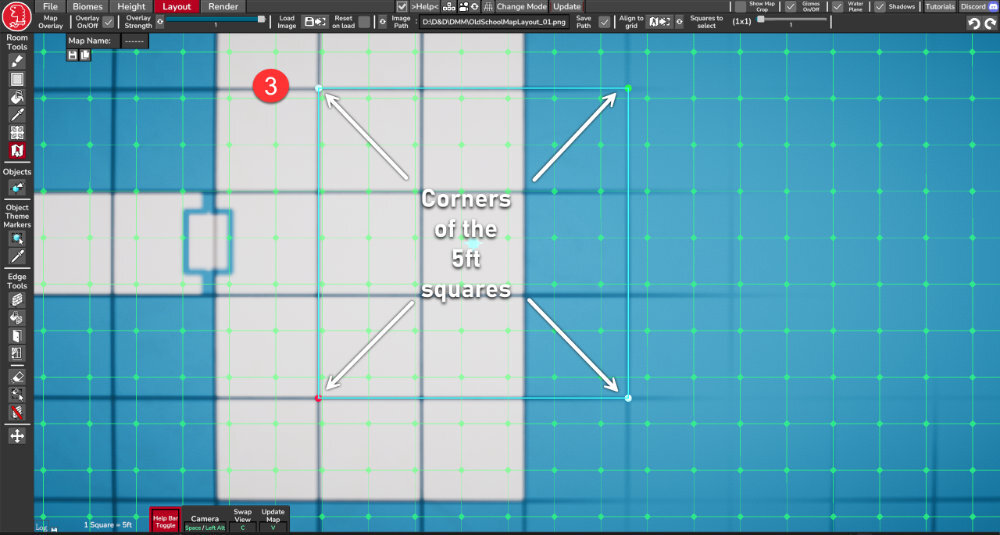
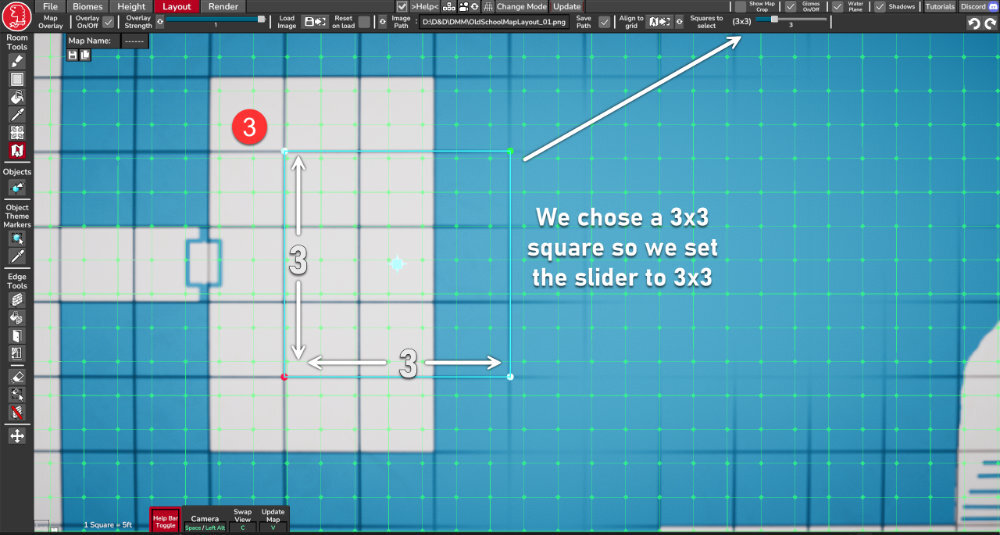
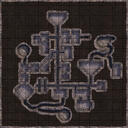
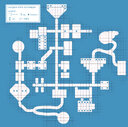
Map Image Overlay > “Align to Grid” > Squares to select Slider
Increase the accuracy of the “Align to Grid” calculation by selecting more than just one square on your map when using the bright blue "Grid Selector Tool". This slider will show you how many squares you must select, the more you select the better the accuracy of the calculation.
Bug: .uvtt light brightness and saturation input fields were breaking
These input fields were bugging out for some reason, I switched them to the newer textmesh pro versions and they are working again. Fixed.