Wee li'l update
Fixed some little bugs. Added option to hold shift while creating or adjusting segments to escape the snap to grid.
Fixed some little bugs.
Added option to hold shift while creating or adjusting segments to escape the snap to grid.

Fixed some little bugs. Added option to hold shift while creating or adjusting segments to escape the snap to grid.
Fixed some little bugs.
Added option to hold shift while creating or adjusting segments to escape the snap to grid.
Little changes: - Scooch will move only selected segments, or all segments if none are selected. - Apply colors sequentially can now be either done in the order they were selected, or their distance from the center point - Community Hub buttons now truncate extra long titles.
Little changes:
- Scooch will move only selected segments, or all segments if none are selected.
- Apply colors sequentially can now be either done in the order they were selected, or their distance from the center point
- Community Hub buttons now truncate extra long titles.
SEGMENT GROUPS If you have selected any segments, and you want to remember that groups, you can press CONTROL + 1,2,3 or 4. Recall the group by pressing SHIFT + that same number. Made some other little changes... the info panel doesn't close if you drag the mouse outside the wind
If you have selected any segments, and you want to remember that groups, you can press CONTROL + 1,2,3 or 4.
Recall the group by pressing SHIFT + that same number.
Made some other little changes... the info panel doesn't close if you drag the mouse outside the window while changing colors.
Shrinkify now adjusts connected segments in all cases.
That's all. Have a nice day.
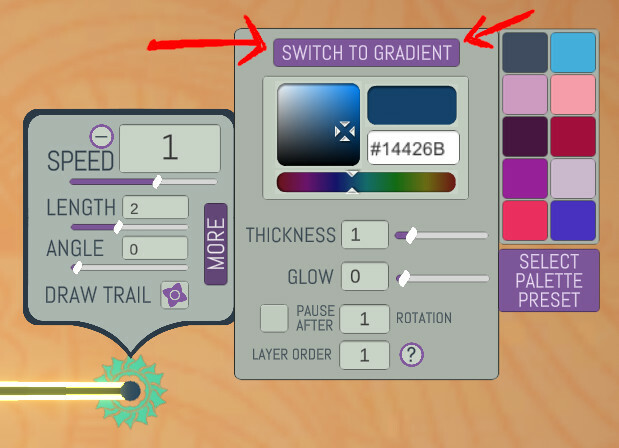
GRADIENTS Gradients have come to Zen Trails! Wooooooooo! It's true. The segment info panel got a little rearranging, now with a new button called "Switch to gradient". It's a toggle for switching between gradient and single color. By default all segments are single color, as grad
Gradients have come to Zen Trails! Wooooooooo! It's true. The segment info panel got a little rearranging, now with a new button called "Switch to gradient".
It's a toggle for switching between gradient and single color. By default all segments are single color, as gradients really are useful in specific cases, but not most. The button will change the color picker to a gradient picker:
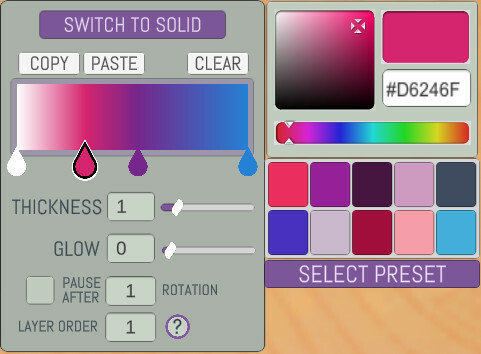
It works just like you'd expect. Click to add colors, right click on them to delete.
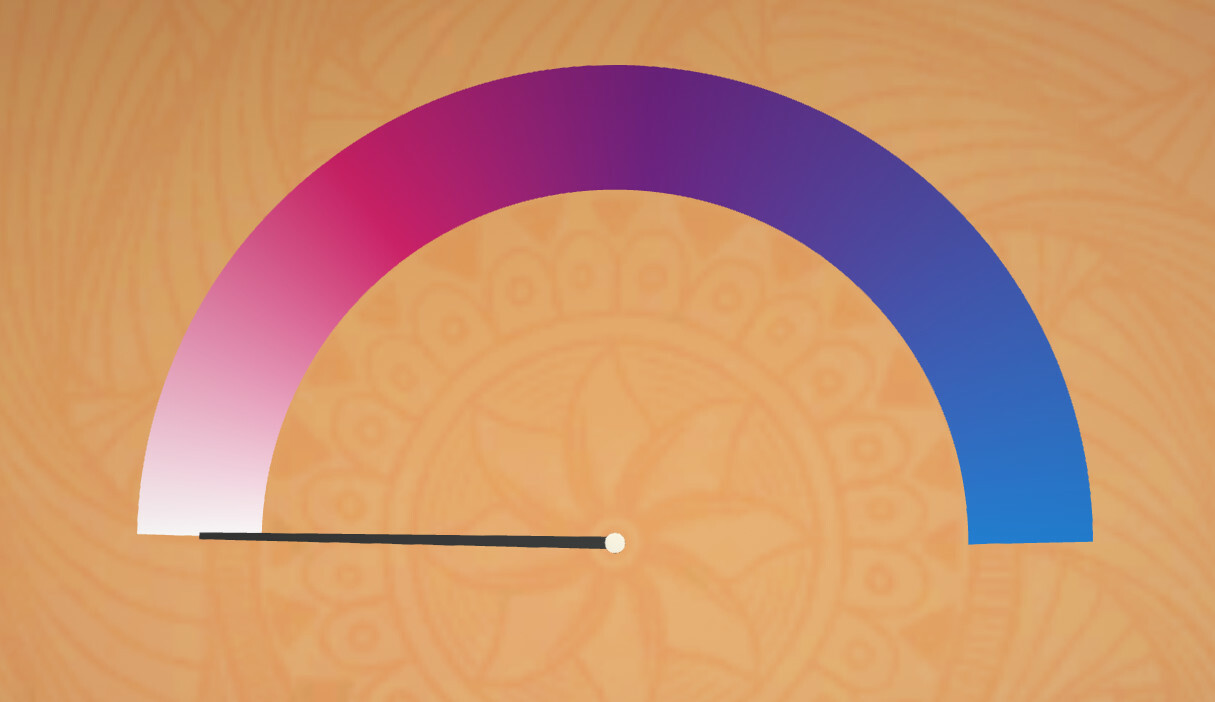
Tadaa!
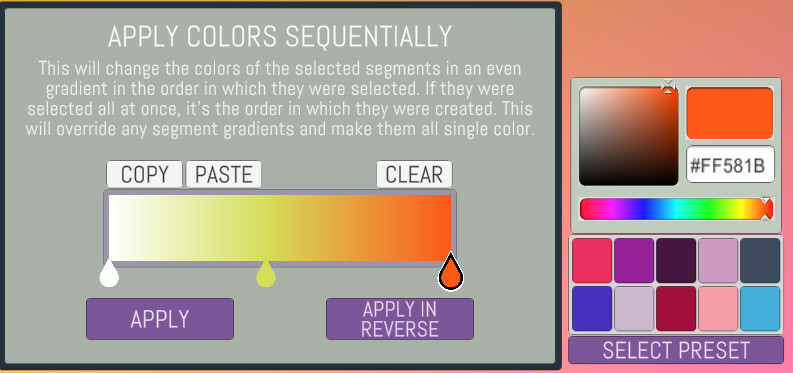
Not just the segment info panel, but also the Modify Panel and the Sequential Colors Subpanel:
So I've been playing with these gradients for a few days and I've found they're really handy for long single line designs, and really bad for anything that's going to overlap itself. That's why they're disabled by default. But in specific cases you can make some pretty cool stuff now!
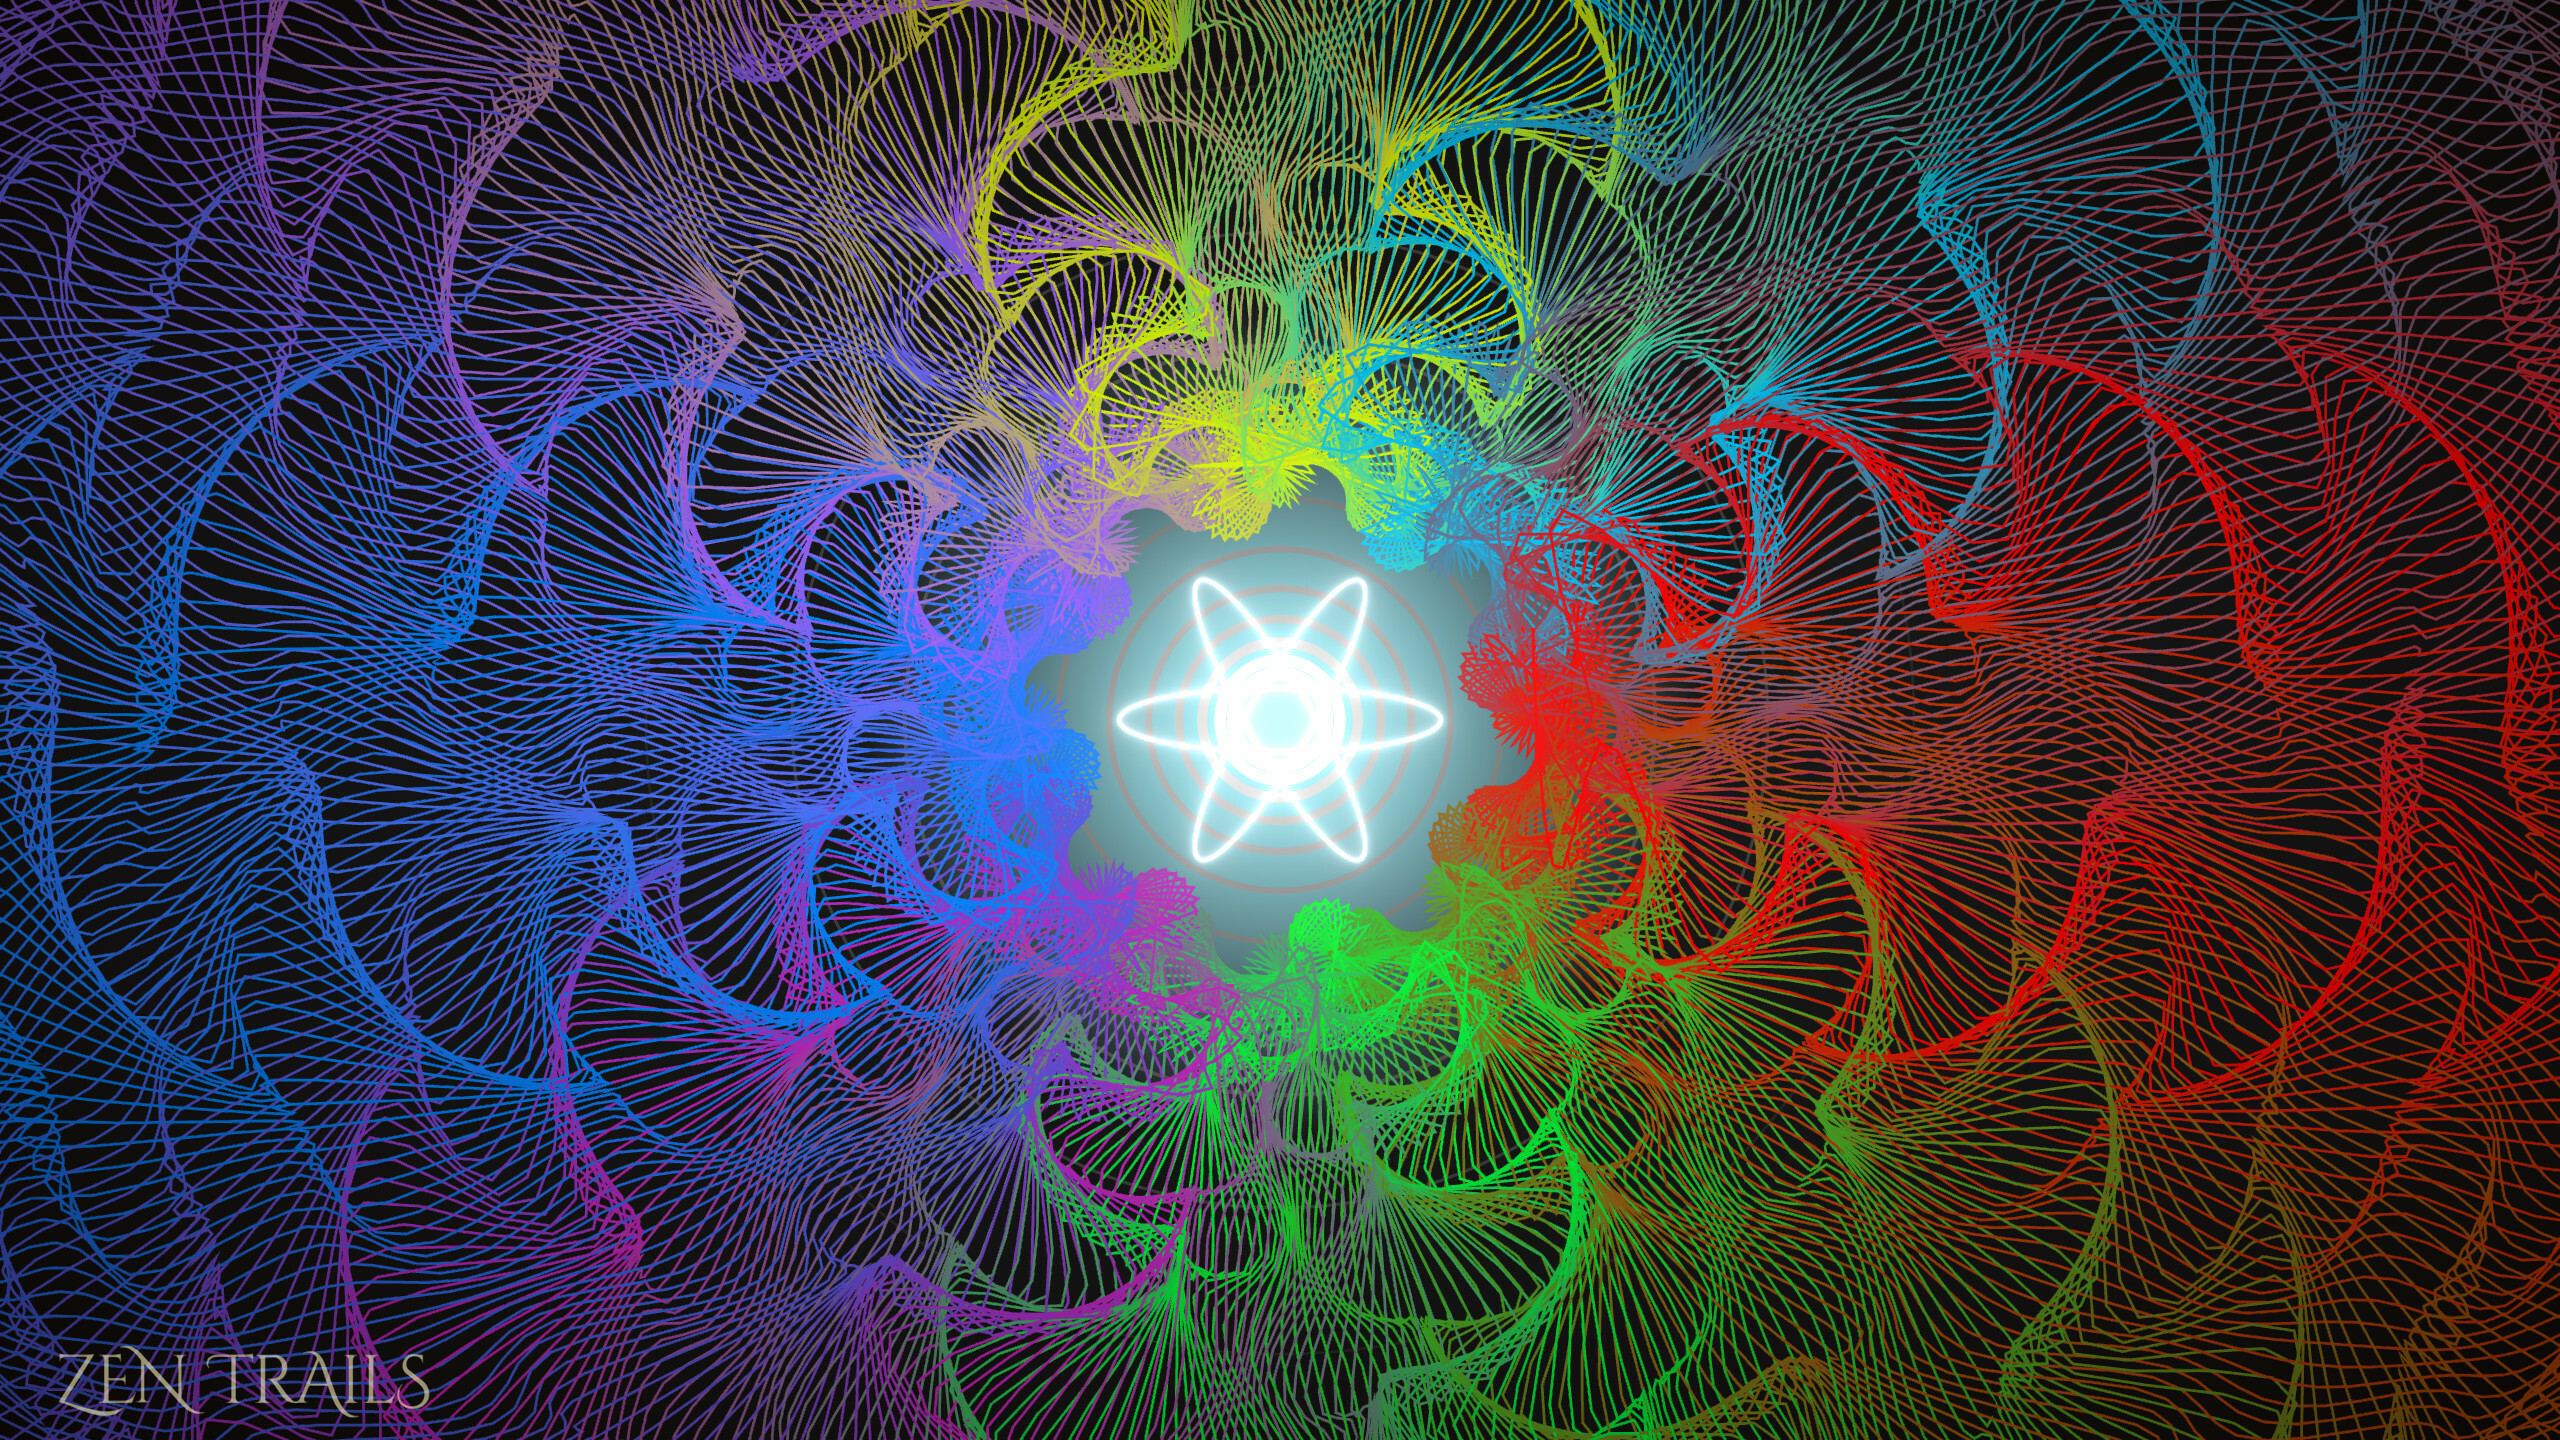
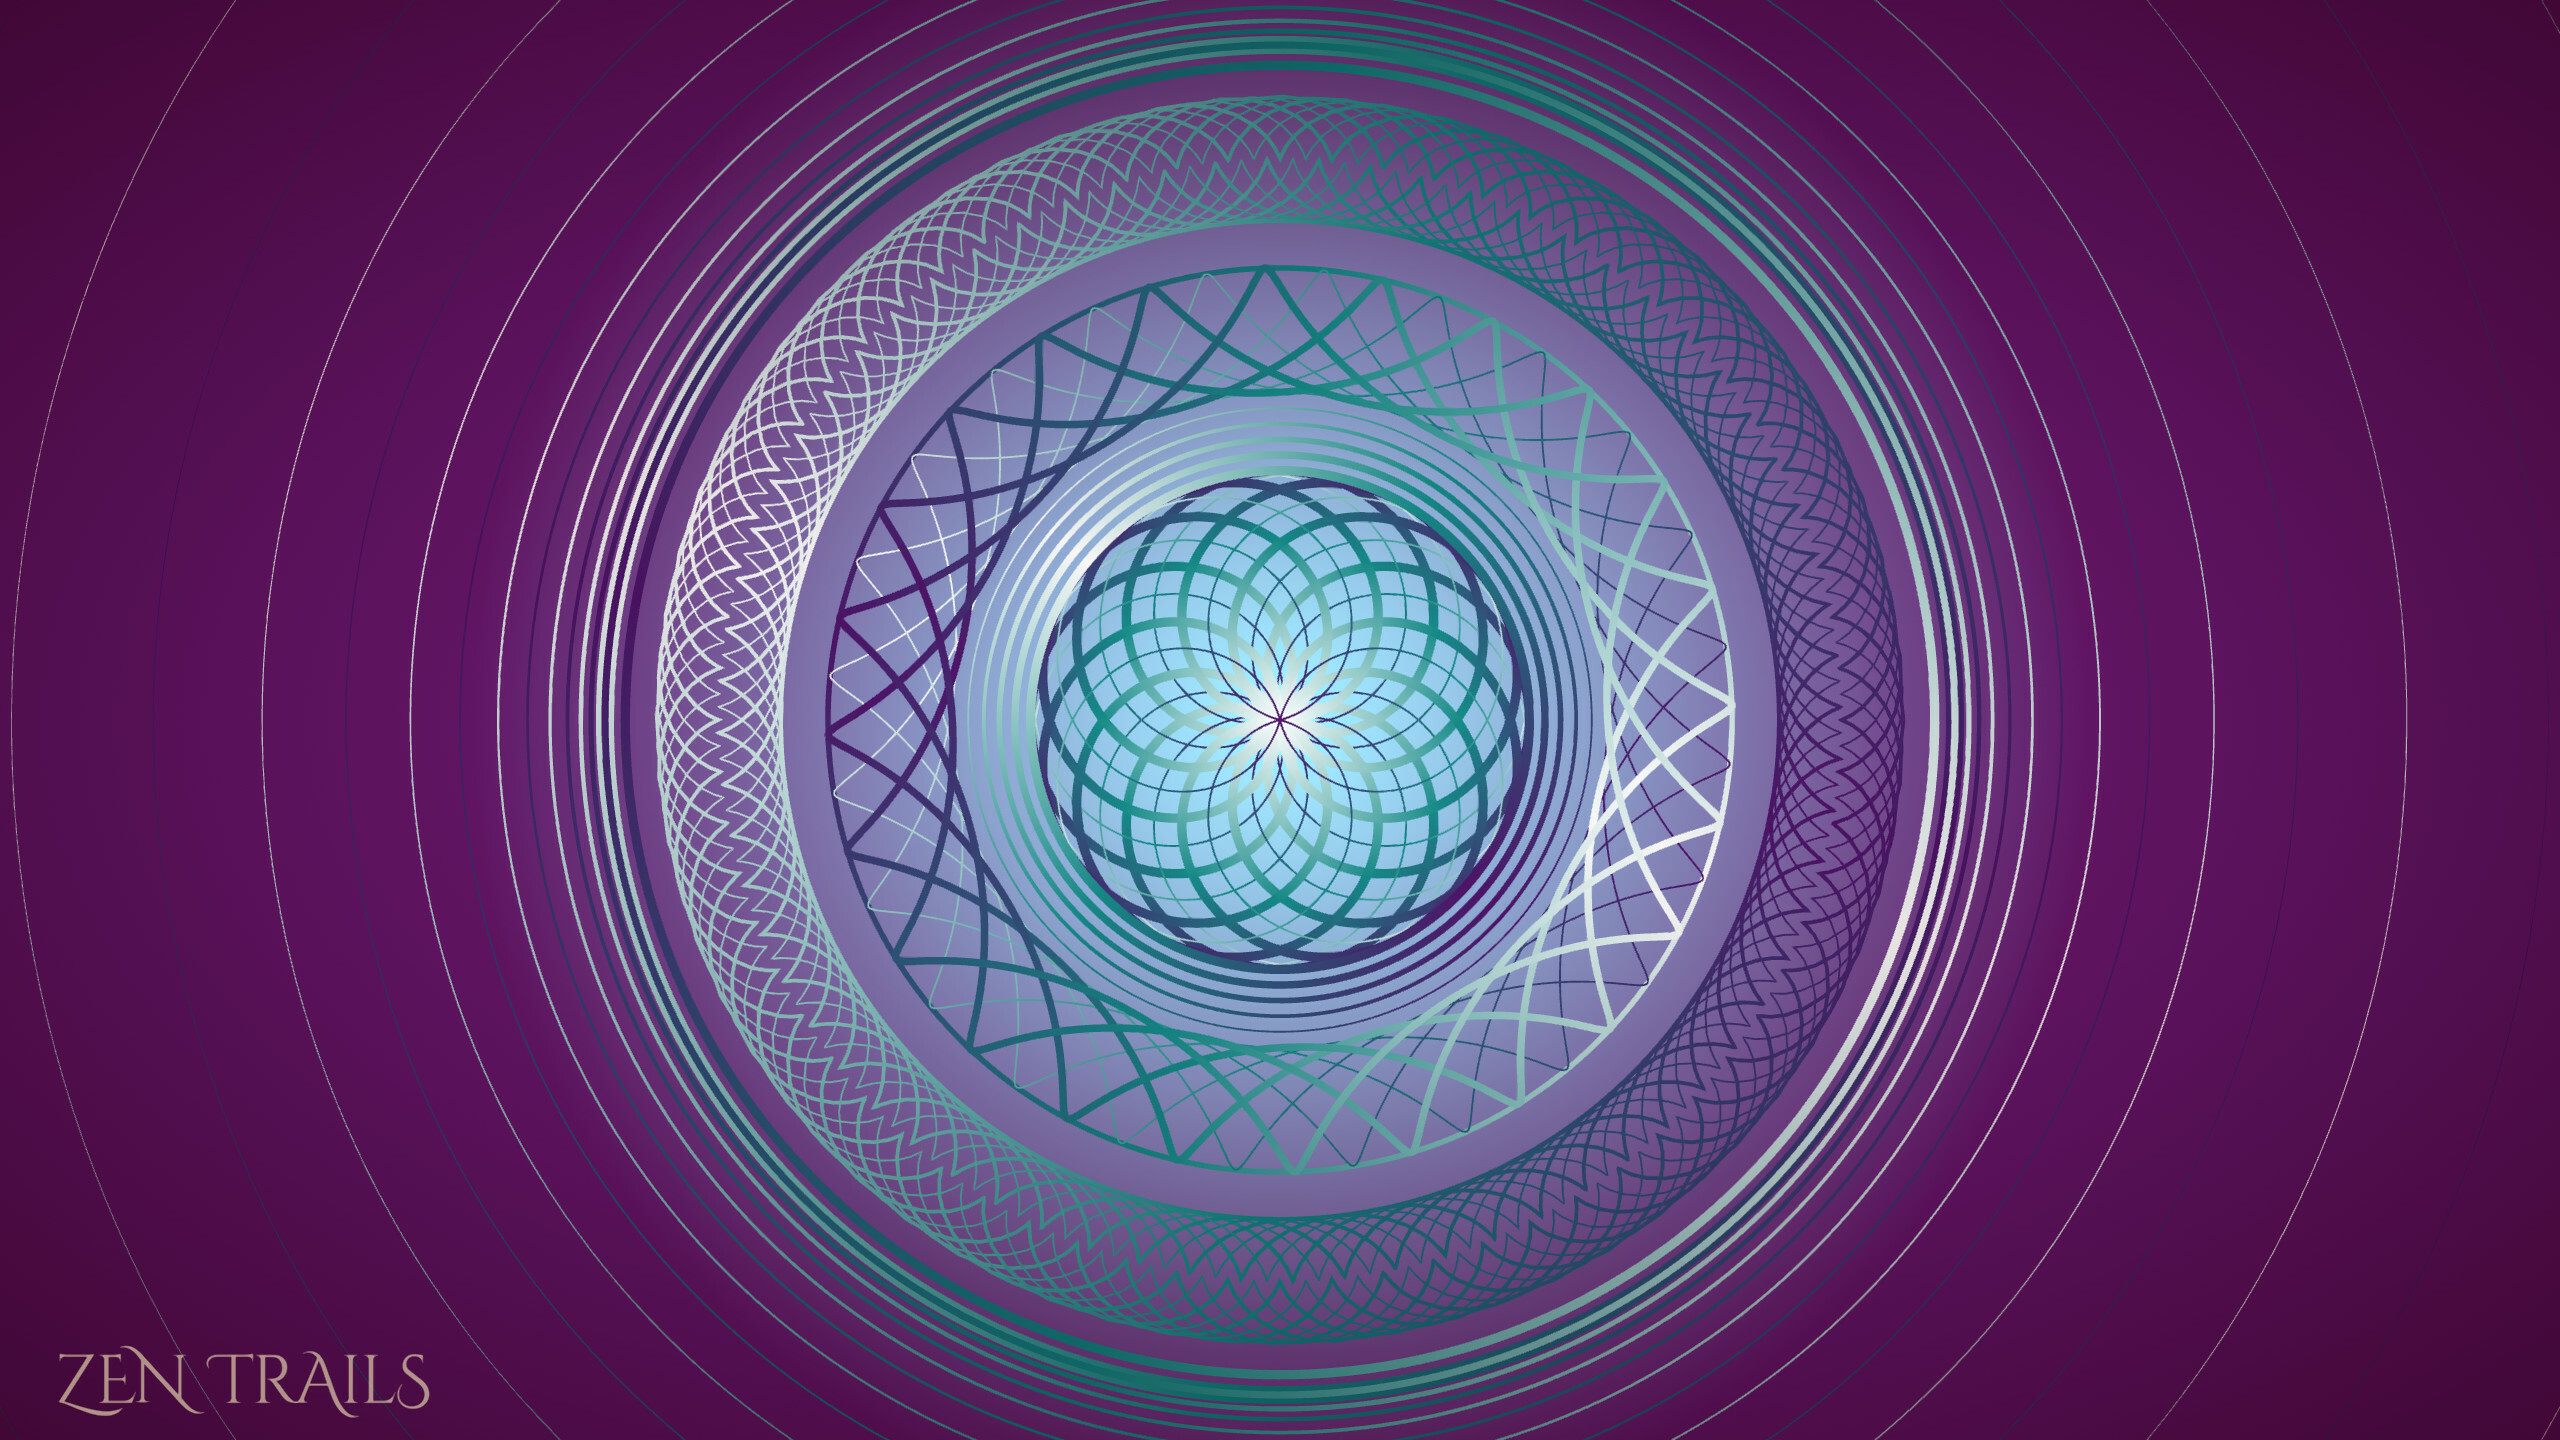
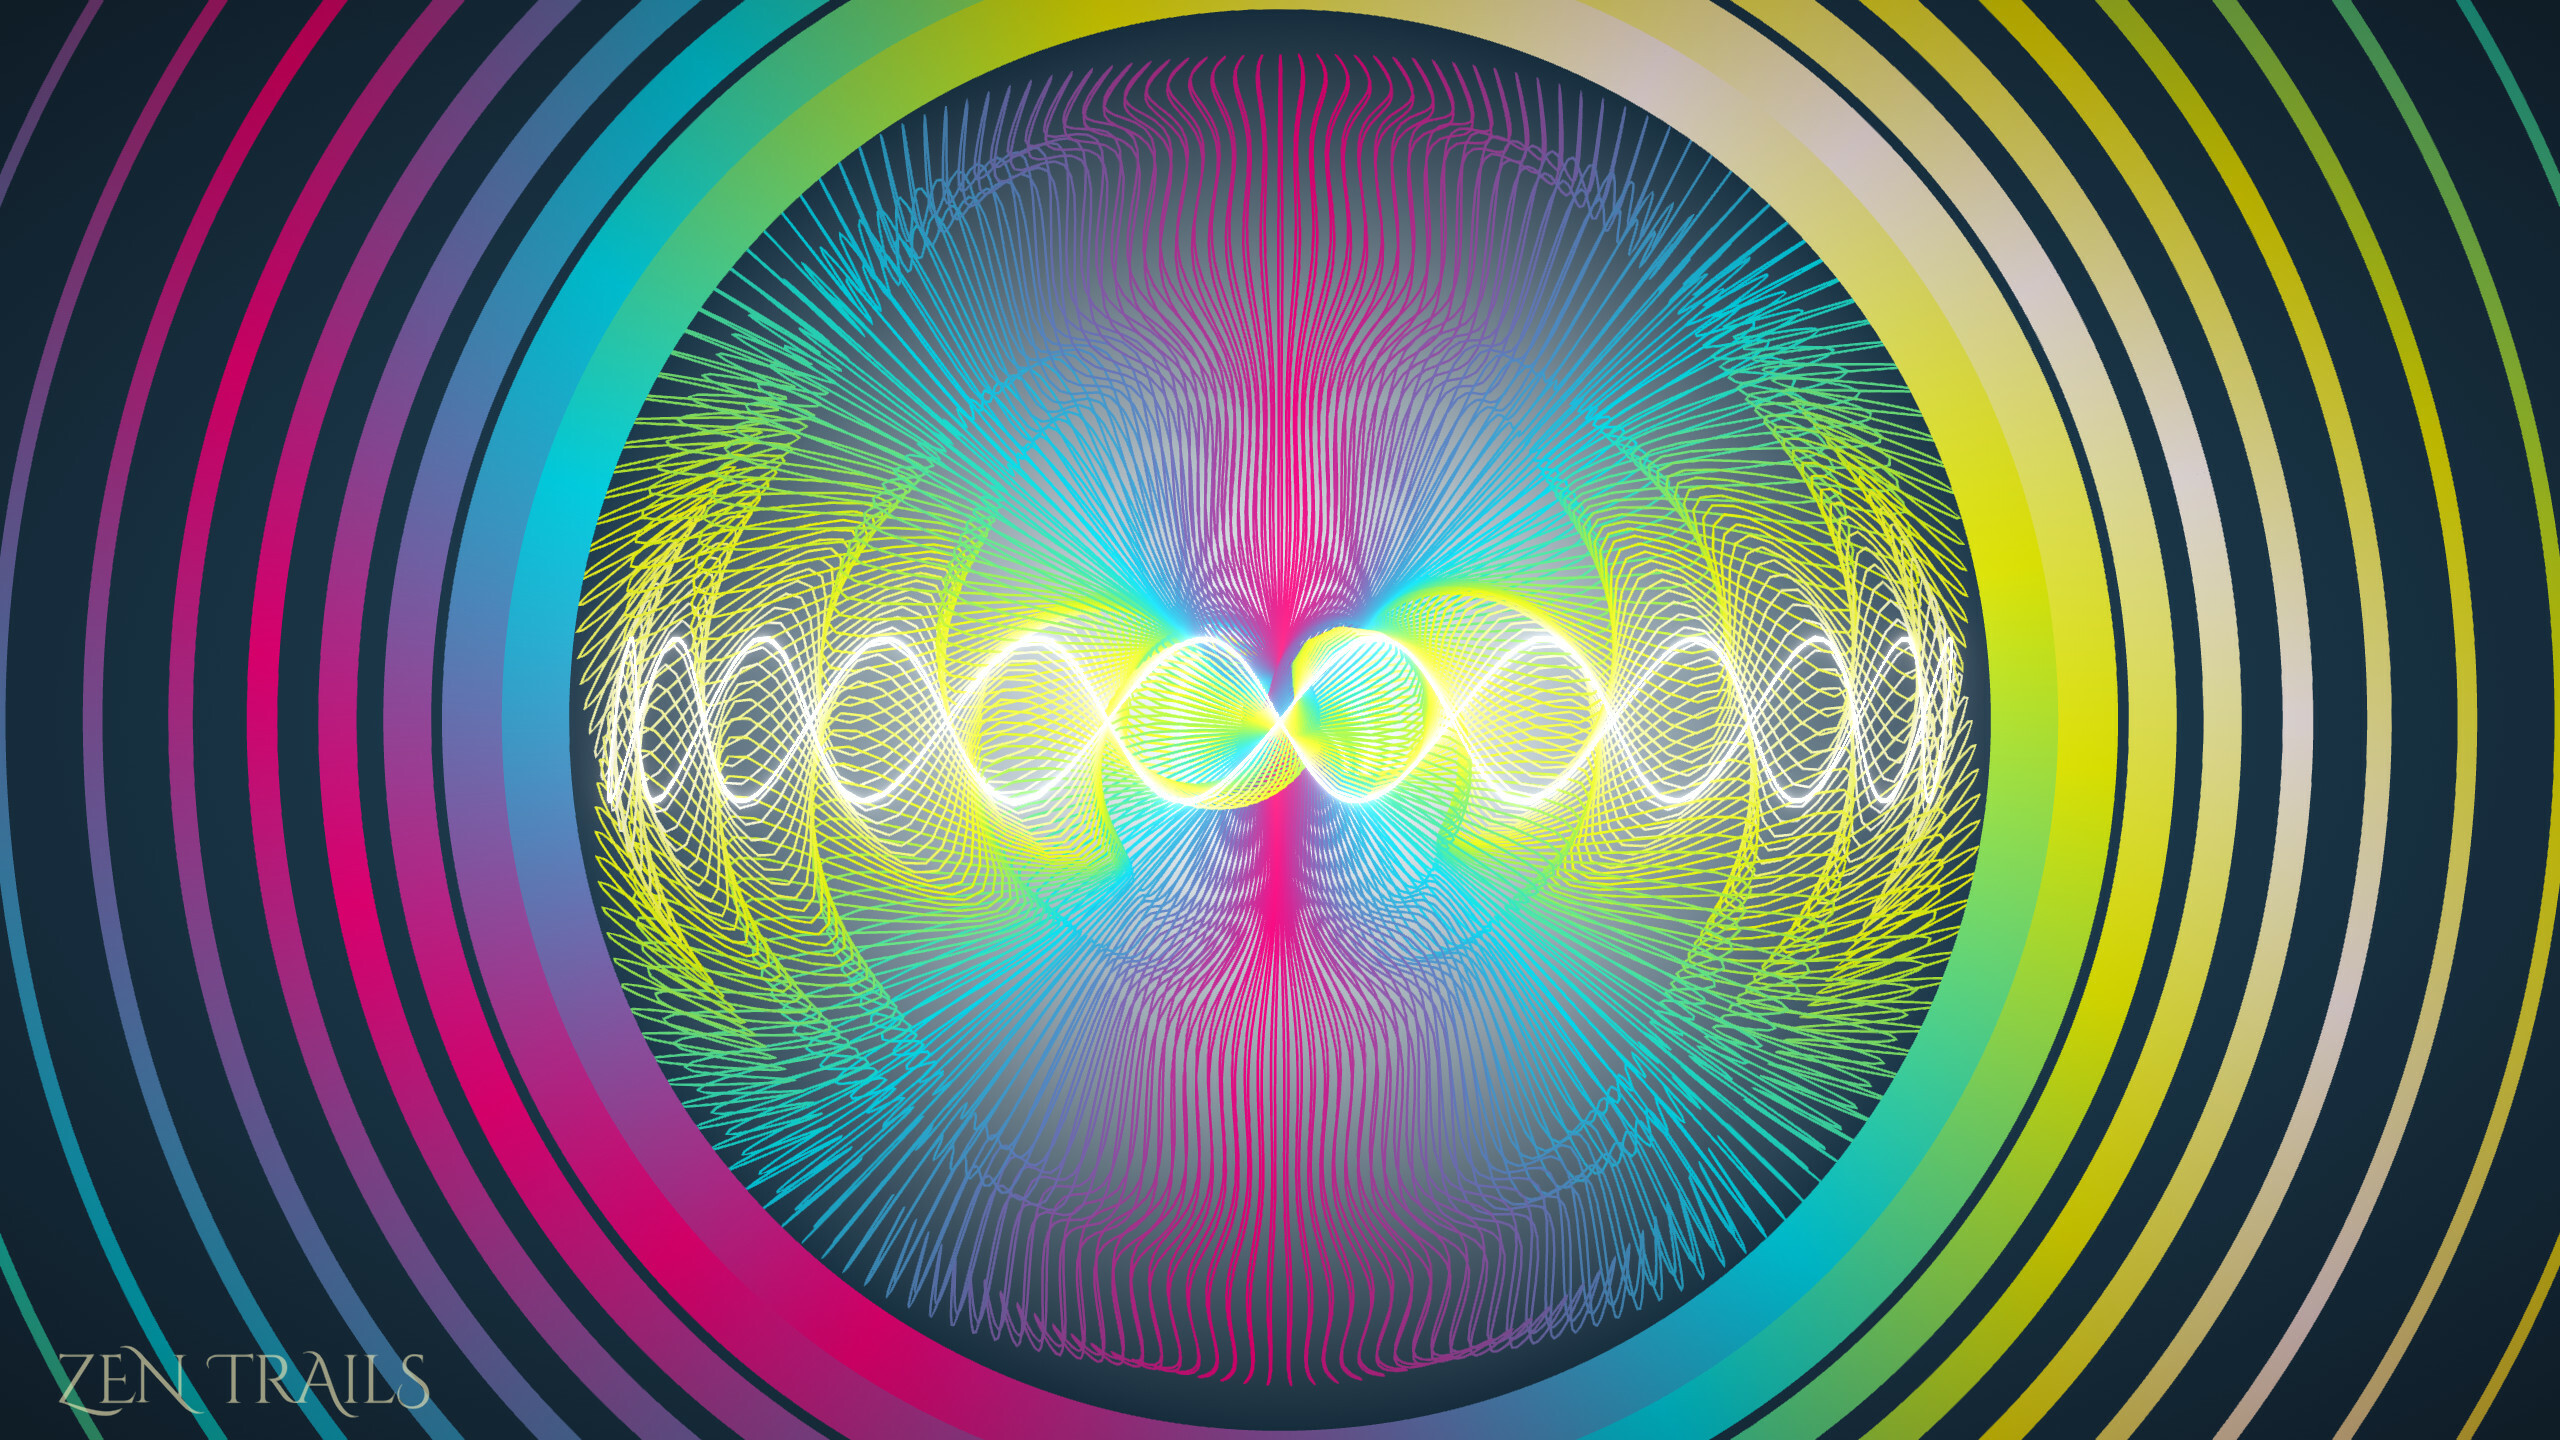
I find myself wanting more and more for the background to be a radial gradient, so I made a new option for this:
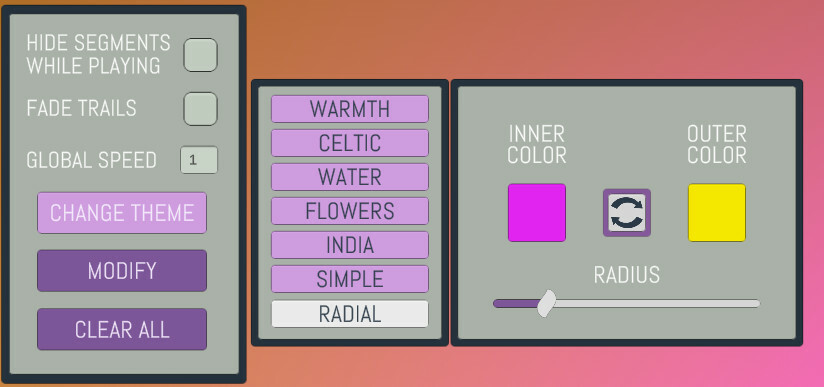
Sadly, it's only a 2-color gradient. But that's still something! You can select the inner color, outer color, and radius of the gradient, and the background will become a nice radial blend between the two. If you're wondering why it's not a full editable gradient like the others, it's because the background requires a custom shader, and unity doesn't allow Gradient types as exposed variables. So it would be a nightmare.
- I added a "Subdivide" button to the Modify Panel, which does exactly that.
- I believe after years of being taunted and annoyed, I may have finally fixed the bug that turns the first segment you select black, after starting up the app.
- Changed the save system to allow for gradients. Old saves work just fine. New saves will not work on older versions of Zen Trails
I'm pretty sure there are lots of bugs I haven't found yet. So... sorry in advance, lol. Can't wait to see what you guys make!
Stephen
So one of my favorite things to do when making spirographic masterpieces is to make some cool-looking design, then copy and past it a bajillion times while shrinking each recursion. It can make some really trippy art but the problem, as always, was that it was a tedious nightmare
So one of my favorite things to do when making spirographic masterpieces is to make some cool-looking design, then copy and past it a bajillion times while shrinking each recursion. It can make some really trippy art but the problem, as always, was that it was a tedious nightmare to do. Well... not anymore, my friends. Say hello to...
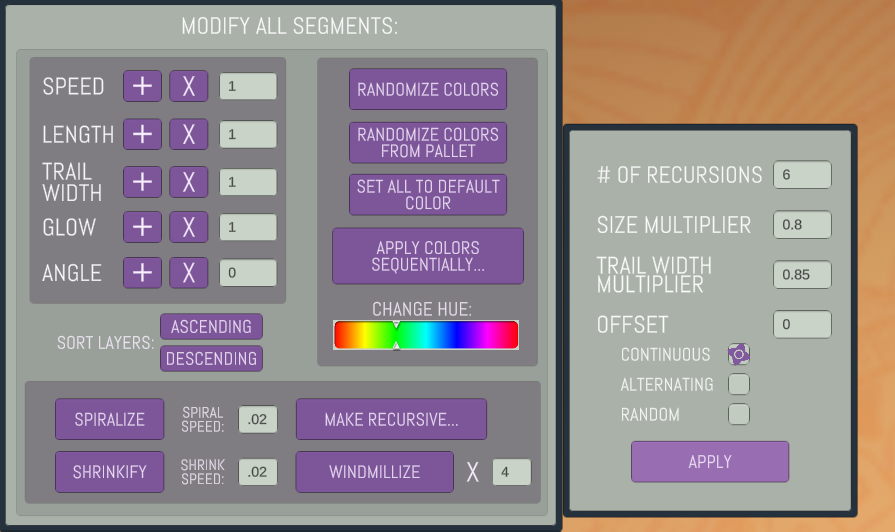
By the way if you haven't noticed, the Modify Panel got an upgrade. More on that in a bit. So now there's a shiny new button called "MAKE RECURSIVE..." which opens up the Recursion panel. You tell it how many recursions you want, and what to multiply each level by and bam! Your work of art just multiplied!:
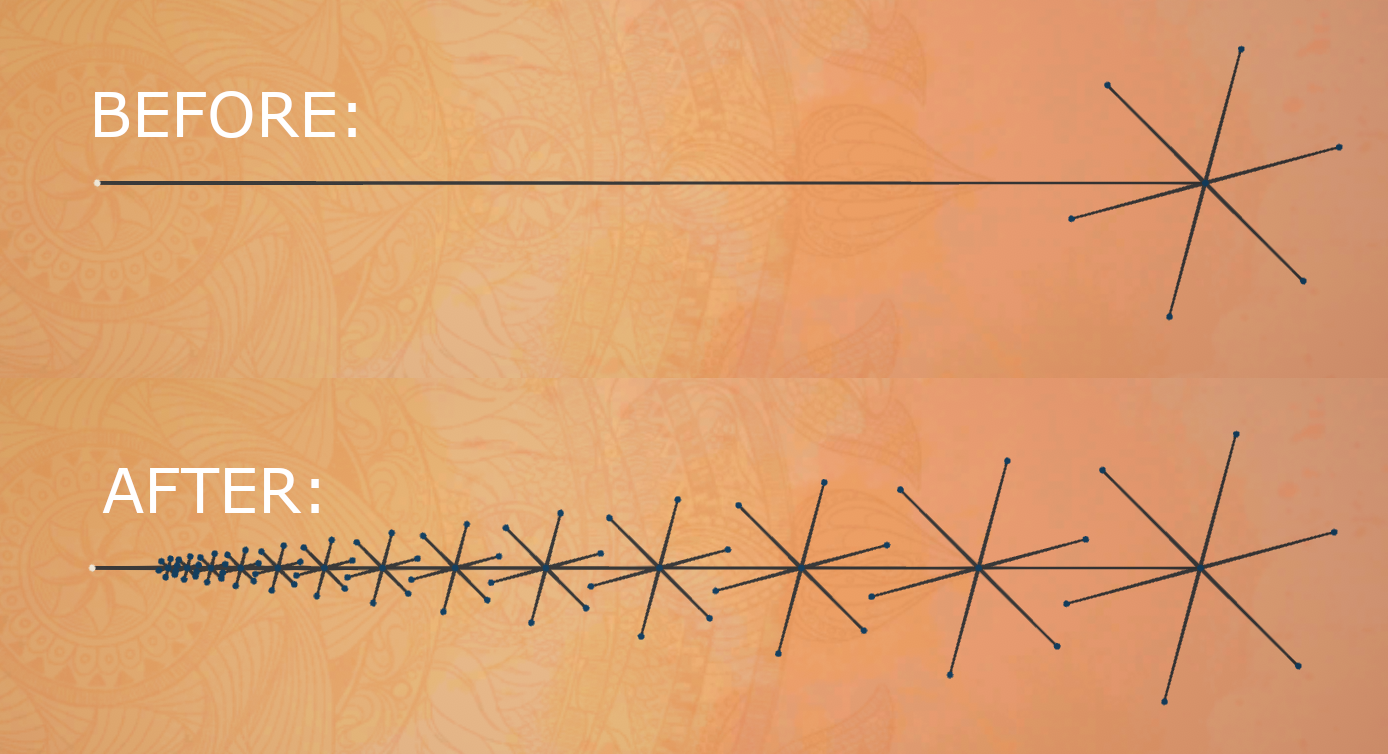
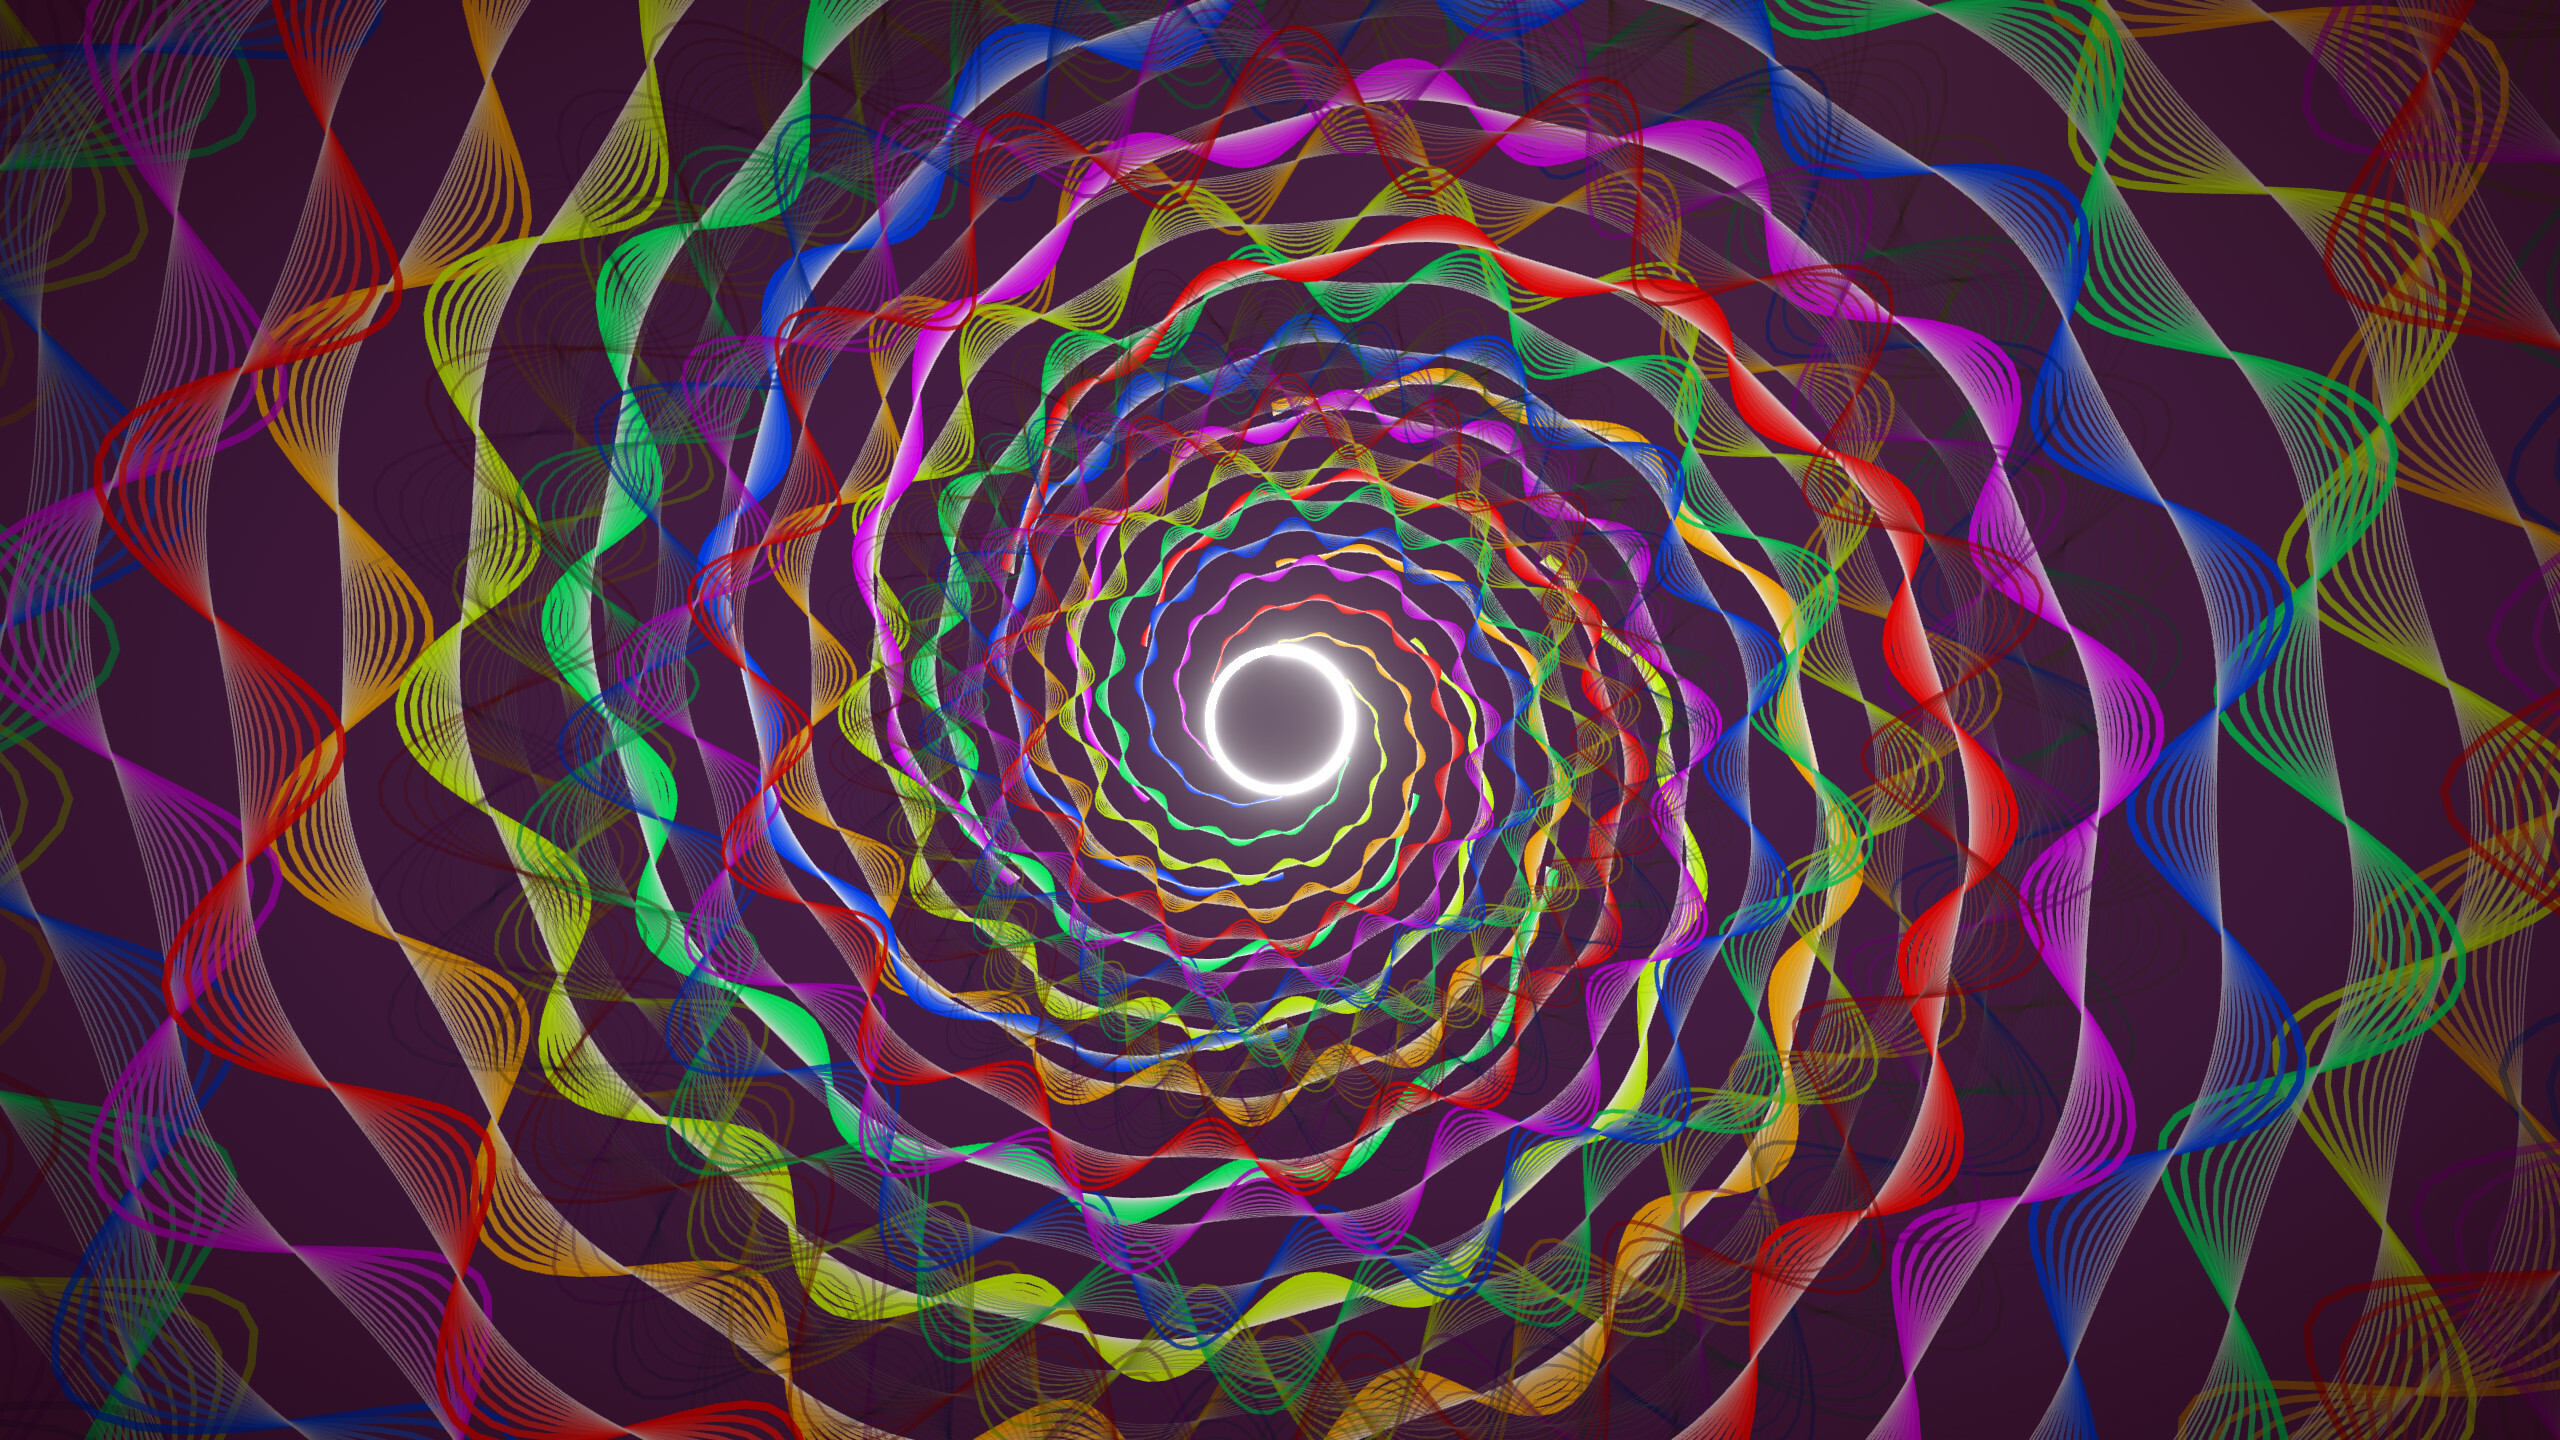
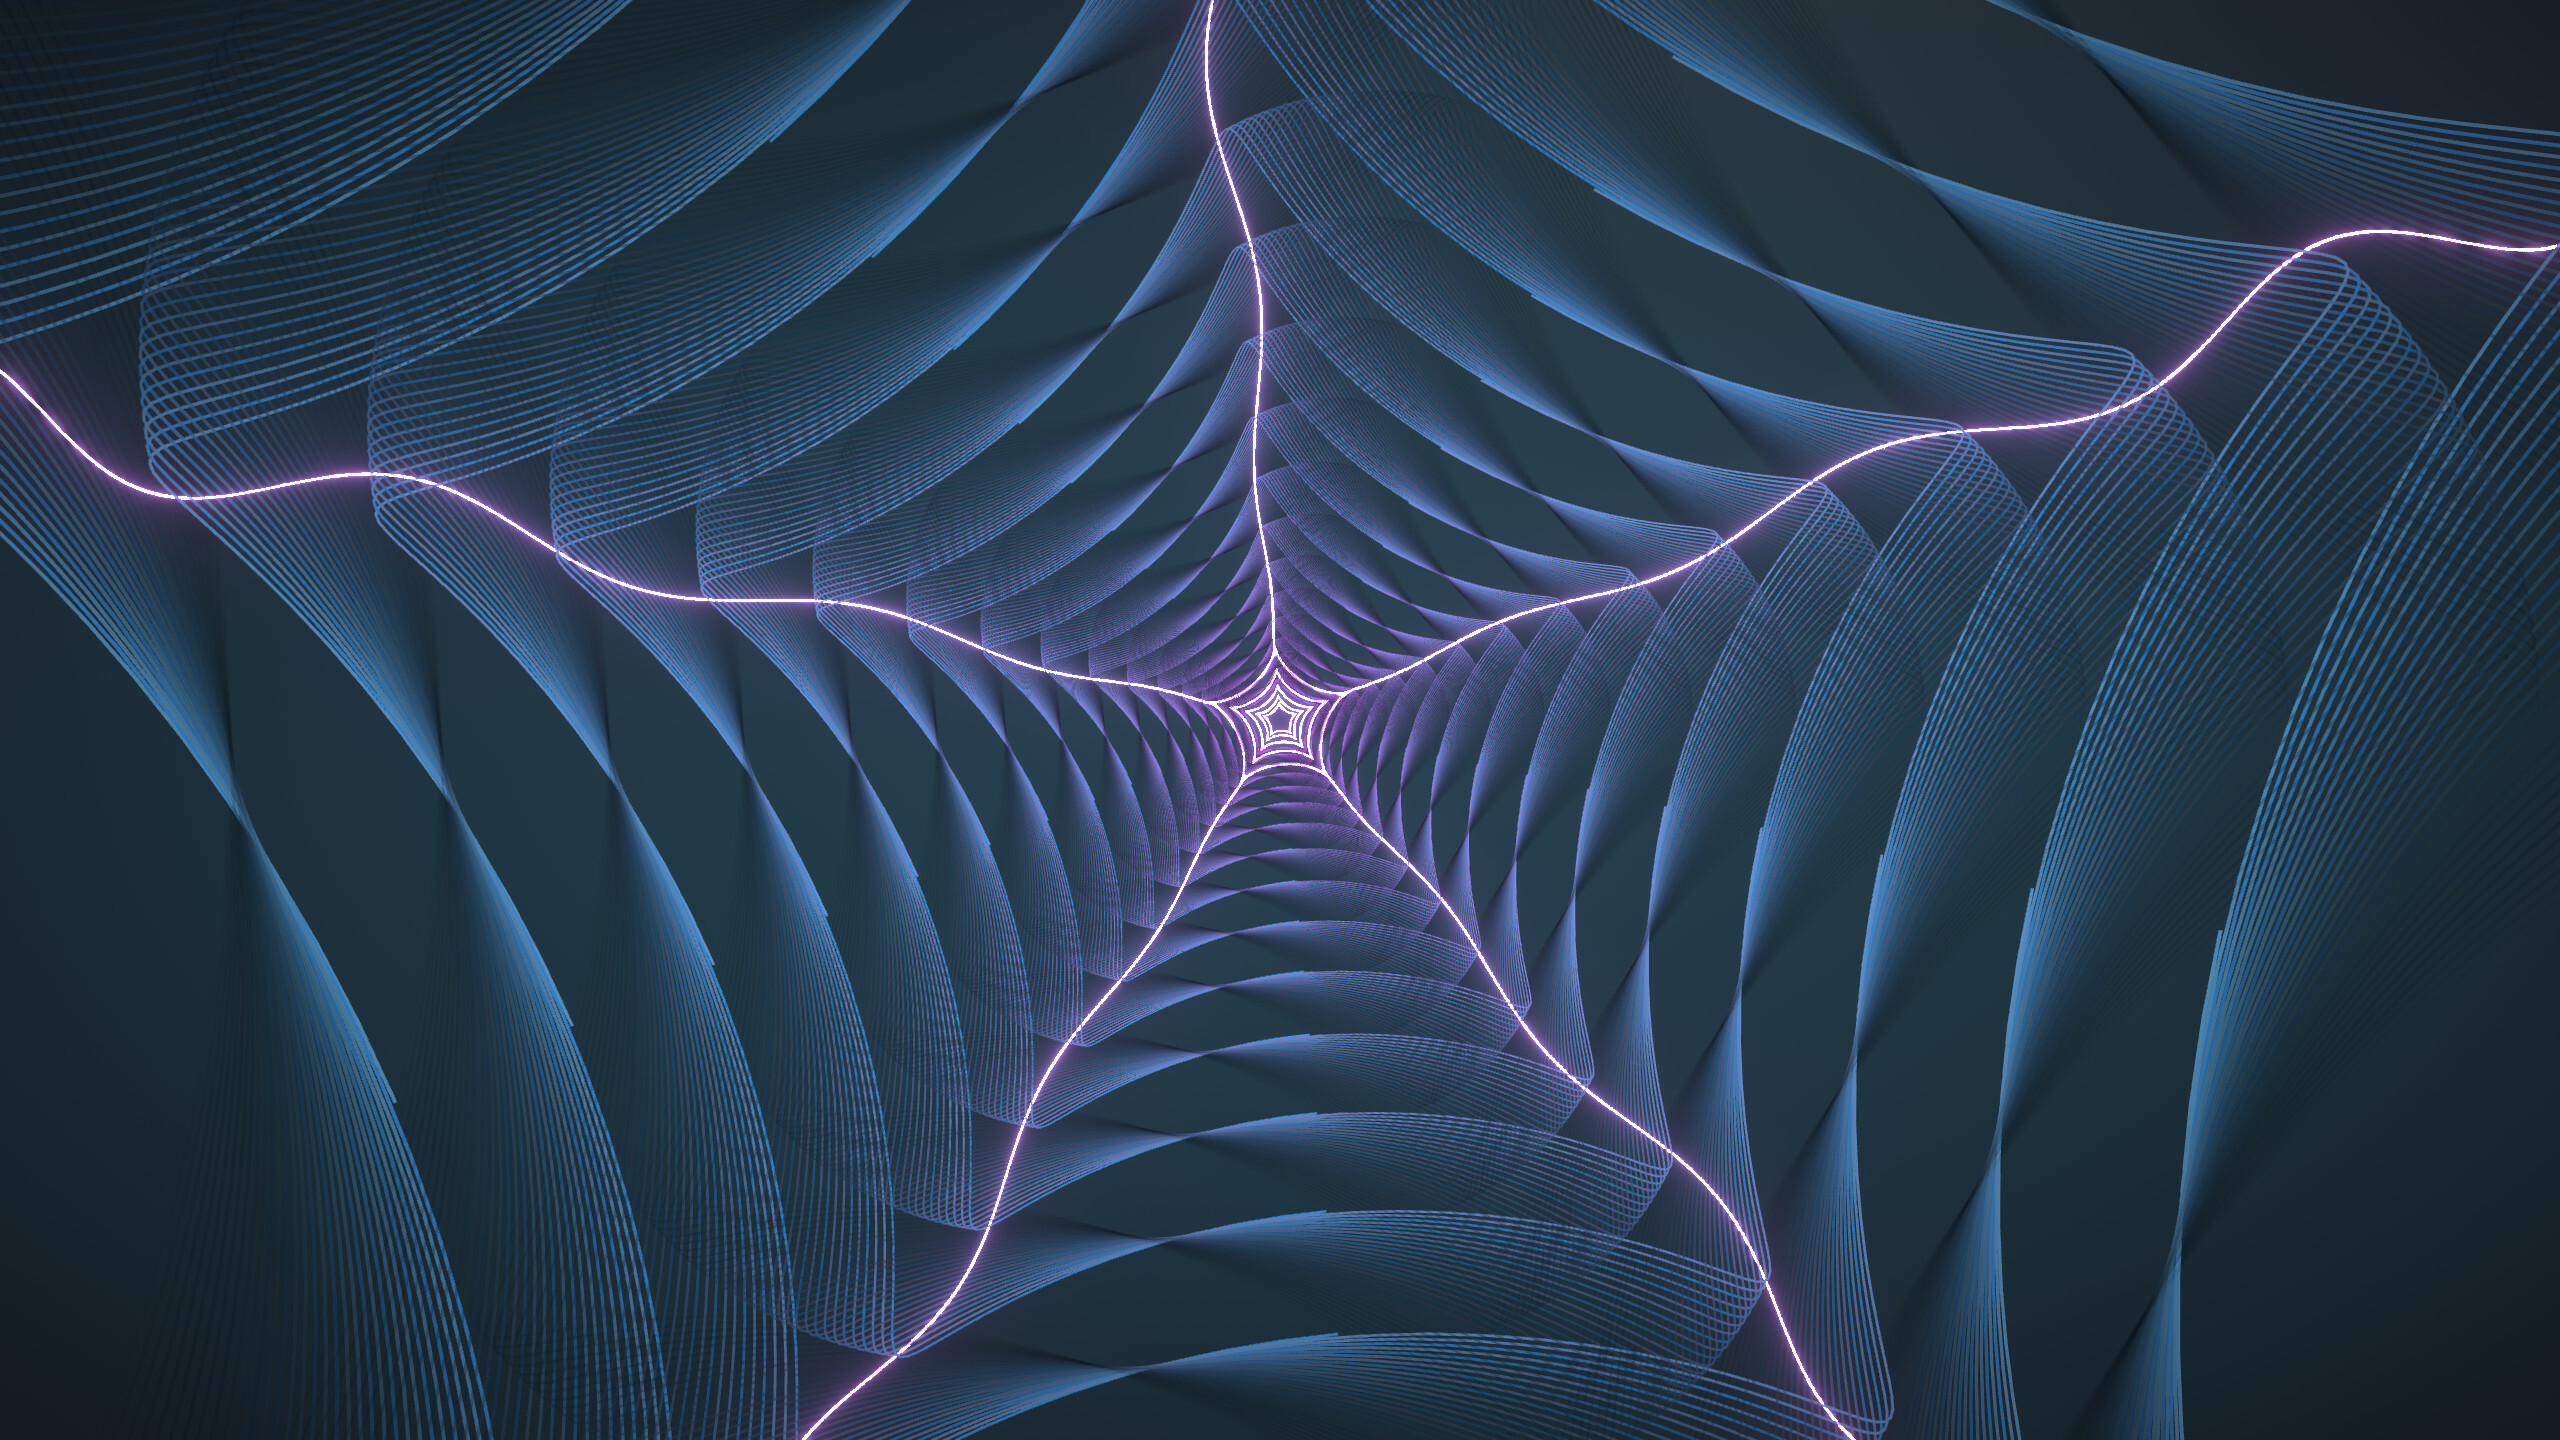
Just be careful, if you go crazy with this you can quickly accumulate thousands of segments and bog down your machine. But this makes it so easy to make your art look like it's shrinking into the distance. As you may have guessed, this pairs famously with the recently announced SEQUENTIAL COLORING panel, which gives segments new colors along a gradient. Just look at some of the art I've made with these two buttons working together. I'm even amazed at how easy these were to make.

Literally with just pressing three buttons - the recursive one, the sequential coloring, and the windmillize buttons...
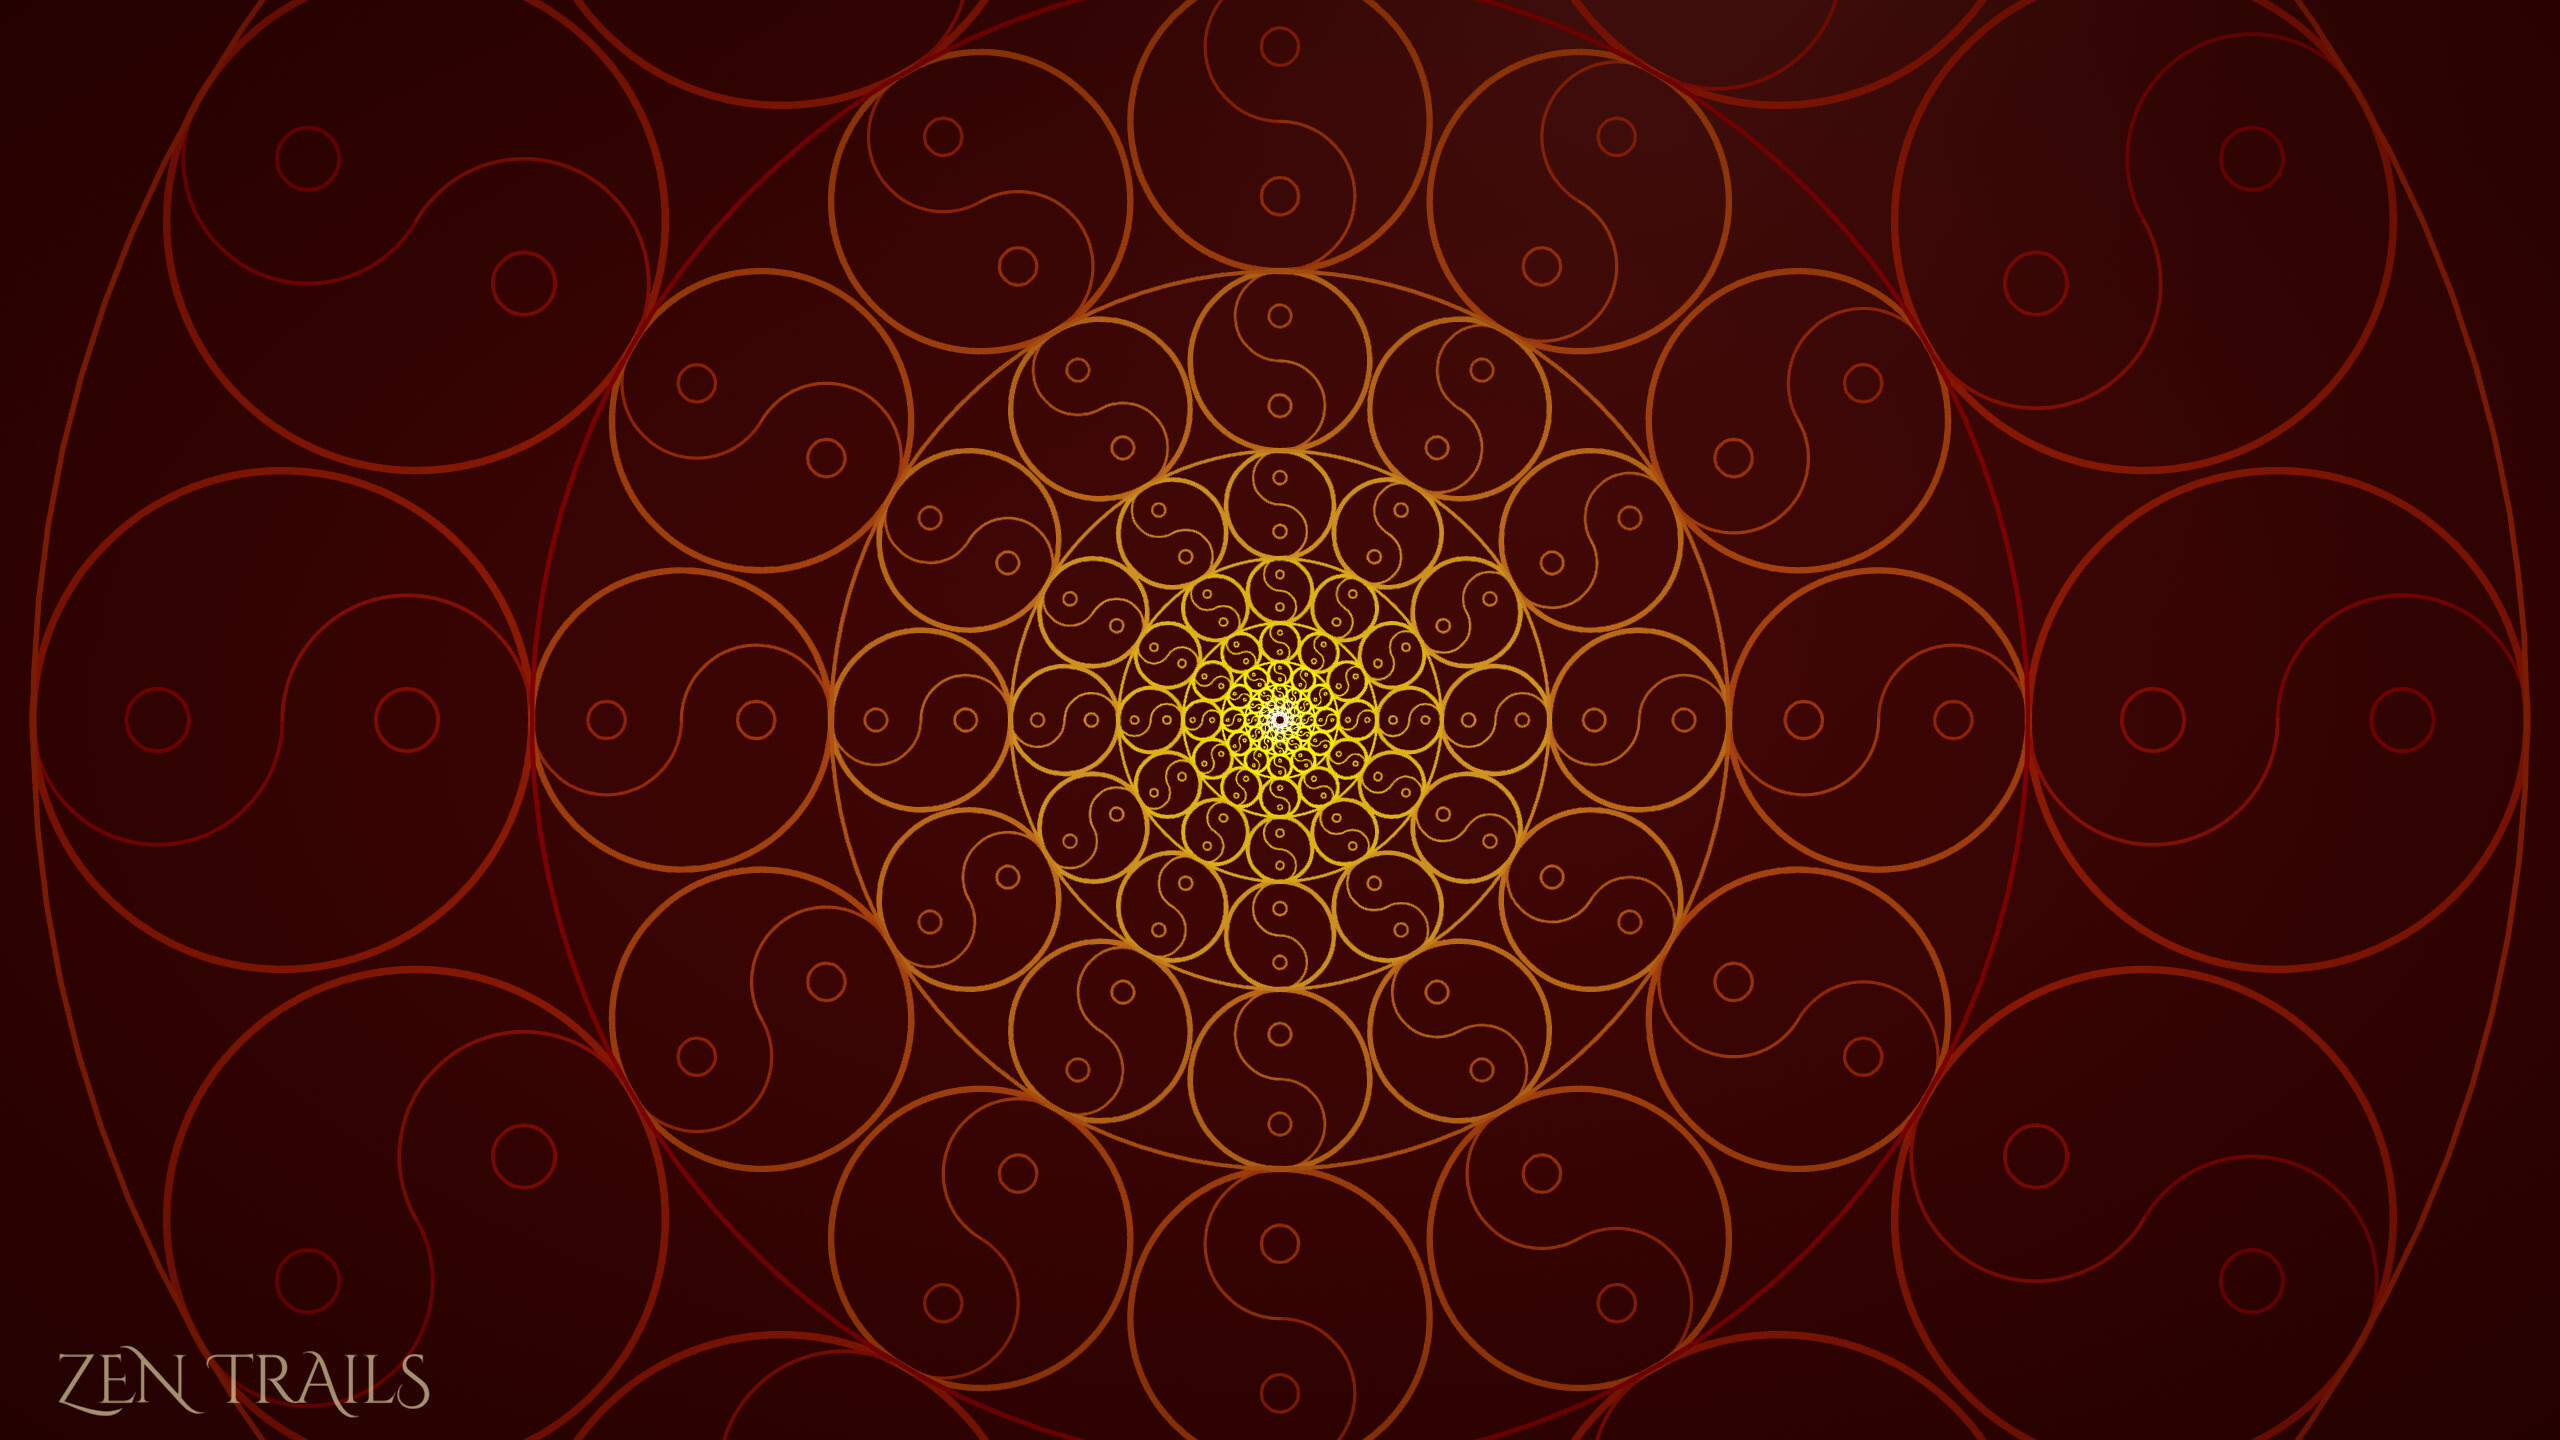
I'm telling you! It's easy and fun!
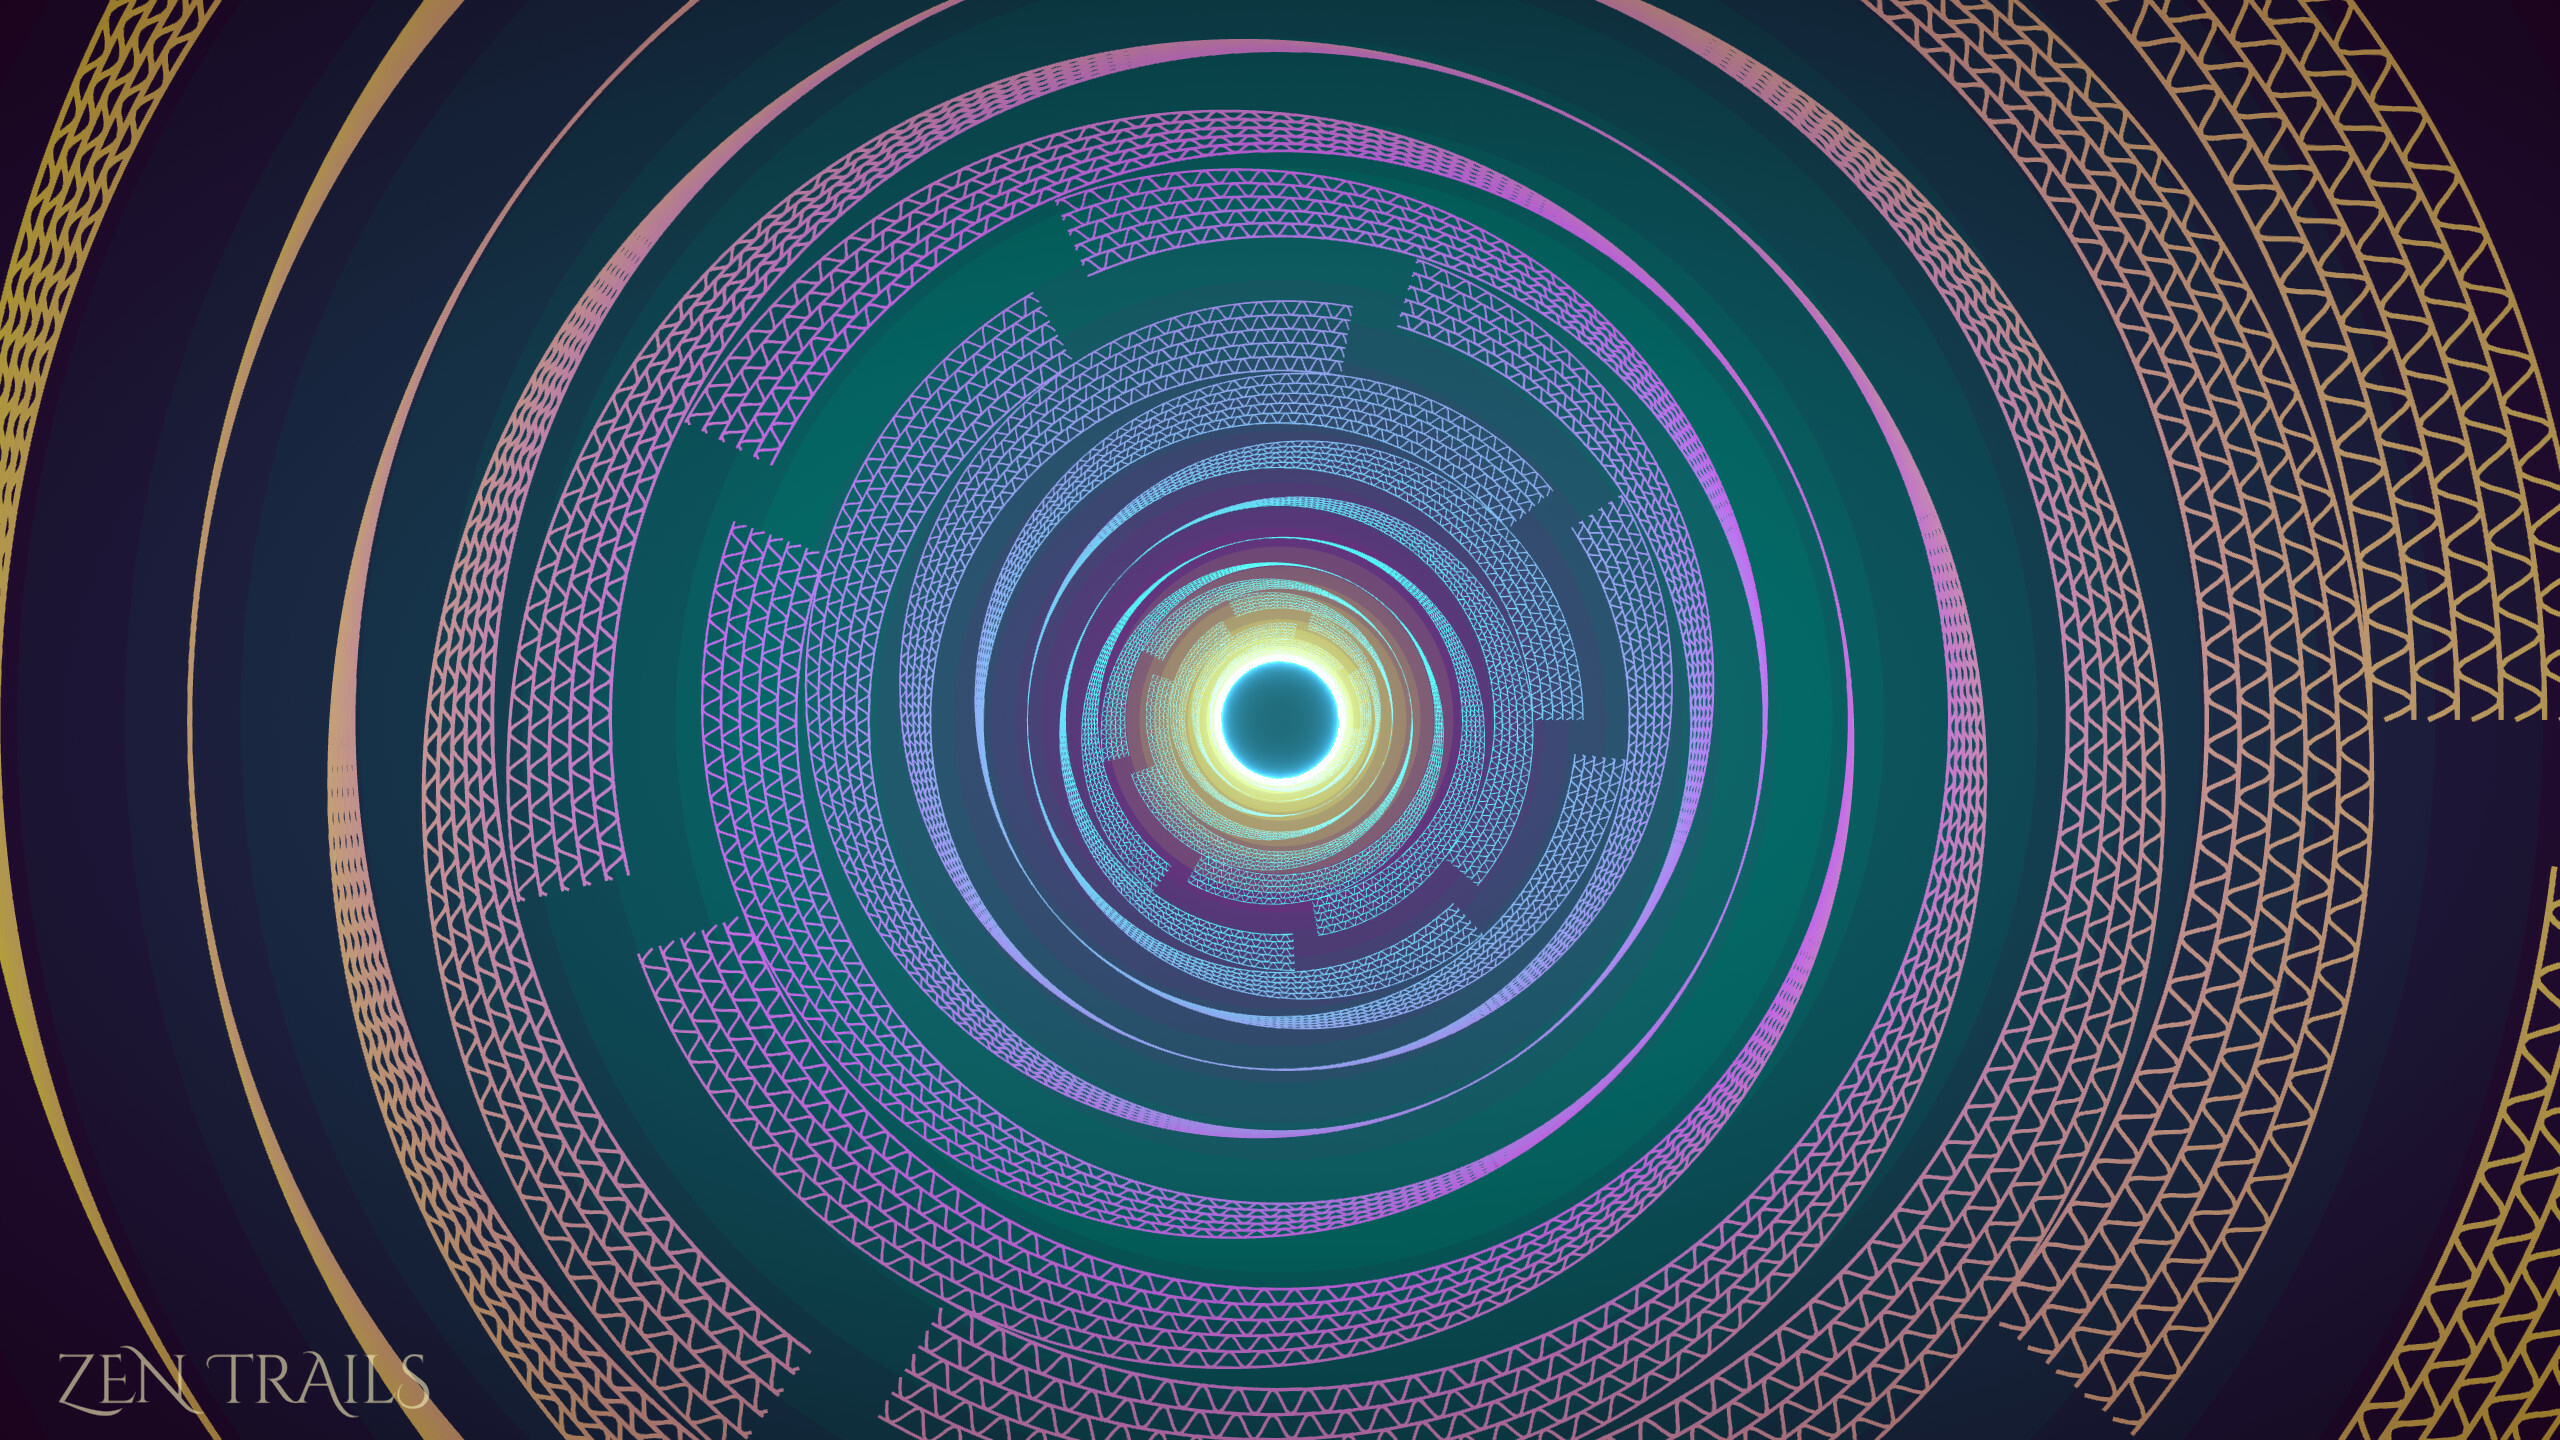
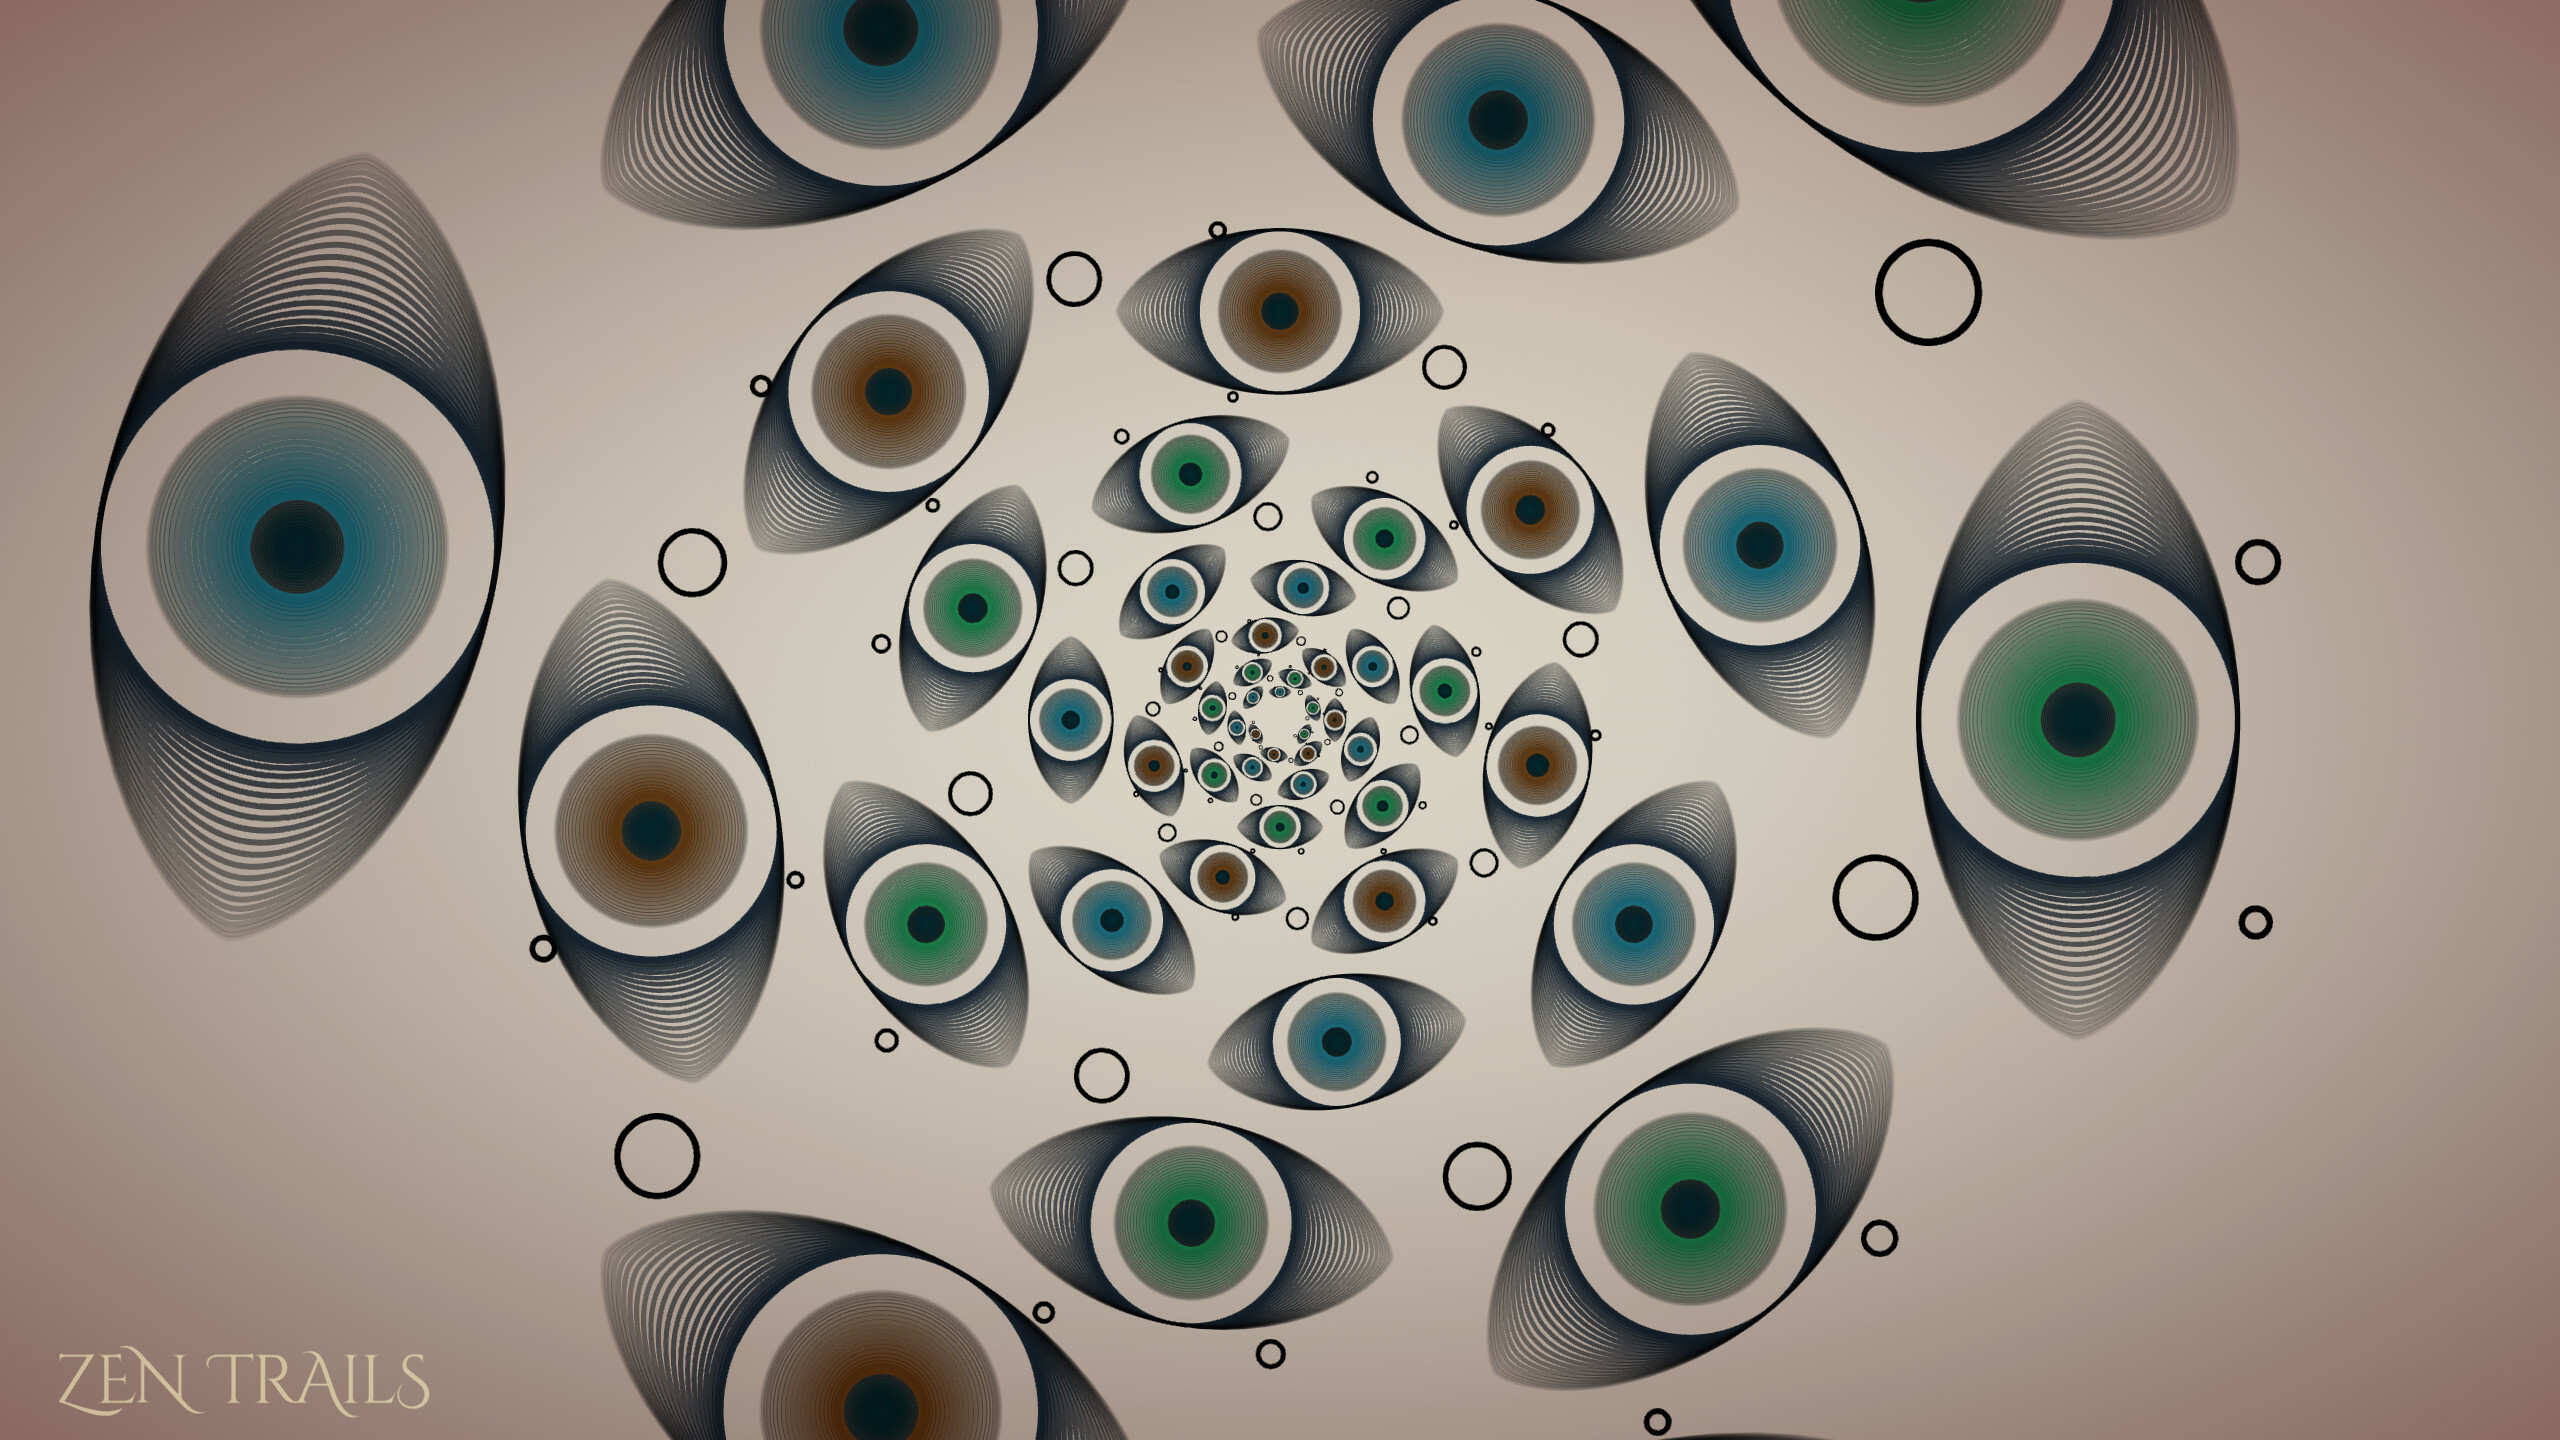
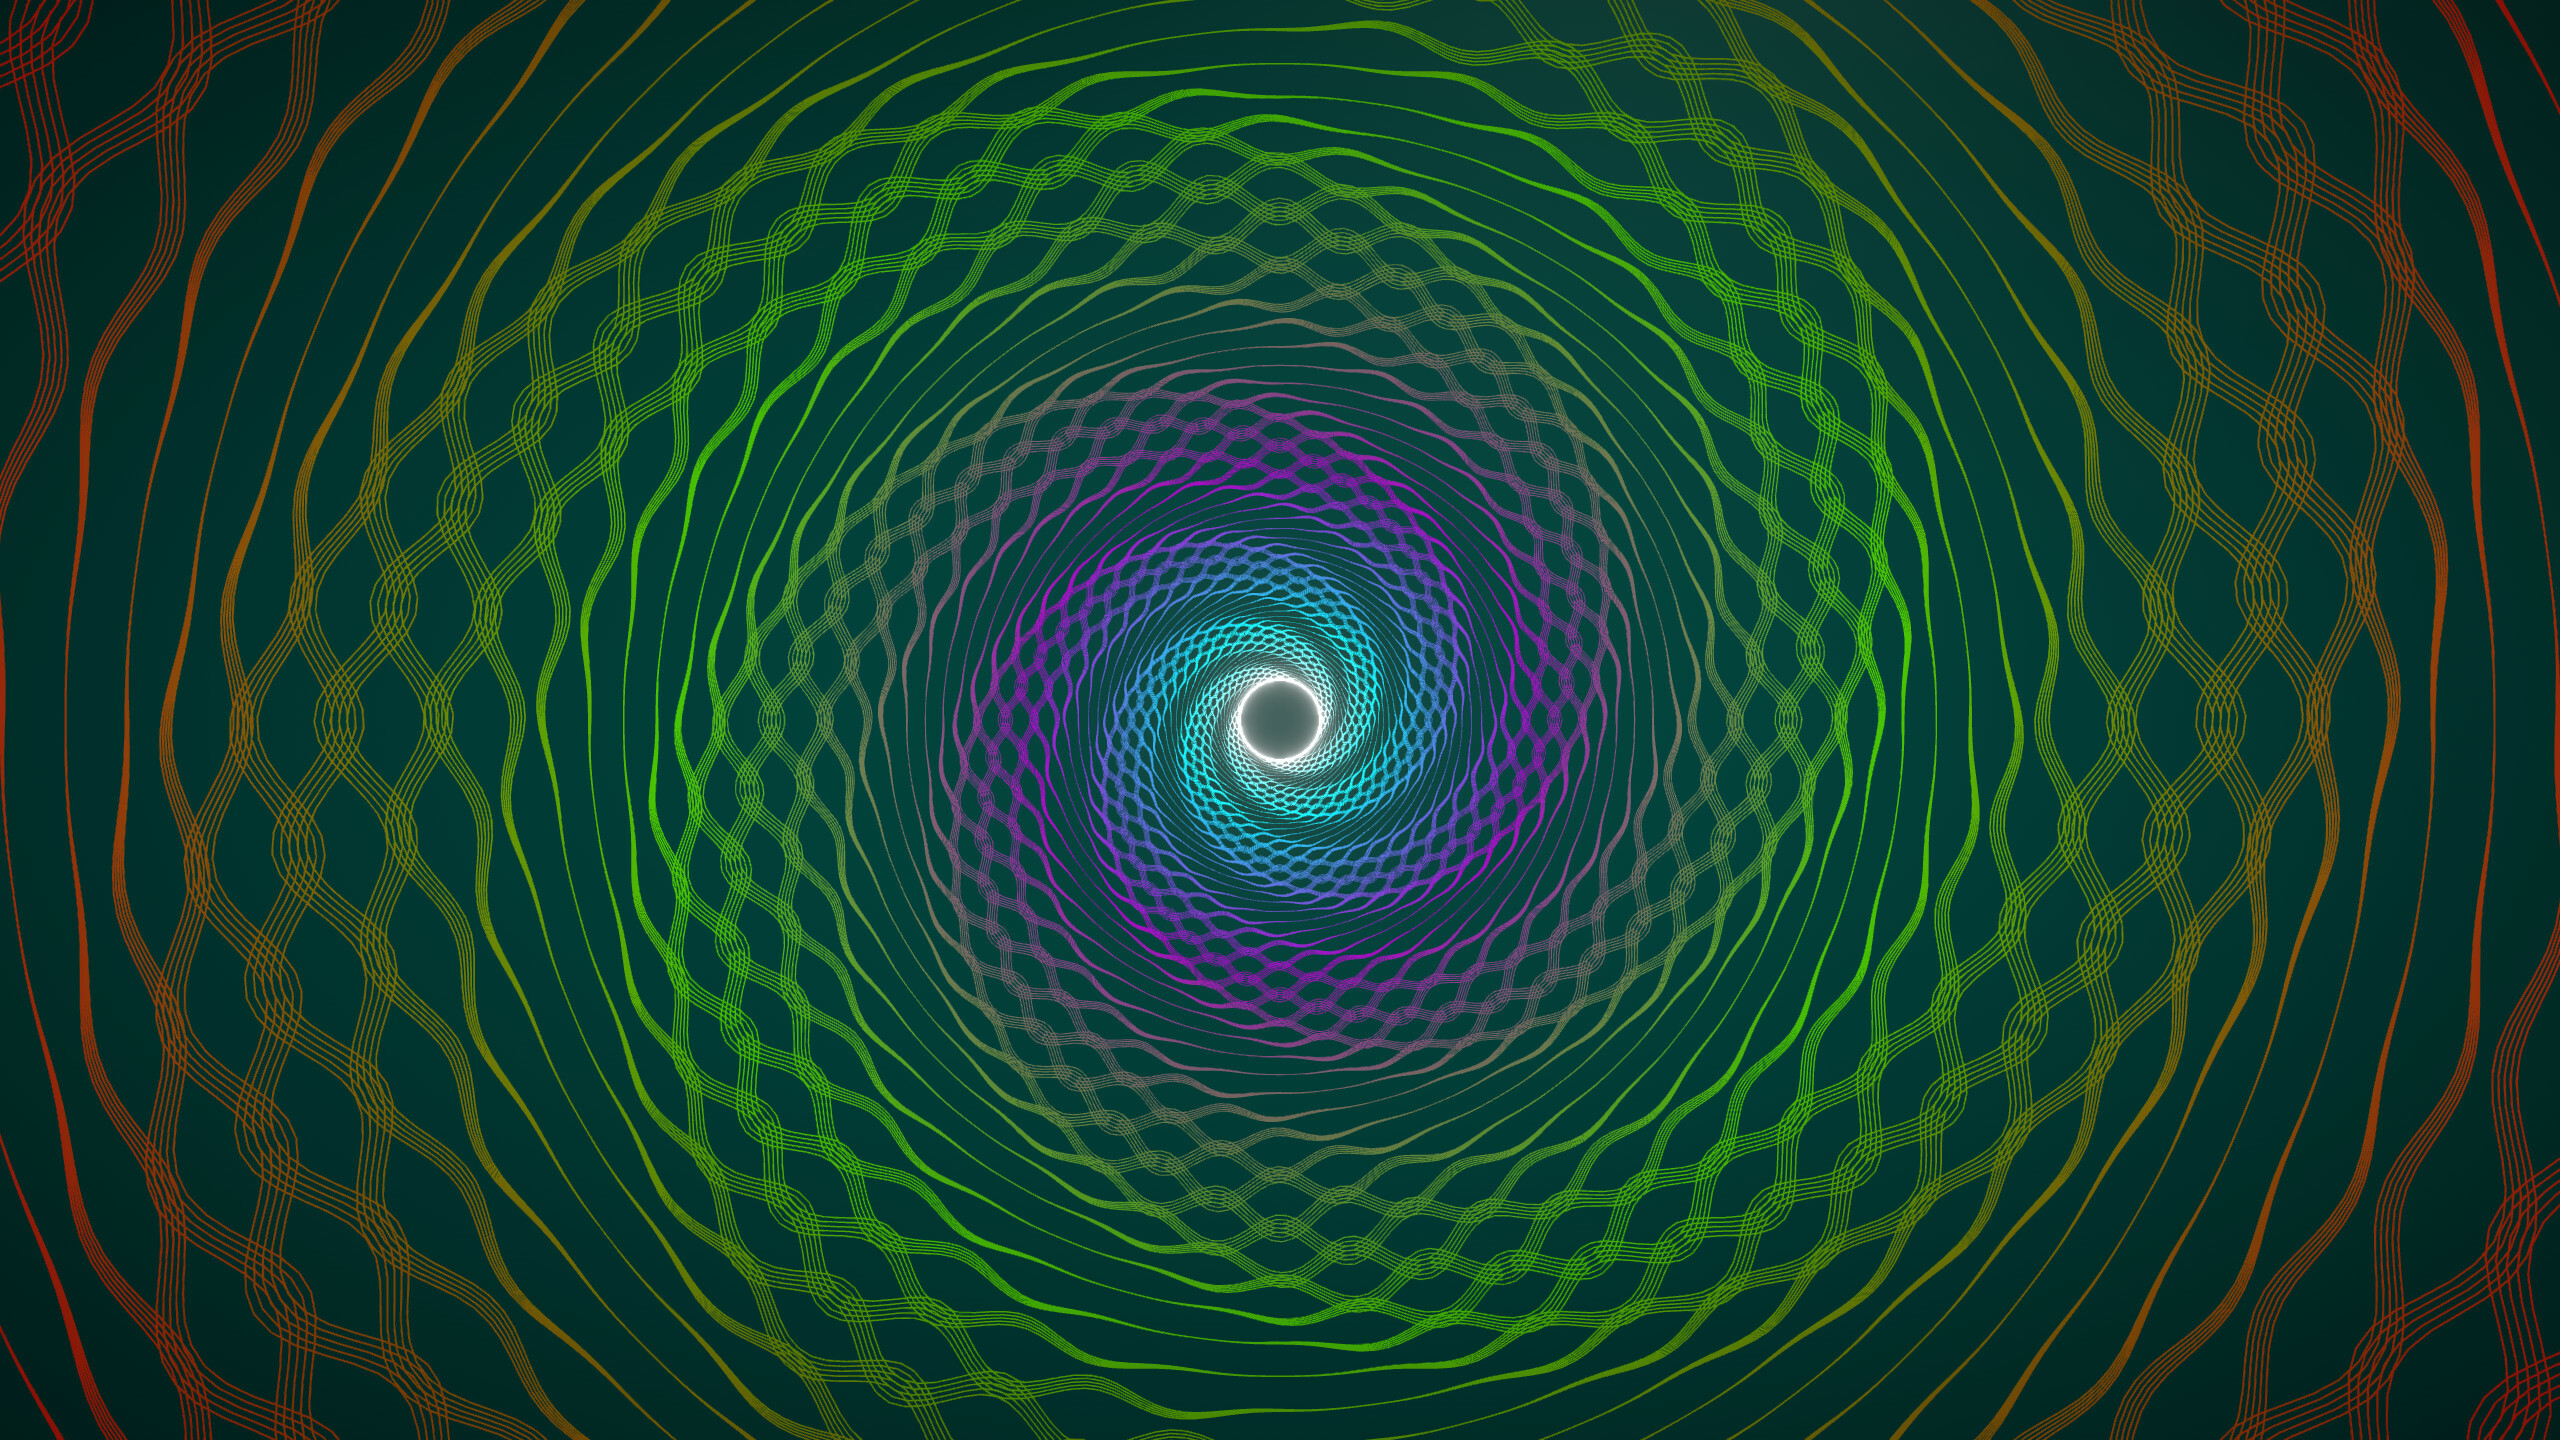
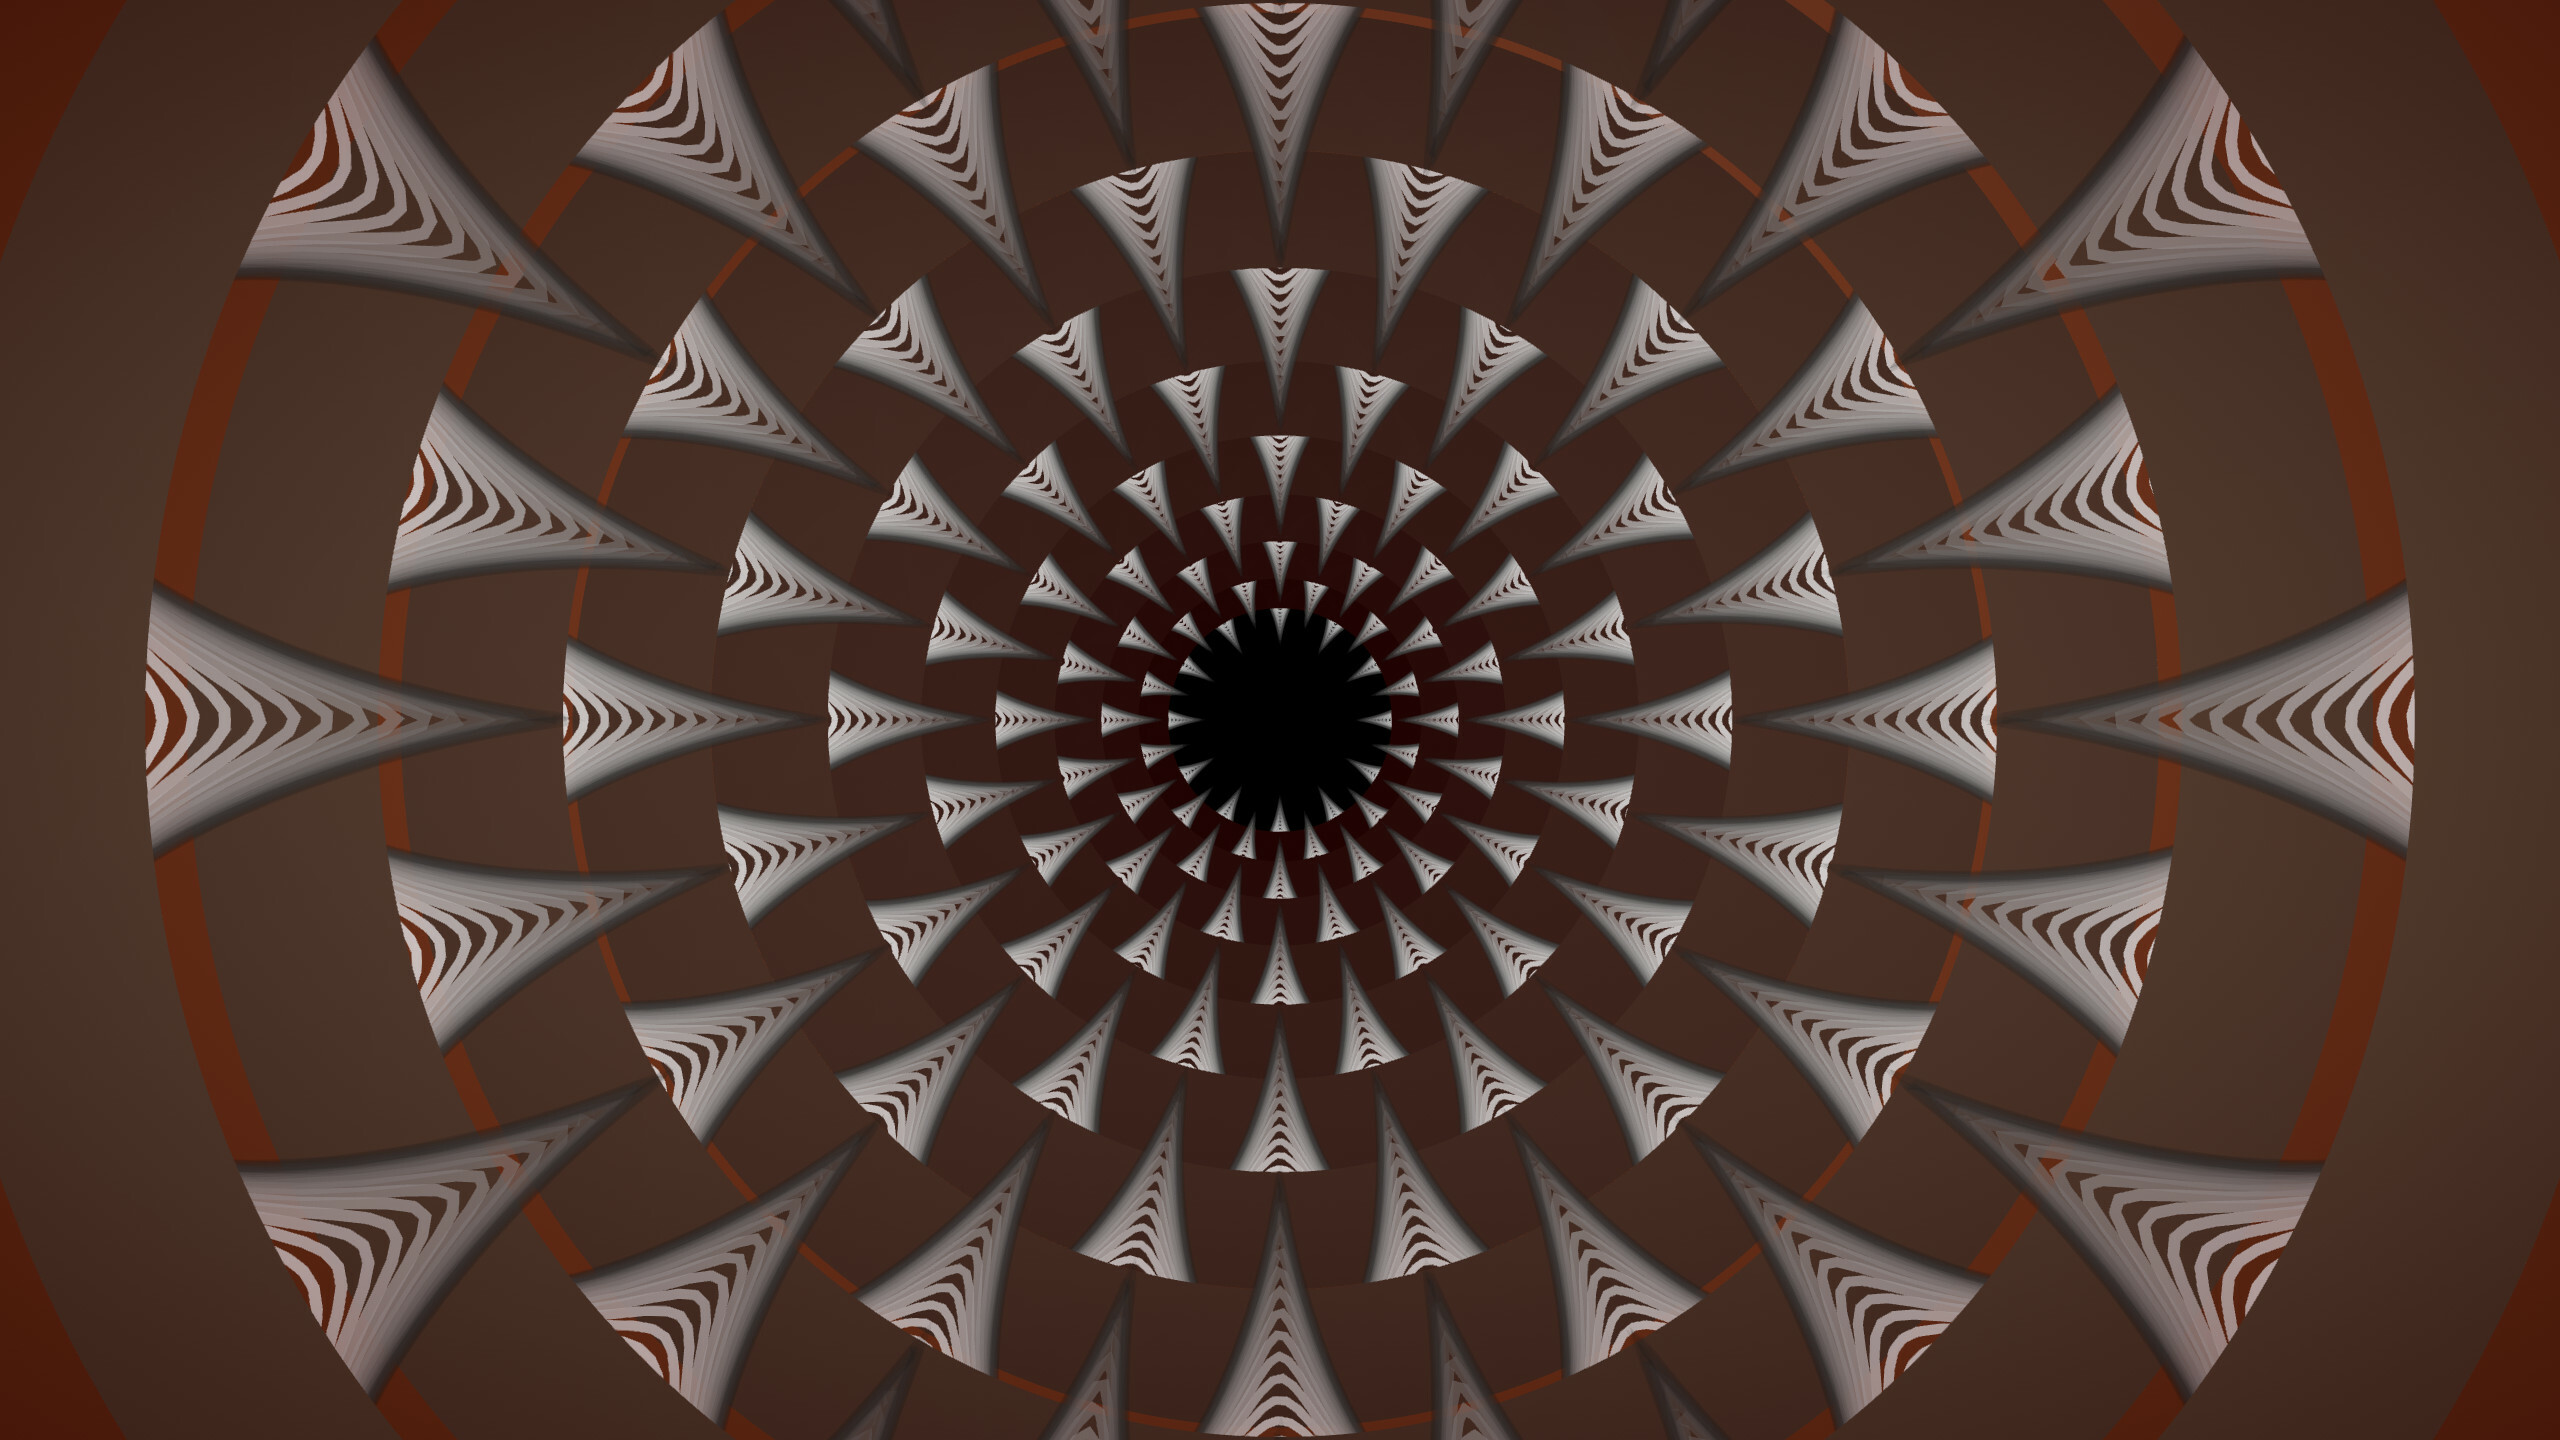
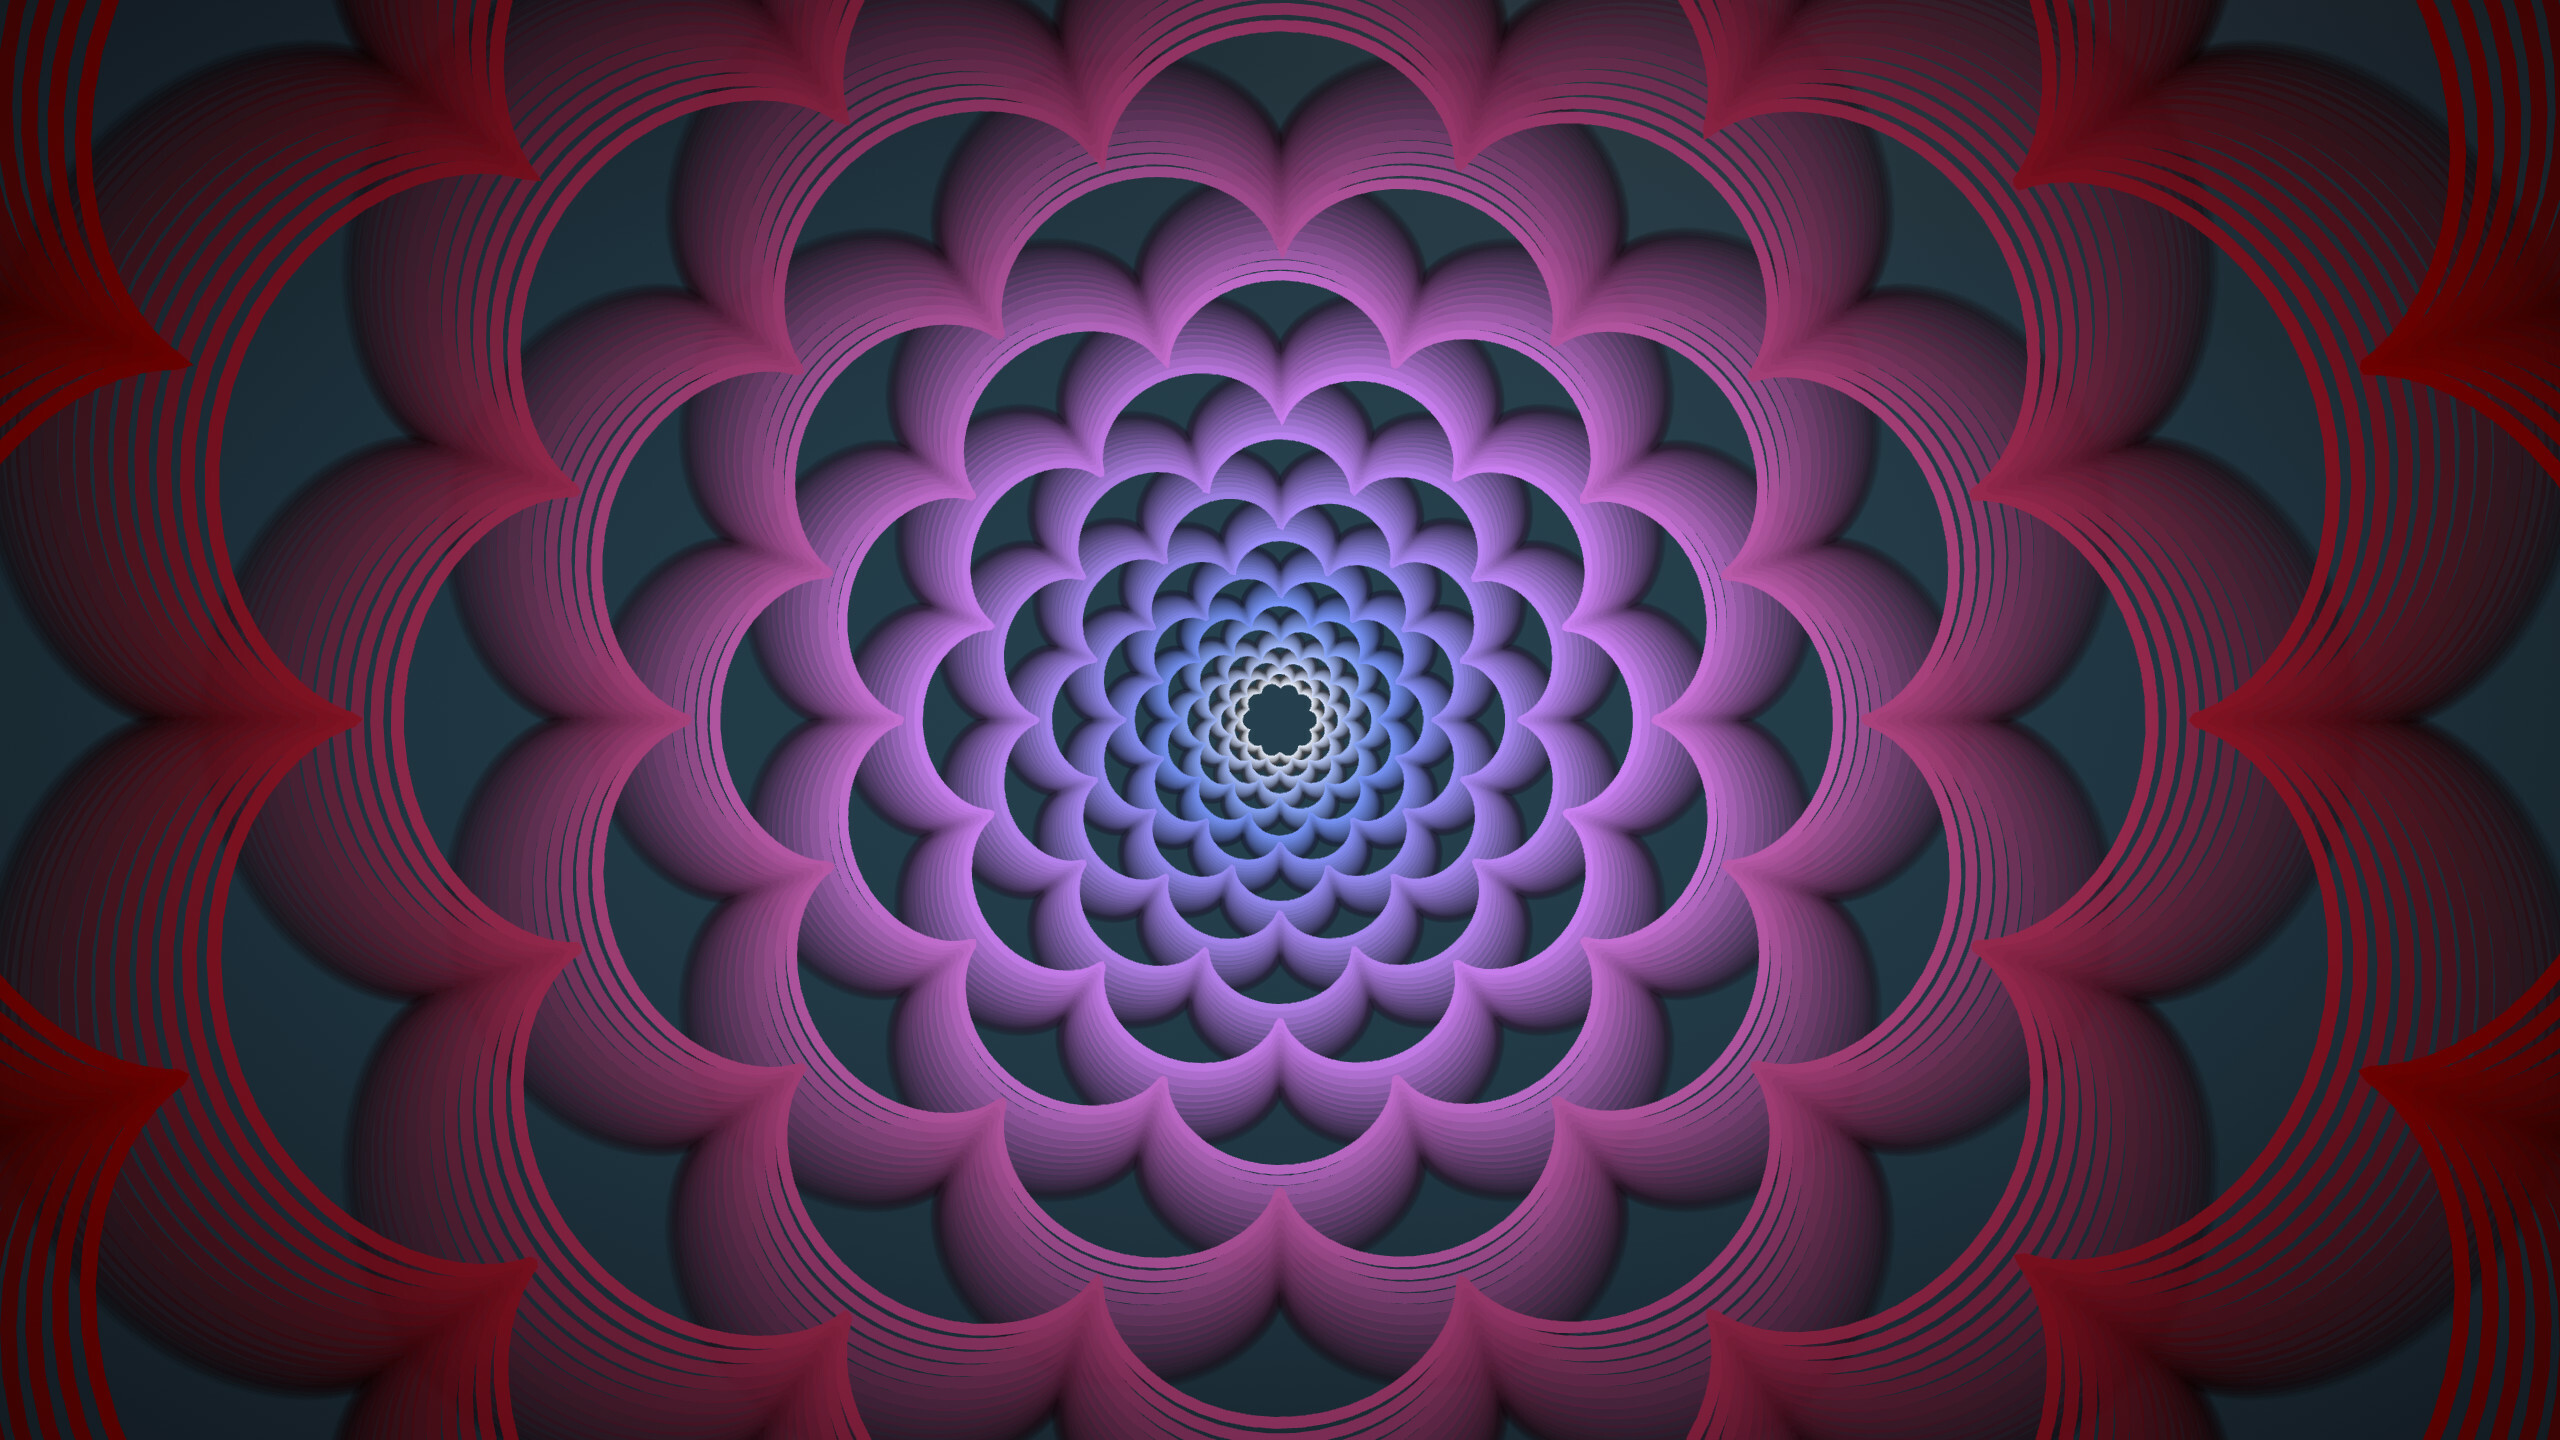
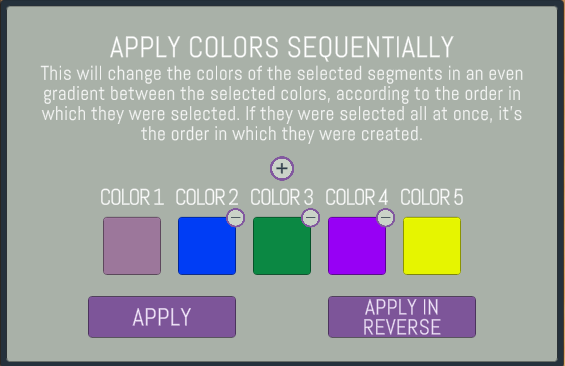
And to go along so nicely with this fine feature update, the Sequential Coloring feature got a little upgrade as well. You can now add more colors into the gradient instead of just two!
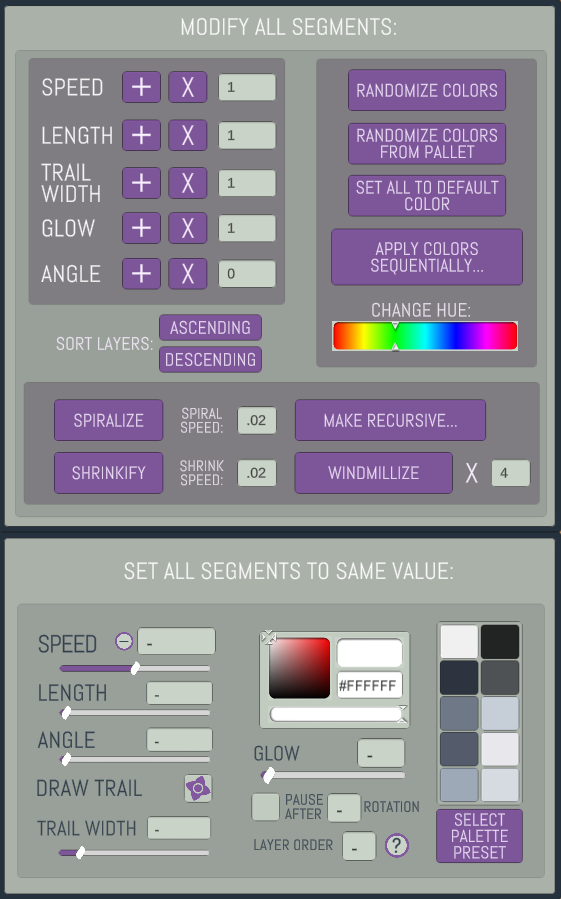
So this panel, which contains like 90% of the app's programming, lol, was getting messy. I had two versions of it, one for editing all segments, and one for when you box select. That was confusing. So now it's always the same panel. If you have no segments selected, any changes made will affect ALL segments, if applicable. For example, the Windmillize and other segment-adding features will only affect root segments if nothing is selected.
And guess what? I saved the most boring feature of all for last!
Yaaayy wooohooo it's exactly what everyone always wanted! You can now change... SOME.... of the keys.
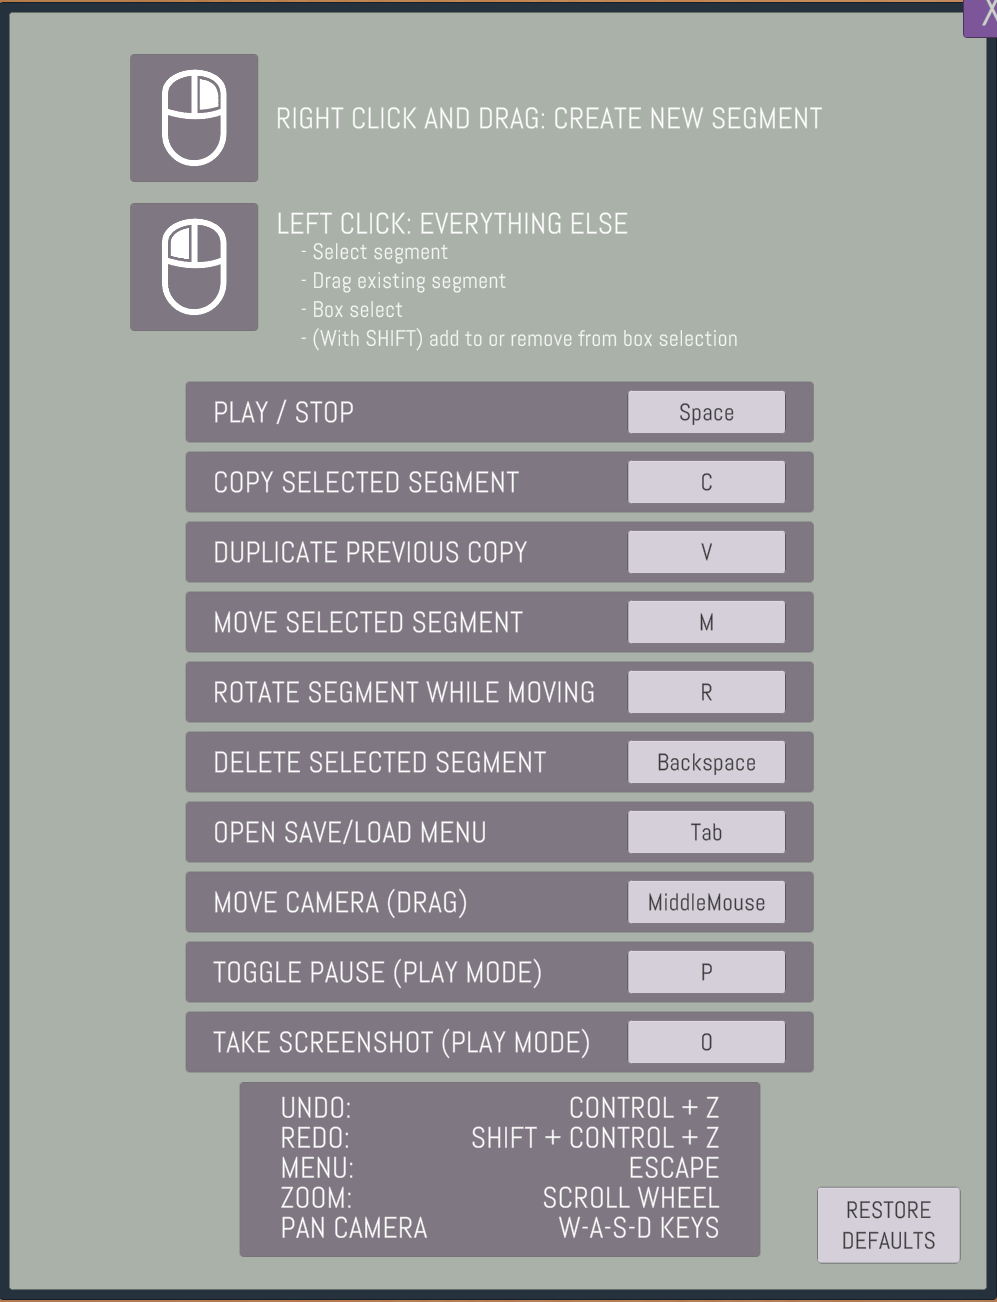
Yep. Alright that's all for now. Let me know about bugs. Hope you're having a good day.
Stephen
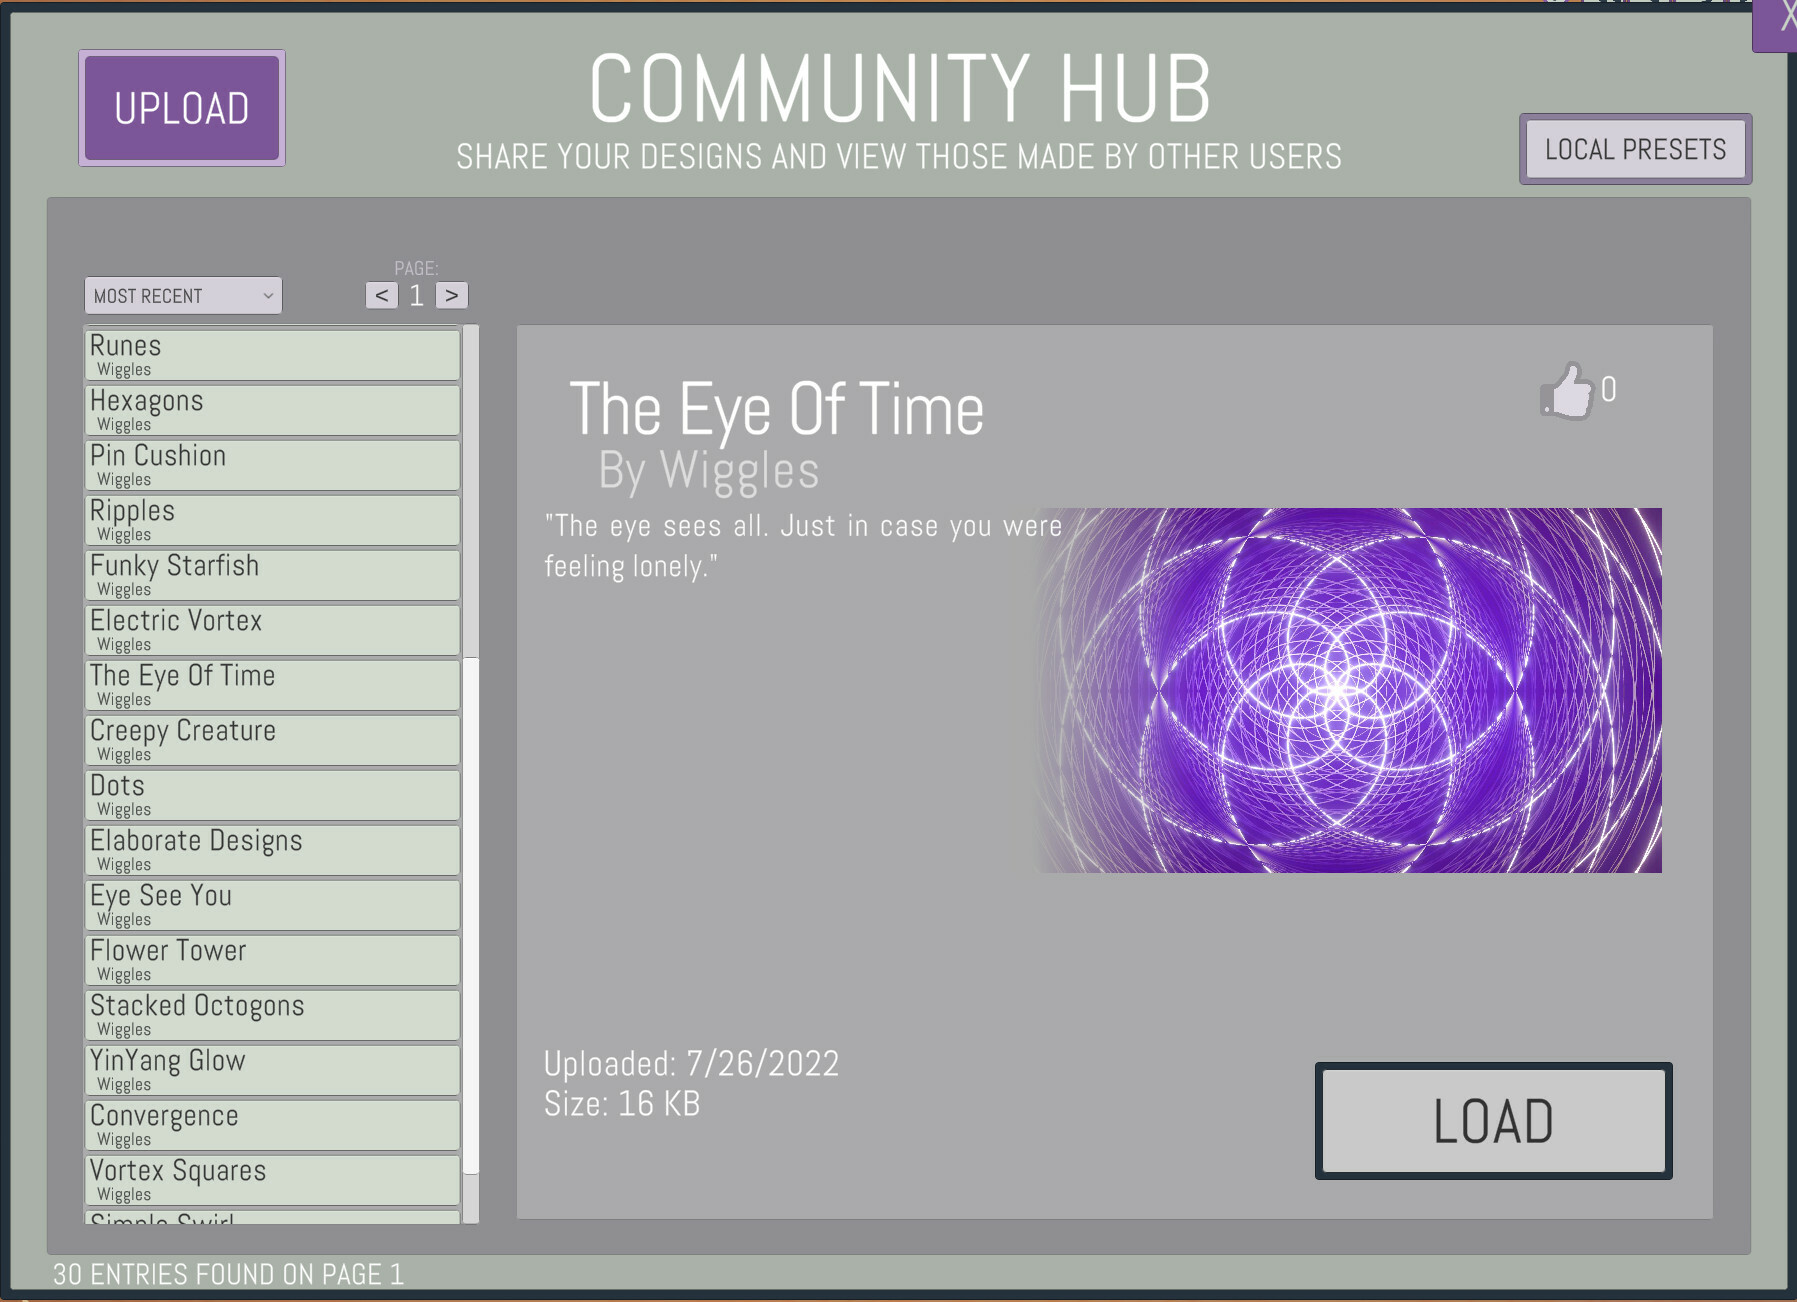
The Steam Workshop integration is finally here! I've always wanted a way to download and upload designs, and while being 100% dependent on the Steam Workshop for that to happen isn't ideal, it's a start! The Inspiration panel has gotten a major upgrade. The lightbulb button now o
I've always wanted a way to download and upload designs, and while being 100% dependent on the Steam Workshop for that to happen isn't ideal, it's a start! The Inspiration panel has gotten a major upgrade. The lightbulb button now opens up the shiny new...
Now you can search the Steam Workshop for uploaded designs by all players, see a thumbnail image of the finished product, and read what they have to say about it.
You have to be connected to Steam. If not, it'll just be blank. Worry not, the game still works just fine offline, and I even included a button called "Local Presets" which opens up the old Inspiration Panel if you want to load those designs without going through the interweb.
But Steve! How do I upload my awesome creations? Well I'm glad you asked, young spirographer. I present to you...
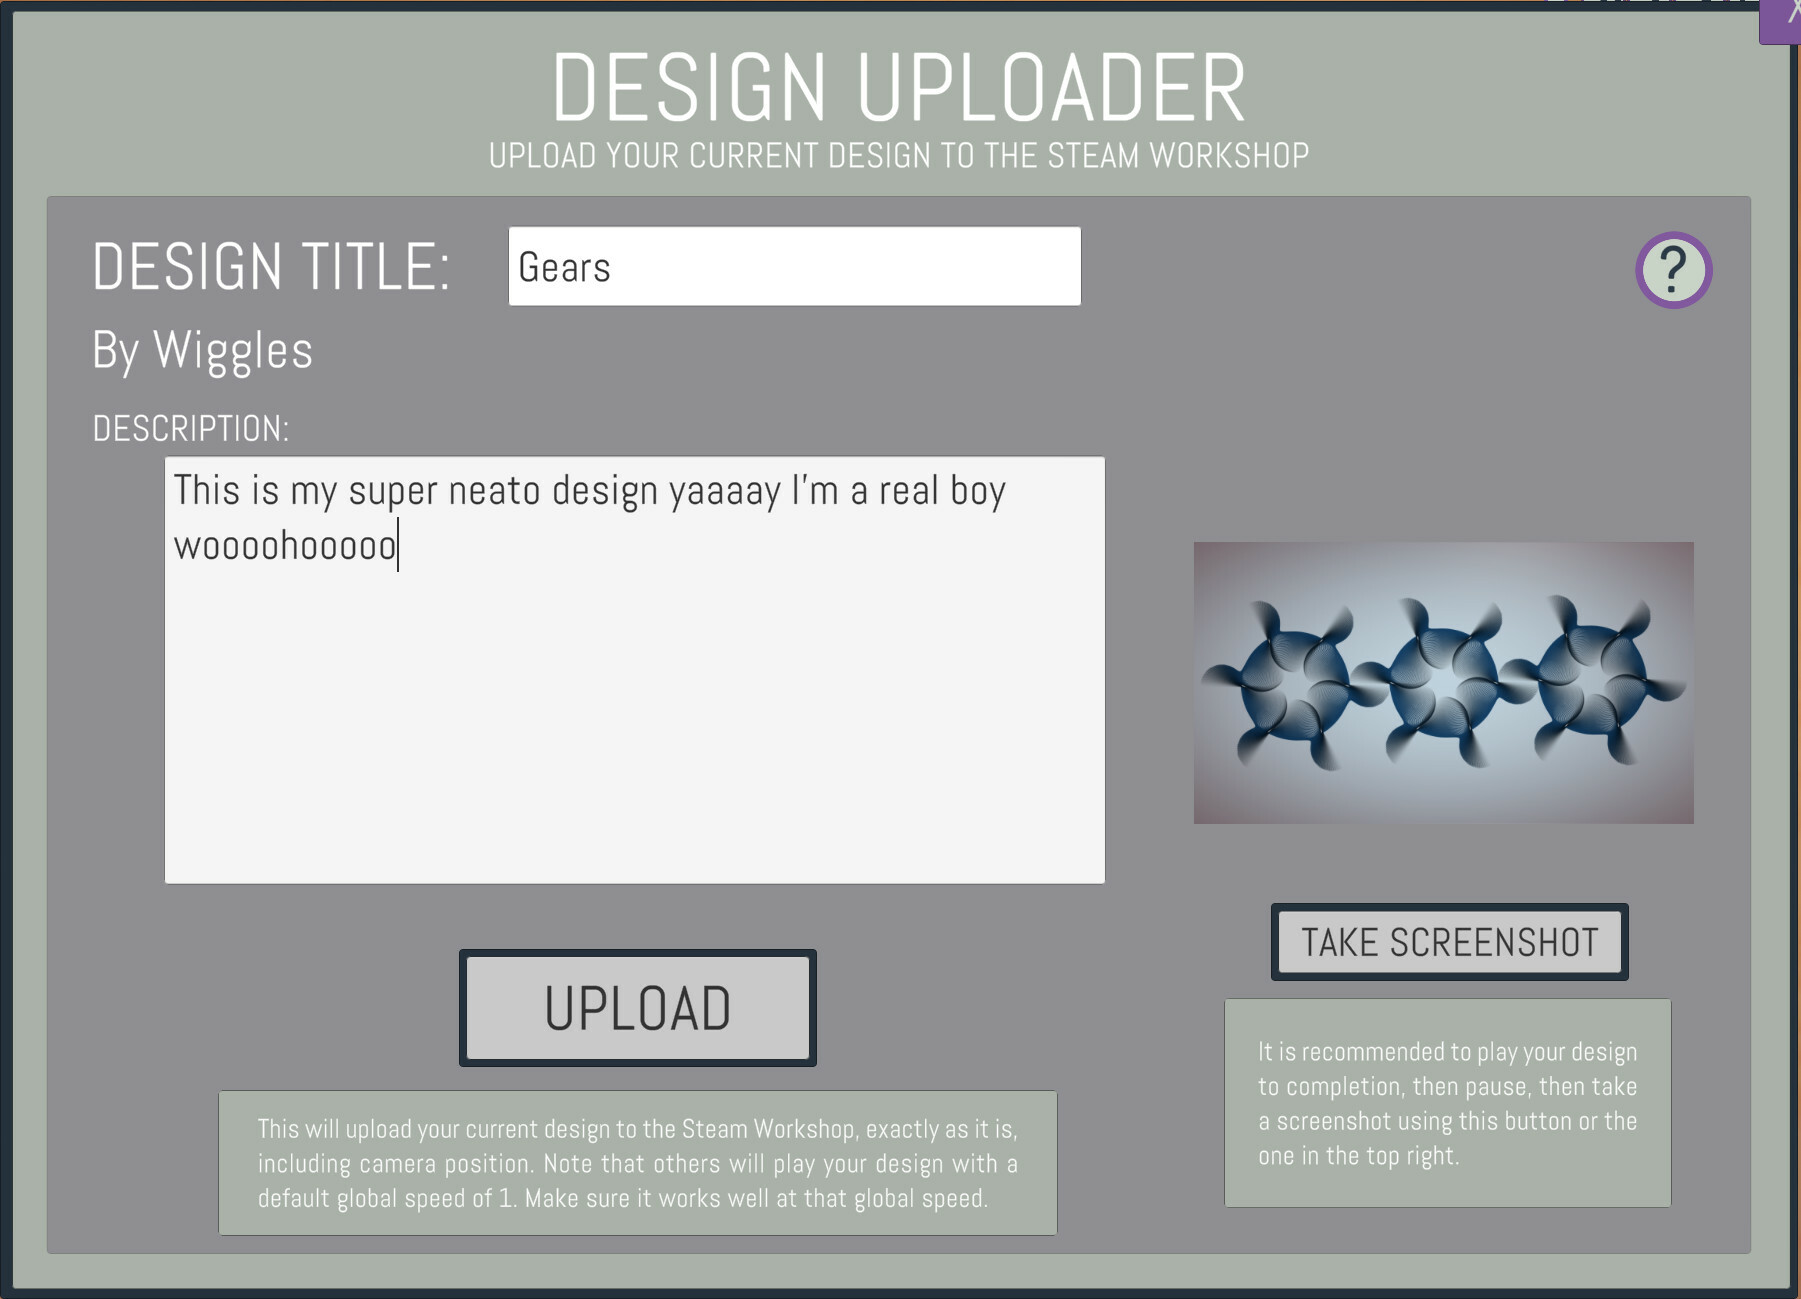
It's pretty straightforward but here are some things to keep in mind:
1. The screenshot that gets uploaded with your design is the most recent one you've taken. So play your creation to completion, pause, then take a screenshot using the in-game screenshot button. It does not look at your Steam screenshots! Mostly because I don't want people accidentally uploading shots from other games as their thumbnail.
2. When you press the upload button, it saves a copy of your currently loaded design, including camera position, and that's what gets uploaded. Doesn't matter if it's in Play mode or Build mode... that has no impact on the save file at all.
3. When another player downloads your design, they play it at a Global Speed of 1 by default. So make sure it works well at that global speed. You can easily change the speed of all segments through the Modify panel.
4. I haven't yet come up with a good way to edit designs that are uploaded. So if you change your mind after uploading, just log in to the Steam Workshop and delete it. Maybe in the future I'll add such features.
The Uploader can be accessed by the "Upload" button in the Community Hub, or with the fancy new button in the Navigation panel:
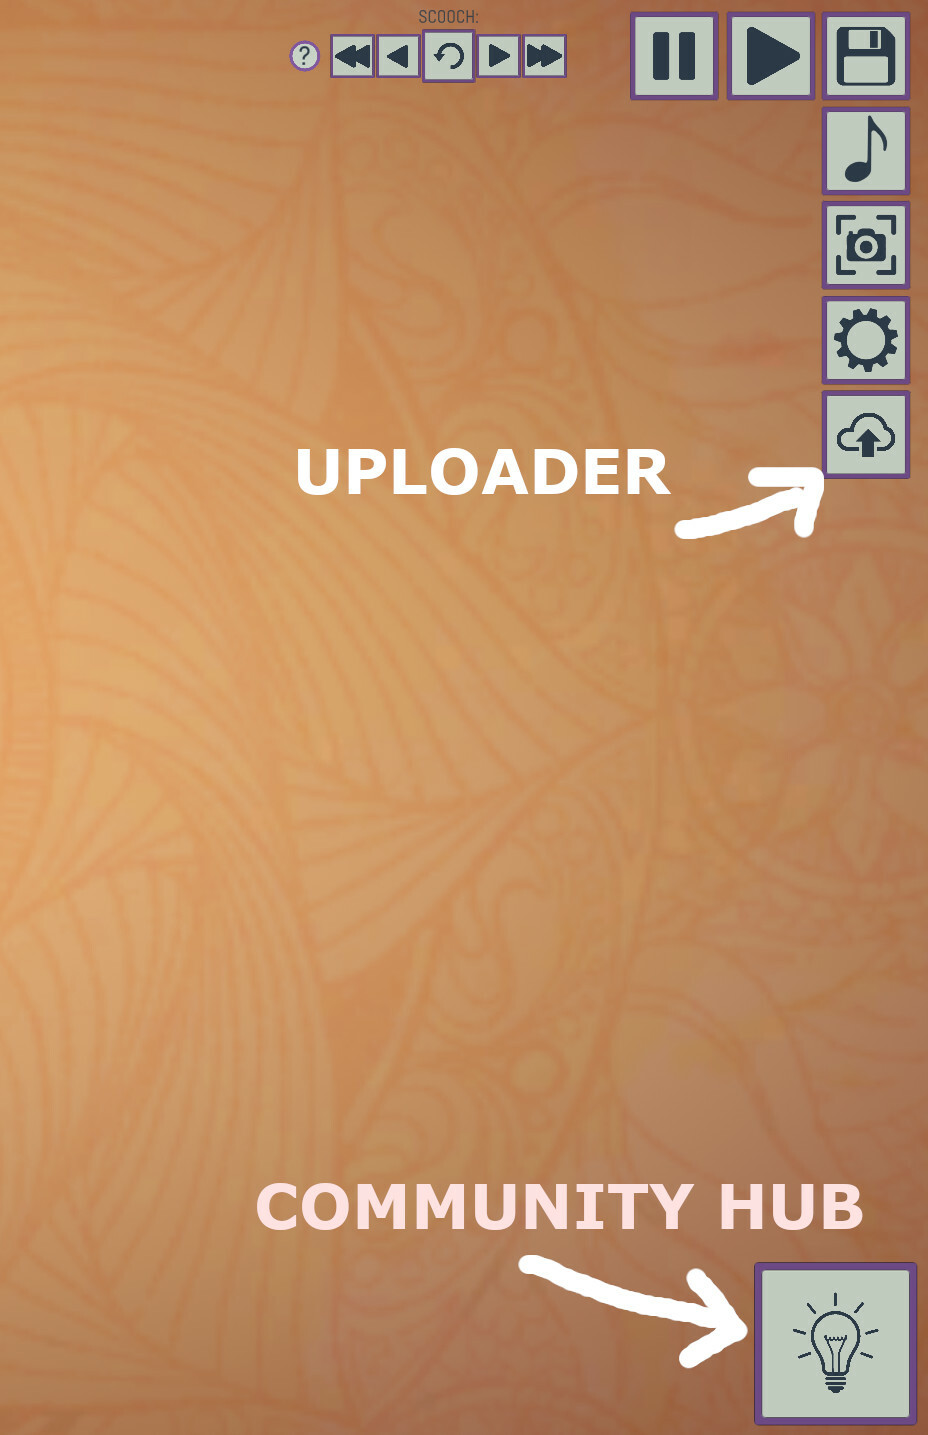
I'm pretty sure there's gonna be like a billion bugs with this, but I have tested it pretty thoroughly myself. But who knows. So let me know if you run into any problems!
I look forward to seeing your designs!
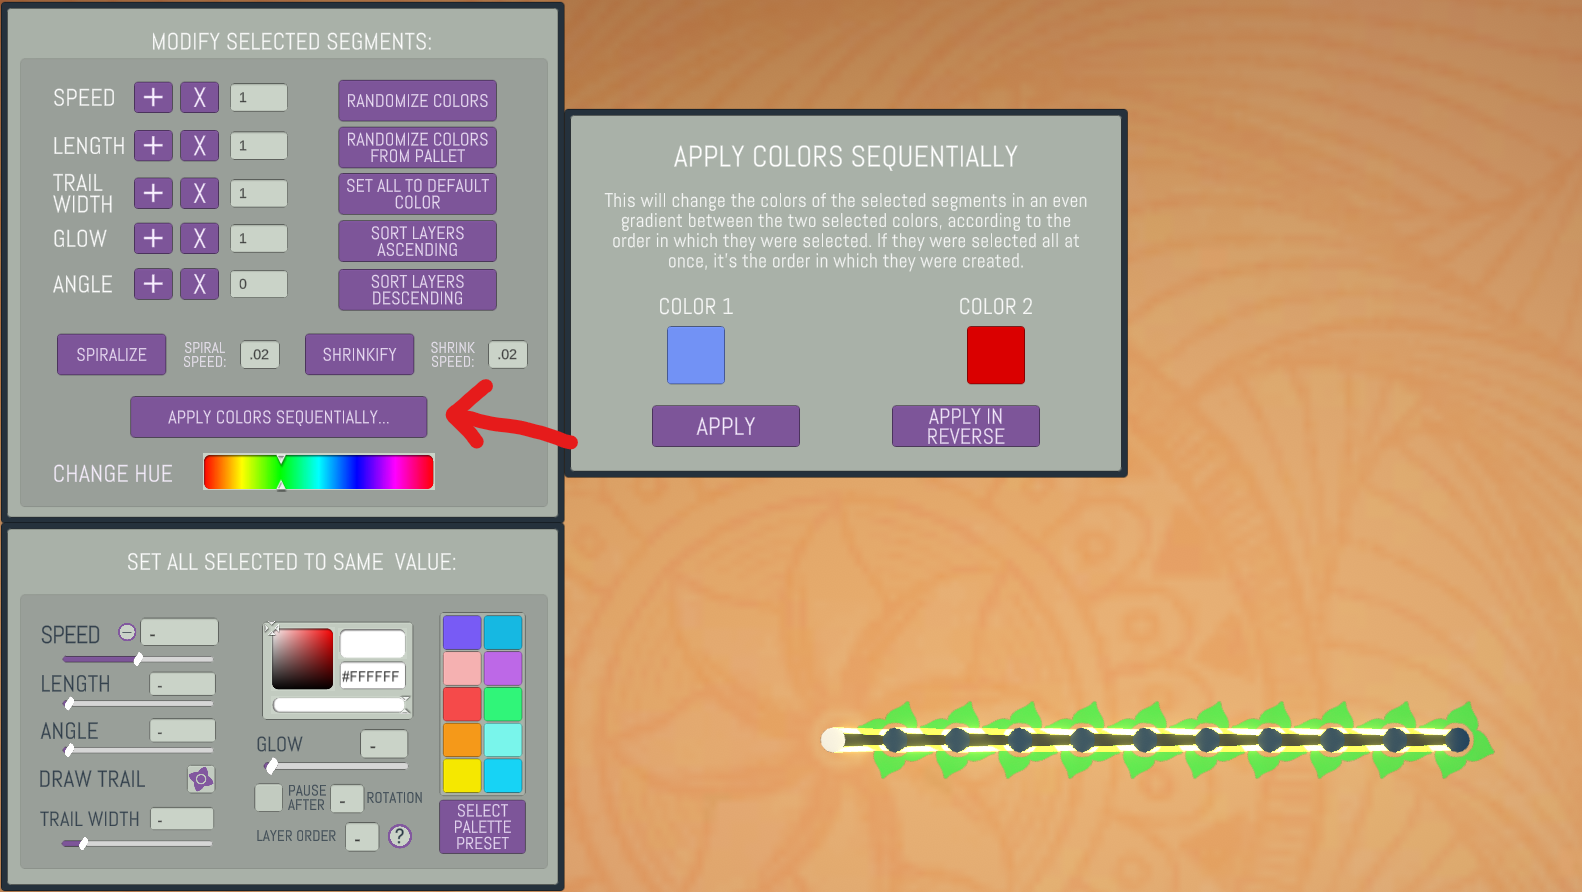
SEQUENTIAL COLORING SO. The other day I was making a sexy design and found myself tediously trying to create a gradient of colors across multiple segments. I did not enjoy that. I don't like doing work that a computer should be doing for me. As a result, Zen Trails now has a hand
SO. The other day I was making a sexy design and found myself tediously trying to create a gradient of colors across multiple segments. I did not enjoy that. I don't like doing work that a computer should be doing for me. As a result, Zen Trails now has a handy new feature:
Now when you box select a group of segments, the editor window that pops up has a new button that says "Apply Colors Sequentially". You can select two colors, and it'll apply them across the segments in an even gradient. The colors are applied to the segments in the order that they're selected. If you box select them all at once, it's the order in which they were created. It's great!
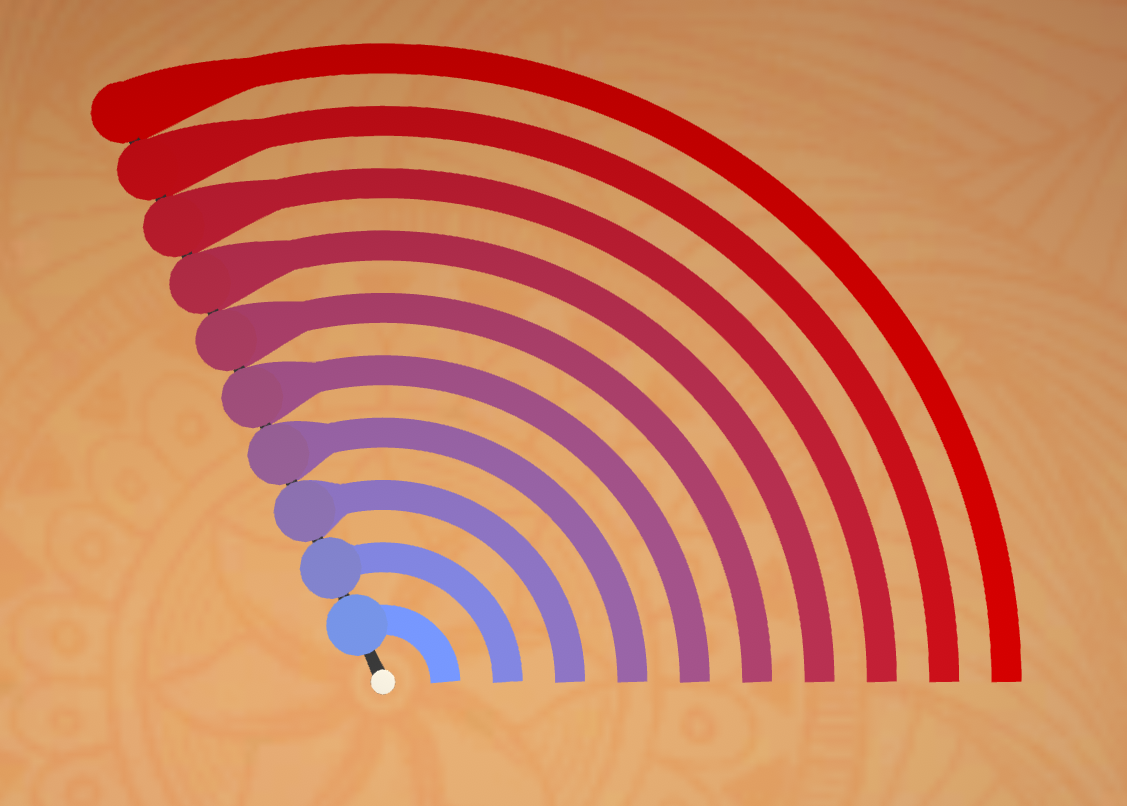
This is something I've been wanting for a while. I've added a little set of controls at the top near the navigation panel:
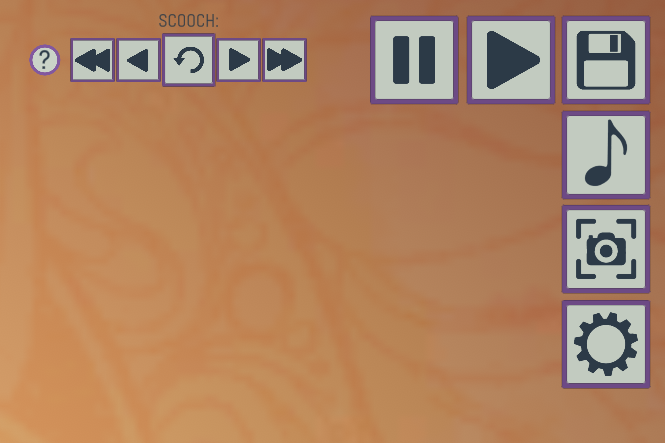
I've sometimes found it frustrating when too many segments are close together and I have to move them out of the way to get to one. Or sometimes I just want to see what the segments will look like 1/4 of the way through a rotation. Well, now in build mode you can use these arrows to "scooch" everything forward or back, the same distance they'll travel during one frame while playing. It's super handy!
Note that their permanent positions remain unchanged, so when you hit the restore button, or press play, they'll return to their correct spots. However! If you want to scooch everything and make their new positions permanent, hold SHIFT while pressing the restore button.
I've used this a lot already and it's great!
Sometimes it becomes difficult when too many segments are in a tight space. Now, when you zoom in, everything scales visually, so you can see what you're doing! This does not affect the size or position of any segments during play mode.
Zoomed out:
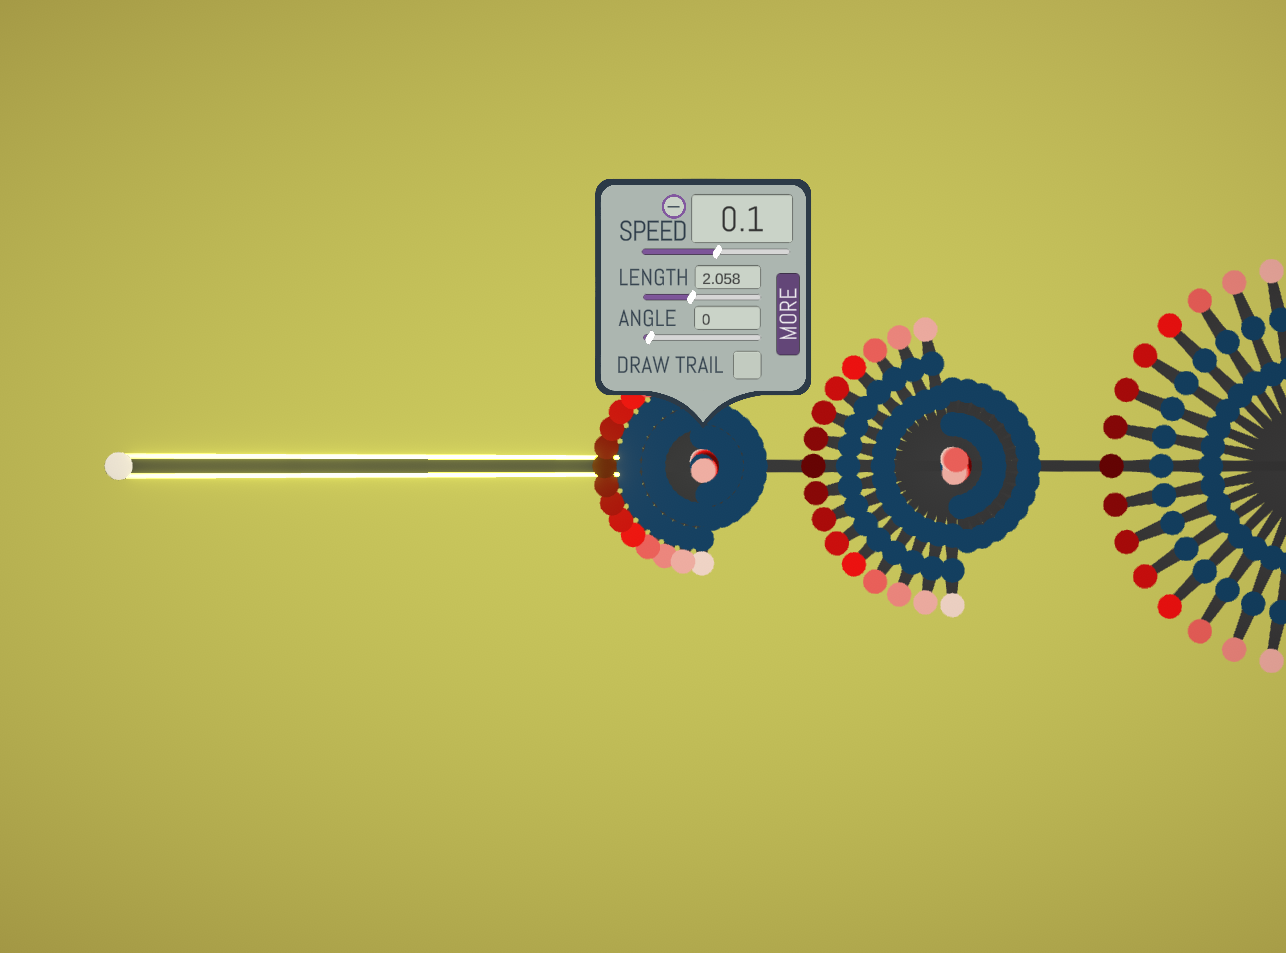
Zoomed in:
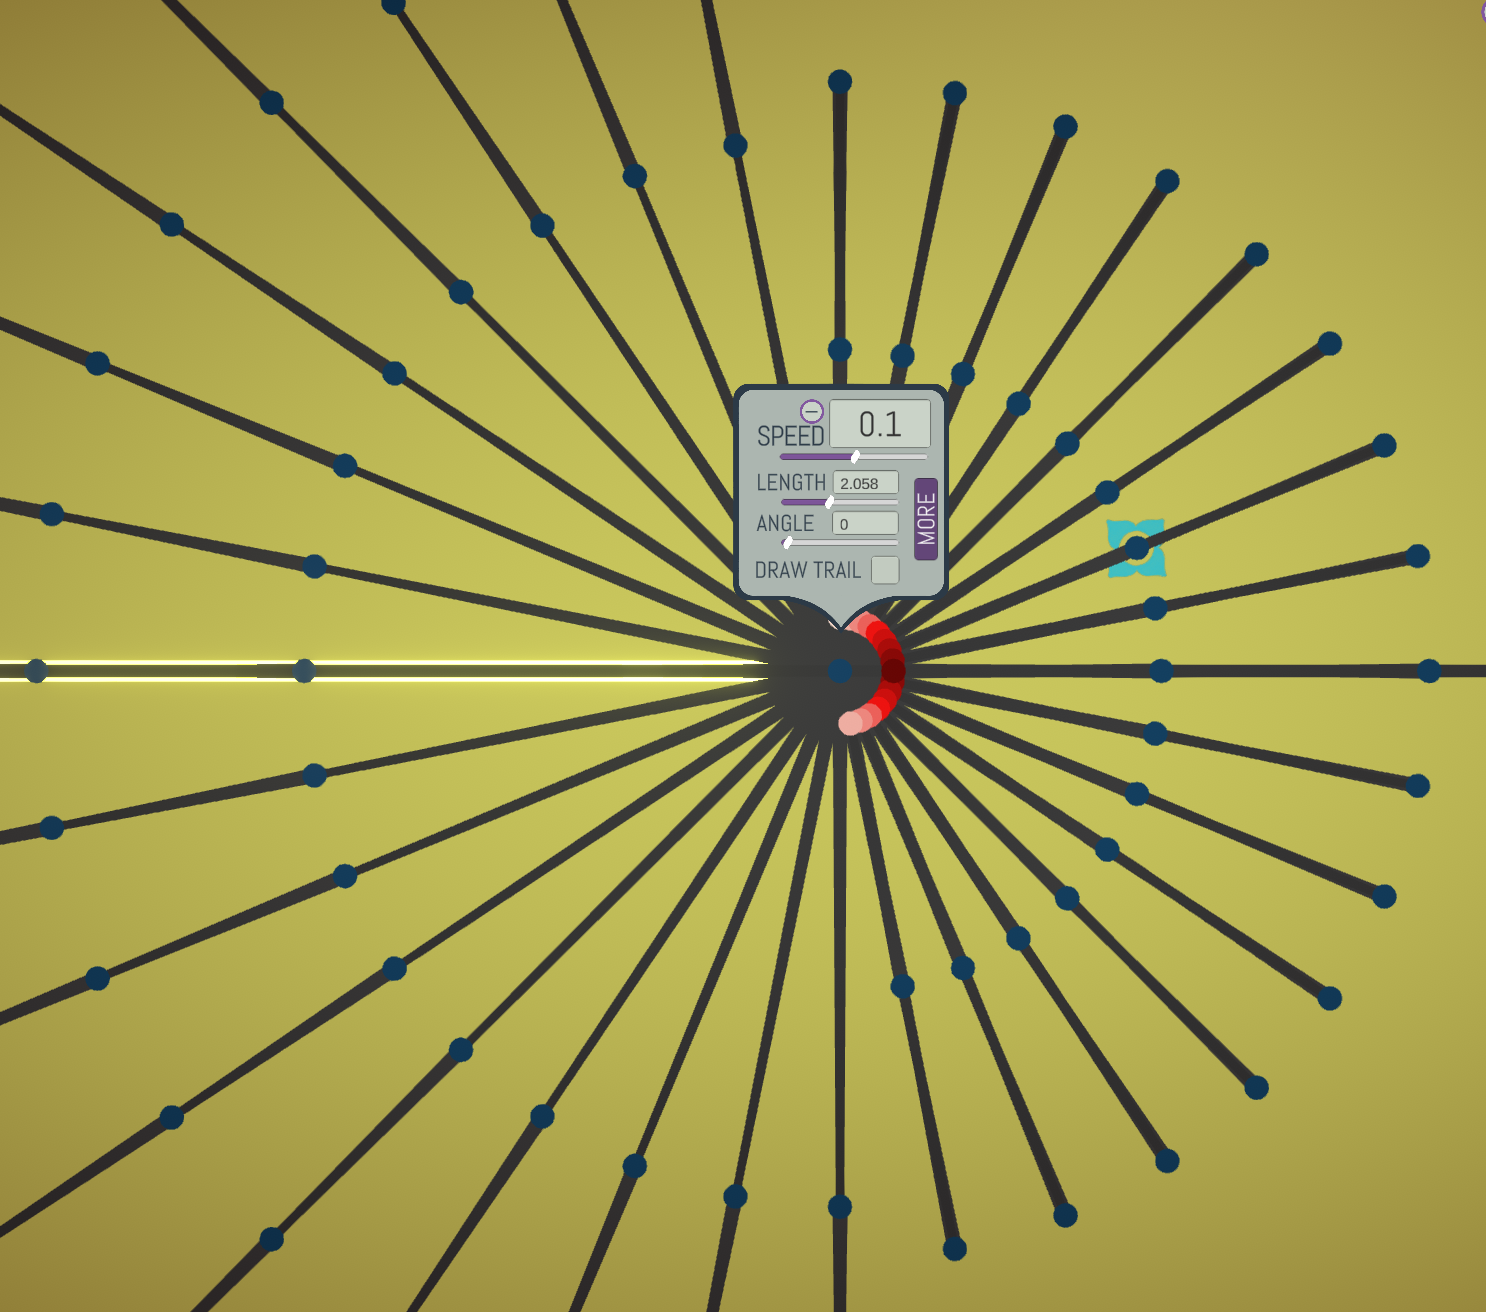
You may have noticed from that first screenshot a new slider in the box select editor window. Now you can select a bunch of segments and set them all to the same hue, while leaving their value and saturation unchanged.
The inspiration panel (lightbulb button in bottom right) now has 17 more glorious demo designs to get the creative juices flowing, created by me and the legendary user DotDot!
Fixed some bugs. Changed some SFX that always bugged me. The center dot now hides while paused. You know, lil things.
I hope you guys are enjoying it. I'm hoping to get a community hub up and running in game one of these days and then actually start marketing. We'll see.
Stephen
Fixed a bug causing jittering and moving when copying tiny segments. Added an option to disable vignette effect.
Fixed a bug causing jittering and moving when copying tiny segments.
Added an option to disable vignette effect.
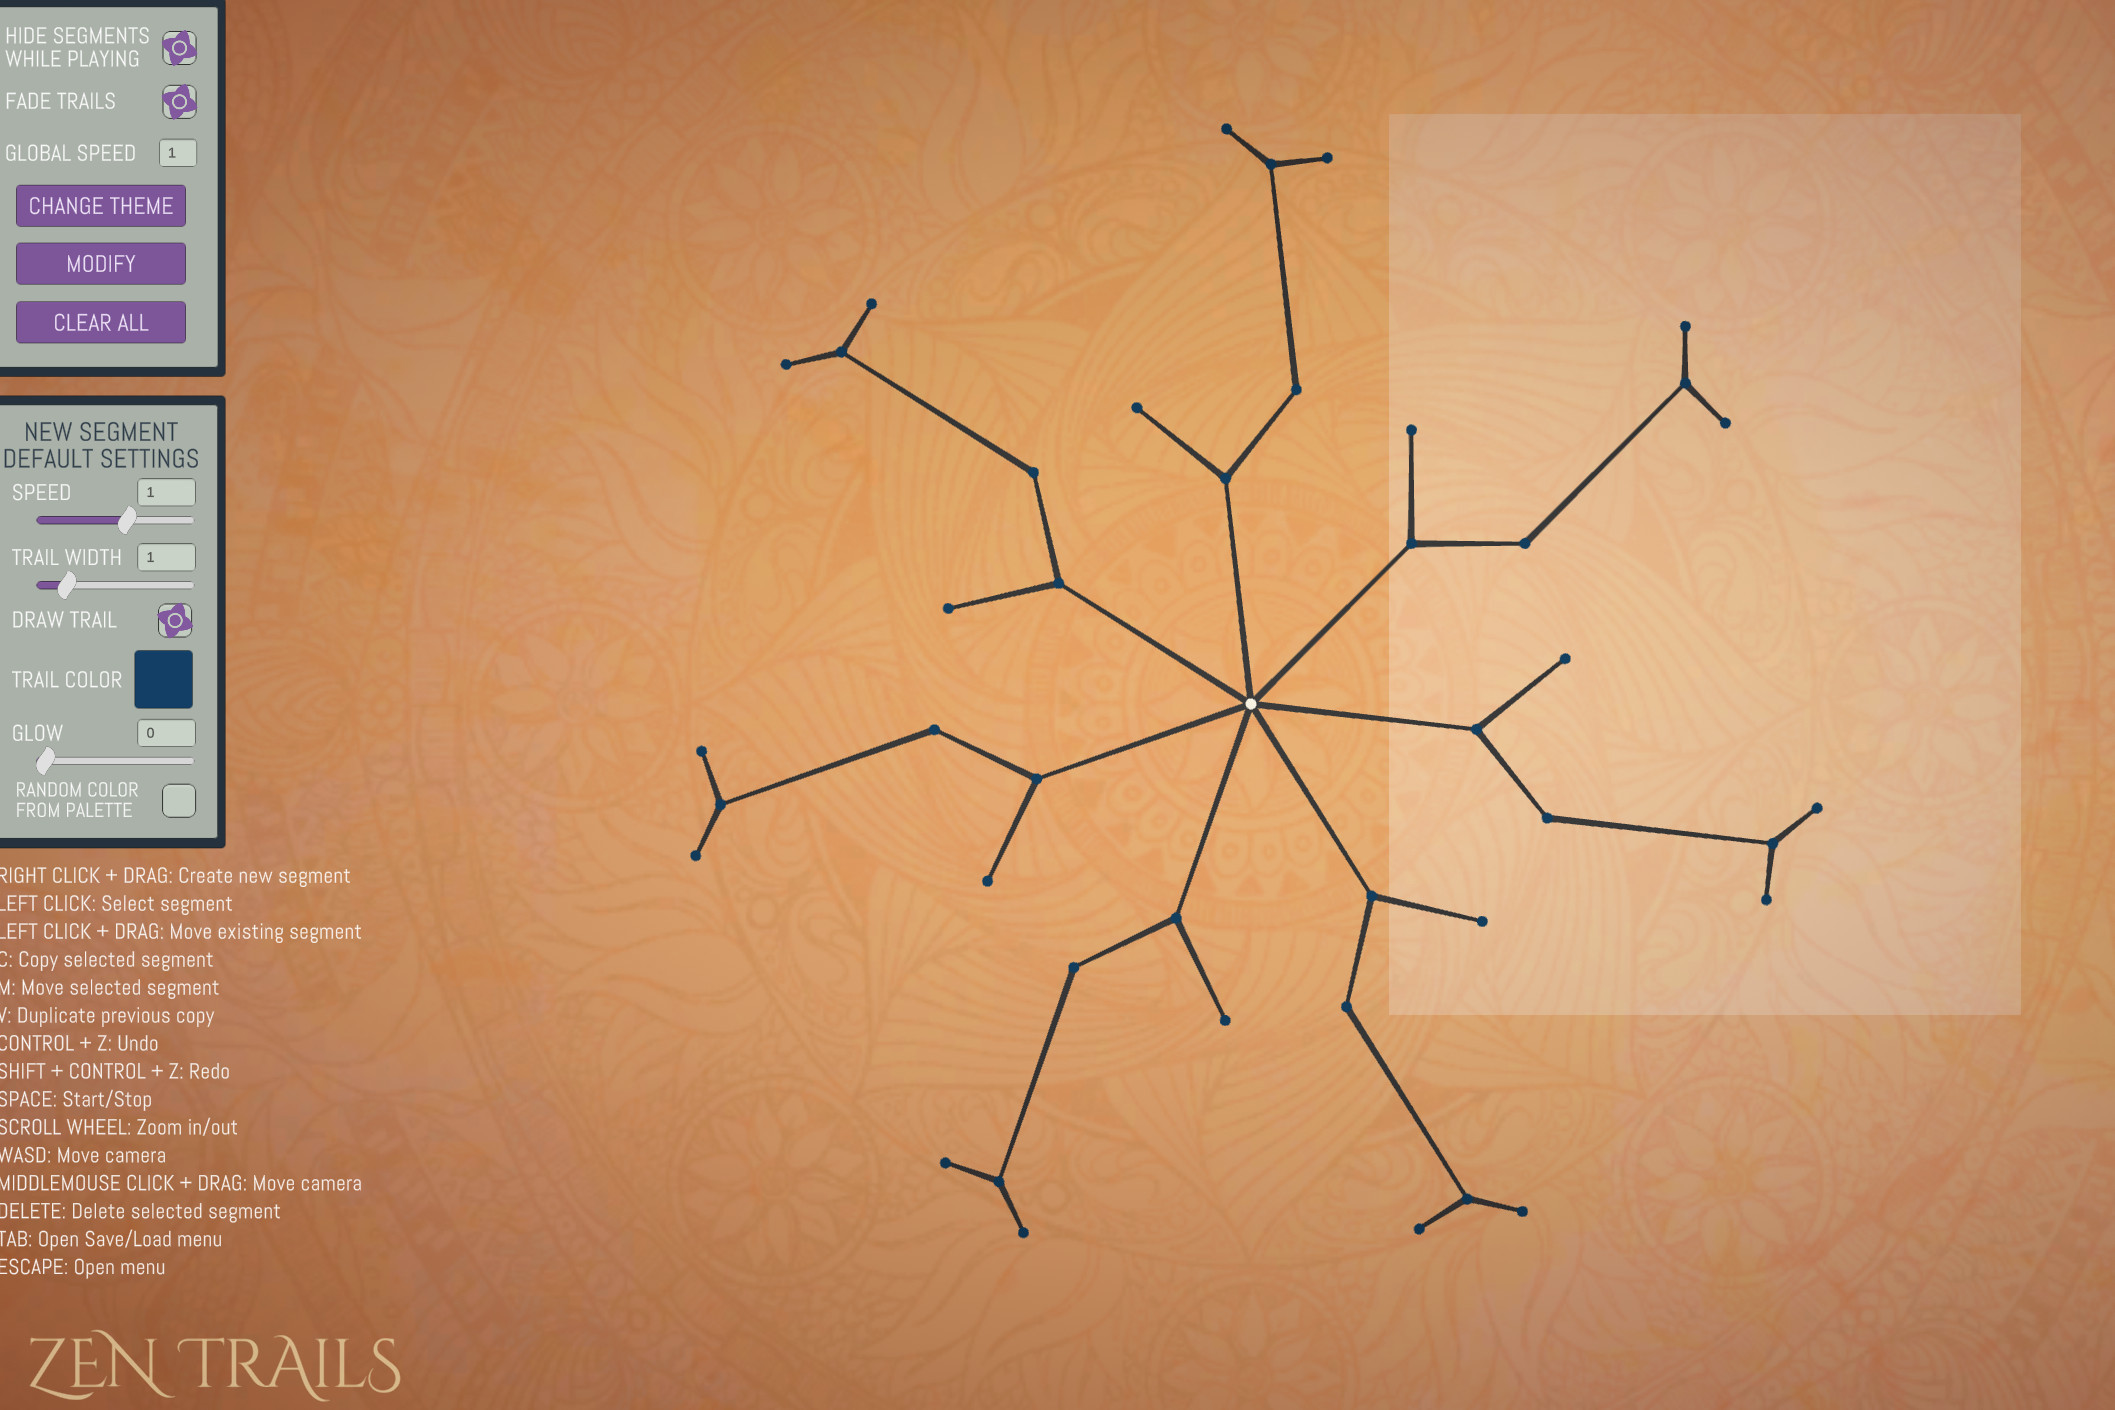
You can now draw a box with the mouse to select a group of segments and edit them exclusively. You can also add or remove segments while holding shift and clicking on them. I've been wanting this feature for a while and a few people have mentioned it. I've just been putting it of
You can now draw a box with the mouse to select a group of segments and edit them exclusively. You can also add or remove segments while holding shift and clicking on them.
I've been wanting this feature for a while and a few people have mentioned it. I've just been putting it off because I knew it was going to be a tedious pain in my butt to implement. I was correct.
But now that it's done I've already found it to be incredibly useful.
Draw a box with the mouse:
This menu pops up when there are more than one segment selected:
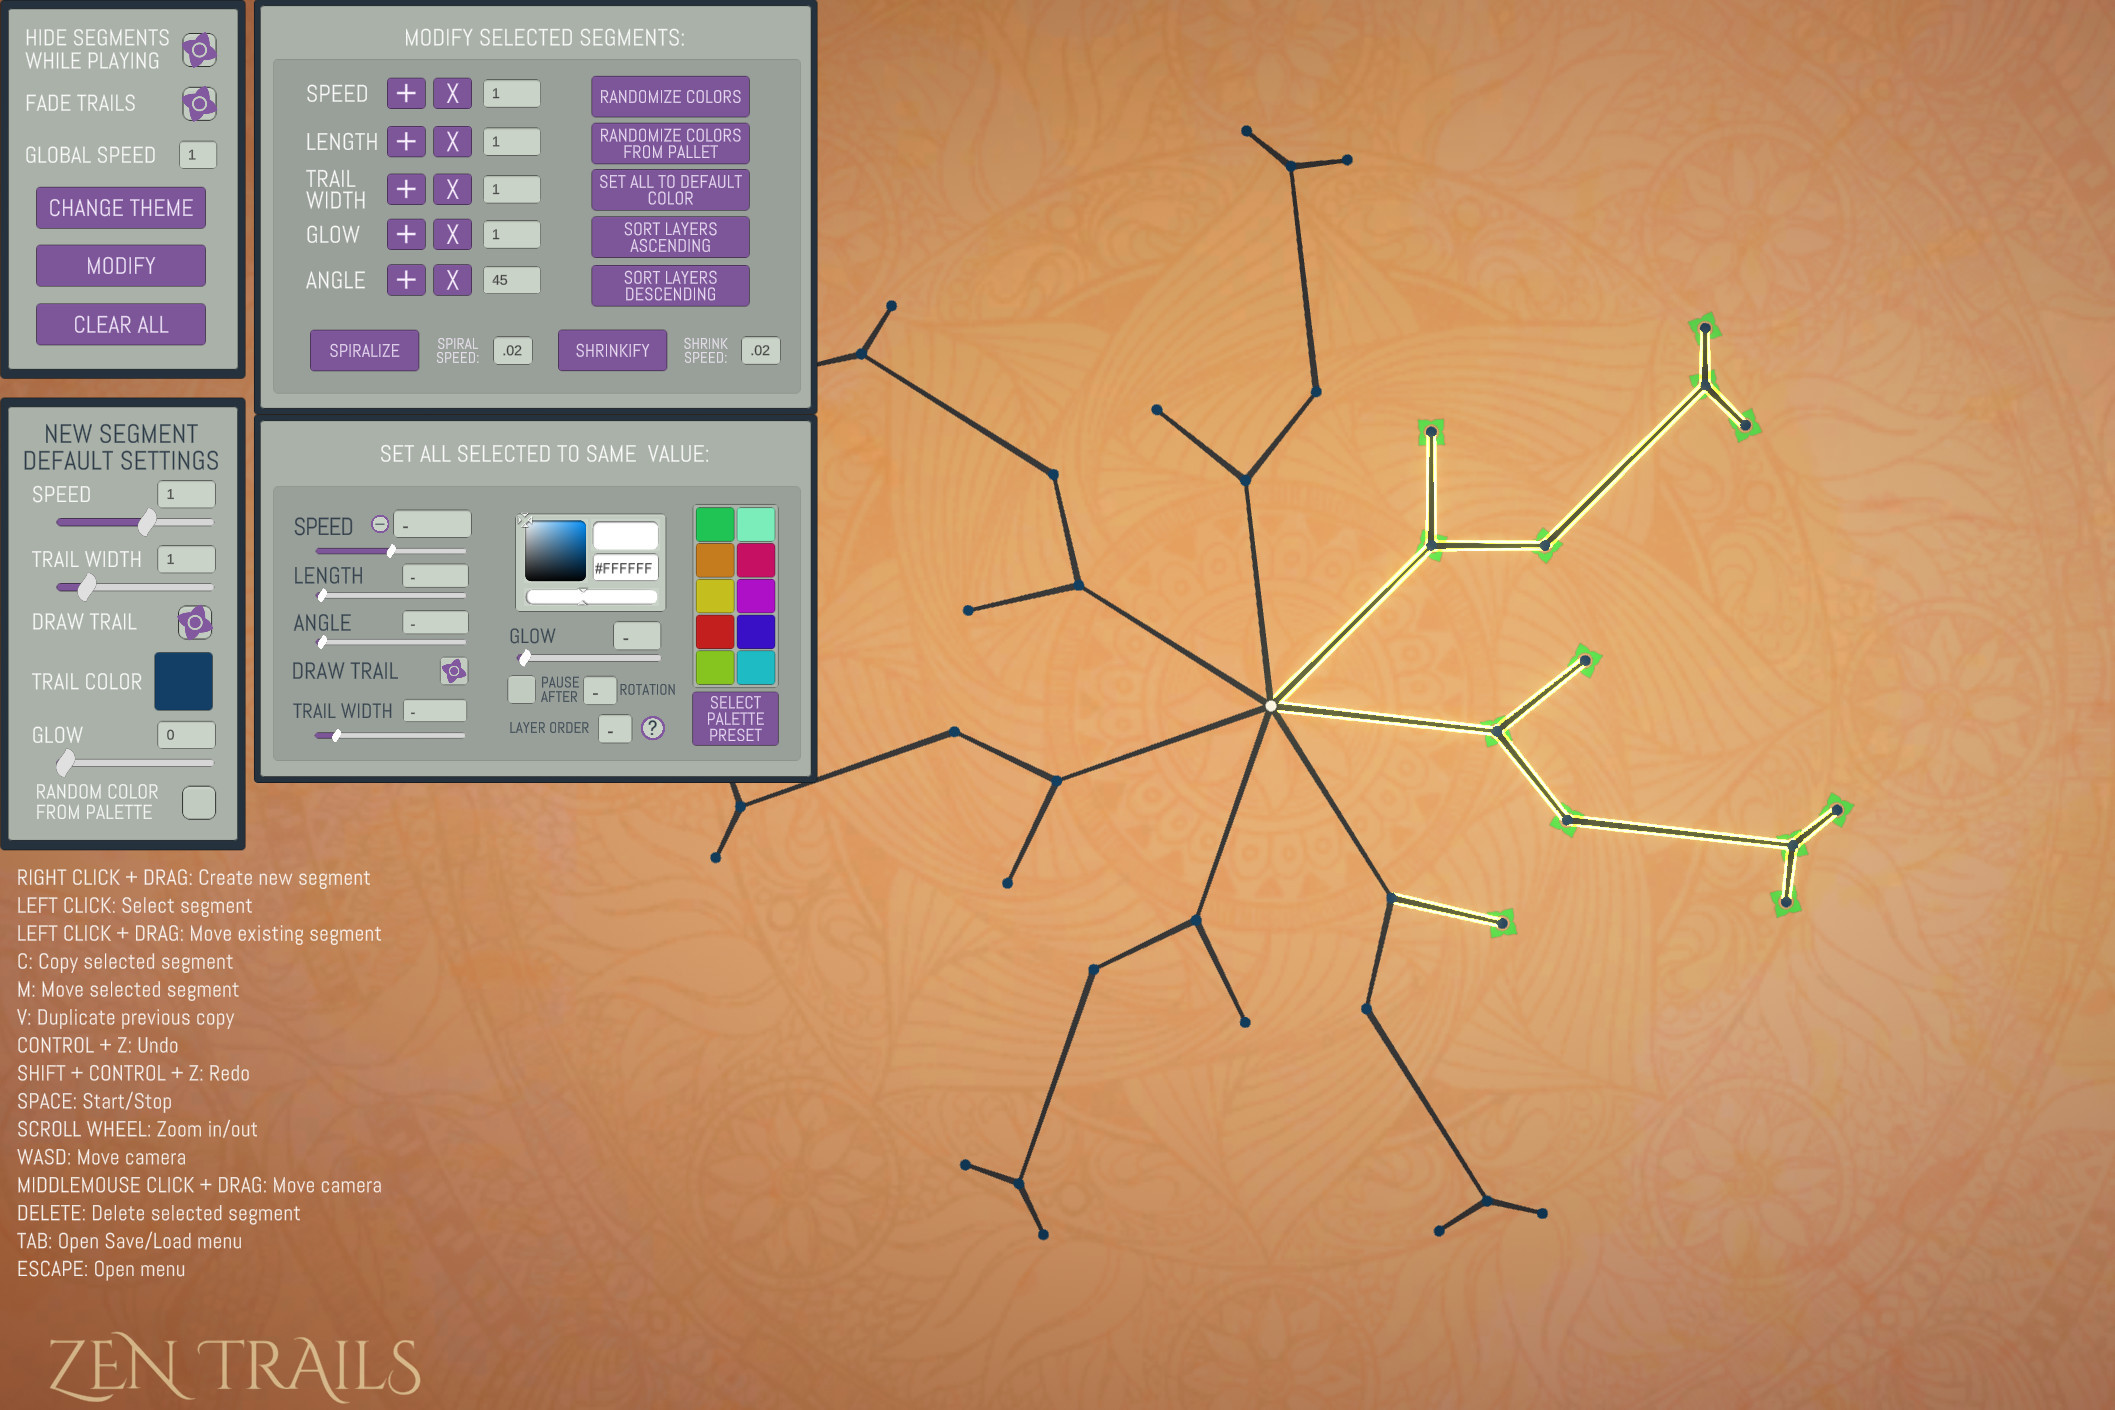
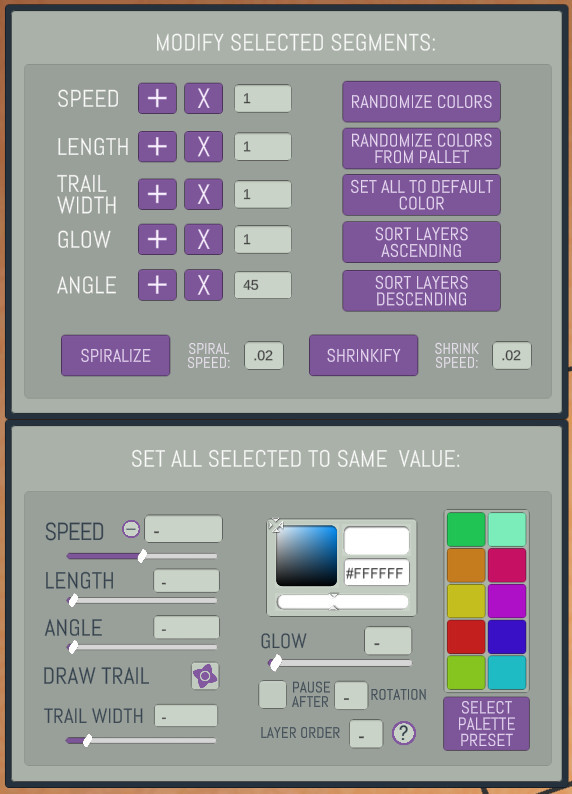
It's basically just the Moidfy panel and the segment info panel combined. Any changes made here will only affect the selected segments.
Hope you like it.
Stephen
So in my eternal quest to make digital spirography both fun and accessible, I've been trying to come up with helpful tools to allow users to make designs that are more complex and interesting without needing to know the nitty gritty math. You may remember the recent addition of t
So in my eternal quest to make digital spirography both fun and accessible, I've been trying to come up with helpful tools to allow users to make designs that are more complex and interesting without needing to know the nitty gritty math. You may remember the recent addition of the "Windmillize" button.
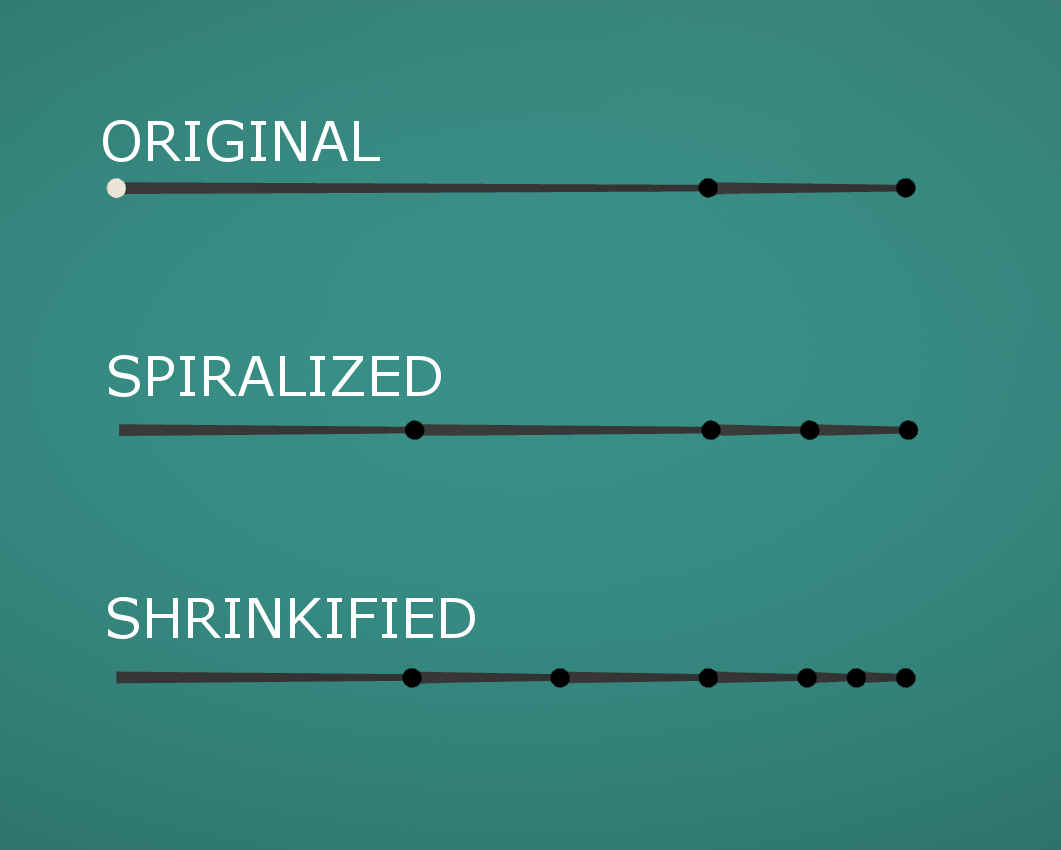
These are newly added feature buttons found in the "Modify" panel. Clicking them will alter your design by adding intermediary segments in between your existing ones, preserving the general design but causing it to slowly morph while playing.
Here we see the original 2-segment design, and the results of clicking the "Spiralize All" and "Shrinkify All" buttons respectively:
I won't go into too much detail about what they actually do, but these results should give you a pretty good idea. "Spiralize" makes your design spiral inward, and Shrinkify makes it shrink with each rotation. Observe:
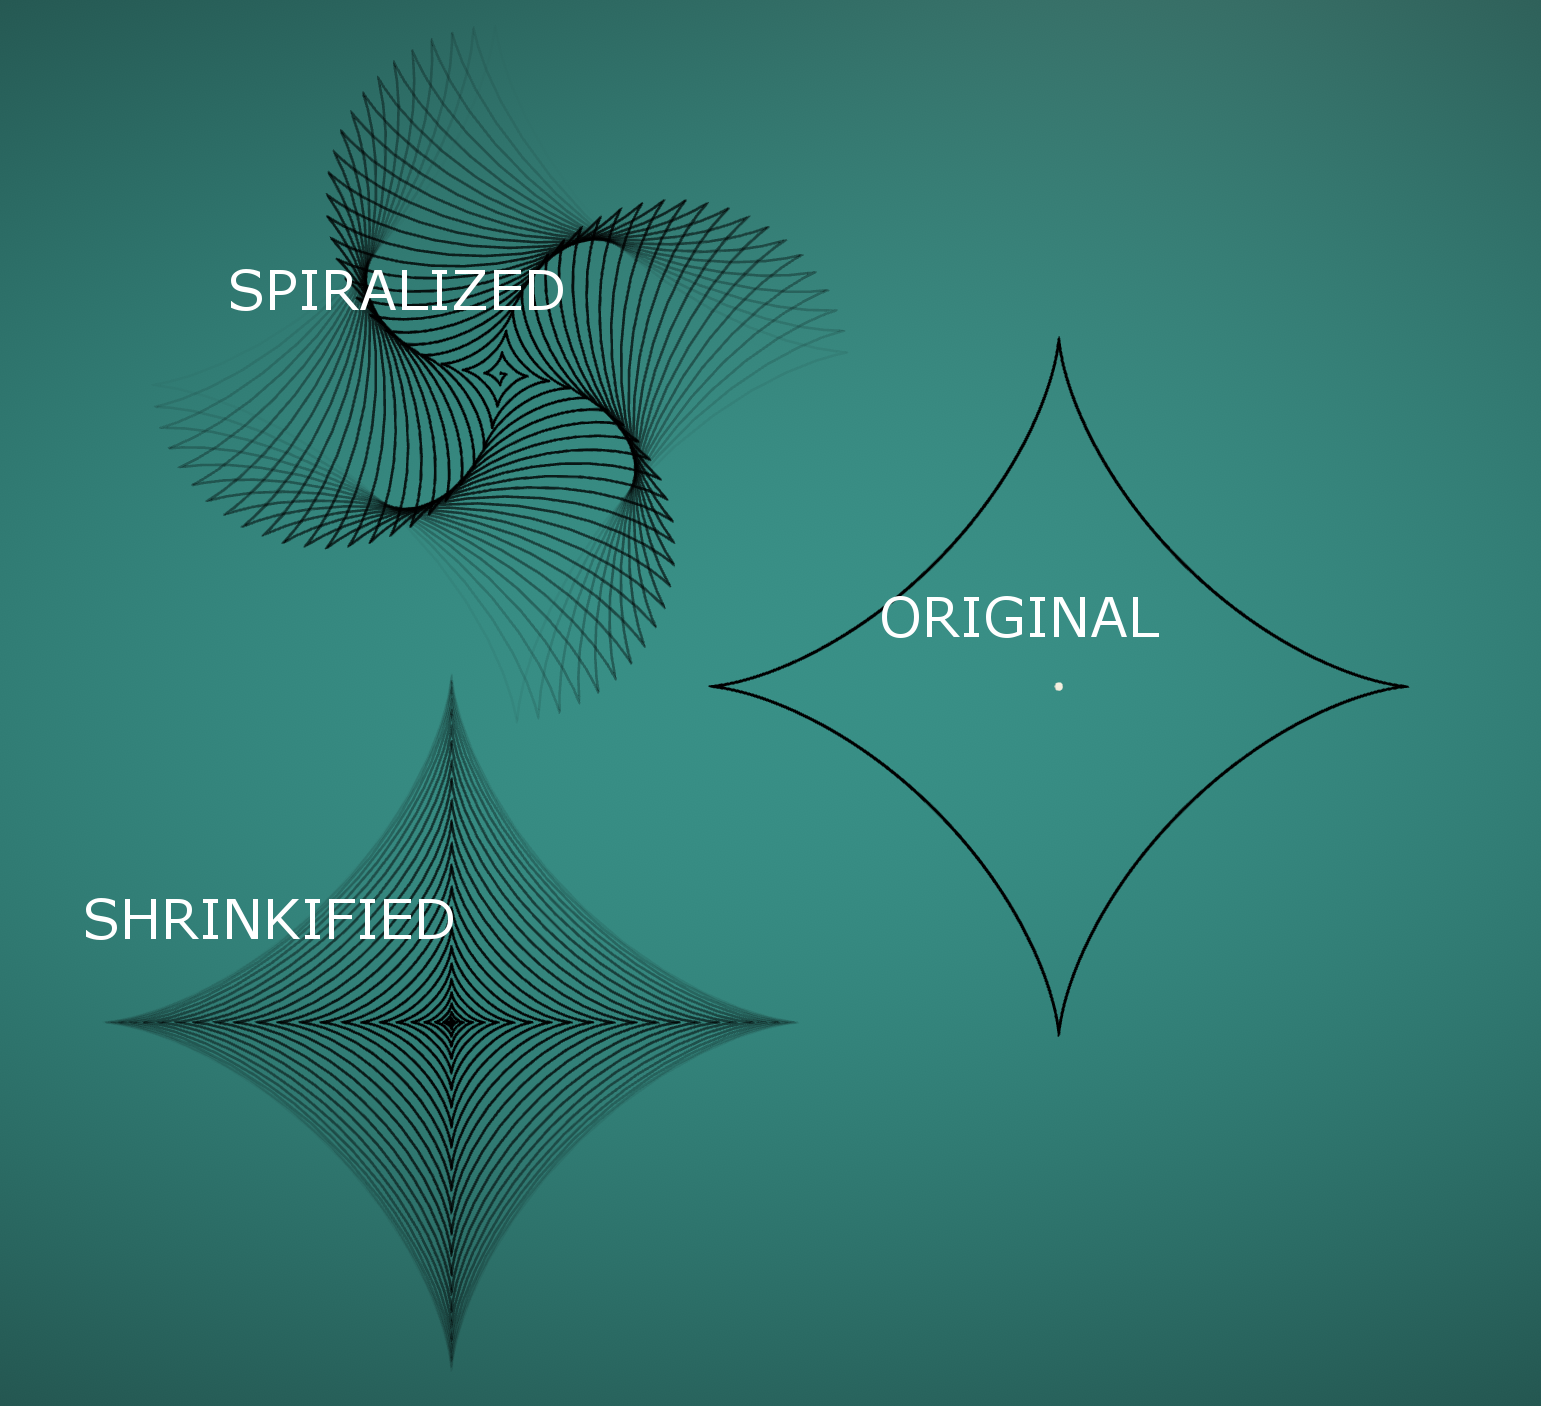
You can also apply these effects to individual segments, and the results can be pretty darn cool, especially if you combine the two and play around with their speed values.
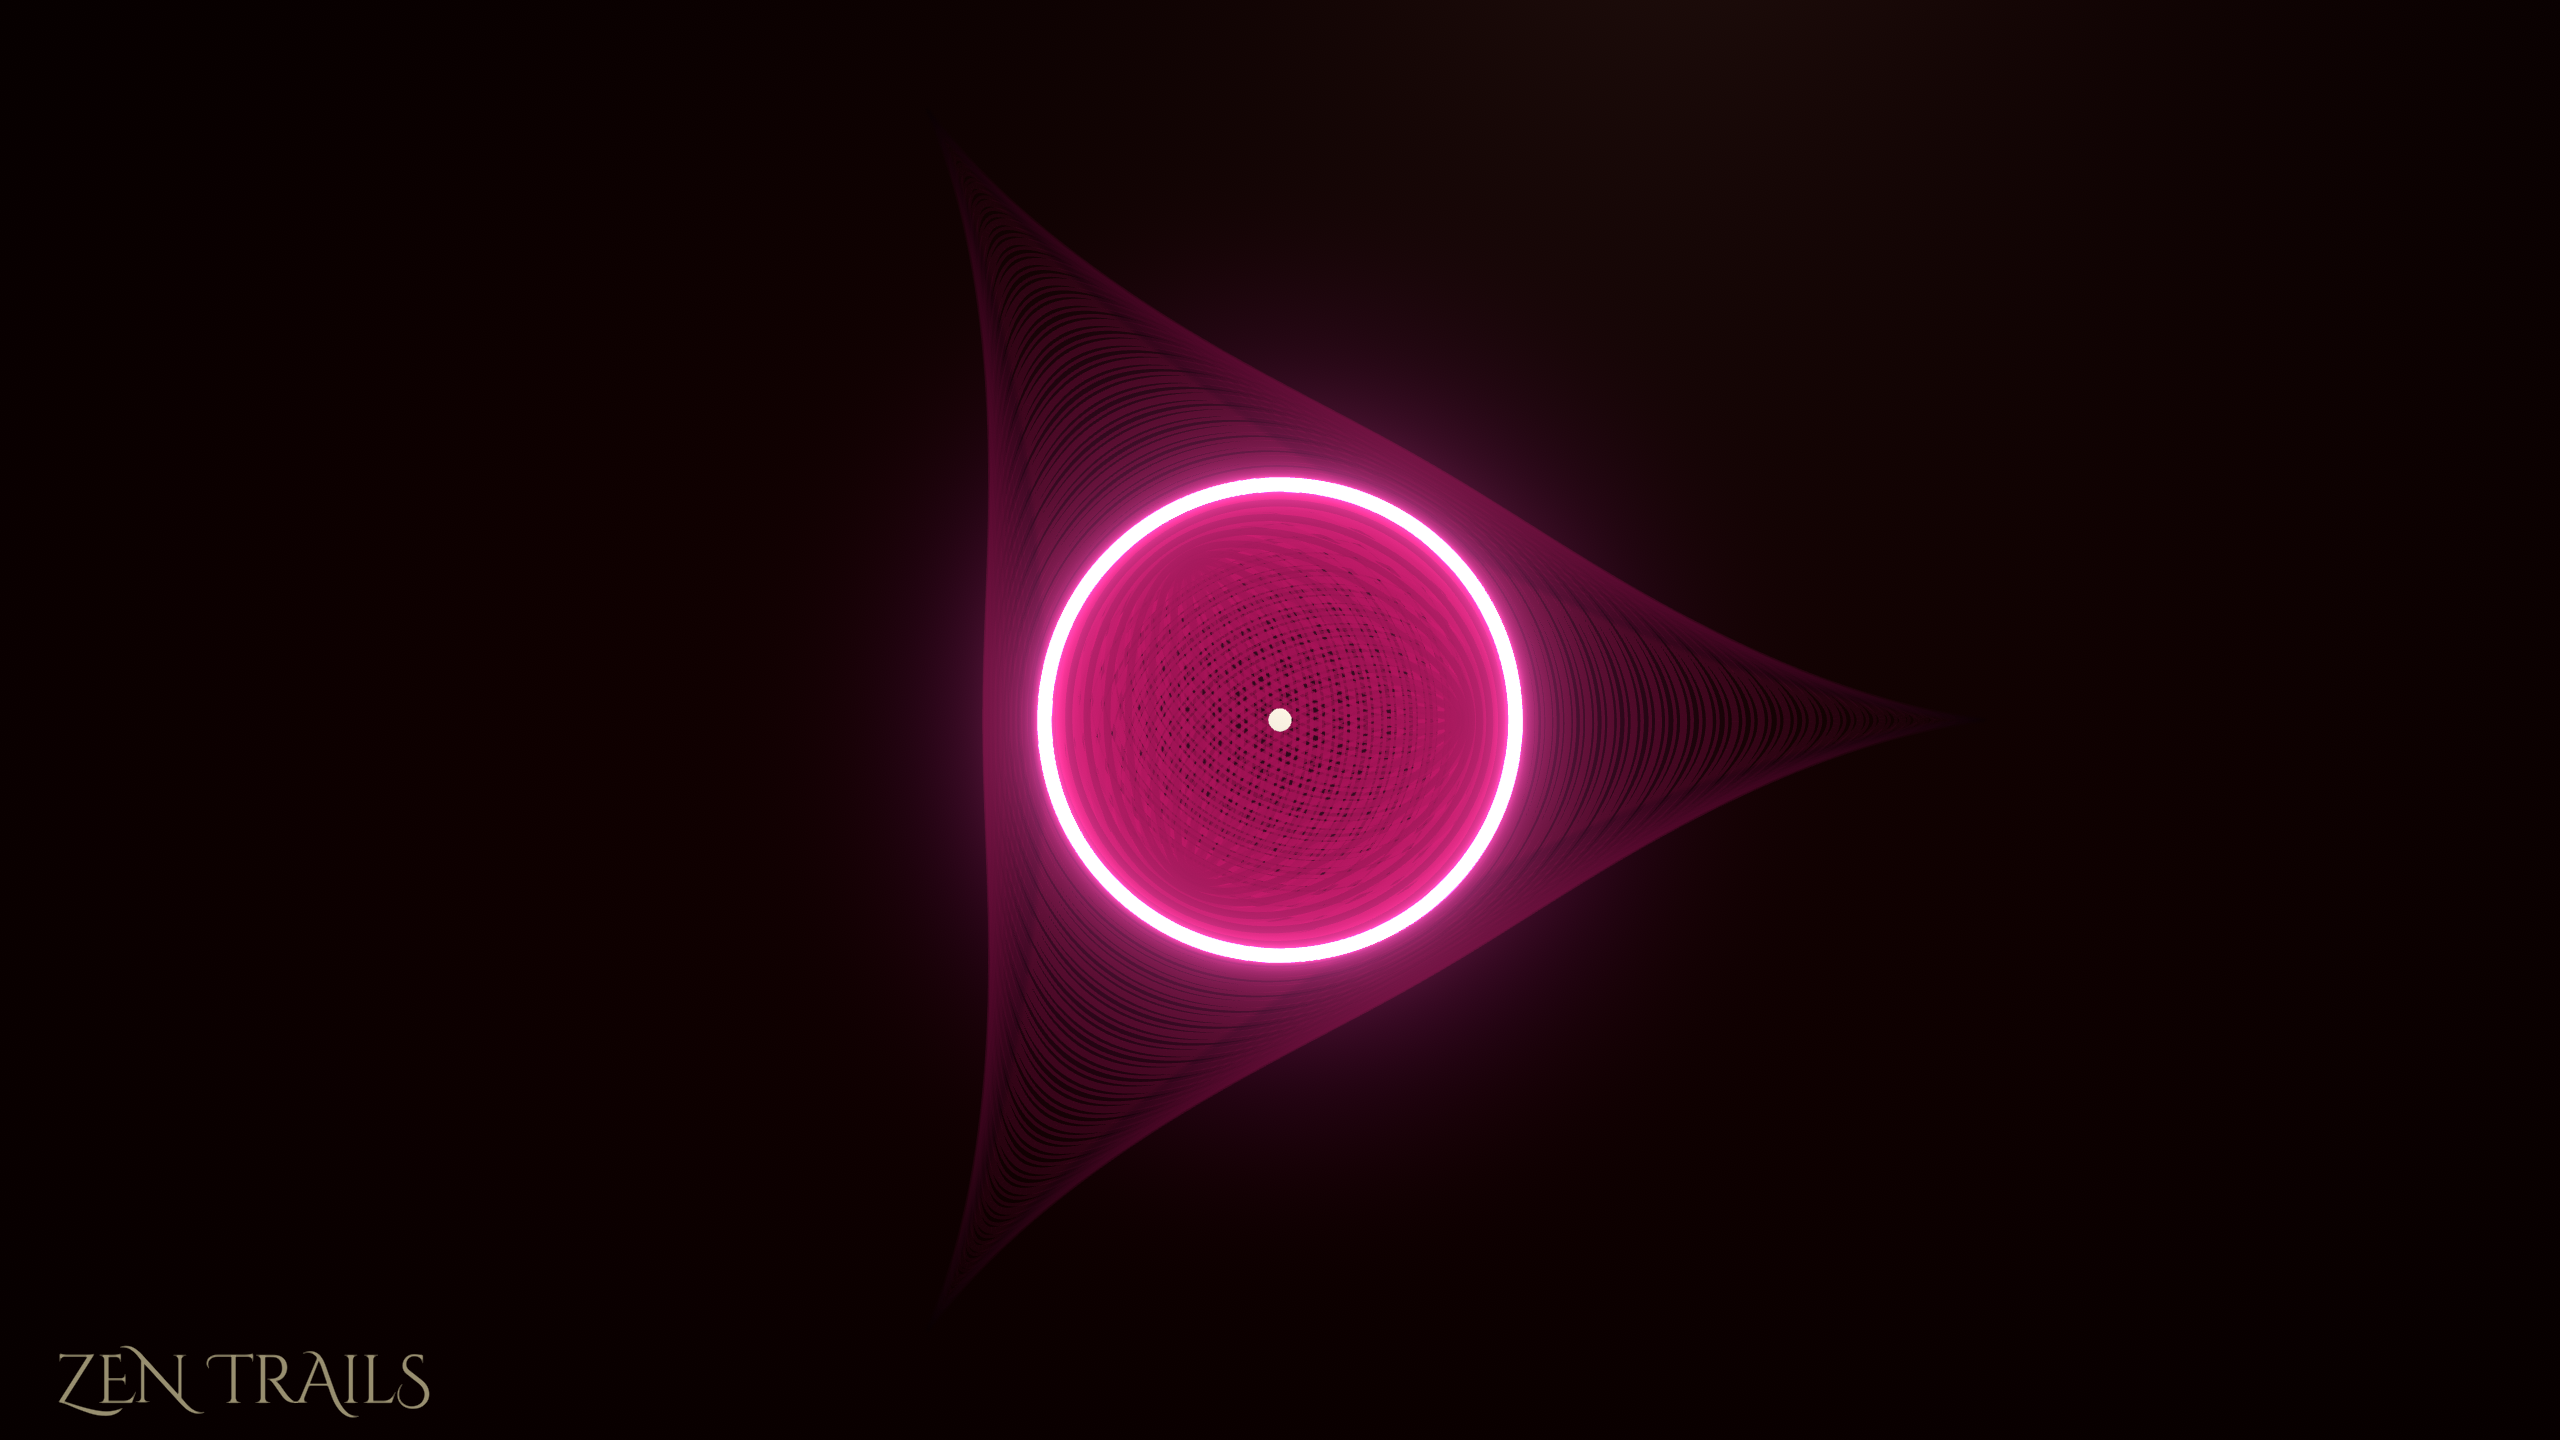
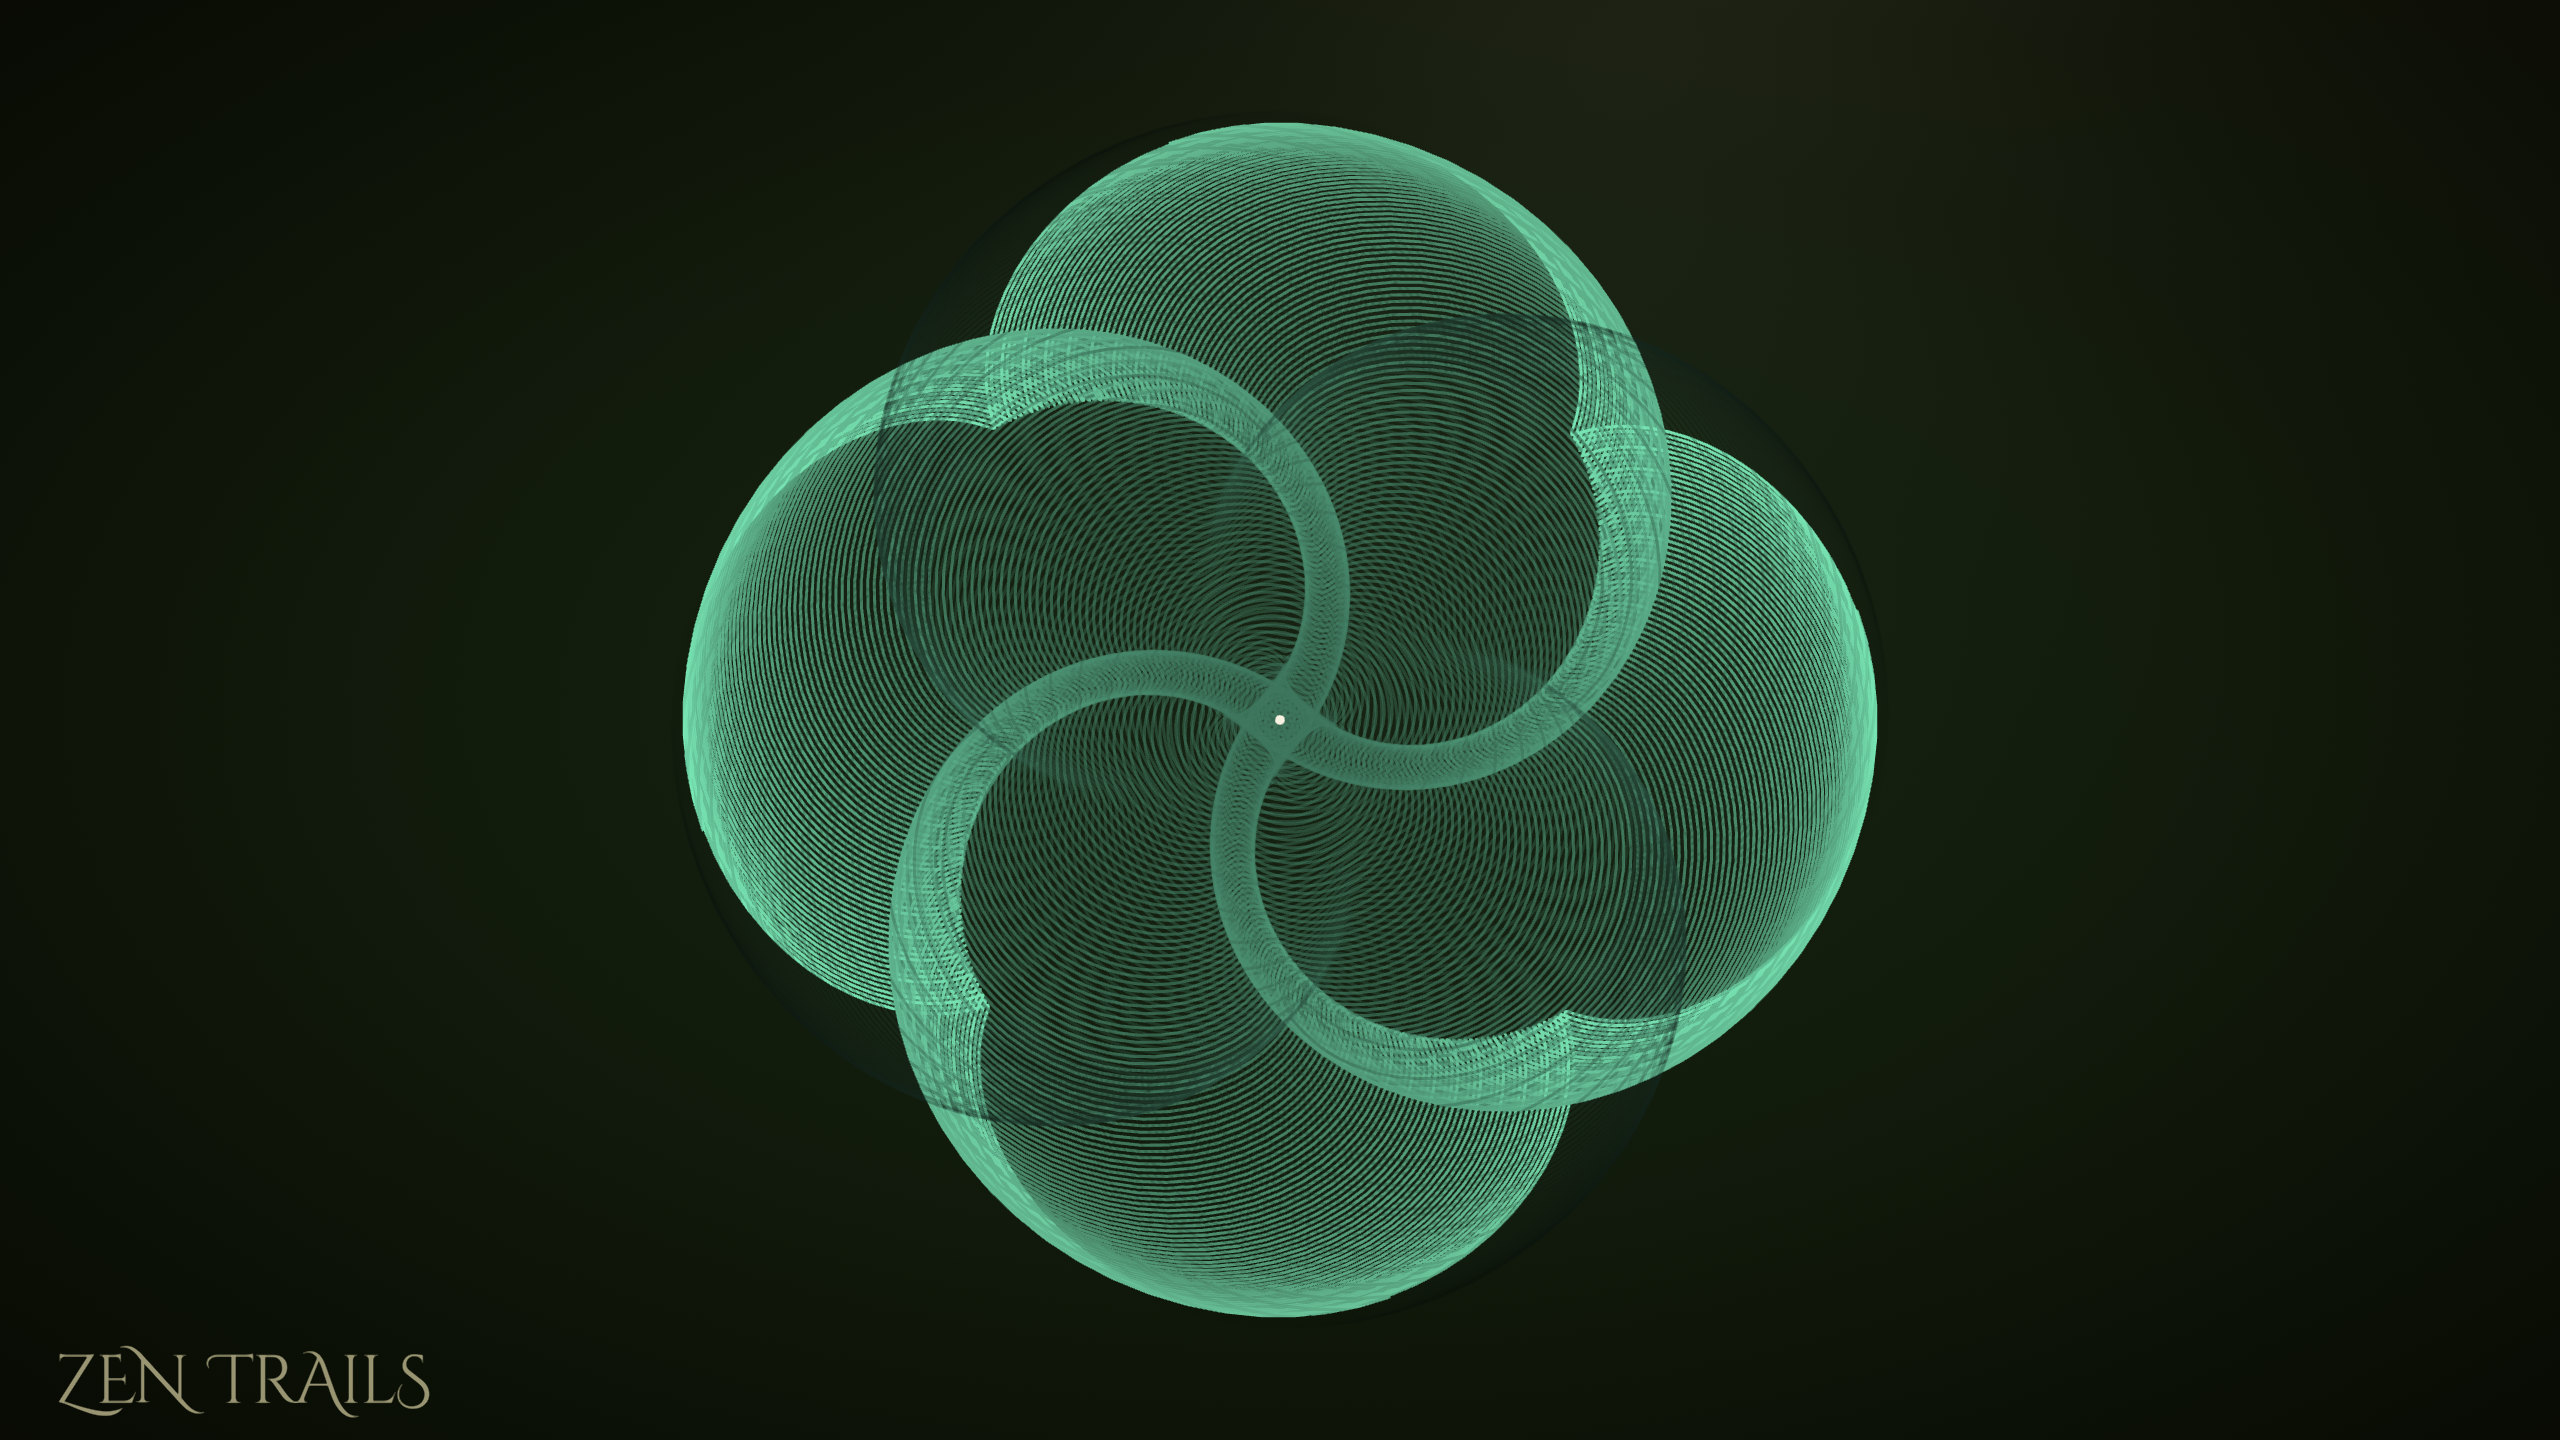
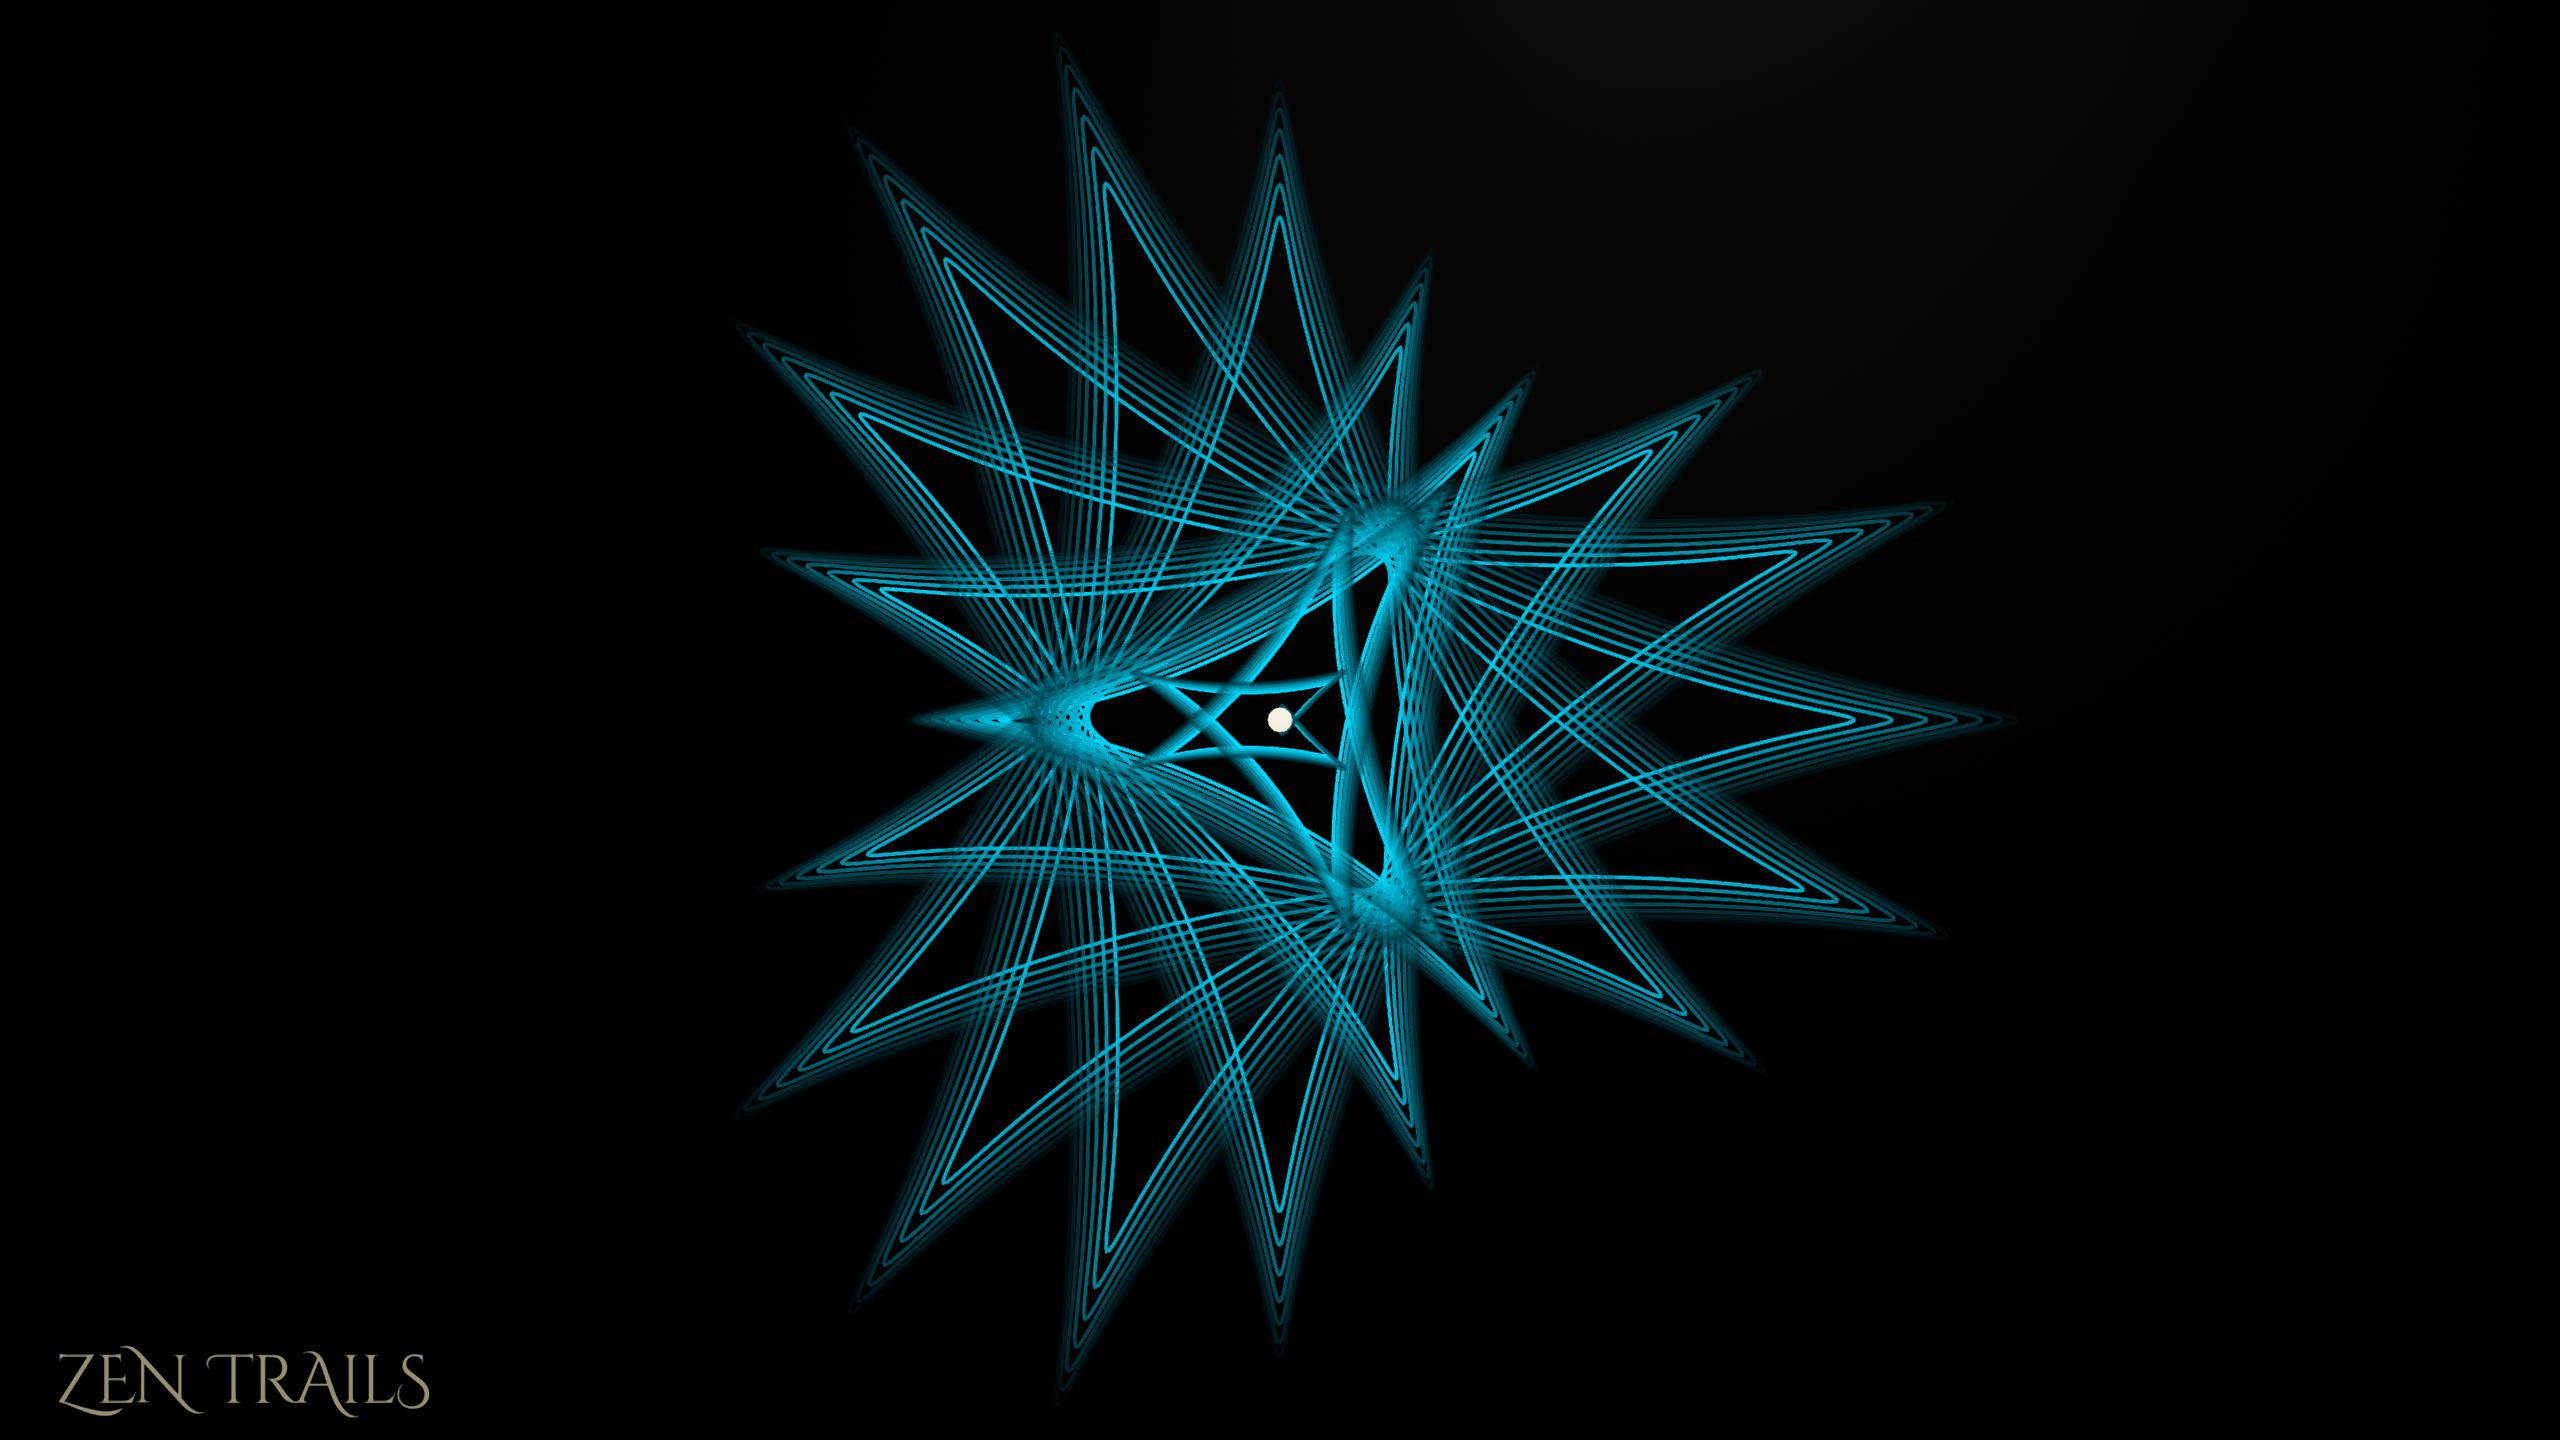
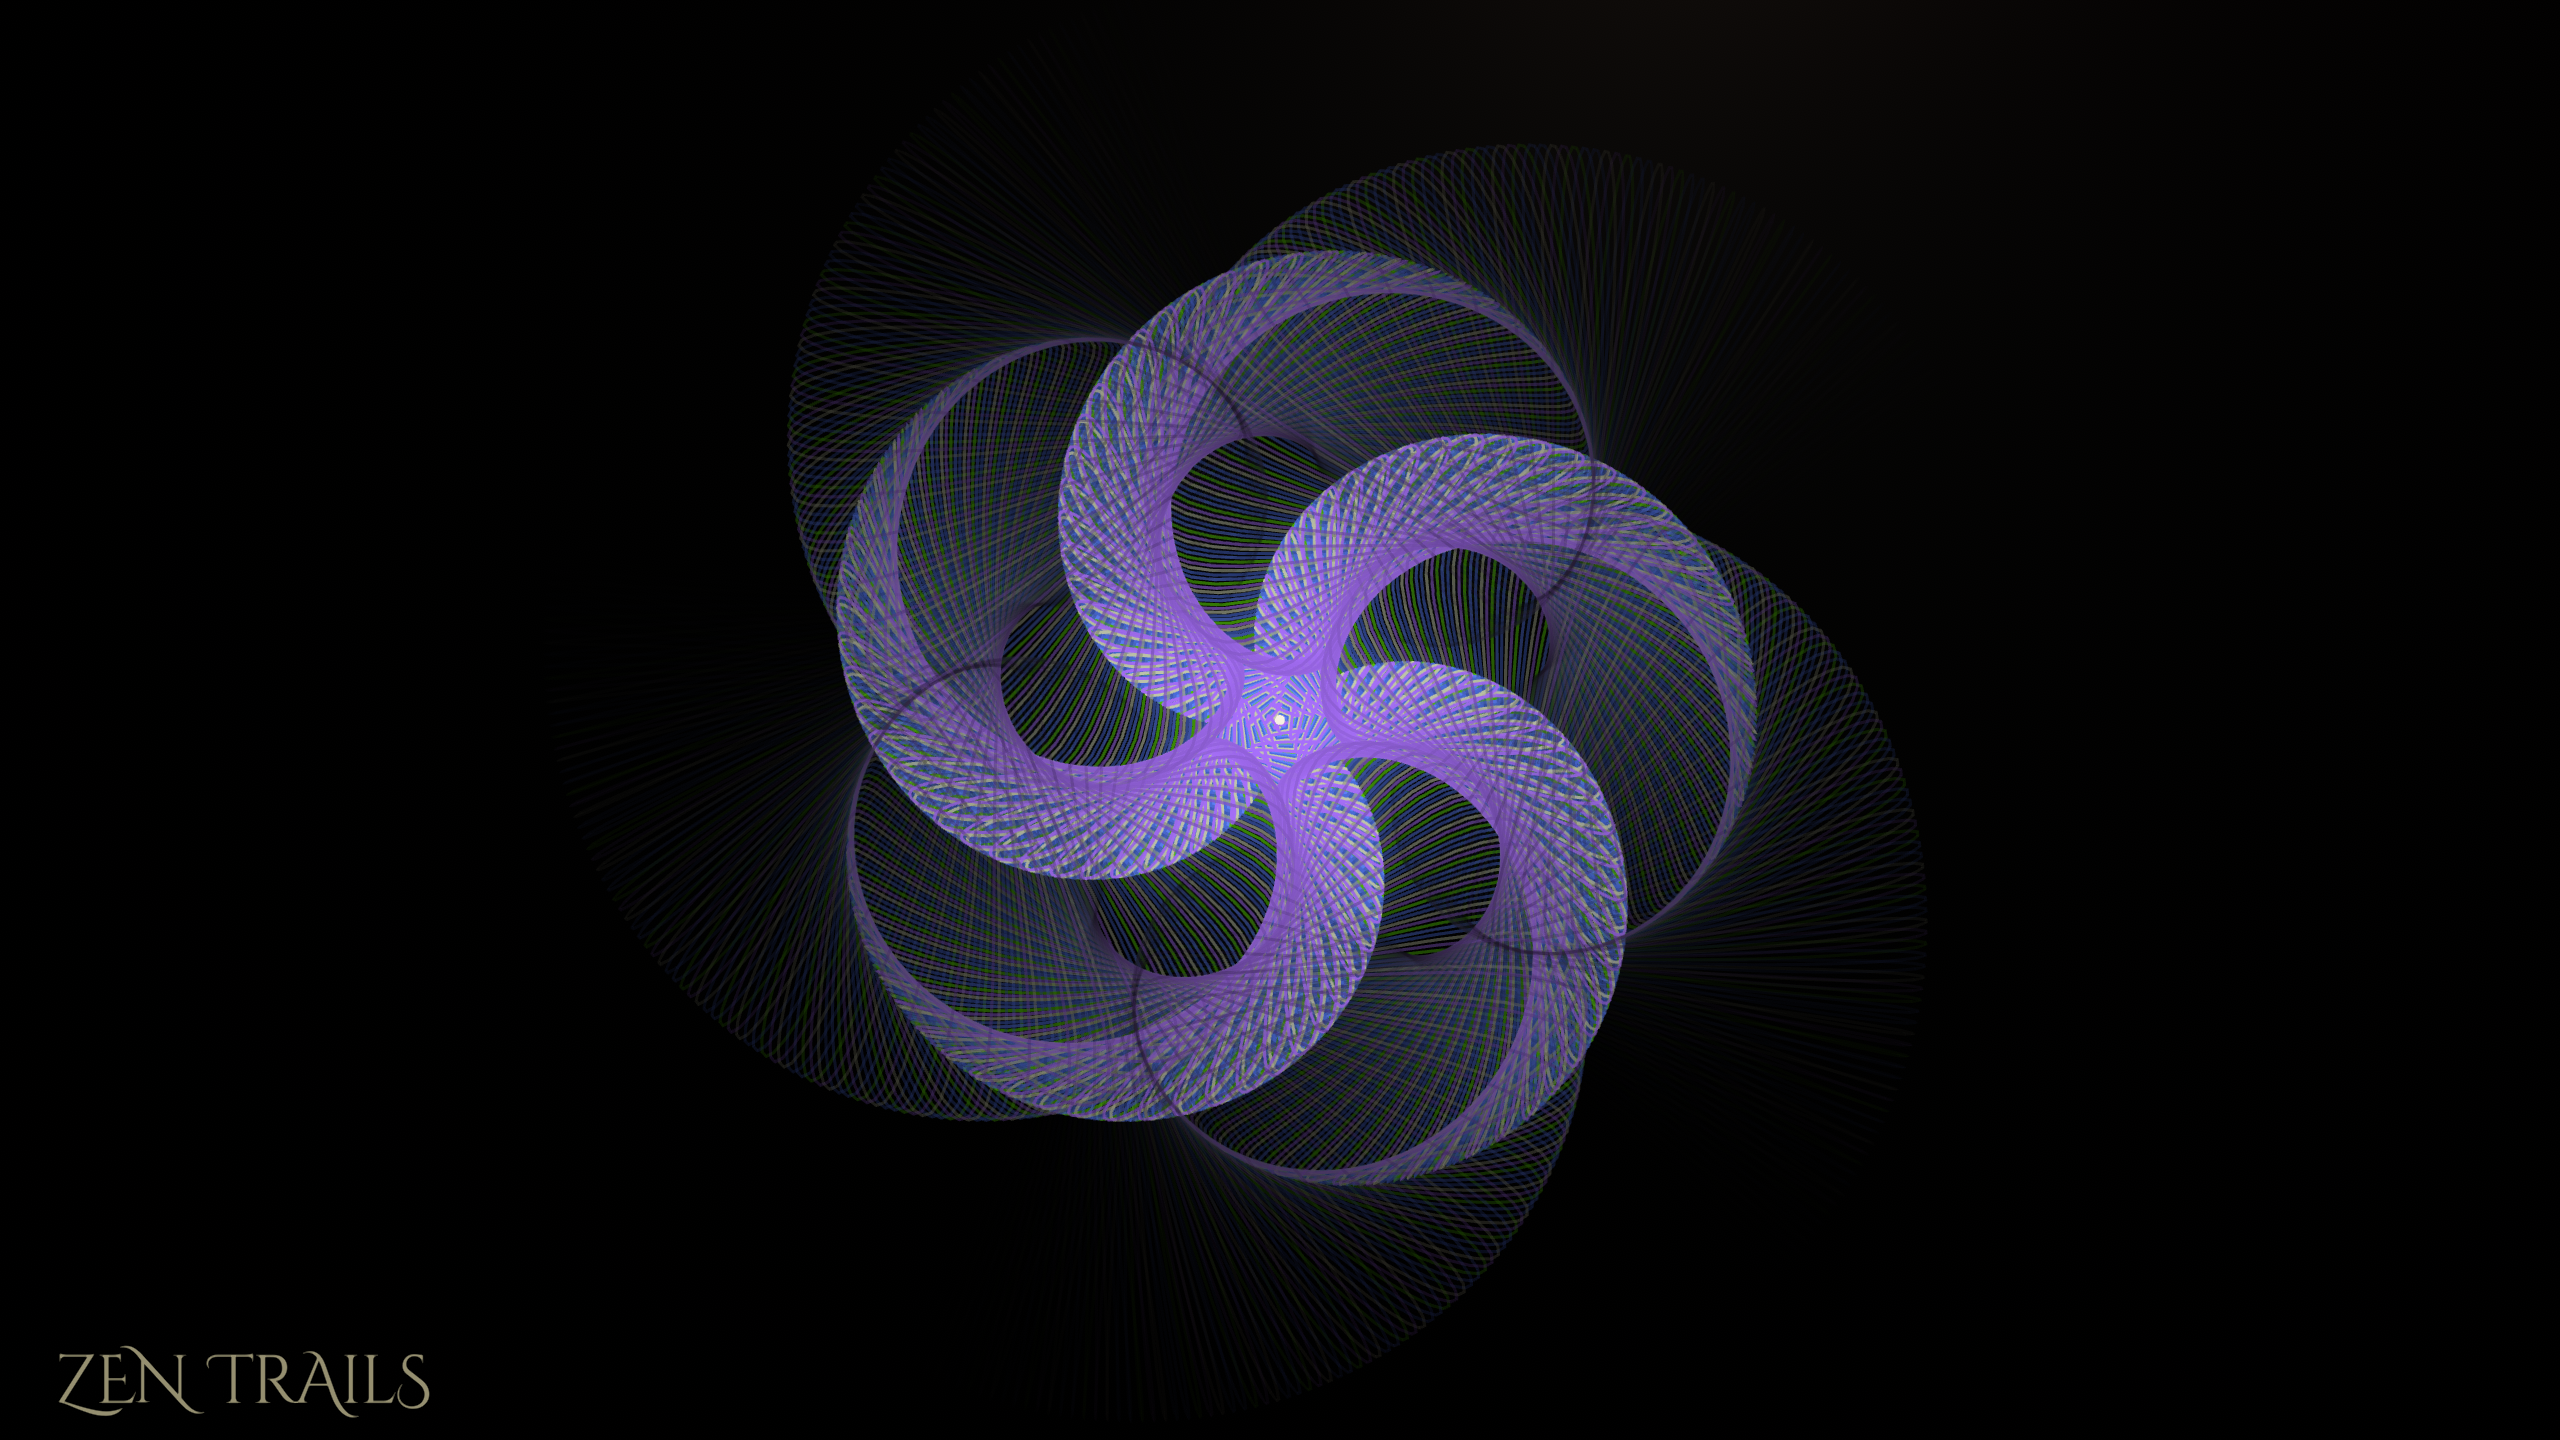
These are all just really simple 2 or 3 - segment designs, just basic shapes, and then I pressed a button (or two). That's it! With a little variation and messing with it a bit, you can make some pretty cool stuff!
I can't wait to see what you guys come up with. Post screenshots!
TUTORIAL OVERHAUL In preparation for the iOS release of ZenTrails, I thought it was time to revisit the tutorial. In having my friends and family play the game, the main bit of feedback I got was that they wanted more explanation on how to make aesthetic designs. After all, not e
In preparation for the iOS release of ZenTrails, I thought it was time to revisit the tutorial. In having my friends and family play the game, the main bit of feedback I got was that they wanted more explanation on how to make aesthetic designs. After all, not everyone wants to spend their whole weekend tweaking numbers to see what works and what doesn't.
So the tutorial has been completely redone, now with categories, and almost 100 slides with presets and explanations all made by me. It will walk you through everything I've learned about digital spirographing from the simplest shapes to complex masterpieces. I hope you'll check it out and let me know if you run into any bugs, or if you find anything confusing that could be explained better.
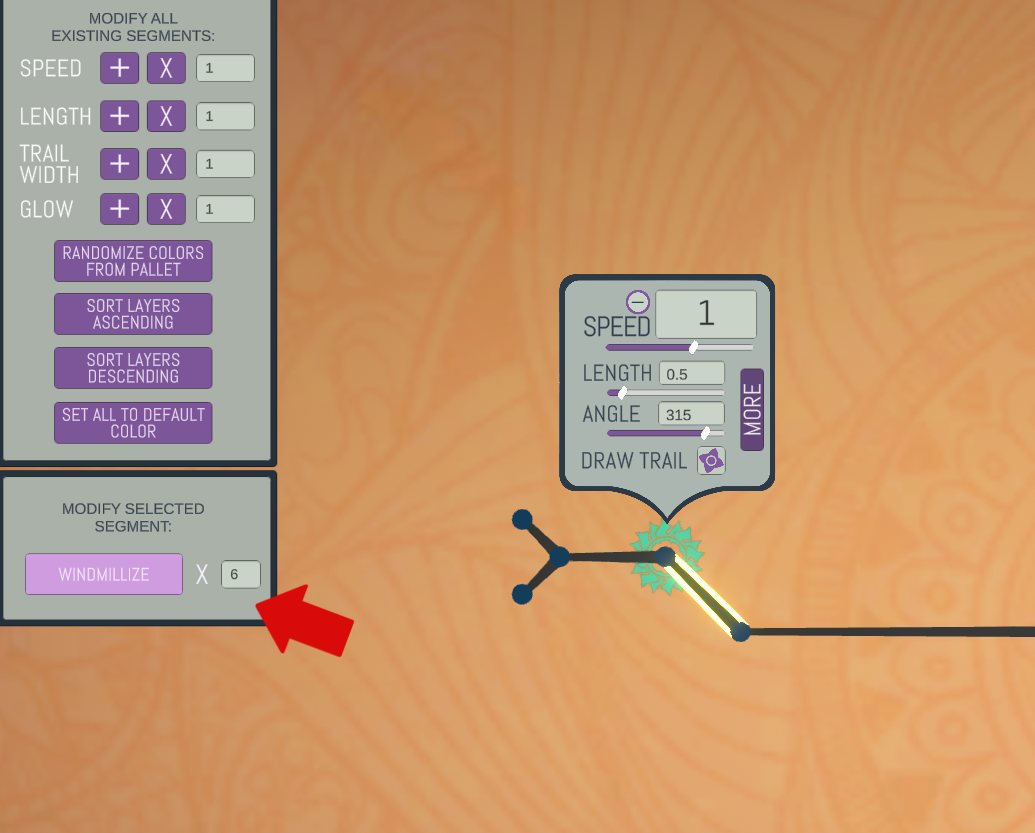
This is explained in detail in the tutorial, but I've realized while making complex designs that I often find myself tediously creating "windmills", and thought to myself, why don't I make the computer do this work for me?
Now you can select any segment, tell it how many arms you want it to have, and hit the button and BAM!
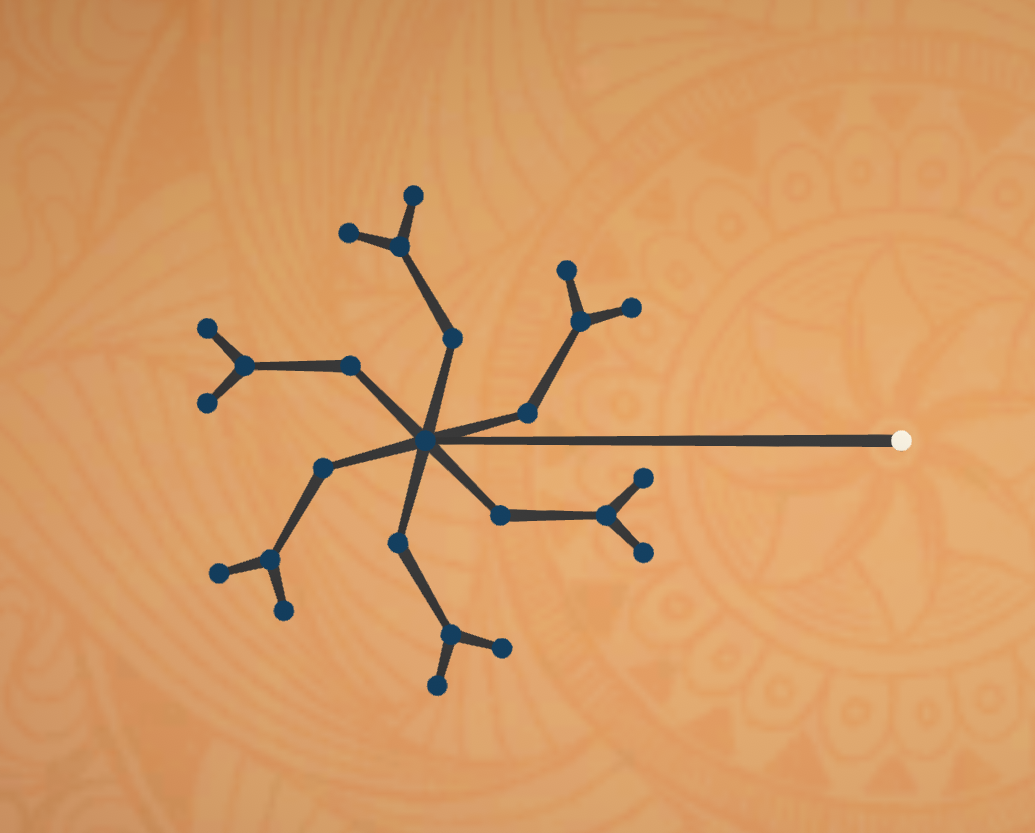
So imagine the possibilities if you windmillize a segment, then windmillize the segment it's attached to, and so on and so forth!
This has been on my mind for a while and I occasionally get "bug" reports telling me that lines become jagged if you set the speed too high. The best option is just to slow it down, but I figured why not make it possible to create complex designs really fast? If your CPU can handle it then great.
So now there's an option in the Options Panel called "Trail Curve Smoothing", set to 1 by default. What it does is, every frame, it looks at the segment speed, divides it by the smoothing value you enter, then processes the rotation that many times, every frame, for every single segment. So you can imagine that it's a good idea to use this in moderation, as it will definitely tank your FPS if you set it too high.
Here's a design I made, with the global speed set super high so it renders really fast.
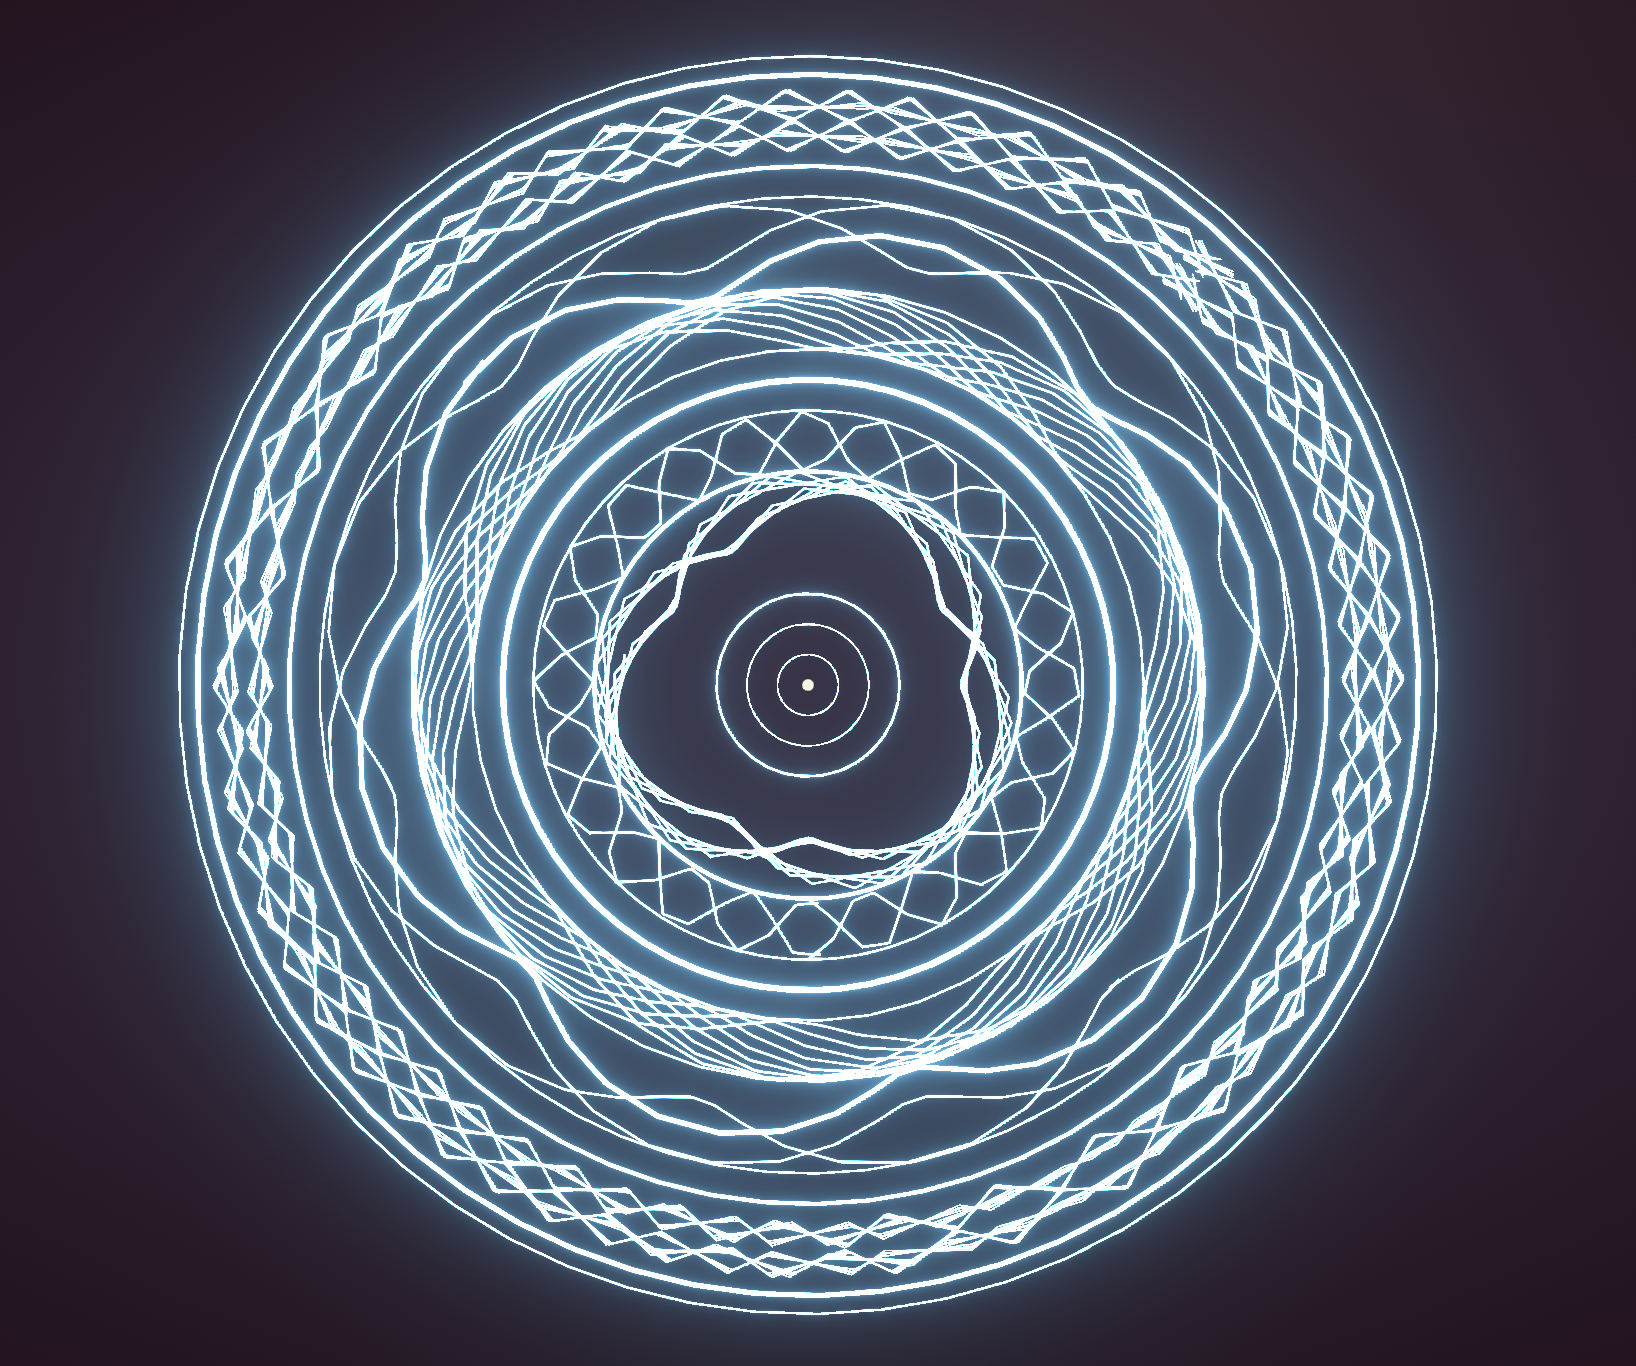
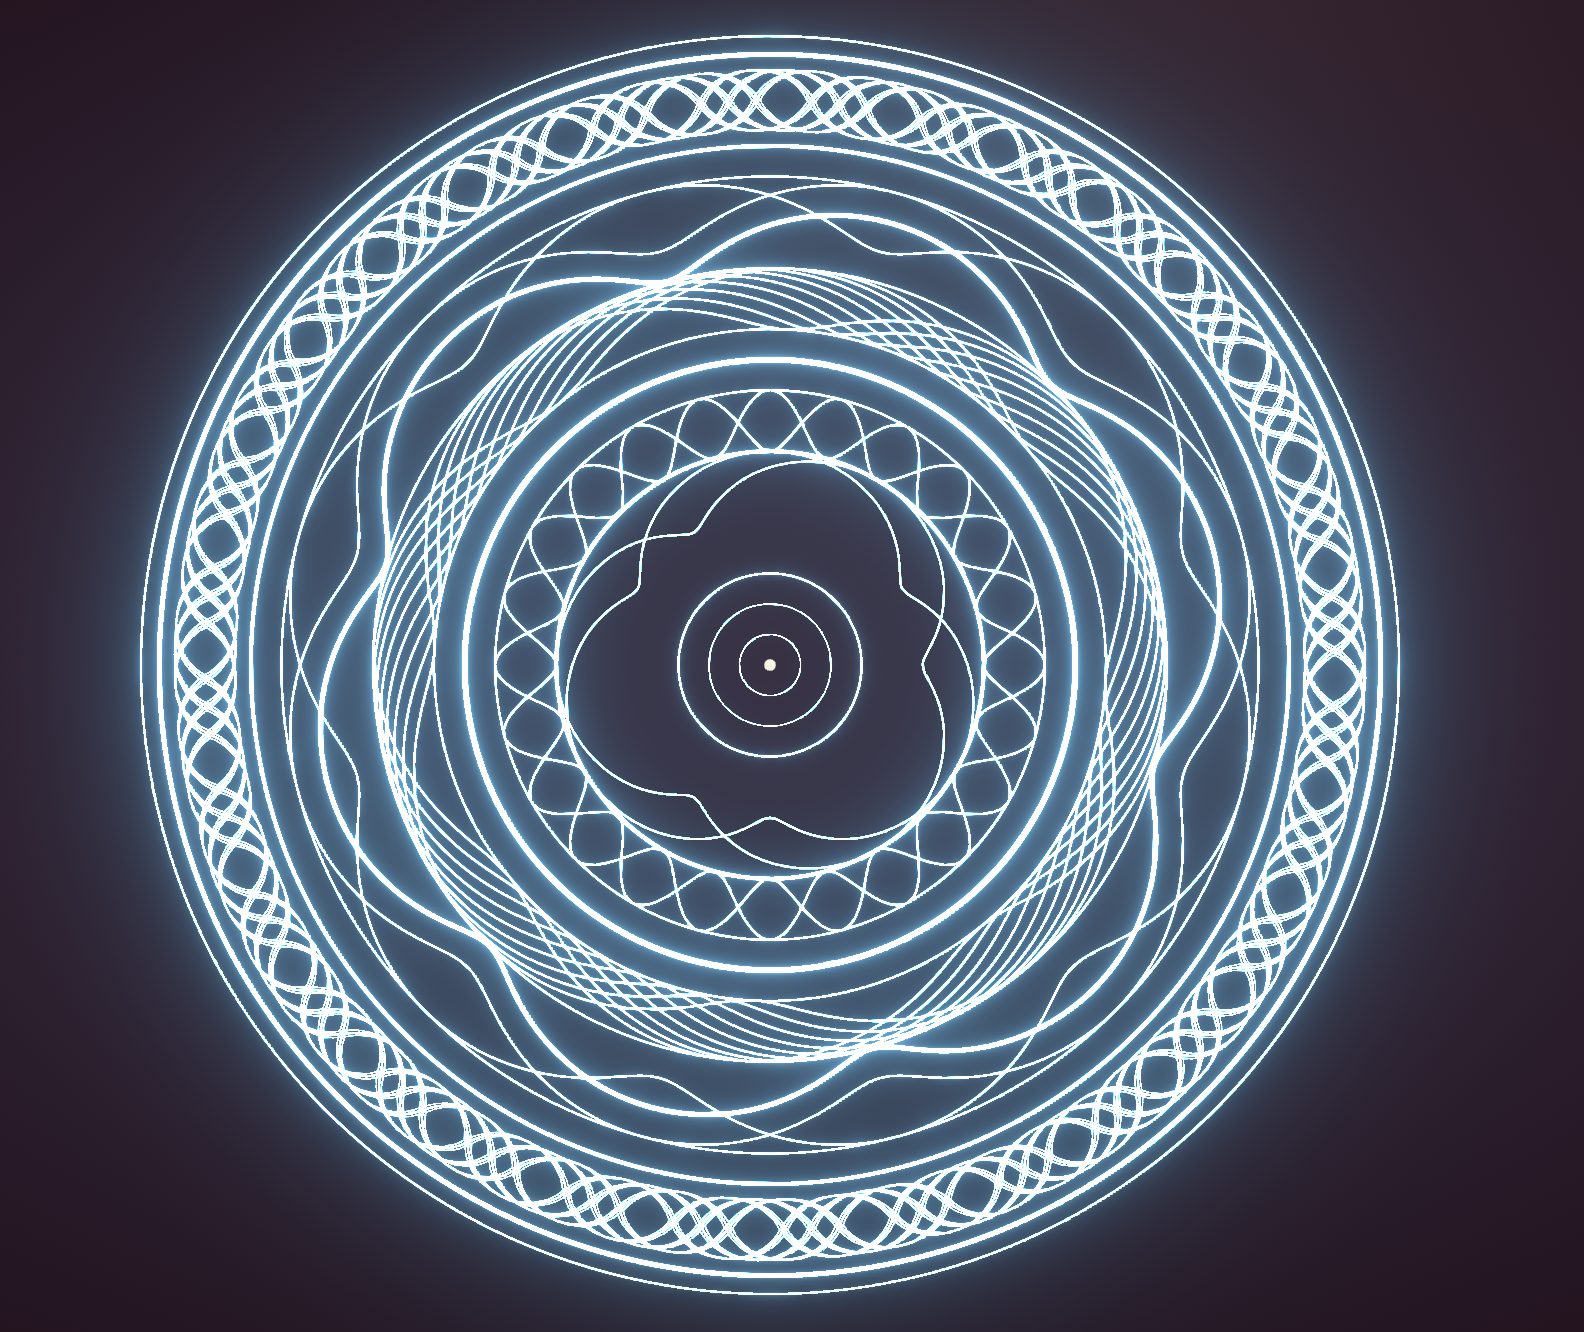
Of course, if your machine can't handle the extra strain, you can always just lower the global speed. The end result will be the same.
Hope you're having a good day.
Stephen.
So I was working on making a cool promo video for Zen Trails featuring some complex designs, and I noticed that the framerate really starts to suffer if I get too many segments on screen at once. This struck me as weird cause they're just lines and dots, and not even moving. I me
So I was working on making a cool promo video for Zen Trails featuring some complex designs, and I noticed that the framerate really starts to suffer if I get too many segments on screen at once.
This struck me as weird cause they're just lines and dots, and not even moving. I mean it should be able to handle thousands on even the cheapest computer, but I was getting less than 20fps with a mere 200 segments on screen. Not cool. On top of that, some saves were taking 10-20 seconds to load, and they're less than 40KB!
So I spent the last week or so digging into this. Some things that make perfect sense when you start developing a game/app are completely non-sensical by time you're done. When I first started putting Zen Trails together I figured it would be smart to have every segment have its own info panel where all of its relevant info is stored(ie, speed, length, etc). That made sense at the time.
Turns out, that was a bad idea. Unity doesn't like to have hundreds of UI panels in play and it was dramatically slowing down the game. Even with object pooling, and even while they're completely inactive, it was a mess.
So I basically had to revamp the entire save structure of the game, and the way segments store their own data, but the end result was well worth it. Now there is only ever one single info panel, shared among all segments.
Files that previously took 15 seconds to load now pop in instantaneously. The game can run 1,000+ segments without dropping a frame. It's like a breath of fresh air.
Also, I revamped the UNDO/REDO functionality for a third and hopefully final time. Aside from being more reliable, you now get a little pop up notification telling you exactly what was un-did. Neat!
Thank you all so much for playing Zen Trails. MacOS version coming soon!
I've made two new tracks for Zen Trails. They're called "Dreams" and "Space". I really hope you're enjoying the music in-game. It's always mute-able if it gets too annoying ;)
I've made two new tracks for Zen Trails. They're called "Dreams" and "Space".
I really hope you're enjoying the music in-game. It's always mute-able if it gets too annoying ;)
I've been busy! Here's a list of all the fun stuff I've been working on, and I've made some new music which will be added in a day or two here. The Inspiration Panel is drastically improved . Lots of new presets made by me and a few very helpful community members. It's now a butt
I've been busy! Here's a list of all the fun stuff I've been working on, and I've made some new music which will be added in a day or two here.
The Inspiration Panel is drastically improved. Lots of new presets made by me and a few very helpful community members. It's now a button in the bottom right corner with a picture of a lightbulb. Clicking on it will bring up the panel.
The "Fade Trails" option is now part of the save file. It occurred to me that since your design can look dramatically different depending on whether or not your trails are fading, this should be specific to each save file. Files made previous to this update have trail fading disabled by default.
Glow has been added to the new segment default settings and to the Modify All panel.
There are two new buttons in the Modify All panel for sorting out your layers quickly and easily. In working with the game I realized that layer order is often not very important as long as no two segments have the same layer. But setting them manually is tedious and not at all fun. So now you just click a button and they sort themselves in the order that they were created.
Player preferences, set in the Options menu, will now be remembered.
The Zen Trails logo and navigation buttons have the option to be hidden during play mode. This can be set in the Options menu.
There's a new button that will take a screenshot and save it to your game folder (The path is revealed when you hover over the screenshot button). The screenshot will not include the navigation buttons.
Trail speed is now framerate dependent. Hear me out, because typically in game development, making anything framerate dependent is a horrible idea. Just ask the Fallout76 team, lol. But in this case, it was actually harmful to make the segment speed independent, because if your framerate drops for a bit, the segment would skip a great deal and make ugly straight lines where the hiccup occurred. That no longer happens, so the design will be the same no matter what your computer is choking on.
A new key command! You can now press V to duplicate your previous copied segment. This is very useful if you want to make lots of copies, or if you want to copy something, then shrink everything else, paste, then shrink again, paste again, quickly creating a sort of fractal design. Try checking out the preset called "ZoomIn" in the inspiration panel to see what I mean.
A new color palette, called "Best Glow" has been added, which are the colors I've determined work best with the glow feature.
That's all for this update but stay tuned because I'm adding new music in the next couple days and also going to be releasing a MacOS version soon!
-Stephen
I've gotten a lot of requests for this and it makes sense. But it's not just a custom palette, there's presets! Made by me! If you open any color picker, like on a segment or the settings panel for example, you'll see the palette as well as a button to select a preset. These pres
I've gotten a lot of requests for this and it makes sense. But it's not just a custom palette, there's presets! Made by me!
If you open any color picker, like on a segment or the settings panel for example, you'll see the palette as well as a button to select a preset. These presets will give you a cohesive theme, or you can just make your own. Note that whatever the palette is when you close the game, that's what it'll be when you open it again.
But I didn't stop there! I thought to myself, wouldn't it be handy if the palette decides what colors your new segments are? So I added a little toggle in the settings panel that says "Random Color From Palette", so any new segments made with that selected will be assigned randomly from whatever the palette is currently set to.
BUT WAIT, there's more! If you click on the "Modify All" button in the settings panel, you'll also be greeted with a shiny new button that says "Randomize Colors From Palette", which does exactly what it says. All existing segments will get a random color from the palette.
What's that? You want more randomness? Well, among those palette presets there's one at the top called "Random", which, you guessed it, populates the palette with a bunch of random colors from every color that exists!
That's all. I hope you're having a good day.
Stephen
Hello lovely people. First of all, I can't thank you all enough for playing my game. It validates my existence. UNDO / REDO I've been listening to your feedback! And now I have a fresh new undo system in place, and not only that, but a fancy schmancy REDO system as well! So, if y
Hello lovely people.
First of all, I can't thank you all enough for playing my game. It validates my existence.
UNDO / REDO
I've been listening to your feedback! And now I have a fresh new undo system in place, and not only that, but a fancy schmancy REDO system as well!
So, if you've ever done any programming you may or may not be aware of a what a challenge it is to implement a quality undo/redo system. Even in a program as simple as Zen Trails there's a lot of moving pieces (literally, lol, I'm so funny). My previous system was just sort of a placeholder, and it basically just made a save every time you create, delete, or move segments, and then loaded the previous "undo" save when you hit control-Z. Which works! Except that it didn't take into account any little change made to a segment's info panel.
This new system is probably not perfect, but it's better. Pretty much any change you make to a segment in any way will save an undo step, and if you're ever unsatisfied, just hit SHIFT+CONTROL+Z and it will redo.
CAMERA TRACKING
I added a new little feature where if you click on or create a new segment, the camera will center in on it. This should save some hassle when accessing segments that are stretched to the edges of the space.
I also understand that this can be annoying to some people, so there's an option in the OPTIONS panel to disable it.
Please let me know if you find more bugs. I'm always ready to squash them!
-Stephen
In this update, there's a new slider added to the segment info panel called "GLOW". If it's set to anything other than zero, the trail will emit a beautiful glow when sequencing. Here's some things to consider: 1. This increases the brightness of a trail, which in computer-speak
In this update, there's a new slider added to the segment info panel called "GLOW". If it's set to anything other than zero, the trail will emit a beautiful glow when sequencing.
Here's some things to consider:
1. This increases the brightness of a trail, which in computer-speak means that the more glow you add, the closer to white the color will become. There's no such thing as black emission. So your colors may look a little different.
2. This looks significantly better on a dark background. It doesn't have to be straight black, but some colors have a hard time glowing against light backgrounds, like purple for example. You'll barely see it against a light color.
3. The segment node will show you what the trail color is going to look like. The color selection box doesn't change, for ease of use when selecting your base color.
I can't wait to see what kind of funky florescent glory you wonderful people come up with!
There's now an input field in the "MORE" tab of a segment's info panel called "Layer Order" which will determine what line goes on top if two or more lines cross over each other. The highest number wins. By default they're all set to 1 so I guess the computer just picks its favor
There's now an input field in the "MORE" tab of a segment's info panel called "Layer Order" which will determine what line goes on top if two or more lines cross over each other. The highest number wins. By default they're all set to 1 so I guess the computer just picks its favorite in that case.
Now if you open the save menu and hover over the save file that you hate the most, a cute little trash can button will appear on the right side of it. Click it and confirm, and you'll never hear from it ever again.
Now if you open the save menu and hover over the save file that you hate the most, a cute little trash can button will appear on the right side of it. Click it and confirm, and you'll never hear from it ever again.
Simply click on the "Themes" button, then click on "Simple" which will give you a plain grey-ish background, and a color picker will open up allowing you to change it to whatever color your heart desires.
Simply click on the "Themes" button, then click on "Simple" which will give you a plain grey-ish background, and a color picker will open up allowing you to change it to whatever color your heart desires.